manuals.online logo
Brands
  1. Home
  2. •
  3. Brands
  4. •
  5. Intermatic
  6. •
  7. Control Unit
  8. •
  9. Intermatic LC2000 Operating instructions

Intermatic LC2000 Operating instructions

K4021
Common problems - read first!
1. Do not face the photocell into the midday sun. If installed
on the south side of a building, face east or west or point the
photo control down toward the ground. The best direction to
face the photo control is north.
2. Do not face the photocell where it can see artificial light.
Light from windows, signs, street lights, etc., will cause the
photo control not to switch on. The photo control should not
be positioned so that it sees the light it is controlling (or
reflected light). These conditions will cause the light to cycle
on and off.
3. When you are testing the photo control, be sure to turn
on the power (load will come on) and wait up to 5
minutes for photocell to switch load off. For further testing
cover the photo control completely with black tape or another
dark material to simulate night conditions. If you can’t cover
the control with tape, try covering the photo control with the
shipping carton to simulate night conditions.
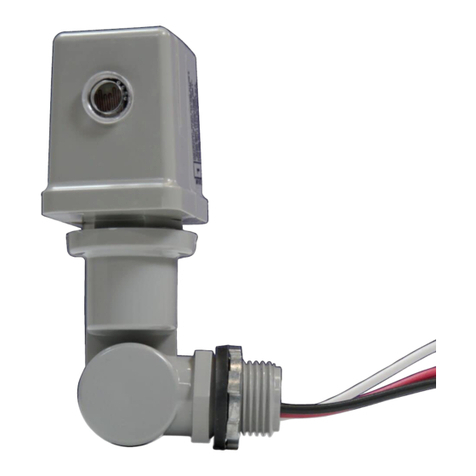
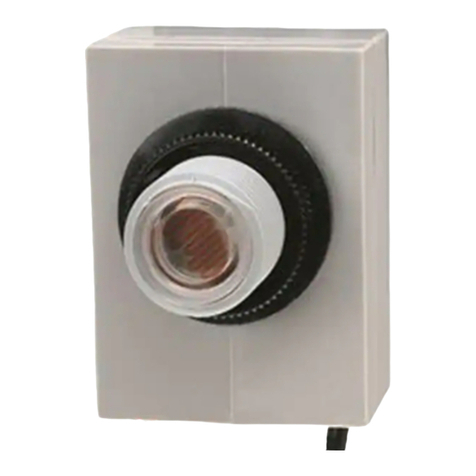
PHOTO CONTROLS
LC2000
WITH TWIST LOCK MOUNTING
IMPORTANT OPERATING INSTRUCTIONS
(
(
(
RATING CHART
NORMAL
OPERATING BALLAST TUNGSTEN
MODEL VOLTAGE VA WATTS
LC2000 110-277 1800 1000
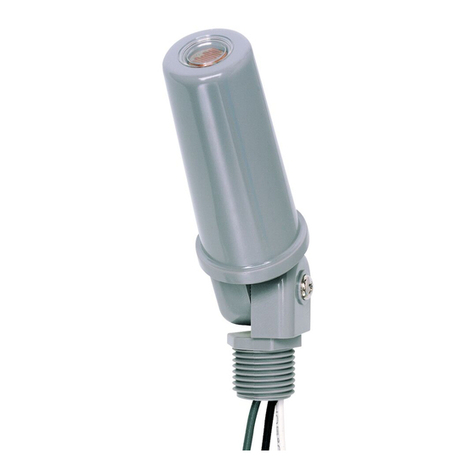
MOUNTING Insert prongs of Photo Control into female socket
and twist in clock-wise direction with slight pressure until unit is
secure. “Eye” (window in plastic housing) should be oriented in a
northerly direction, if possible, for best operating results, and
should be positioned so as to be unaffected by the controlled
light, auto headlights, window lights, signs, etc.
Wattage of controlled lights cannot exceed rated capacity
of Photo Control.
NOTE: Mount unit so that top of case is in an upright position.
TESTING: Make sure circuit is clear of shorts before applying
power. Cover “EYE” with hand to activate unit. Repeat several
times. Under extremely bright light it may be necessary to place
an opaque item over the entire unit to activate it. Slight buzz from
unit does not impair operation.
COMMON
(large prong)
LINE LOAD
BOTTOM VIEW OF PHOTO CONTROL
Troubleshooting Chart
Problem Cause Solution
Fuse blows when Load exceeds fuse rating. Reduce load to within fuse rating.
power is connected. Photo control is incorrectly wired. Check wiring.
Short in wiring.
Load lamp blinks Photo control is incorrectly wired. Rewire as shown in wiring diagram.
during the day, but is
on at night.
Load lamp blinks at Too much light is striking photo eye. Reorient or relocate photo control.
night, but is off during Light from load is shining or being reflected Relocate or reorient light source.
the day. on eye of photo control.
High pressure sodium lamp is at end of life. See high pressure sodium note below.
Load stays on. Line voltage is exceptionally low. Have power company check voltage at control.
Photo control is not rated at voltage being used. Replace control with unit of correct voltage
Contacts are welded due to excessive load. Replace control and connect only rated load.
Not enough light strikes photo control eye. Reorient or relocate photo control.
Load stays off. Lamp and/or ballast is burned out. Replace lamp and/or ballast
Line voltage is exceptionally high. Have power company check voltage at control.
Photo control is not rated at voltage being used. Replace control with unit of correct voltage.
Too much light strikes eye of photo control at night. Reorient or relocate photo control.
Photo control operates Contacts are welded due to excessive load. Replace photo control and connect only rated
normally for a short load or smaller.
time, then remains on.
Photo control fails to Photo control damaged by lightning or other high- Replace photo control. Consider installing “LA”
switch off and photo- energy transient. Model Control, lightning arrestor or surge
cell shows evidence of protection device in circuit.
burning or arcing
across serpentine
pattern.
High pressure sodium With these lamps the end-of-life failure mode is one Replace lamp and/or ballast.
or mercury vapor end- of cycling (the initial cycling period may be as
of-life failure. long as one-hour but will shorten to as little as one
minute).
IMPORTANT NOTE:
The load being controlled by your photo
control will be on even if installation is done
during daylight hours.Allow a few minutes for
the photo control to operate and turn the
load off.T
o test the control in daylight, cover
the photo eye completely and wait for the
load to switch on (up to five minutes may be
needed). If this does not work, switch breaker
off and wait ten minutes. Switch breaker on.
The load should be on.
If within three (3) years from the date of purchase, this product fails due to a defect in material or workmanship, Intermatic Incorporated will repair or replace it,
at its sole option, free of charge. This warranty is extended to the original household purchaser only and is not transferable. This warranty does not apply to: (a)
damage to units caused by accident, dropping or abuse in handling, acts of God or any negligent use; (b) units which have been subject to unauthorized repair,
opened, taken apart or otherwise modified; (c) units not used in accordance with instructions; (d) damages exceeding the cost of the product; (e) sealed lamps
and/or lamp bulbs, LED’s and batteries; (f) the finish on any portion of the product, such as surface and/or weathering, as this is considered normal wear and
tear; (g) transit damage, initial installation costs, removal costs, or reinstallation costs.
INTERMATIC INCORPORATED WILL NOT BE LIABLE FOR INCIDENTAL OR CONSEQUENTIAL DAMAGES. SOME STATES DO NOT ALLOW THE
EXCLUSION OR LIMITATION OF INCIDENTAL OR CONSEQUENTIAL DAMAGES, SO THE ABOVE LIMITATION OR EXCLUSION MAY NOT APPLY TO
YOU. THIS WARRANTY IS IN LIEU OF ALL OTHER EXPRESS OR IMPLIED WARRANTIES. ALL IMPLIED WARRANTIES, INCLUDING THE WARRANTY
OF MERCHANTABILITY AND THE WARRANTY OF FITNESS FOR A PARTICULAR PURPOSE, ARE HEREBY MODIFIED TO EXIST ONLY AS CONTAINED
IN THIS LIMITED WARRANTY, AND SHALL BE OF THE SAME DURATION AS THE WARRANTY PERIOD STATED ABOVE. SOME STATES DO NOT
ALLOW LIMITATIONS ON THE DURATION OF AN IMPLIED WARRANTY, SO THE ABOVE LIMITATION MAY NOT APPLY TO YOU.
This warranty service is available by either (a) returning the product to the dealer from whom the unit was purchased, or (b) mailing the product, along with proof
of purchase, postage prepaid to the authorized service center listed below. This warranty is made by: Intermatic Incorporated/After Sales Service/7777 Winn Rd.,
Spring Grove, Illinois 60081-9698/815-675-7000 http://www.intermatic.com Please be sure to wrap the product securely to avoid shipping damage.
INTERMATIC INCORPORATED
SPRING GROVE, ILLINOIS 60081-9698 158KP12068
Other Intermatic Control Unit manuals

Intermatic K4141C Series User manual

Intermatic

Intermatic K4141C Series User manual

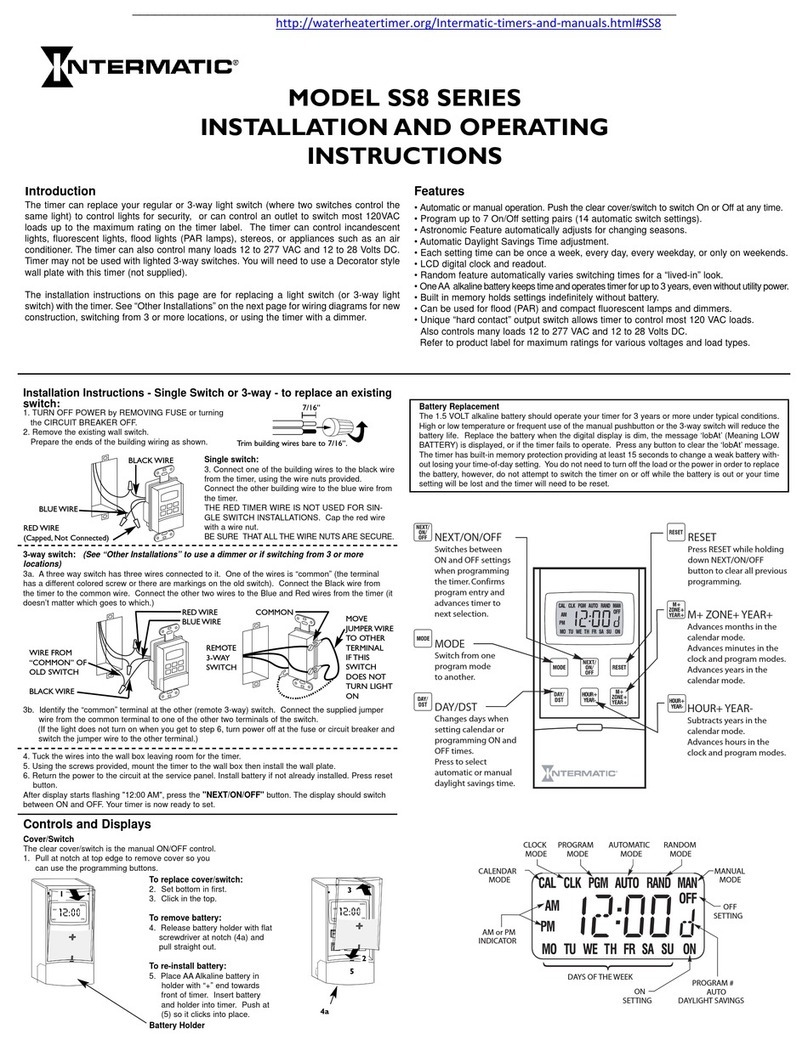
Intermatic SS8 Series User manual

Intermatic

Intermatic SS8 Series User manual

Intermatic ET9250 Configuration guide

Intermatic

Intermatic ET9250 Configuration guide

Intermatic K4000 series Instruction Manual

Intermatic

Intermatic K4000 series Instruction Manual

Intermatic LC4 Series Instruction Manual

Intermatic

Intermatic LC4 Series Instruction Manual

Intermatic P1353ME User manual

Intermatic

Intermatic P1353ME User manual

Intermatic K4321C User manual

Intermatic

Intermatic K4321C User manual

Intermatic K4023C Instruction Manual

Intermatic

Intermatic K4023C Instruction Manual

Intermatic DDT40 User manual

Intermatic

Intermatic DDT40 User manual

Intermatic LC4500 Series Instruction Manual

Intermatic

Intermatic LC4500 Series Instruction Manual

Intermatic PF1100 SERIES User manual

Intermatic

Intermatic PF1100 SERIES User manual

Intermatic ET9232 Guide

Intermatic

Intermatic ET9232 Guide

Intermatic ICUBE User manual

Intermatic

Intermatic ICUBE User manual

Intermatic K4621 User manual

Intermatic

Intermatic K4621 User manual

Intermatic Grasslin Talento Smart LAN User manual

Intermatic

Intermatic Grasslin Talento Smart LAN User manual

Intermatic K4251 User manual

Intermatic

Intermatic K4251 User manual

Intermatic NE3BC User manual

Intermatic

Intermatic NE3BC User manual

Intermatic SS7 SERIES User manual

Intermatic

Intermatic SS7 SERIES User manual

Intermatic K4121M User manual

Intermatic

Intermatic K4121M User manual

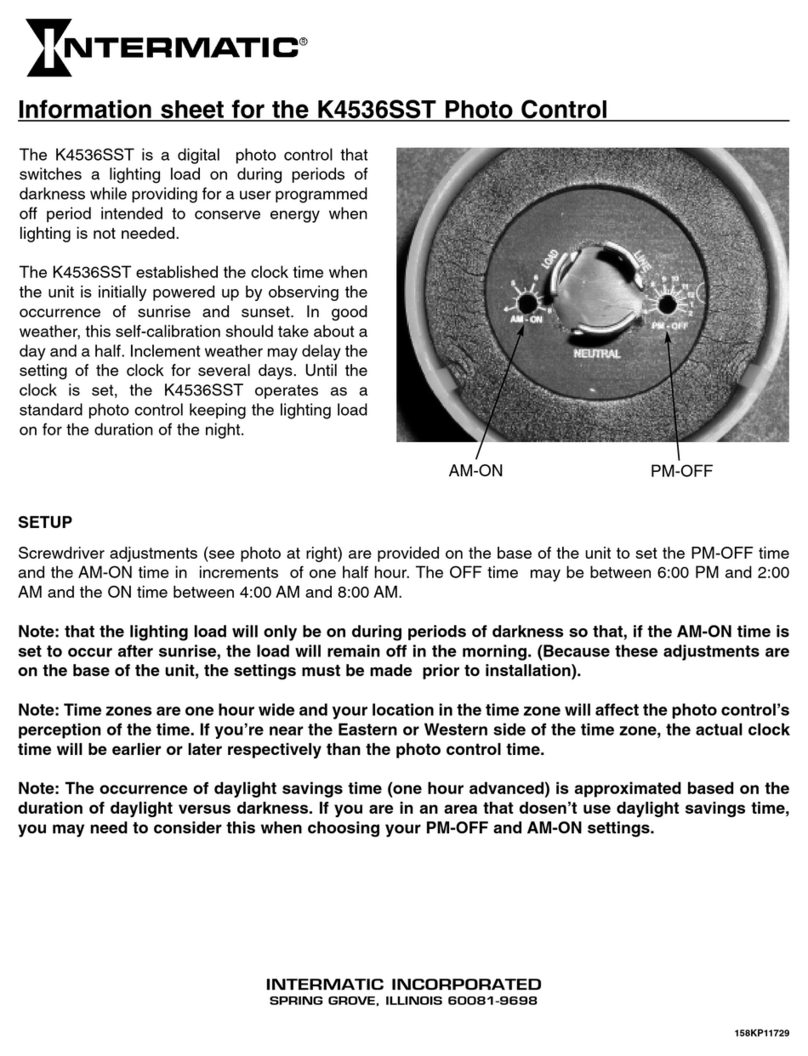
Intermatic K4536SST Manual

Intermatic

Intermatic K4536SST Manual

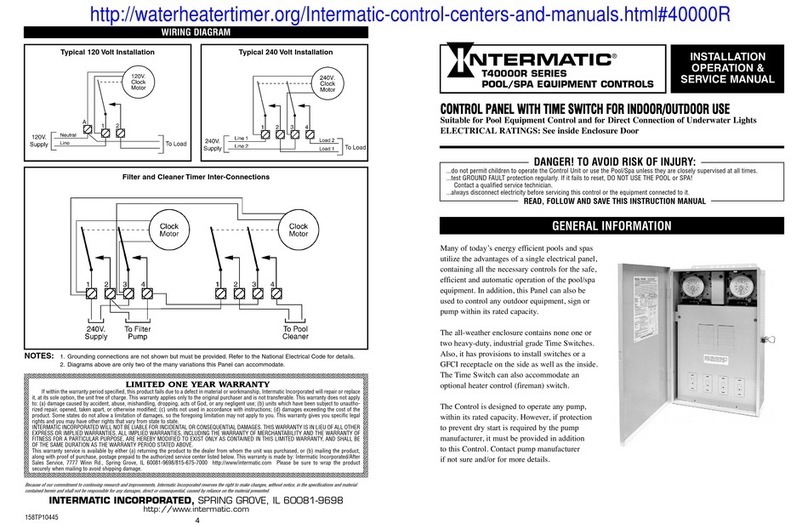
Intermatic T40000R Series Manual

Intermatic

Intermatic T40000R Series Manual

Popular Control Unit manuals by other brands

jbc HDE-9UD instruction manual

jbc

jbc HDE-9UD instruction manual

TQ TQMa6ULxL user manual

TQ

TQ TQMa6ULxL user manual

Leviton 73A00-3ZB Installation instructions and user guide

Leviton

Leviton 73A00-3ZB Installation instructions and user guide

Yoshitake GD-400 product manual

Yoshitake

Yoshitake GD-400 product manual

Watts 779655030518 installation manual

Watts

Watts 779655030518 installation manual

Advntage Controls ABC Instructions for use

Advntage Controls

Advntage Controls ABC Instructions for use

Atest Gaz Sigma MOD LED user manual

Atest Gaz

Atest Gaz Sigma MOD LED user manual

DSE 5210 operating manual

DSE

DSE 5210 operating manual

JOHNSON SYSTEMS PWS-70P-DMX Installation guide and user's manual

JOHNSON SYSTEMS

JOHNSON SYSTEMS PWS-70P-DMX Installation guide and user's manual

Woodward SPM-D10/YB manual

Woodward

Woodward SPM-D10/YB manual

SMC Networks AV2000 manual

SMC Networks

SMC Networks AV2000 manual

Bosch DCU 220 Original instructions

Bosch

Bosch DCU 220 Original instructions

ABB IEC 61850 Edition 2 Communication protocol manual

ABB

ABB IEC 61850 Edition 2 Communication protocol manual

Matrix Orbital GLK24064-25 Technical manual

Matrix Orbital

Matrix Orbital GLK24064-25 Technical manual

Bray Flow-Tek Triad Series Installation & maintenance manual

Bray

Bray Flow-Tek Triad Series Installation & maintenance manual

Digital Equipment MM-10 Series Installing and Cabling

Digital Equipment

Digital Equipment MM-10 Series Installing and Cabling

Yoshitake GD-46 Series instruction manual

Yoshitake

Yoshitake GD-46 Series instruction manual

SMA 485 Data Module installation manual

SMA

SMA 485 Data Module installation manual

manuals.online logo
manuals.online logoBrands
  • About & Mission
  • Contact us
  • Privacy Policy
  • Terms and Conditions

Copyright 2025 Manuals.Online. All Rights Reserved.