manuals.online logo
Brands
  1. Home
  2. •
  3. Brands
  4. •
  5. Ioline
  6. •
  7. Plotter
  8. •
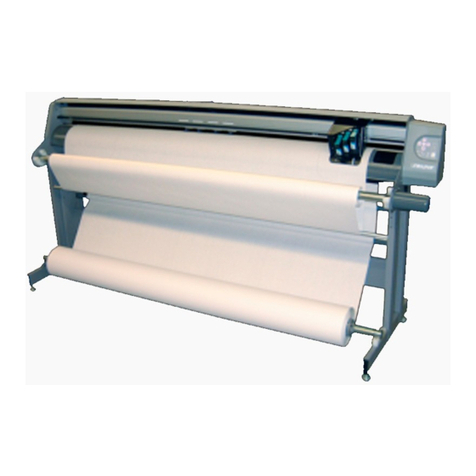
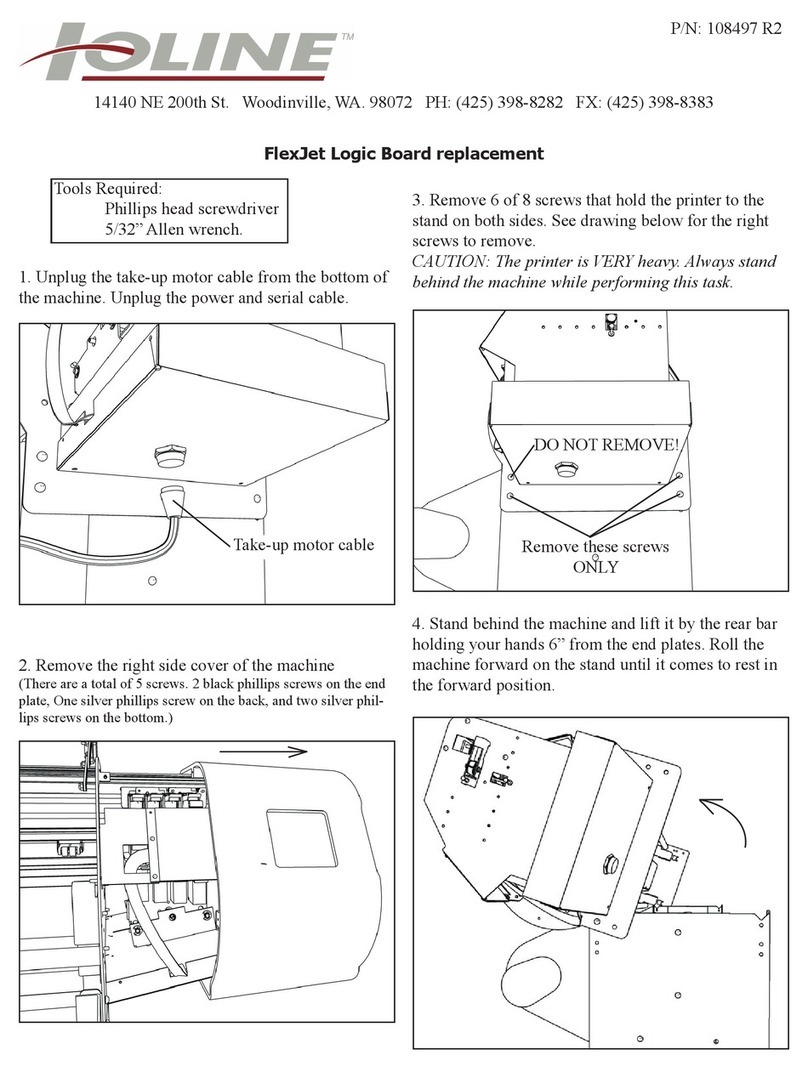
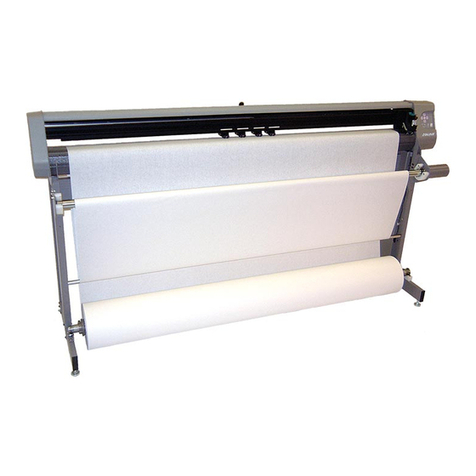
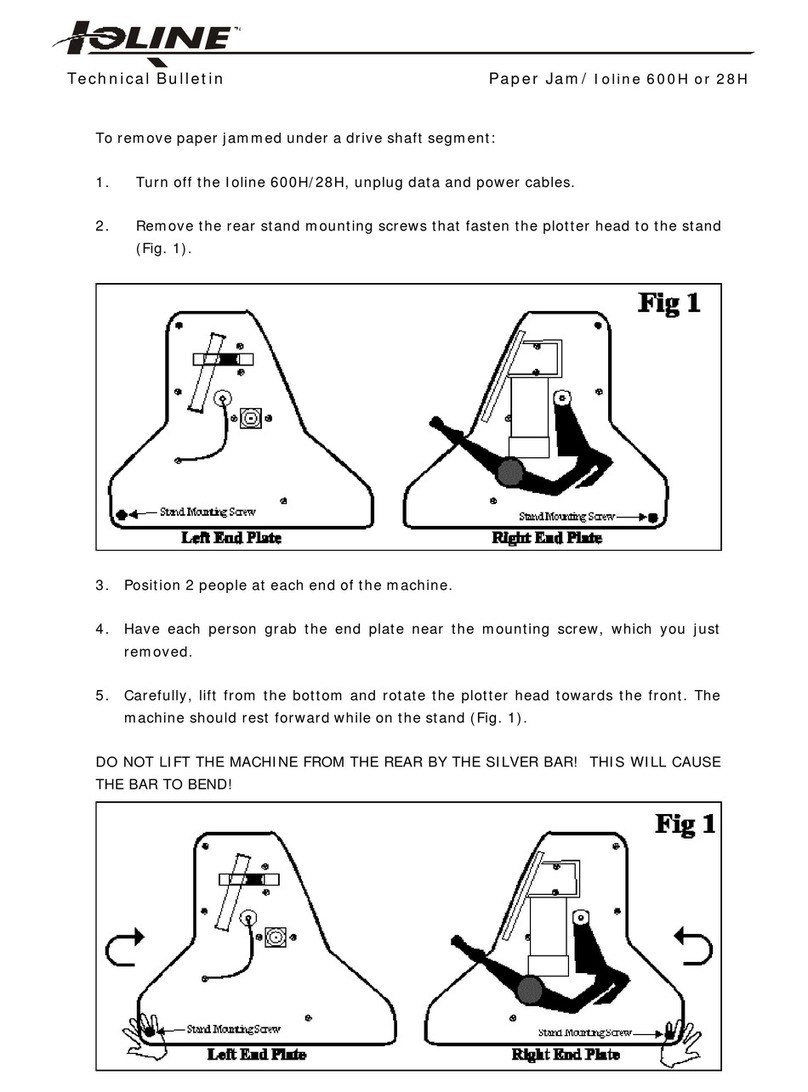
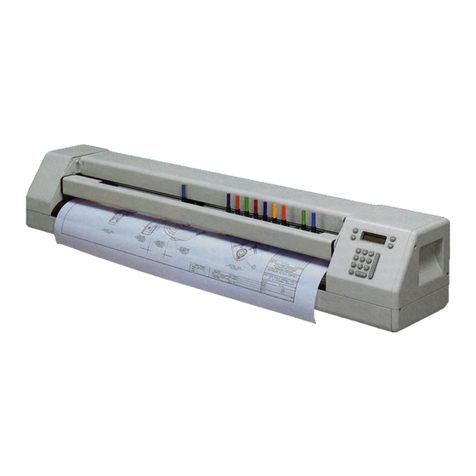
  9. Ioline FlexJet User manual

Ioline FlexJet User manual

Other manuals for FlexJet

4

Other Ioline Plotter manuals

Ioline Summit User manual

Ioline

Ioline Summit User manual

Ioline Stylist 2000 User manual

Ioline

Ioline Stylist 2000 User manual

Ioline Ae Guide

Ioline

Ioline Ae Guide

Ioline 600H Service manual

Ioline

Ioline 600H Service manual

Ioline Summit User manual

Ioline

Ioline Summit User manual

Ioline Signature 5000 Service manual

Ioline

Ioline Signature 5000 Service manual

Ioline Signature5000 User manual

Ioline

Ioline Signature5000 User manual

Ioline FlexJet E Instruction sheet

Ioline

Ioline FlexJet E Instruction sheet

Ioline FlexJet User manual

Ioline

Ioline FlexJet User manual

Ioline FJ8 User manual

Ioline

Ioline FJ8 User manual

Ioline FlexJet User manual

Ioline

Ioline FlexJet User manual

Popular Plotter manuals by other brands

MUTOH Kona 760 Service manual

MUTOH

MUTOH Kona 760 Service manual

HP 7475a Service manual

HP

HP 7475a Service manual

Vulcan-Hart FC-500VC user manual

Vulcan-Hart

Vulcan-Hart FC-500VC user manual

Roland TrueVIS VG-640 Supplemental manual

Roland

Roland TrueVIS VG-640 Supplemental manual

MIMAKI CF2 Series Operation manual

MIMAKI

MIMAKI CF2 Series Operation manual

Roland VersaUv LEF - 12i troubleshooting guide

Roland

Roland VersaUv LEF - 12i troubleshooting guide

Roland VersaCamm SP-540V user manual

Roland

Roland VersaCamm SP-540V user manual

Seiko I Infotech LP-1020 user guide

Seiko I Infotech

Seiko I Infotech LP-1020 user guide

HP 7470A Interfacing and programming manual

HP

HP 7470A Interfacing and programming manual

Roland VersaUV LEF-200 Tutorial

Roland

Roland VersaUV LEF-200 Tutorial

ENCAD T-200 Service manual

ENCAD

ENCAD T-200 Service manual

GRAPHTEC CE6000-120AP user manual

GRAPHTEC

GRAPHTEC CE6000-120AP user manual

HP Designjet 330 user guide

HP

HP Designjet 330 user guide

Furuno RP-17 Operator's manual

Furuno

Furuno RP-17 Operator's manual

MIMAKI CFL-605RT Operation manual

MIMAKI

MIMAKI CFL-605RT Operation manual

HP 7470A Operator's manual

HP

HP 7470A Operator's manual

Skycut D Series user manual

Skycut

Skycut D Series user manual

Furuno GP-3500 installation manual

Furuno

Furuno GP-3500 installation manual

manuals.online logo
manuals.online logoBrands
  • About & Mission
  • Contact us
  • Privacy Policy
  • Terms and Conditions

Copyright 2025 Manuals.Online. All Rights Reserved.

14140 NE 200th ST. • Woodinville, WA. 98072 • PH: (425) 398-8282 • FX: (425) 398-8383
Procedure: Keypad replacement for the Ioline FlexJet
Tools Required:
Phillips screwdriver
P/N: 109076 R0
Notices:
Attention! The discharge of static electricity may damage the keypad and components. Use the
included ground strap during all procedures. Keep plastic objects away from the keypad and logic
board assemblies.
A) Turn the FlexJet off and un-plug the power cord
from the back of the machine.
B) Unplug the roll feed motor under the right end
cover.
C) Remove the 5 screws that hold the plastic end
cover on to the right end of the printer. There
are two on the flat surface of the endplate,
one screw in the back, and 2 screws on the
bottom.
D) Pull the cover to the right and off the machine
then set it aside.
1Removing the end cover Removing the PCB Cover
2
Remove PCB cover screws
front and back
A) Remove the 4 screws that attach the bottom ‘PCB
Cover’ on the right side of the machine
B) Unplug the old keypad from the logic board.
C) Leave the bottom cover off for now.
14140 NE 200th ST. • Woodinville, WA. 98072 • PH: (425) 398-8282 • FX: (425) 398-8383
Removing the old keypad.
Keypad Screws
A) Remove the (4) four black phillips screws from the
keypad and remove the keypad from the machine.
3Removing the old keypad bracket.
4
A) Remove the old keypad bracket by removing the
nuts on the back side of the bracket.
Keypad Bracket
Remove Nuts
Installing the keypad resistor
5
Screw
Resistor
Nut
A) Install the resistor to the new keypad by putting
the bolt through the end of the resistor, then put
the bolt through the hole in the keypad. Secure
the bolt on the back of the keypad with the nut
provided but don’t fully tighten the nut yet. Leave
the resistor loose for now.
Installing the keypad.
6
A) Bend the resistor around the front of the keypad
and attach the other end of the resistor to the top
keypad stud (on the back of the new keypad).
Note: DO NOT overtighten the resistor nuts. The
resistor connector MUST NOT come into
contact with the metal keypad bracket on the
back.
B) Tighten the resistor bolt on the front of the
keypad. Again, DO NOT over-tighten.
Resistor Connector
Keypad bracket
14140 NE 200th ST. • Woodinville, WA. 98072 • PH: (425) 398-8282 • FX: (425) 398-8383
Final
7
A) Plug in the keypad cable to the PCB connector.
Make sure you get ‘Pin 1’ plugged in to the correct
pin on the board.
Note: Make sure you don’t miss a row of pins on the
board connector. Missing a row of pins may
cause un-repairable damage to the main logic
board.
B) When you think all the connections are correct
plug in and power on the FlexJet to make sure it
operates properly.
C) When the machine is back to normal operation
install all the covers on the machine.
Note: When installing the PCB cover on the bottom,
make sure the keypad cable doesn’t get
pinched between the cover and the body.
D) Contact Ioline Tech Support if problems arise.