Information: "Dummy Cartridges" Are No Longer Necessary
1: Changes to the Included Items
Target manual Title Page
LEF-12i First Step Guide STEP 1: Checking the Included Items 21
Dummy cartridges have been removed from the set of included items.
Power cord (1) SOL INK
cleaning cartridges (2)
Dummy cartridges (2) Mist lters -small (2)
2: Changes to the Work Procedure in "Filling with Ink for the First Time"
Target manual Title Page
LEF-12i First Step Guide STEP 6: Installing the Ink Cartridges 29 to 31
Because dummy cartridges are no longer necessary, the work procedure has changed.
The procedure aer the changes is given below. For the aected secon, ignore the
details given in your instrucon manual and instead refer to this document.
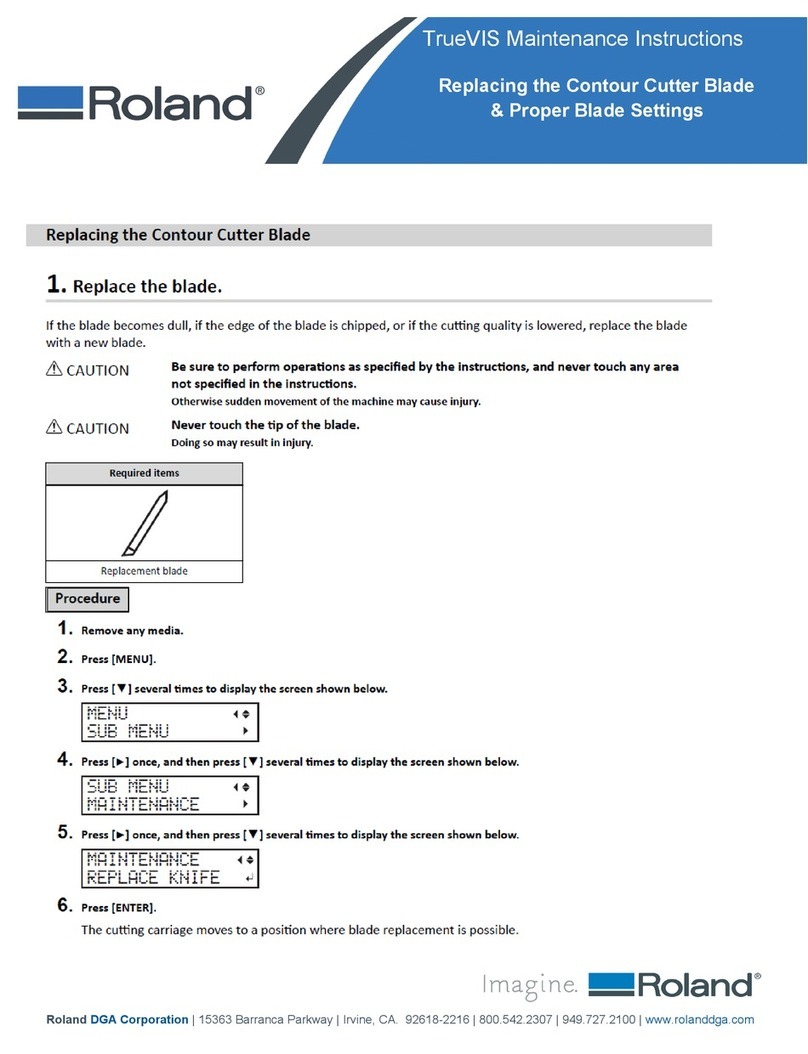
Due to changes to the specicaons, "dummy cartridges" are no longer necessary. As such, some of the details wrien in the "First Step Guide" now dier from the actual situaon. For details on the changes, see the following descripons.
R1-180427
Company names and product names are trademarks or registered
trademarks of their respecve holders.
Copyright © 2018 Roland DG Corporaon
hp://www.rolanddg.com/
Procedure after change
STEP 6: Installing the Ink Cartridges
※The details for P. 28 and “1. Make the initial settings.”on P. 29 are unchanged and have
therefore been omitted.
2.
Clean the print heads using the SOL INK cleaning cartridge
Press [ ] [ ] to select the ink type.
Ink type Display Screen
EUV ink
SELECT INK TYPE
ECO-UV CMYKGlW
EUV4 ink
SELECT INK TYPE
ECO-UV4 CMYKGlW
Make sure the drain bottle is installed, and
then press [ENTER].
Insert cleaning cartridges into displayed
slots numbers.
The screen shown on the left appears.
When this screen appears, pull out the
cleaning cartridges.
When a new slot number is displayed, repeat the procedure from steps
to
using the cleaning cartridge you just pulled out.
When this screen appears, make sure the
drain bottle is installed, and then press
[ENTER].
Cleaning is nished.
3.
Insert the ink cartridge for each color.
Before inserting ink cartridg-
es, shake each of them 50
times (about 15 seconds).
If ink components precipitate, it will
not be possible to print with correct
colors. So that the ink mixes well,
hold both ends of the ink pouch
and shake horizontally with a stroke
length of around 5 cm.
Insert the ink cartridge for each color.
Cartridges to use
Cyan, magenta, yellow, black, gloss, white (one each)
Close the ink cartridge cover.
Make sure the drain bottle is installed, and
then press [ENTER].
When this screen appears, lling with ink is nished.
Close the front cover.
Be Sure to Keep the Ink Cartridge Cover Closed at All Times
The ink cartridge cover prevents the ink cartridges from being exposed to direct sunlight or
strong illumination. If the ink cartridges are exposed to them, the ink inside the cartridges
will become hardened, and it may cause the printer to malfunction. Make sure that the ink
cartridge cover is always closed except when absolutely necessary, such as when you are
replacing ink cartridges.
>>>>>>>>>>
FILLING INK...
123456
SET CARTRIDGE
Insert cartridge into the slot of the
matching color.
