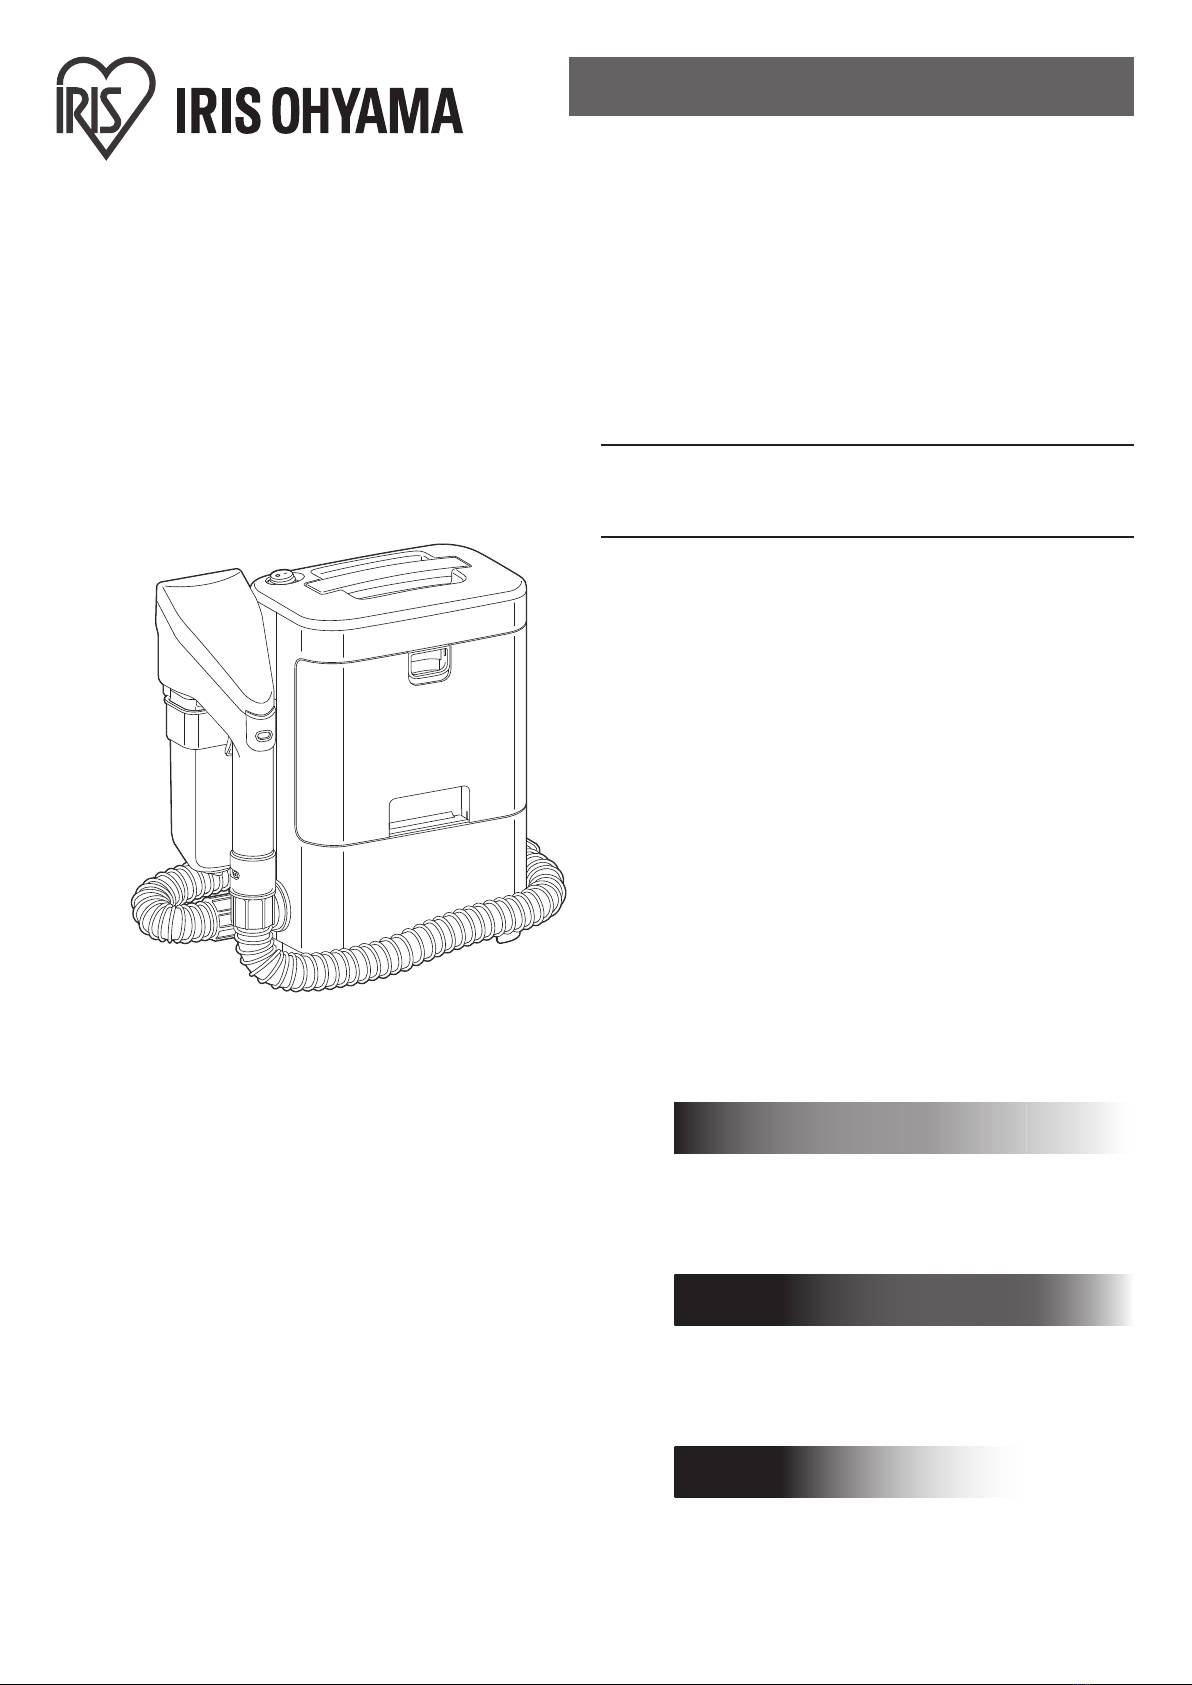
Iris Ohyama RNS-300 User manual

Indoor for domestic/home use
Contents
Preparations
Safety precautions .............................................. 2
Usage precautions.............................................. 4
Parts ................................................................... 5
Operation instructions
Preparation ......................................................... 6
How to use.......................................................... 8
Maintenance ....................................................... 12
Others
Troubleshooting .................................................. 14
Specications ..................................................... 15
Warranty and after-sales services ...................... 15
Warranty card....................................... Back cover
Rinser Cleaner
RNS-300
Instruction Manual

2
Safety precautions
Make sure to follow the precautions described below to avoid injury or unnecessary property loss to anybody.
The safety precautions are classied according to the degree of harm or damage caused by misuse.
Examples of symbols:
This symbol means
“reminding”.
This symbol means
“forbidden”.
This symbol means necessary
“instructions”.
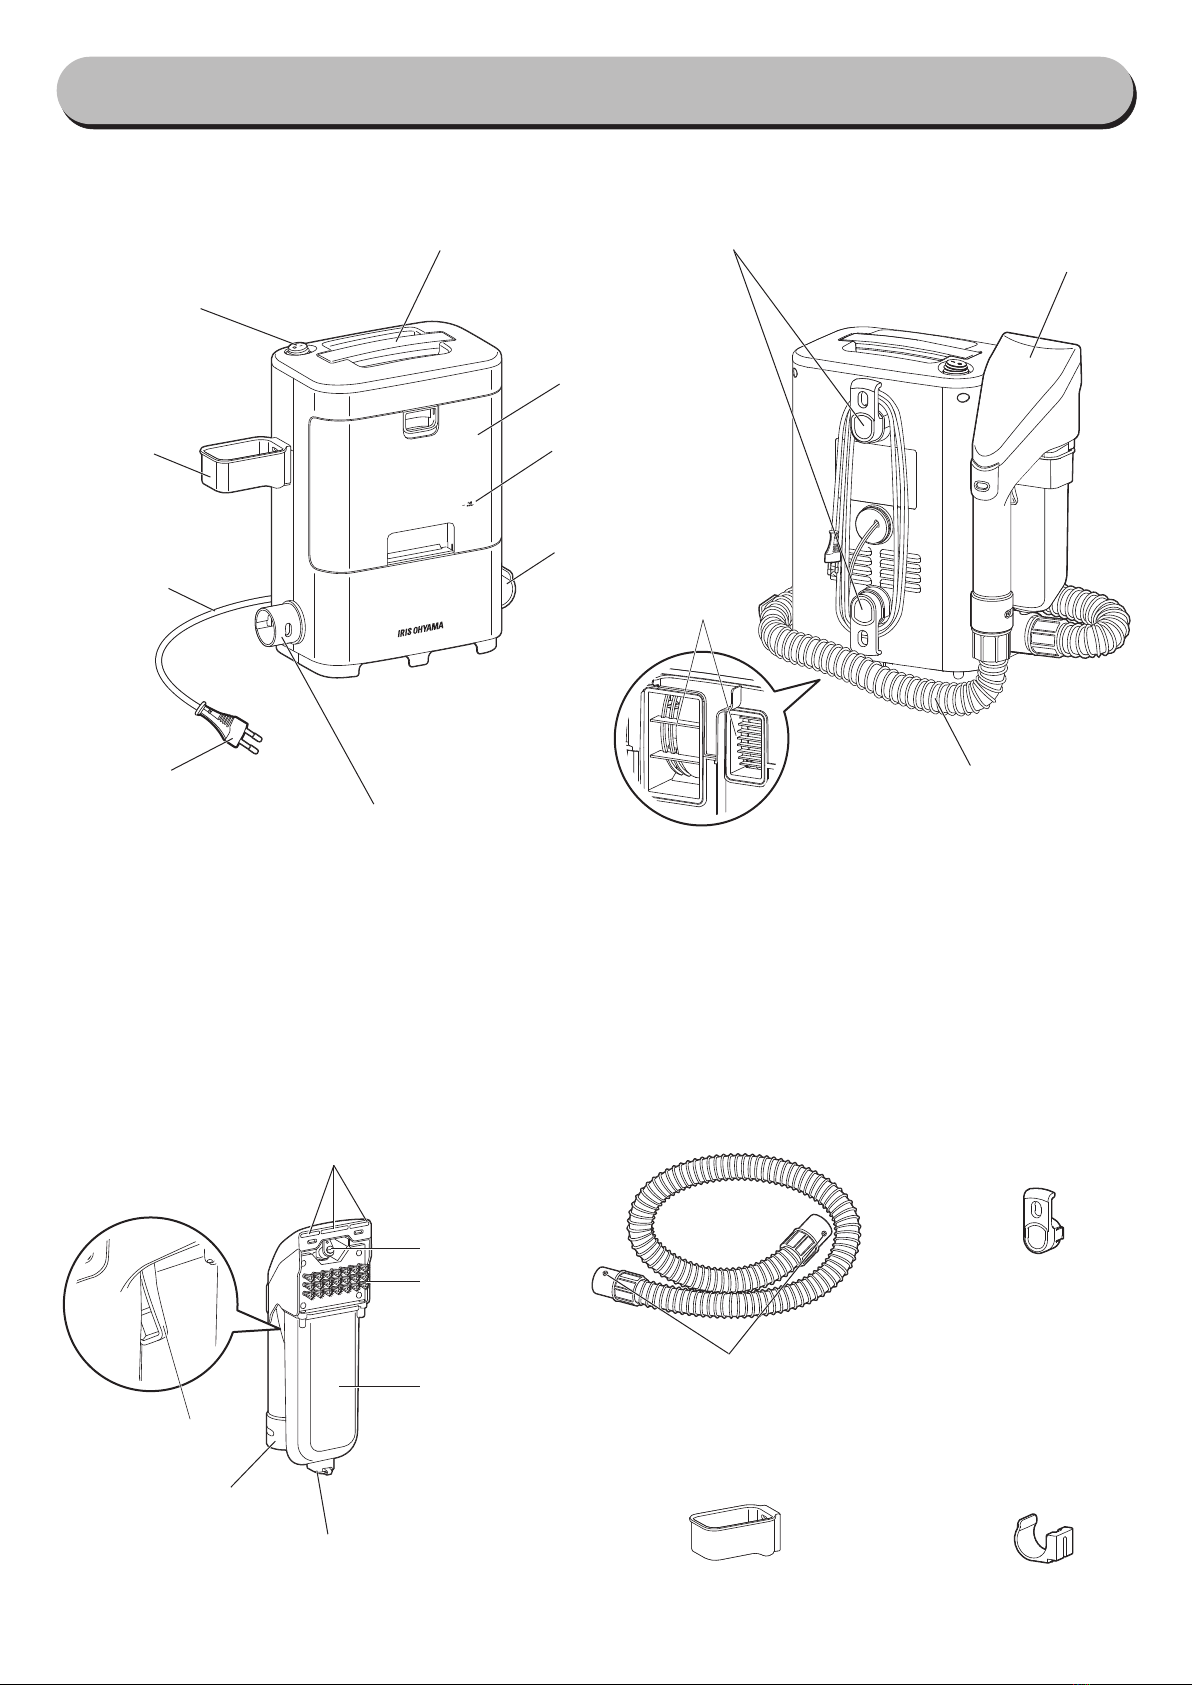
●In case of any abnormality or machine
failure, stop using the machine
immediately, turn o the power switch,
and unplug the power plug from the
power socket
Failure could cause smoke, fire, or electric
shocks
[Example of abnormalities]
• Abnormal sound or smell
➡Please stop using the product and contact the
store where the product was purchased from
or the Iris Call center
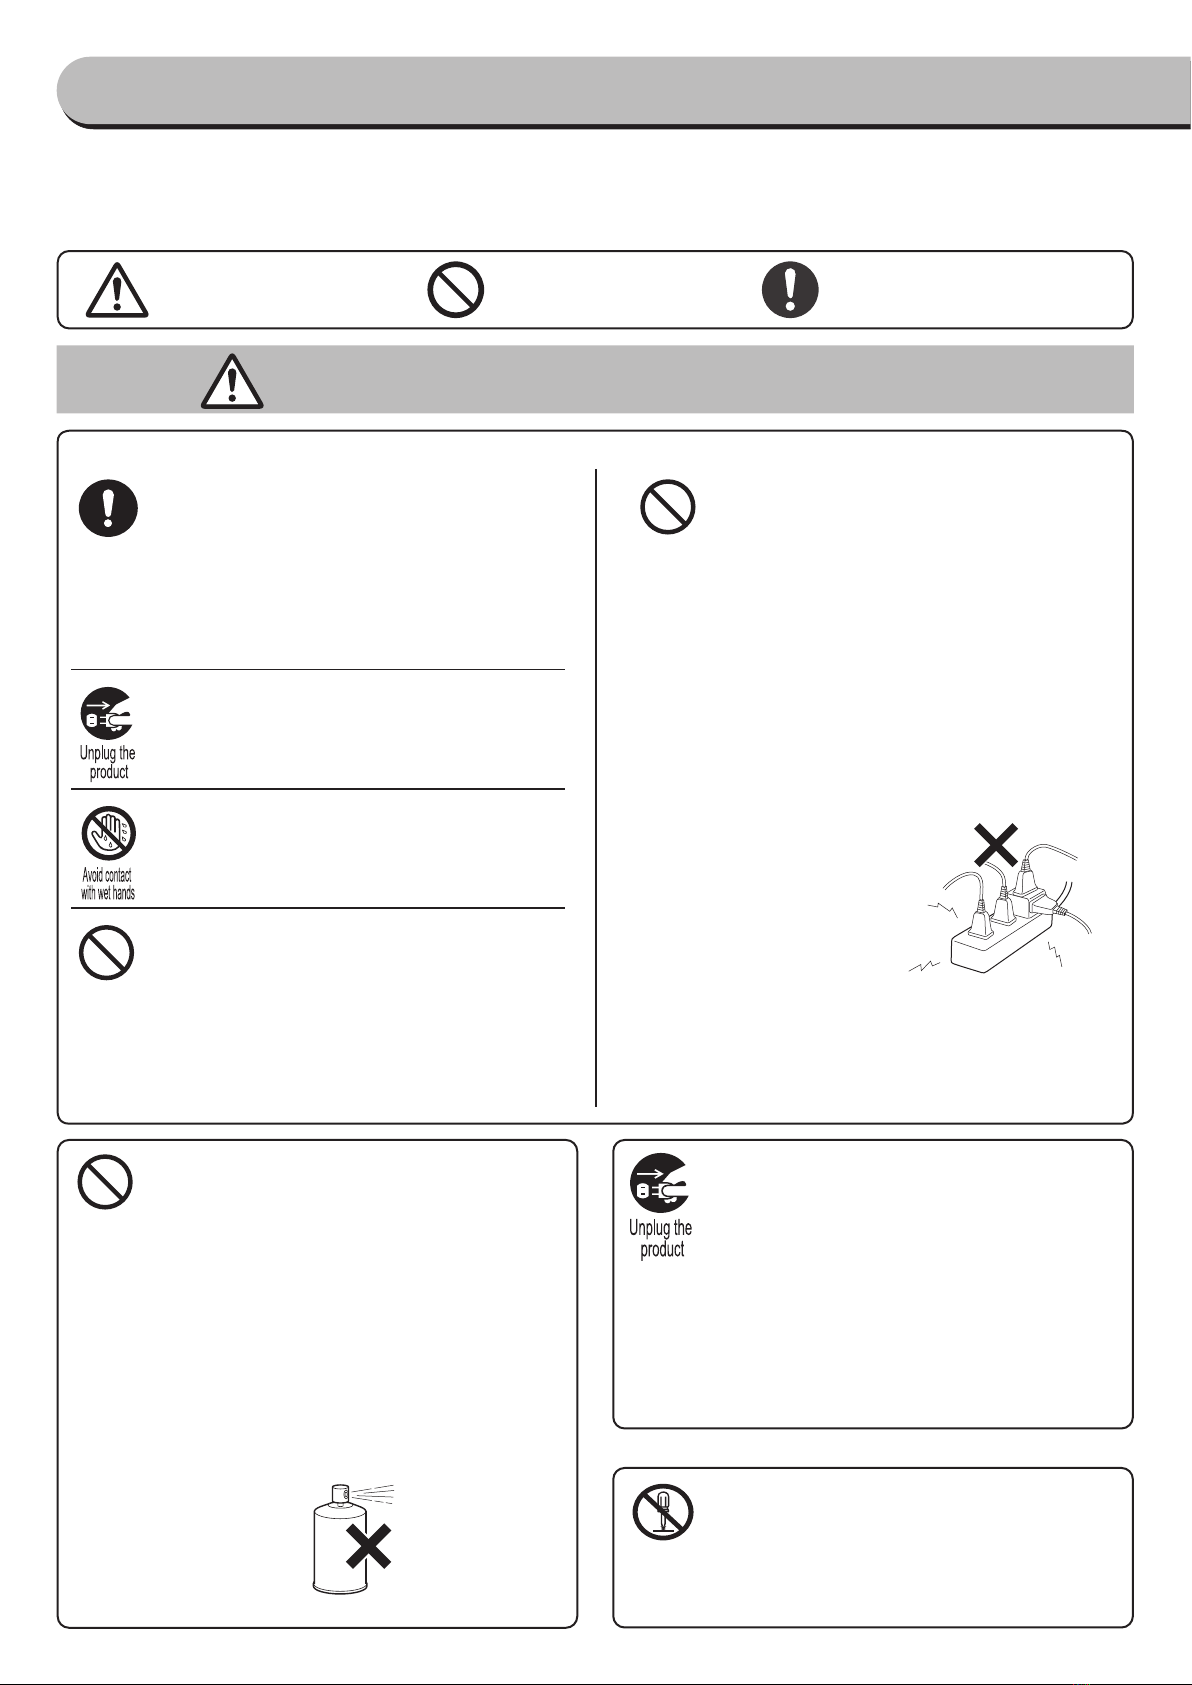
Warning The symbol means matters which may lead to death
or serious injury during faulty operation.
Prohibited
●Do not spray liquids onto this product,
such as insecticides, hair care products,
or lubricating oil, etc
●Do not use the machine to vacuum
flammable or combustible substances
(such as kerosene, gasoline, thinner,
copy machine toner, etc.)
●Do not use the machine to vacuum oil,
smoke or steam
●Do not use the machine to vacuum dry
dust
●Do not use the machine near combustible
substances, lit cigarettes or incense
sticks
Failure could cause a re.
Do not
disassemble
●Do not disassemble, repair, or modify the
machine
Failure could cause a fire, electric shocks or
injury. For repair, please contact the store where
the product was purchased from or contact the
call center to arrange for repair.
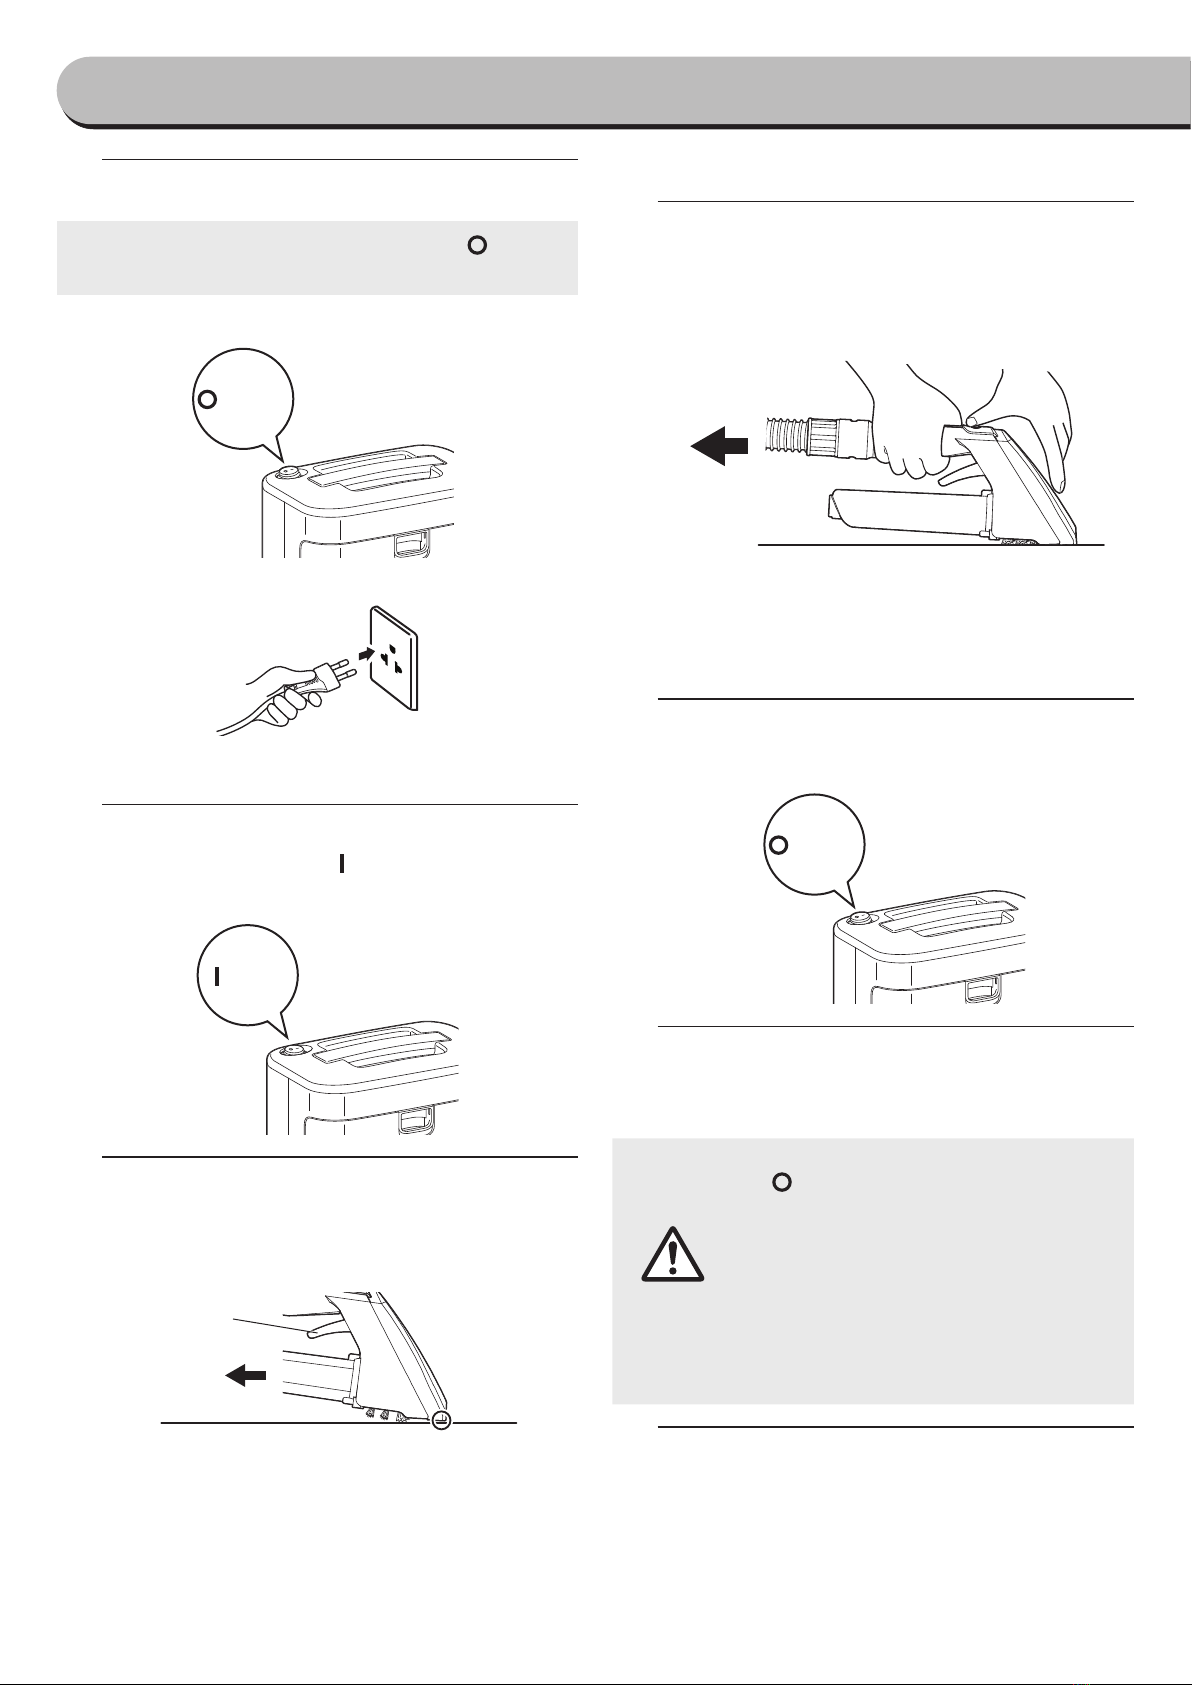
Correctly use the power plug and power cord
Be sure to
●Please periodically clean the dust from
the power plug
The accumulation of dust could cause fire or
electric shocks due to insulation faults.
●Insert the power plug into the socket
thoroughly
Otherwise it could cause re or electric shocks
due to short circuits.
●Be sure to unplug the power plug from
the socket before repairing, checking or
moving
Failure could cause electric shocks or injury.
●Do not plug or unplug the power plug
with wet hands
Failure could cause electric shocks, burn, or
injury.
Prohibited
●Do not let infants lick the plug
Doing so could cause an injury or electric
shocks.
●Do not power on the product when the
power cords are bundled
Doing so could cause empyrosis or re due to
overheating. Be sure to extend the power cord
for use.
●Do not damage the power cord
●Do not pull the power cord while moving
and storing
Do not damage or press the power cord,
forcibly bend or stretch the power cord, twist,
place heavy objects on or modify the power
cord.
Doing so could cause fire or electric shocks
due to the damaged power cord.
●Do not use a damaged power cord or
power plug, or a loose socket
Doing so could cause a re or electric shocks
due to a short-circuit. If the power cord is
damaged, please contact the call center to
arrange for repair.
●Do not use an
incorrectly rated
electrical outlet
socket or
extension cord
Failure could cause
a re.
●Do not use an AC power source other
than 220V~
Doing so could cause a re or electric shocks.
Prohibited

3
●Do not use the machine in places having
the possibility of getting wet, such as
outside in the rain, wet areas, or in a
bathroom
●Do not wet the product or immerse it in
water
Doing so could cause a re or electric shocks.
Caution Faulty operation may lead to personnel injury or
article damage.
●To unplug the power plug, hold the plug
part and do not pull on the power cord
Failure could cause re or electric shocks due
to a damaged power cord.
●Be sure to unplug the power plug after
using the machine
Failure could cause a re or electric shock.
Prohibited
●Only use the machine for the specified
cleaning purpose
Failure could cause abnormal operation or a
re.
●Only use the machine in a home environment,
not in a business premises
This product has been designed for domestic
use. Failure could cause a re if the machine is
used outside the home, such as in a business
premises.
Prohibited
●Do not operate the machine with inlet port
is clogged
Doing so could cause the machine to
malfunction
Prohibited
●Do not operate the machine without the
collecting tank
Doing so could cause an injury.
Prohibited
●Do not vacuum waste, dust, or sewage
with the possibility of infection
Doing so could spread infectious diseases.
Be sure to
●Stop the machine immediately if the
nozzle is clogged
●Stop the machine if vacuuming a foreign
substance
●If there is a possibility of sudden stop,
remove any fluid in the collecting tank,
vacuum hose, and hand tool
Failure could cause the machine to malfunction.
Prohibited
●Do not climb onto or lean on the machine
●Do not use the machine within the reach
of children
●Keep the machine away from children
Failure could cause an injury.
●Do not use the machine outdoors
Failure could cause a short circuit or re due to
the machine's malfunction.
●Do not place the machine close to ammable
items or heating devices
Failure could cause a fire, as airflow from the
machine could make any ames bigger.
Avoid re

4
Usage precautions
To prevent machine failure
●Do not vacuum dry dust. Failure could cause the machine to malfunction. This machine is a wet vacuum method
type.
●In cold regions, be sure to drain waste water left in the collecting tank, clean water tank, vacuum hose and hand
after use and keep in an unfrozen place. Damage could be caused by water freezing inside the machine.
●In the case that a collected substance is stuck in the hose during vacuuming, turn off the power switch
immediately, unplug the power plug from the socket, and remove such substance. Failure could cause the
machine to malfunction.
●Do not allow vacuuming of the below substances;
●This machine removes dirt by rinsing. Only put clean tap water, or alkaline ionized water under 40oC degrees
Celsius into the water tank.
●Art works, water sensitive bers (silk, acetate, rayon, cupra, etc.), water sensitive products (fur, leather products,
kimono, plain wood furniture, wooden products with varnish, lacquer ware, etc.), vulnerable surfaces (ooring,
table, etc.) cannot be rinsed with the machine.
●Do not tilt or drop the machine when lled with water. Failure could wet the oor with water coming from the
machine.
●If much foam has accumulated in the collecting tank above the watermark, stop the machine immediately and
drain waste water out of the machine. Failure could cause the machine to malfunction.
●When using a detergent, use a low foaming detergent on rinsing items diluted with water at a ratio of 20/1, then
apply to the required surface.
●When using a detergent, test that there is no adverse eect on the rinsing surface before use.
●The machine may stop when used on a deep pile carpet due to the exhaust port being clogged with bers.
• dry dust
• large volume of powder
(extinguishing component of a
re extinguisher, etc.)
• large volume of sand, small
stones, etc
• large volume of waste
• sharp metal objects such as
needles, or broken bottles,
glass, etc
• large sized waste
• things that can easy get stuck
inside the machine, such as
plastic bags or stockings
Filter parts
●Be sure to install the lters correctly before using the machine.
●If broken or lost, replace by installing new parts correctly.
* Please contact the Iris Call Center for spare parts.
Vacuum lter (P13)
Protection device
When keep using the machine with the exhaust outlet closed, the heat protection device functions to prevent the
motor overheating. That is why power does not turn on immediately when the power switch is turned on.
●If the heat protection device functions;
• Unplug the power plug from the socket after turning the power switch to “ (OFF)”.
• Place the machine in a cool place.
The heat protection device releases after about one hour, then the machine will function normally again.

5
Parts
■Body
Spray lever
■Accessories
Vacuum hose Cord hook (2 pcs.)
Holder Hose hook
Hand tool
Collecting tank
Hand tool
Cord hook
* When moving the machine, x the hand tool into
the holder, x the vacuum hose to the hose hook,
and wind power cord around the cord hook.
Hose hook
Full water mark
Power switch
Holder
Connection port for the vacuum hose
Vacuum hose
Power cord
Handle
Power plug
Hose connection
port
Cap
Clean water tank
Cleaning brush
Inlet port
Nozzle
Cus (4 points)
Exhaust outlet

6
Preparation
!
Fit the holder, hose hook, cord hook to
the body
#
Put tap water into the clean water tank by
removing the cap attached to the hand
tool accessory
• Capacity is about 300mL.
●Be sure to close the cap to the clean
water tank.
●Only use tap water or alkaline
ionized water in the clean water
tank. Failure could cause the
machine to malfunction.
●Drain any water left in the clean
water tank after use. If water is left
in the tank, it could cause a water
leakage or mold formation.
$
Connect the vacuum hose
• Insert the hose into the connection port of the
body and turn the cu clockwise to lock.
%
Connect the hand tool
• Insert the hand tool at the opposite end of the
vacuum hose connected to the body and turn
the cu clockwise to lock.
Cap
Clean water tank
Cu
Cu
Holder
Cord hook
Hose
hook

7
&
Hold the hand tool and squeeze the spray
lever several times with the nozzle tip
pointing down
• Air release is completed when air sprays from
the nozzle correctly.
Spray lever
●Air cannot exit the nozzle unless the tip of the
hand tool points downward.
'
When moving, secure to the holder and
hose hook
• Fix the hand tool to its holder and the vacuum
hose to the hose hook.
(
Do not leave the hand tool hooked on the
holder after using the machine
• Waste water could drip from hand tool which
could lead to messing of furniture or the floor
covering.
Holder
Hand tool
Hose hook
Vacuum hose
Hand tool
Holder

8
How to use
!
Insert the power plug
●Be sure to turn the power switch “ (OFF)”
before inserting the power plug into the socket
• Insert the power plug into the socket.
(OFF)
#
Turn the power switch on (Machine starts).
• Turn power switch to “ (ON)” to turn the power
on.
(ON)
$
Squeeze the spray lever to vacuum the
water while spraying clean water
• Pull the hand tool toward yourself while putting
the inlet port gently into the dirt.
Inlet portIt there is gap between the
inlet port and dirt, the water
cannot be vacuumed correctly.
• Water could drip for a few seconds after the
spray lever is released.
• Do not spray water onto the same place
continuously. Vacuum the water immediately
after spraying. If water soaks deep in cloth, it will
remain and cause mold or a bad smell.
%
Vacuum left water without spraying the
cleaning water
• Pull the hand tool towards yourself while putting
it into the dirt and place the inlet port horizontal.
Dirty water is stored in the collecting tank.
• If a lot of water remains, it could cause mold or
a bad smell.
• After using the hand tool on fabric on which
water tends to remain, dry it well by blowing air
for a while with a fan.
&
Turn o the power switch (Machine stops)
• Turn power switch to “O (OFF)” to power o.
(OFF)
'
Unplug the power plug
• Unplug the power plug from the electrical outlet
after using the machine.
●Be sure to turn the power switch to
“ (OFF)” before unplugging from
the socket.
●When unplugging the power plug,
be sure to hold the plug to remove it
from the socket, not the power cord.
●Be sure to unplug the power plug
from the socket after using the
machine. Do not leave the plug
inserted into the socket.
(
Store the machine with the collecting
tank and clean water tank empty, hand
tool removed
• Do the recommended maintenance before
storing (→P.12)
Spray lever

9
■When vacuuming severe dirt;
Clean dirt which is hard to clean or has stained after
releasing the dirt with a detergent.
●Do not put detergent into the clean
water tank.
●When using a detergent, test on the
edge of the fabric being cleaned to
check that no color change occurs.
●Do not use thinner, benzene,
chlorine bleach, inammable solute,
or solvents
Failure could cause a color change,
machine failure, or re.
Recommend to use
Strong alkaline ionized water
Baking soda
Citric acid
Hypochlorous acid
Such as detergent producing less foam.
Not appropriate
Neutral detergent for kitchen use
Strong alkaline detergent
Strong acid detergent
When using a foaming detergent, the foam can enter
the cleaner.
!
Apply the detergent to the carpet to
release the dirt by scrubbing with the
cleaning brush of the hand tool
●Apply the correct volume or usage
of detergent by reading how to use
or the precautions.
Scrub the dirt
by applying detergent
Release the dirt
Carpet dirt
#
Vacuum the dirt
• Put tap water into the clean water tank according
to the instructions ( →P.6) and vacuum the dirt
according to the how to use guidance (→P.8).
*
Using hot water under a temperature of 40oC
degrees Celsius will be more eective.
Vacuum the dirt
• Vacuum thoroughly to prevent leaving detergent
on the oor covering.
●In the case that foam accumulates
in the collecting tank above the
full water mark, stop the machine
immediately.
Water drip inside the machine's
body.
Foam
Full water mark
Collecting tank

10
■Drain waste water from the
collecting tank
!
Turn o the power switch
• When waste water in the collecting tank reaches
the full water mark, stop the machine and turn o
power by moving the power switch to “ (OFF)”.
(OFF)
#
Remove the collecting tank
• Remove the tank by pulling it towards yourself
after releasing the two latches from upside and
downside which secure the collecting tank.
$
Remove the drain cap at the back side of
the collecting tank to drain waste water
from collecting tank
%
Rinse the collecting tank after finishing
the operation
• Rinse the tank with tap water by pouring water
from the inlet at the back side of the collecting
tank after nishing the operation.
●If sludge remains in the collecting
tank or inside the vacuum hose,
microorganisms or germs may
breed or develop which could cause
a bad smell.
&
Close the drain cap as before and attach
the collecting tank to the body
• Close the drain cap by inserting until the end.
Failure could cause a water leak.
How to use continued
Latch Collecting tank
Drain cap
Drain cap

11
• Push the collecting tank until it clicks into place.
Click
●Incorrect installation of the collecting
tank may reduce collecting capability.
• Drain waste water before it reaches the full
water mark. In the case of continued use of
the waste water above the full water mark, the
automatic device to stop vacuuming will activate
to stop the vacuum. In the case of activation of
the automatic device to stop vacuuming, please
drain the waste water from the tank.
*
Float of the automatic device to stop vacuuming
could work before the water reaches the full
water mark due to the air bubble.
●In the case of water going inside the
body, idling operation is necessary
after removing the hand tool,
vacuum hose, and the collecting
tank.
■Drain any water left in the
clean water tank
!
Remove the vacuum hose from the hand
tool by turning it counterclockwise
#
Open the cap of the clean water tank to
drain the water by pointing the inlet port
down
Vacuum hose
Hand tool
Cap Inlet port
Automatic
device
to stop
vacuuming
Float
Full water
mark

12
●Conduct maintenance after stopping
the operation and removing the plug
from the electrical power socket.
●Do not wet the machine's body.
Failure could cause an electric shock,
injury, or machine malfunction.
●Do not use detergent, thinner, benzene, bleach, etc.
●Do not use a chemical impregnated cloth to
clean the machine.
Body When dirty;
• Squeeze a cloth which has been soaked in water
or warm water (below 40oC degrees Celsius)
and wipe away any dirt.
• If it is difficult to wipe away any dirt, wipe with
soft cloth soaked in a diluted kitchen detergent.
Then, wipe with using a tightly squeezed cloth to
remove the detergent.
Hand tool, collecting tank, vacuum hose
After using every time;
• Remove these accessories from the body and
clean with water, then dry thoroughly.
Collecting tank Hand tool
Vacuum hose
Maintenance
• Clean the hand tool with water after removing
the transparent cover to the inlet port.
<How to remove the transparent cover>
Lift this part
to unlock
<How to install the transparent cover>
①Hook the cover by putting holes at claw
Hand tool
Claw
Holes
Transparent
cover
②Install it by inserting until clicking into place
Click
• If you nd something stuck in the nozzle, remove
it by cleaning the nozzle.
Nozzle

13
• Check if there is a hole in the vacuum hose.
Vacuum lter
• If you nd something stuck in the vacuum lter,
clean or replace it with new part.
●In the case of cleaning the vacuum filter with
water, put it in an airy and shady place to dry
before retting.
●Be sure to install vacuum lter after maintenance.
Vacuum lter
Storage
• When storing the machine, be sure to drain any
water from collecting tank.
• Do not store the machine in a place with a
temperature below freezing.
• Store the machine in a dry place.

14
Troubleshooting
The machine
does not
turn on.
Not working
●The power plug has not been
connected to the socket
correctly
➡
➡
➡
➡
➡
➡
➡
➡
➡
➡
➡
➡
➡
➡
➡
➡
➡
➡
➡
➡
●Move the power switch “ (OFF)” and plug in
the power plug again.
●The electrical wires inside the
body or the power cord have
become frayed
●Contact the call center dedicated to repairs.
●The heat protection device
tripped due to the motor
overheating
●Take appropriate action according to the
explanation written in “About the heat protection
device” (→P.4).
●Nozzles has become stuck
●Clean the nozzle (
→
P.12).
●Spray lever has broken
●Contact to the call center dedicated to repairs.
Clean water
does not come
out of the nozzle
of the hand tool
or the discharge
volume is too
small
Please conrm the following problems after reading the operation manual carefully before you entrust to repair it.
●Float of the automatic device to
stop vacuuming is active
●Drain waste water from the collecting tank
(→P.10).
●Abnormal vacuum hose
●Check if there is a crack, crushing, bending,
blockage in the vacuum hose.
The machine
does not
vacuum, or
the vacuuming
force is too
weak
●Power switch is set to the
(OFF) position
●Move the power the switch to the “ (ON)”
position.
●Collecting tank is not installed
correctly
●Install the collecting tank correctly.
●Vacuum lter is stuck
●Clean the vacuum lter (→P.13).
If you cannot resolve the problem after
implementing the above actions;
Contact to the sales shop where you purchased the machine or the
Iris Call Center.
●Do not try to disassemble,
repair or modify the
machine yourself
State Causes Measures

15
Specications
Rated voltage 220V~, 50Hz
Rated power consumption 330W
Suction power 30W
Eective capacity of the collecting tank 0.5L
Capacity of the clean water tank
0.3L
Length of the hose φ31.5mm×1.1m
Operating temperature of the hot water
(Approximately) 40oC degrees Celsius or below
Product dimensions (body dimensions) W248mm x D146mm x H312mm
Product weight (including accessories)
(Approximately) 2.8kg
Length of the power cord
(Approximately) 3m
Accessories Hand tool, vacuum hose, holder, hose hook, cord hook, 2pcs.
* Product specications could be changed without advanced notice.
Warranty and after-sales services
Please make sure to carefully read the following contents.
■Purchase Receipt
Be sure to request a Purchase Receipt at the retail
shop when you purchase the product.
The repair fee needs to be paid if you are unable to
present a Purchase Receipt.
Therefore, you must keep the Purchase Receipt
securely.
■Within the warranty period
Warranty period: Time limit specified by the
warranty card (Back cover).
The company will provide free repair as per the
“Warranty Provisions” under abnormal operating
conditions within the warranty period.
■Over the warranty period
Please check with your retail shop and you will
have to pay for related repair expenses. It will be
possible to maintain the functions of the product
after repair. A certain repair cost will be charged
according to customer’s requirements.
■About the remaining period of spares
parts
The remaining period of the company's major
spare parts is 5 years after the production stop of
the product.
The spare parts in operation correspond to the
spare parts needed to maintain the functions of the
product.
■About after-sales service
Please check with your retail shop for other after-
sales issues.
Table of contents