Istar F3BT User manual

Unit overview
User Manual
1.Power on-off 2.Earphone jack
3.Hold/Unlock 4.Micro SD card slot
5.Vol+/Scroll up 6.Vol-/Scroll down
7. Main Menu 8.Back/Exit to superior menu
9.Previous and fast forward playing
10.Next and fast backward playing
11.Play/Pause/On-off/Enter
12.USB Port
13.Clip
1
2
12
3
4
6
5
8
13
7
9
10
11
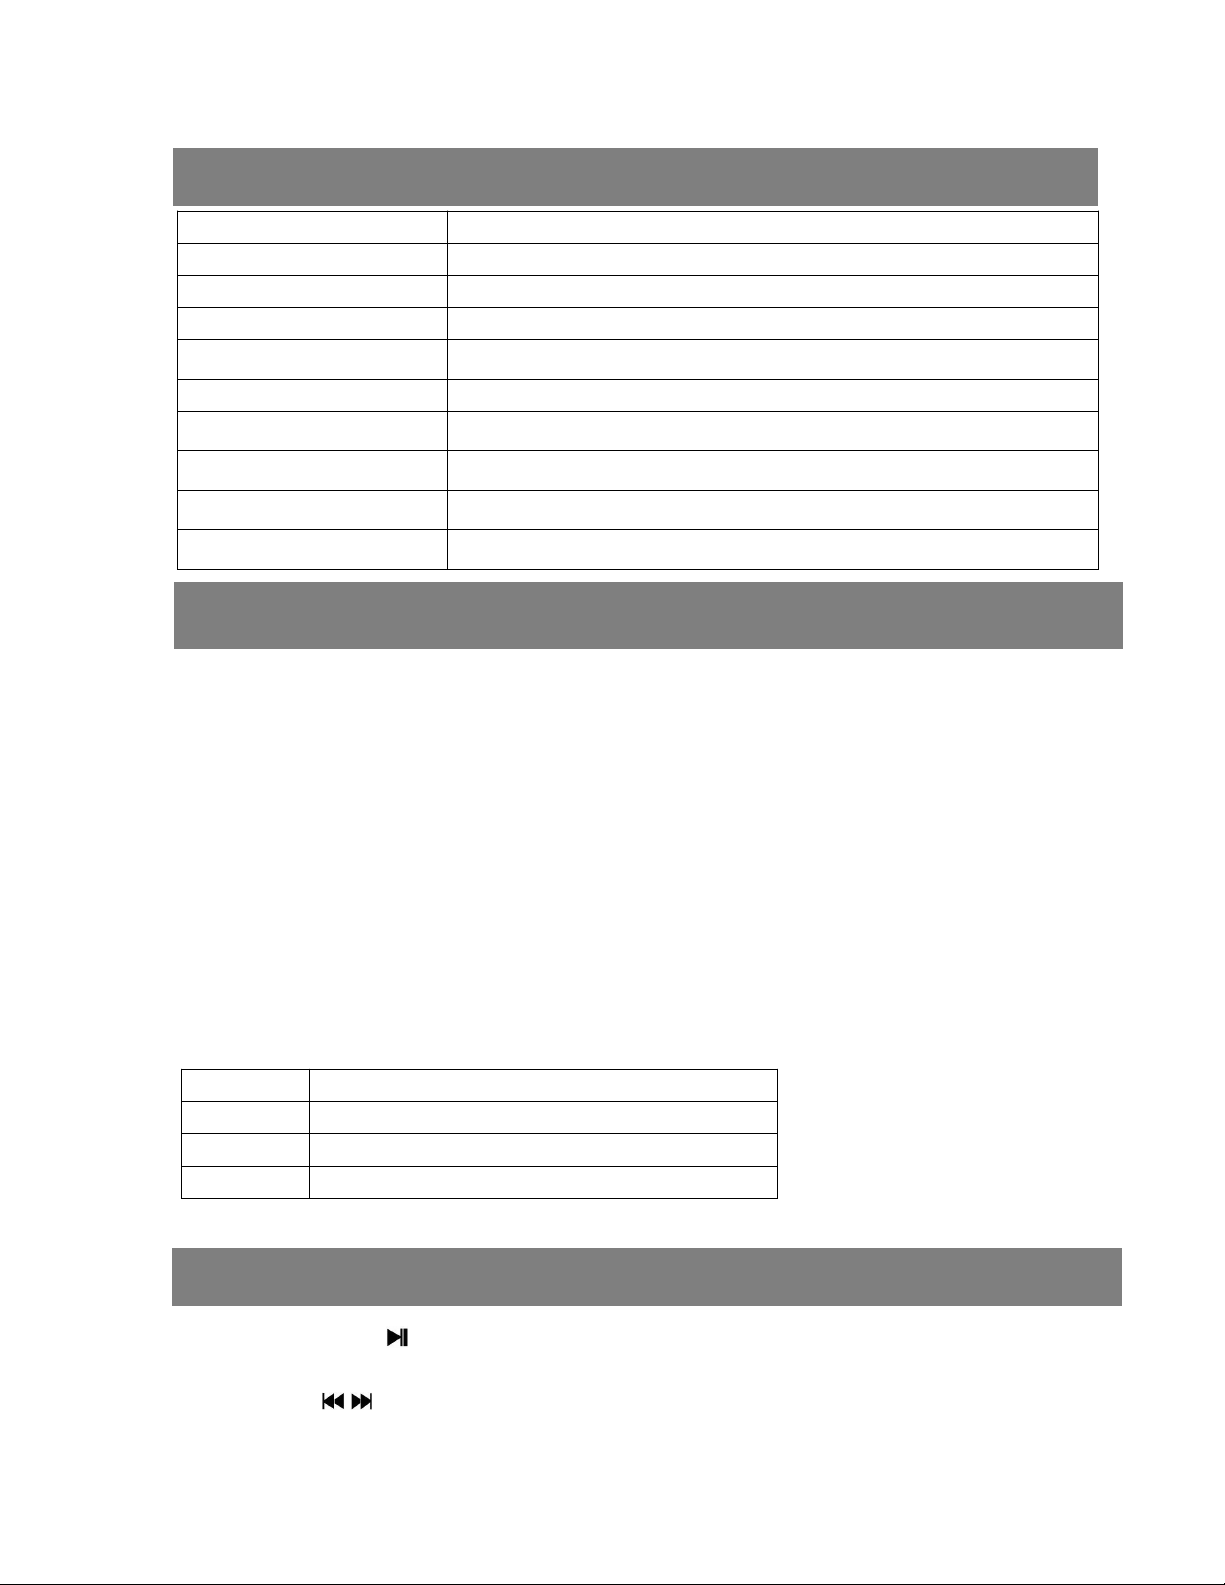
Technical Specification
FM RADIO
Basic Operation
Powering on the player
Long Press power button and hold(about 3 seconds) to turn it on..
Long Press power button and hold(about 3 seconds) to turn it off.
Battery Charging
When the battery indicator on the screen , you must charge the device.
The device has two charge options:
a)You can charge the device via the USB connector.
b)You can also charge the device via a USB wall adapter(not supplied)
Note:The charging time should not exceed 4 hours.It is recommended to turn off the device
before charging.
Press buttons definition
Action
Basic operation
Short press
Press time is less than 1-2 seconds
Long press
Press time is more than 1-2 seconds
Hold
Keep pressing one button
Note:Without special instruction, all pressing mean short pressing in this user manual
On radio menu press to enter below radio playing interface.
You can press / to search programs manually.
Screen
1.5 inch 128*128 TFT display
Flash memory
8GB
Bluetooth version
Bluetooth 4.0
Audio format
MP3/WMA/OGG/APE/FLAC/WAV/AAC-LC/ACELP
Recording format
FM/MIC record and WAV
Battery
Li-polymer rechargeable 300mAh
FM frequency
87.5-108MHZ
Micro-SD card
Extend to 128GB
Photo format
JPG,BMP and GIF
Charging time
3 hours

MUSIC
At radio playing interface, press Mand will show a related lists including “Auto tune”, “FM
Record” ,“Save to preset ”, “Clear preset”, “FM bands” .
Save to preset
The frequency points of radio station are displayed with 30 frequency points reserved at most.
Clear preset
Press to clear preset stations.
Auto tune
Press to enter Auto tune mode, it will show “Perform auto search? ”, press to confirm
Yes or No. If choose Yes, it will be searching automatically and automatically save searched
station in
“
Station list”.
FM record
When listening to the broadcast station program, press Mbutton to find the sub-menu”start
FM radio record”, and press to start recording, and long press to quickly saved
recording content in the formats of FM REC001/002.....WAV
You will find saved FM recording in Record folder under FOLDER menu.
FM bands
The player is defaulted to command band, if you are in Japan, you need to change to Japan
Band”76-90Mhz., If you are in Europe, you need to set to European band 87-108Mhz.
Play your music
On music menu, press to enter music function ,and by pressing +/-view sub-menu from
up to down: “Resume”, “Files” “playlists”.
Resume: play music from the last music stop point .
Files: Display all of music files,Press to confirm your option and start to play your music.
Playlists: you can create playlist or find music, you can seeking and play music by “all songs” ,
”Artists” , “Albums”, “Genres”
When the device is playing songs, press Mbutton to enter below sub-menus, and press
to enter the option you want.
Play mode
Here appears 4 options,Play music from..., Repeat ,Shuffle and Repeat Setting1
Equalizer
Choose music mode as you want - Off , Rock , Funk , Hip-Hop, Jazz, Classical, Techno
Add to playlist
There are 3 options prepared for you, including “Playlist on the go [1]”, “Playlist on the go [2]”
and “Playlist on the go [3]”, you can add the song which is playing to any one of these three
as you like.

RECORDER
PICTURES
Remove from playlist
You can remove the song which is playing to any one of these three Playlist as you like.
Delete
It will show” ...(song name)” delete? Press to choose yes to delete this song.
Bookmarks
It is marked by the stopping time as “hh:mm:ss”.So you can set the stopping time before you
add it for continues playing next time conveniently.
Open the Bluetooth of the device you want to connect with the player. Select Bluetooth on
and off , press and select Bluetooth on .
Then select Search for device and click to search the nearby devices, all of the devices
which has opened its Bluetooth will be listed. Select the device you want to connect, then click
to connect. After successfully connected, it will go back to the submenu:
Bluetooth on and off : Open device bluetooth ;
Search for Device: choose from the available devices and select to connect
Device list : you can find all of Bluetooth device
After connect Bluetooth successfully , Press Back main menu .
In the end , you find music or radio on main menu to play music or FM by Bluetooth receiver
device .
On record menu and press to enter voice recording. The following lists will show: Start
Voice Recording, Recordings library, Recording Format and Record Settings. Press+/-to
navigate these lists.
• Quick Record:scroll to “Start Voice Recording” ,press to start your recording, and
long press to quickly save recording content.
• In recording library view recording files and delete all files.
• Tap to pause or stop recording,
• To play, go to “Recordings Library” and play as music
To view pictures, select Photo from the main menu and press button to enter the photo
browser.
BLUETOOTH
SETTING
TEXT
FILES
Use the +or -button to scroll through your picture and select a photo you would like to view,
and press the button.
To watch movies, select VIDEO from the main menu and press the button to confirm. The
video playback screen will be displayed
Movie playback controls
1. PRE button: previous video/Rewind(hold)
2. NEXT button: next video/Fast forward(hold)
3. Mbutton: Enter video submenu
-Brightness
-Repeat
-Delete Video
-Create Playlist
4. button: Play/Pause
5. VOL+ button: Increase volume
6. VOL- button: Decrease volume
On ebook menu, press to enter Text. This player supports TXT file.
On files menu press to enter folder menu. Here you can check files you have stored on
the device including music, recording and pictures Text .
When you play music under “Folder”, it will shuffle songs by folder if you turn shuffle on.
On setting menu and press to access the following settings: “Language”, “Display
setting”, ”Power off”,“Information”“Format device”, “Factory settings”.
Press to default your favorite setting.
Setting sleep timer or Auto Turn Off under “Power off “.
When playing time is reach sleep timer you set, the player will power off automatically
VIDEO

FCC Caution
Choose the language according to your need
Set brightness or Back light timer under “ display setting “
See information about your player under “Information”
Set the backlight time of your player
Format the device or restore to factory setting
This device complies with part 15 of the FCC Rules. Operation is subject to the following two
conditions: (1) This device may not cause harmful interference, and (2) this device must
accept any interference received, including interference that may cause undesired operation.
Any Changes or modifications not expressly approved by the party responsible for
compliance could void the user's authority to operate the equipment.
Note: This equipment has been tested and found to comply with the limits for a Class B digital
device, pursuant to part 15 of the FCC Rules. These limits are designed to provide
reasonable protection against harmful interference in a residential installation. This equipment
generates uses and can radiate radio frequency energy and, if not installed and used in
accordance with the instructions, may cause harmful interference to radio communications.
However, there is no guarantee that interference will not occur in a particular installation. If
this equipment does cause harmful interference to radio or television reception, which can be
determined by turning the equipment off and on, the user is encouraged to try to correct the
interference by one or more of the following measures:
-Reorient or relocate the receiving antenna.
-Increase the separation between the equipment and receiver.
-Connect the equipment into an outlet on a circuit different from that to which the receiver is
connected.
-Consult the dealer or an experienced radio/TV technician for help.
*RF warning for Portable device:
The device has been evaluated to meet general RF exposure requirement. The device can b
e used in portable exposure condition without restriction.
Table of contents


