J.E. Adams 11000 User manual

OWNERS MANUAL
MODEL # 11000
MODEL # 12000
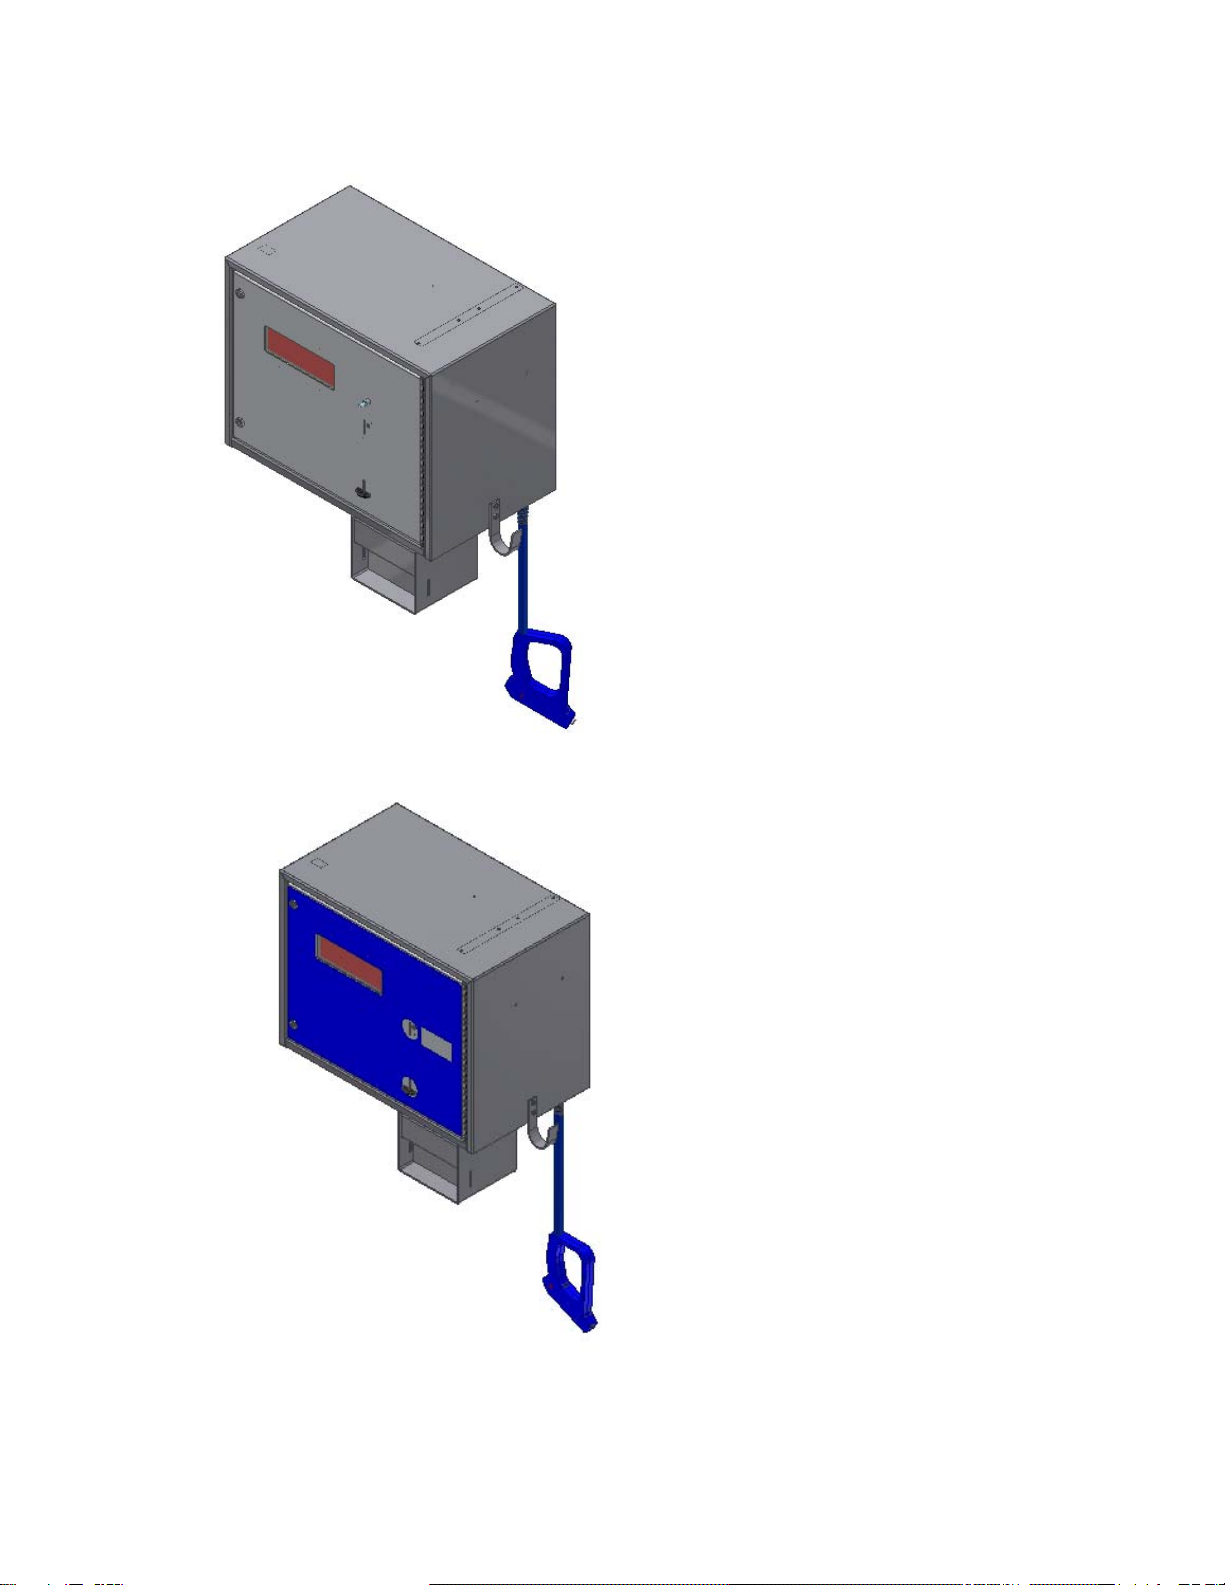
MODEL # 13000
MODEL # 16000
1

TABLE OF CONTENTS:
•TABLE OF CONTENTS PAGE1
•PRODUCT INFORMATION PAGE 2
•SPECIFICATIONS PAGE 3
oVOLTAGE SUPPLY
oCOMPRESSOR
oFLUID CAPACITY
•INSTALATION PAGE 3-5
oWALL MOUNT PAGE 3
oVAULT READY PAGE 4
oPEDESTAL MOUNT PAGE 4
oELECTRICAL INFO PAGE 5
•SETUP AND OPERATION PAGE 5-8
oREMOVING LOCKS PAGE 5
oDOOR DECALS PAGE 5
oFILLING CONTAINERS PAGE 5
oPROGRAMMING DISPLAY PAGE 6-7
oGENERAL START-UP PAGE 8
•REPLACEMENT PARTS PAGE 8
•GENERAL TROUBLESHOTTING PAGE 8
2

PRODUCT INFORMATION
Please take a moment to fill out the information below in order to aid us
with any future sales or service inquiries. Model number and serial
number information can be found on the serial tag located inside the
control box and/or on the lower exterior of the can. Key number can be
found on the tag that comes attached to the keys. There may be more
than one key number depending on unit.
Please keep this information with your records.
MODEL#:_________________________________________
SERIAL#:_________________________________________
KEY NUMBER(S):_________________________________
DATE PURCHASED:_______________________________
DISTRIBUTOR:___________________________________
J.E. Adams Industries
1025 63rd Ave. S.W.
Cedar Rapids, IA 52404
1-800-553-8861
www.jeadams.com
3

SPECIFICATIONS:
•SUPPLY VOLTAGE: 110VAC, 60HZ, 10A
•COMPRESSOR: 1/12HP, 110VAC, 60HZ
•SIZE: 18 x 23 x 14
•CAPICITY: MODEL 16000 - TIRE SHINE
1 GALLON TIRE SHINE
•CAPACITY: MODEL 13000 - FRAGRANCE
½ GALLON EACH FRAGRANCE
•CAPACITY: MODEL 12000 - SHAMPOO/SPOT REMOVER/FRAGRANCE
1 GALLON SPOT REMOVER
1 GALLON SHAMPOO
½ GALLON EACH FRAGRANCE
•CAPACITY: MODEL 11000 - SHAMPOO/SPOT REMOVER
1 GALLON SPOT REMOVER
1 GALLON SHAMPOO
INSTALLATION:
WALL MOUNT: MOUNT IS THE SAME FOR 11000, 12000, 13000 AND 16000.
12000 SHOWN BELOW
5/16-18 MAX BOLTS RECCOMENDED FOR INSTALLATION
4

VAULT READY 11000, 12000, 13000, AND 16000
TOP VIEW
PEDESTAL MOUNT:
•MOUNT PEDESTAL TO GROUND
•MOUNT UNIT TO PEDESTAL AND SECURE WITH 5/16-18 NUTS.
5

ELECTRICAL SUPPLY REQUIREMENT:
•MIN 10AMP SERVICE, DEDICATED
•WIRE GAUGE TO BE CONSISTANT WITH LOCAL ELECTRICAL CODES.
•SEE DRAWING BELOW FOR WIRE INSTALLATION FOR WIRE ACCESS POINTS
AND FOR WIRE HOOK UP.
•INSERT WIRE INTO TERMINAL STRIP AND SCREW INTO PLACE.
SET UP & OPERATION
NOTE: TO OPEN DOOR LOCKS TURN COUNTER CLOCKWISE 10-12 TIMES
•ATTACH DESIRED SCENT DECALS TO DOOR (12000 & 13000 ONLY)
•ATTACH DESIRED PRICING DECALS TO DOOR
•REMOVE ½ GALLON CONTAINERS FROM MACHINE. FILL WITH DESIRED SCENTS.
(12000 & 13000 ONLY)
•ATTACH PICKUP HOSES TO SCENT CONTAINERS FOLLOWING DIAGRAM. TUBES
LABELED THE SAME.
6

SELECT SWITCH
ON DOOR FRONT
1- UPPER
2- MIDDLE
3- LOWER
•ATTACH SHAMPOO AND SPOT PICKUP HOSES TO THE 1 GALLON
CONTAINERS PER LABEL ON LID (11000 & 12000 ONLY)
•DIXMOR DISPLAY PROGRAMMING WITH OPTIONAL REMOTE (8000-30) SEE
BELOW
1) Press the red power button.
2) Timer will display 0000. At this time type in 4 digit access code. Note
code will be 1234 until changed by customer.
3) Once code has been entered display should read ok. If display does not
read ok, repeat step 1 and 2.
4) Press CH + button. Timer will display coin value. This should $.25 and
should not be changed.
5) Press the CH +button. Display will now read (A: 30) or may be a different
time. (A) Will be the time per coin for a single function machine. NOTE:
The 12000 series is a “dual function” machine so will be applicable to
step 6. Set desired time per coin by using the VOL – to decrease or the
VOL + to increase. Once time is entered move to next step. (THIS STEP
IS USED ON ALL MACHINES)
6) Press the CH + button. Display will now read (B: 30) or may be different
time. (B) Will be the time per coin for SCENT on the 12000 series
machine which is a “dual function” machine. Set desired time per coin by
using the VOL – to decrease or the VOL + to increase. Once time is
entered move to next step.
7) Press the CH + button. Display will now read C. C is not use
8) Press the CH + button. Display will now read D. D is not use.
9) Press the CH + button. Display will now read E. E is not use.
10) Press the CH + button. Display will now read F. F is not use.
11) Press the CH + button. Display will now read (on A). This is the number
of coins to start the primary function of the machine. Use the VOL – and
VOL + to adjust. Once this is done press the CH+ button and repeat for
(B) which is SCENT on the 12000 “dual function” machine only. All other
units (B) is non appliciable.
12) Press the CH + button. Display will read bonus time. Set if desired. See
explanation at the end programming instructions.
13) Press the CH + button. Display will debit mode. Set if desired. See
explanation at the end programming instructions.
14) Press the CH + button. Display will delayed start. Set if desired. See
explanation at the end programming instructions.
15) Press the CH + button. Display will read HLxx. Set if desired. See
explanation at the end programming instructions.
16) Press the CH + button. Display will read Restart off or restart on
depending on what is set. Restart off will require a person to put in full
amount after unit is turned off to reactivate. Restart on allows for
7

additional coins to be put in the machine to keep unit running. To set use
VOL – or VOL + to change.
17) Press the CH + button. Display will now read STD or USER or MIX. To
make a custom message use VOL + button to scroll to USER. At this
point press and hold CH + button until original message appears. At this
time you may change the message simply by using the VOL – or VOL +
buttons to change letters. Once message has been entered you must put
the symbol / at the end of message. This will tell display that this is the
end of the message.
18) Press the CH + button now 5 more times to exit programming.
19) Unit should now be programmed.
Program definitions:
Bonus time settings:
¾Amount of time set in bonus time is added to regular
time per coin/pulse(e.g. if you want to give 45 seconds
for bonus time and your regular time per coin is 30
seconds, you would set bonus time at 00:15)
¾Bonus is disabled by setting bonus time to 00:00.
¾If bonus time is set to less than one minute, bonus
time is added when bonus coin is reached and every
coin after that until time expires.
¾If bonus time is set at 1:00 or more, bonus will be a
“one time” bonus. Bonus time will only be added for
bonus coin or multiplies of bonus coin (e.g. 16th coin,
32nd coin, etc). Any other coin will on receive regular
time per coin.
¾If bonus time is set to 99:00, when bonus coin is
deposited, timer will show “-on-“ and timer will continue
to run until coin switch wire is shorted to ground by a
loop detector or other switch closure for a minimum of
two seconds.
Debit and credit mode:
¾Debit mode: As coins are deposited display shows
“$1.75 MORE, $1.50 MORE, $1.25 MORE” etc. until
start price is reaches. Once start price is reached
display switches to time accumulating until no more
coins have been deposited.
¾Credit mode: As coins are deposited display shows
money accumulating ($.25, $.50, $.75 etc). If timer is
also set to delayed start mode timer will continue to
show money accumulating until no more coins have
been deposited. If timer is set to instant start, as soon
as start price is reached, timer will change to time
counting down.
¾Both mode: As coins are deposited display shows
money accumulating ($.25, $.50, $.75 etc). If start
price is not reached, after 5 seconds timer will
alternate between “add $x.xx more” and amount of
money already deposited.
Display programming with push button:
¾Unit can be programmed using buttons that are located inside display.
One is labeled S2, which is used to change from item to item. One is
labeled S1 which is used to set desired value. If you hold down S1 this
8

will cause numbers to decrease. If you repeatedly push S1 numbers will
increase.
¾When programming with buttons use same instructions as remote except
for the following. Where it says to press CH + use S2 and where it says
to use VOL + or – use S1.
•START MACHINE AND SELECT SHAMPOO/SPOT FUNCTION. RUN BOTH
SHAMPOO AND SPOT SELECTIONS UNTIL AIR IS COMPLETELY BLED FROM
SUPPLY TUBES (11000 & 12000 ONLY)
•SELECT FRANGRANCE SELECTION. START MACHINE AND OPERATE EACH
SELECTION UNTIL AIR IS COMPLETELY BLED FROM THE SUPPLY TUBES
(12000 ONLY)
•TURN MACHINE ON AND CYCLE UNTIL AIR IS COMPLETELY BLED FROM
LINES (13000 & 16000 ONLY)
•CLOSE AND LOCK DOOR AND PLACE INTO SERVICE.
MAIN REPLACEMENT PARTS:
9500-43 PERSTALTIC PUMP
8843 FILTER
8802-1 LOCKING CAP
8549 FLEX STRAIN RELIEF
8824 COMPRESSOR
8131-2 TRANSFORMER
8760 RELAY
5979D2 FUSE
5914 ROCKER SWITCH
8844 AIR SOLENOID (12000 UNIT ONLY)
FOR ANY PARTS NOT LISTED CALL J.E. ADAMS
TROUBLESHOOTING:
UNIT WONT RUN 1) CHECK CIRCUIT BREAKER
2) CHECK FUSE IN MACHINE
3) CORRECT NUMBER OF COINS
DEPOSITED
4) MAKE SURE POWER SWITCH IS ON
SHAMPOO/SPOT NOT WORKING (11000 &
12000 ONLY) 1) CHECK THAT ALL AIR IS REMOVED
FROM SUPPLY TUBES AND CAPS
ARE TIGHT ON CONTAINERS
2) CHECK FLUID LEVELS IN
CONTAINERS
3) ENSURE SELECTOR SWITCH IS IN
PROPER POSTION
4) VERIFY PERISTALTIC PUMPS ARE
WORKING
FRAGRANCE NOT WORKING (12000 &
13000 ONLY) 1) ENSURE SELECTOR SWITCH IS IN
PROPER POSTION
2) CHECK FLUID LEVEL IN
CONTAINERS
3) CHECK THAT ALL AIR IS REMOVED
FROM SUPPLY TUBES AND CAPS
ARE TIGHT
9

10
This manual suits for next models
3
Table of contents
Other J.E. Adams Industrial Equipment manuals


