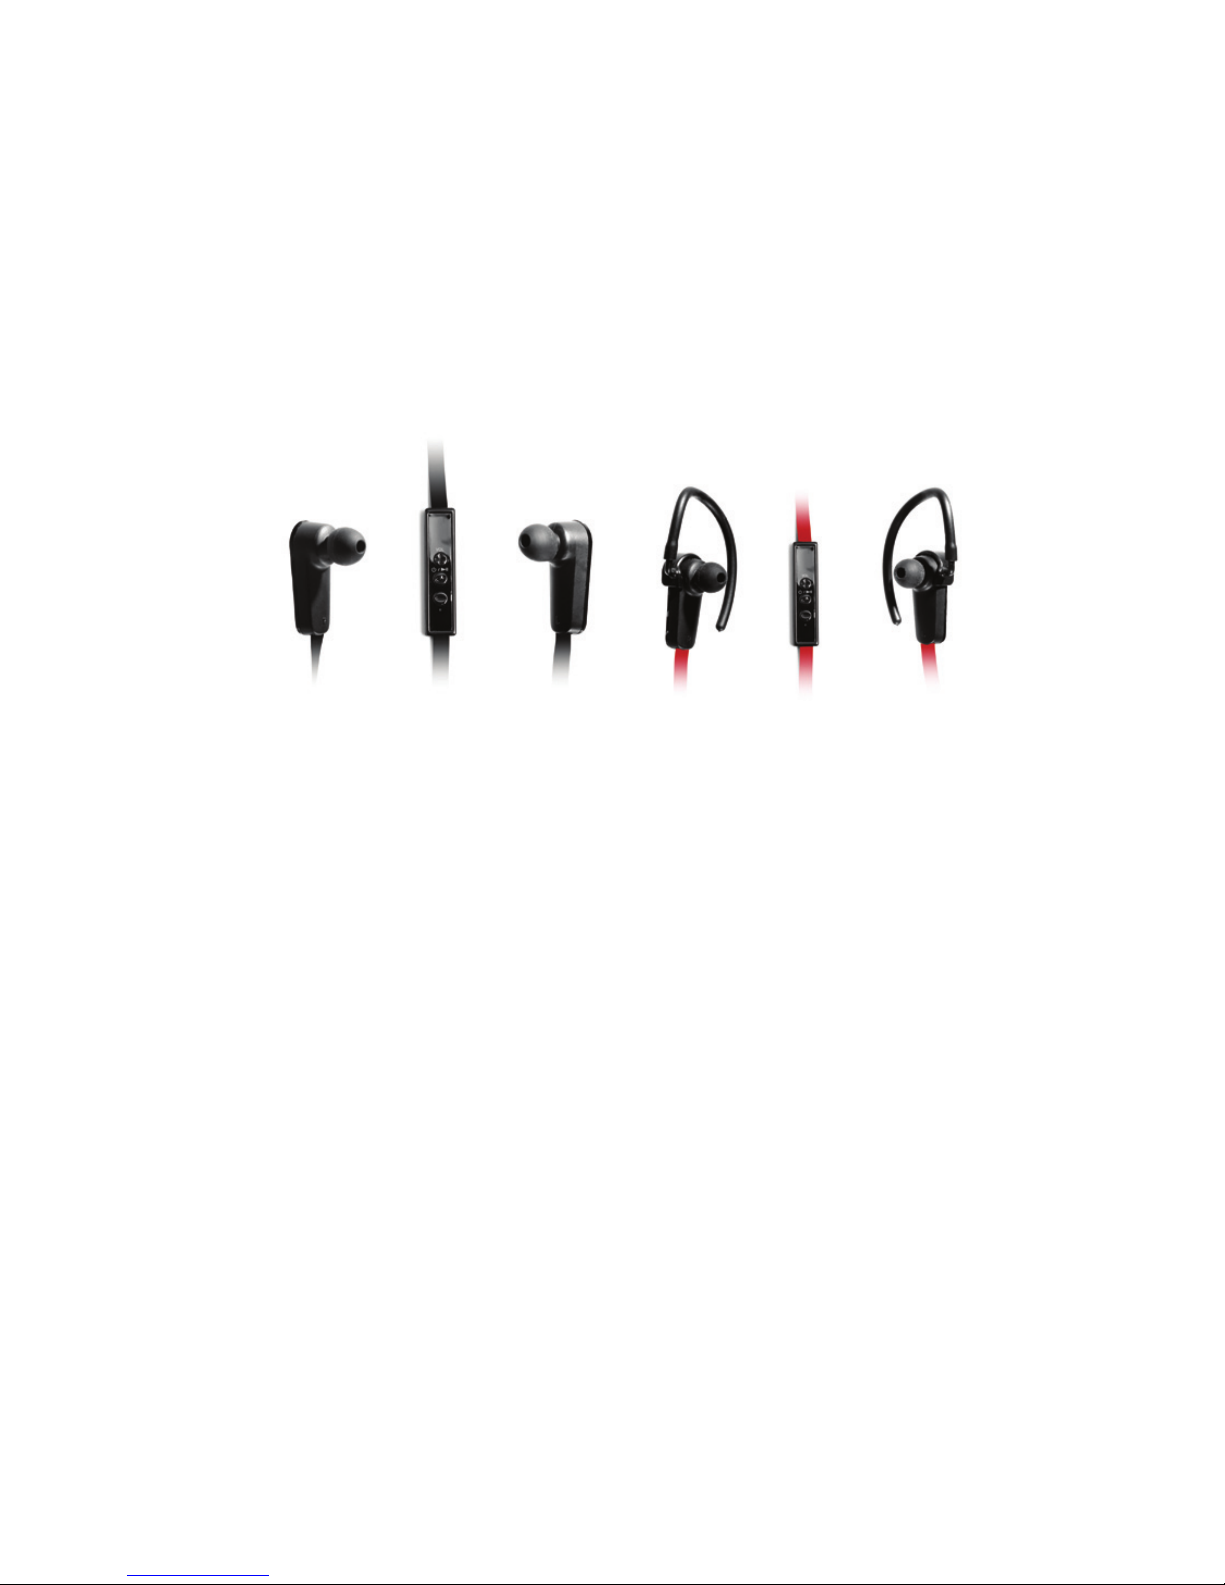
Jarv Nmotion BTHL-201 User manual

Jarv Nmoon BTHL-201
Bluetooth Stereo Earbuds
Users Guide

Features:
• Bluetooth wireless technology
• Comfortable lightweight in-ear design with detachable sports ear
hooks for added support
• High Denion Stereo Sound with Noise Reducon
• Rechargeable baery with Up to 5 Hours of Talk/Music me
• Stream Audio from any Bluetooth Device
• Built-In Noise Canceling Microphone for taking calls
• Control unit has built in Volume, Play, Pause and Answer funconality
• Tangle Free cable

Package Contents:
• Jarv Nmoon BTHL-201
Bluetooth Stereo Earbuds
• Micro USB Charging Cable
• 3 sets of ear bud ps
(S,M,L)
• 2 detachable sport ear
hooks
• 2 stabilizers
• Carry pouch
• Users Guide
Thank you for choosing Jarv
Bluetooth Stereo Earphones!

A Body Nmoon tends to stay in Moon
Control Unit:
• Micro USB Charging port
• Volume +/Previous Track
• Power/Play/Pause/Pair
• Volume – / Next Track
• Pairing/Power LED Indicator
• Microphone

Led Indicator Guide
Status Indicator
Power On Flashing Blue Light
Power O No Light
Charging Red Light
Charging Complete Blue Light
Pairing Mode Red And Blue Light ash alternately
Low Power Flashing Red Light

Geng Started
To use your Jarv NMoon Bluetooth Stereo headset, please follow the
steps below:
1. Ensure your Bluetooth headset is fully charged.
2. Pair your Bluetooth headset with a Bluetooth-enabled device prior
to use. (See Pairing your Headset instrucons)
Charging Your Headset
Your Nmoon headset comes with a built-in rechargeable baery and
a Micro USB charging cable.
Your Nmoon headset can be charged either directly from an AC
power supply (not included) or through your PC. Charge fully before
use. The baery indicator will turn red when charging and turn blue
once charging is complete. Inial charging me is approximately 2-3
hours.

Pairing Your Headset
In order to use your Jarv Nmoon Bluetooth Stereo Earbuds with a
Bluetooth-enabled device, you will rst need to pair the two.
1. Place the headset and the mobile phone where they are easily
viewable and no more than one meter apart.
2. Ensure that the headset is fully charged
3. Ensure that the headset is turned o (Very important)
4. Press the Pairing buon (middle buon with phone icon) for
5 seconds unl the red and blue light ash alternately which
indicates that you are in Pairing Mode.
5. Acvate your mobile phone’s Bluetooth pairing funcon.
6. Set the mobile phone to search for Bluetooth devices within range
and select “Nmoon BTHL-201” from the list of devices shown.
7. If you are prompted for a Passcode enter “0000” and press “ok” to

pair the headset with your mobile phone. (Note: If the Bluetooth
version of your phone is 2.1, there is no need to enter the passcode
when pairing.)
8. Now you can use your Bluetooth headset to listen to music, and
make and receive phone calls. Some mobile phones will connect
automacally to the Jarv Nmoon Bluetooth Earbuds when
restarted.
Powering On the Headset
Press and hold down the Power buon for 3 seconds to turn the unit
on and o.
Wearing Your Headset
The Le / Right indicator is located on the inside of the Earbuds.

Using Your Headset
Answering a Call
When you receive a call, the ring tone will be heard through the
headset. Press the Power buon once to accept the call, or answer
the call normally via your mobile phone.
Rejecng a Call
Press the Power buon for 2 seconds to reject the incoming call.
Ending a Call
Press the Power buon once to end the call or hang up on your
mobile phone.
Adjusng the Volume
Hold down the Volume + to increase volume or Volume – to decrease
volume. You will hear a beep when you reach the maximum or
minimum volume level. (You can also adjust the volume on your
handset or device).

Play/Pause Music
When the Bluetooth headset is connected with your mobile phone,
press the Power buon once to play music. Press Pause buon
quickly to pause music. (Aenon: your mobile phone must support
A2DP prole.)
Previous Track
Press the “Volume +” key to select the previous track.
Next Track
Press the “Volume -” key to select the next track.
Connecon With The Last Paired Device
When powered on, the headset will automacally connect with
the last successfully paired device. If the connecon is successful,
it enters standby mode. If the devices fail to connect within 5
minutes aer the pairing has been iniated, the headset will turn o
automacally.

Troubleshoong
If you are unable to connect your headset and mobile phone, please
try the following:
Ensure that your headset is fully charged and powered on.
Ensure that the headset is paired with your mobile phone.
Ensure that your mobile phone’s Bluetooth feature is acvated.
Please refer to your mobile phone user guide for specic instrucons.
Ensure that the headset is within a 10 meter (30 .) range of your
mobile phone and that there are no obstrucons, such as walls or
other electronic devices, between the two.
If the above steps do not solve your problem, please remove your
mobile phone baery for a short me and recharge the headset.
Repeat the troubleshoong sequence.

Safety Informaon
Check local laws regarding the use of mobile phones and headsets
while driving.
If you use the headset while driving, ensure that your aenon and
focus remains on the road and you drive in a responsible and safe
manner.
Never allow children to play with the headset, as the small parts may
be a choking hazard.
Observe all signs that require an electrical device or RF radio product
to be switched o in designated areas. These could include hospitals,
blasng areas, and potenally explosive environments.
Turn o your headset prior to boarding an aircra. Do not use your
headset in an aircra.
Never mount or store your headset over an air bag deployment area,
a serious injury may result when the air bag deploys.

Do not open or mulate the built-in baery.
Dispose of baeries according to local regulaons. Do not dispose as
household waste.
Care and Maintenance of Your Headset
i. Consider turning your headset o before placing it in your pocket
or bag. If the Power buon is accidentally acvated, your mobile
phone may place an unintended call. Your Bluetooth headset
comes with a premium quality carry pouch for your convenience.
ii. Do not expose the headset to liquid, moisture or humidity, as it is
not waterproof.
iii. Do not use abrasive cleaning solvents to clean the headset.
iv. Do not expose the headset to extreme temperatures. The best
storage temperature range is from 40-80 F, otherwise, the life of
the headset will be aected.

v. Do not dispose of the headset in re as it this may result in an
explosion.
vi. Do not bring your headset into contact with sharp objects as this
will cause scratches and can damage the headset.
vii. Do not aempt to disassemble the headset, as it does not contain
serviceable components.
viii. If you do not use the headset for long periods, be sure to store
it in a dry place, free from extreme temperature condions and
dust. For best protecon, use the included storage pouch.

Product Specicaons
Digital Volume Control
Built-In Microphone
Driver: 10mm
USB Port for baery recharge
Wireless Range: 33 feet
DC Baery power: Built-in rechargeable lithium baery
Baery life: Up to 5 hours of Talk/Music Time
Stand-by Time: Up to 100 hours
Actual performance may vary due to the user’s habits, dierent
modes of operaon, and mobile phone sengs. This manual is for
reference purposes only. The specicaons and design of the headset
may change without prior noce. Actual product may dier slightly
from the image on the packaging

Product Warranty
All Jarv products come with a one year limited warranty. Please
email customer support at customerser[email protected] for any
related informaon or quesons.
Warning and Precauons
WARNING: To prevent re or shock hazard, do not expose this unit to
rain or moisture.
WARNING: Do not place this unit directly onto furniture surfaces
with any type of so, porous, or sensive nish. As with any rubber
compound made with oils, the feet could cause marks or staining
where the feet reside. We recommend using a protecve barrier such
as cloth or a piece of a glass between the unit and the surface to
reduce the risk of damage and/or staining.

WARNING: Lithium baeries, like all rechargeable baeries are
recyclable and should be recycled or disposed of in normal household
waste. Contact your local government for disposal or recycling
pracces in your area. They should be incinerated since they might
explode.
NOTE: This device uses an internal rechargeable lithium-ion baery
that should last the lifeme of the device. If you suspect your baery
may be dead aer several aempts to charge, please visit www.
jarvmobile.com for support.
Never disassemble the unit or aempt to remove the baery as that
could cause leakage of an electrolyte substance

FCC Warnings
WARNING: Changes or modicaons to this unit not expressly
approved by the party responsible for compliance could void the
user’s authority to operate the equipment.
NOTE: This equipment has been tested and found to comply with
the limits for a Class B digital device, pursuant to Part 15 of the FCC
rules. These limits are designed to provide reasonable protecons
against harmful interference in a residenal installaon. This
equipment generates, uses, and can radiate radio frequency and,
if not installed and used in accordance with the instrucons, may
cause harmful interference to radio communicaons. However,
there is no guarantee that interference will not occur in a parcular
installaon. If this equipment does cause harmful interference to

radio or television recepon, which can be determined by turning the
equipment on and o, the user is encouraged to try to correct the
interference by one or more of the following measures.
• Reorient or relocate the receiving antenna
• Increase the separaon between the equipment and receiver
• Connect the equipment into an outlet on a circuit dierent from
that to which the receiver is connected
Table of contents
Other Jarv Headphones manuals

Jarv
Jarv BTHL-101 User manual

Jarv
Jarv NMOTION User manual

Jarv
Jarv NMotion SPORT TWS User manual

Jarv
Jarv JRV-TW800 User manual

Jarv
Jarv Joggerz BT-301 User manual

Jarv
Jarv Active Motion JRV-TW900-BLK User manual

Jarv
Jarv Flight BT-650 User manual

Jarv
Jarv Wave Sport PRO JRV-TW700 User manual

Jarv
Jarv Mach 1 BTHL-750 User manual

Jarv
Jarv Joggerz Pro Sports BT501 User manual