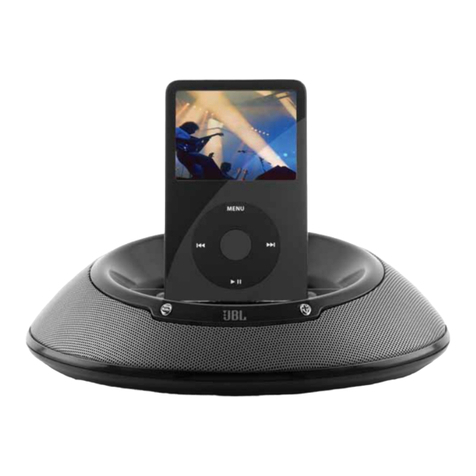
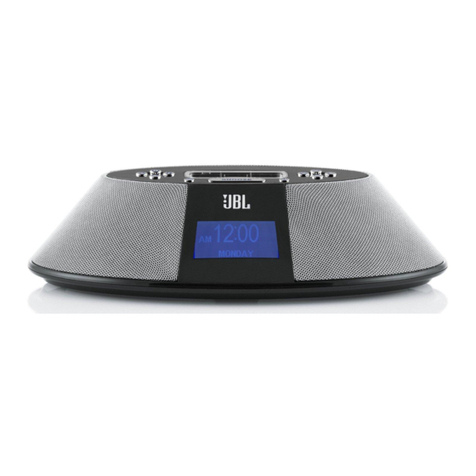
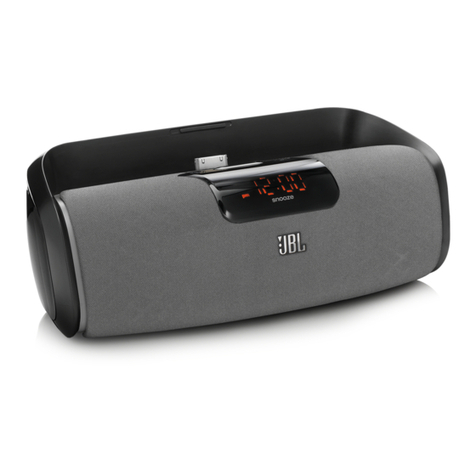
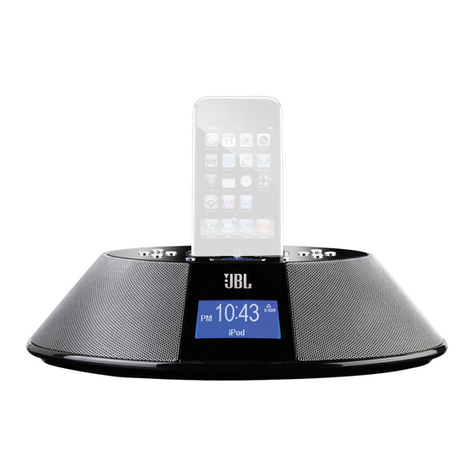
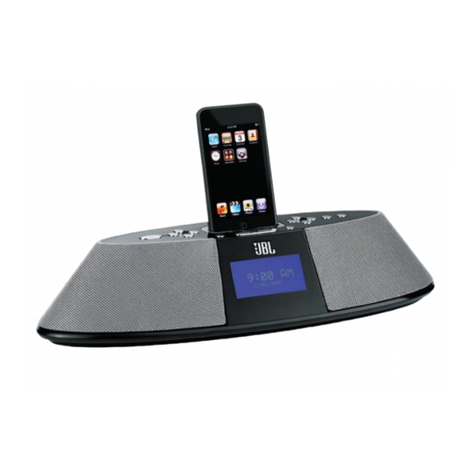
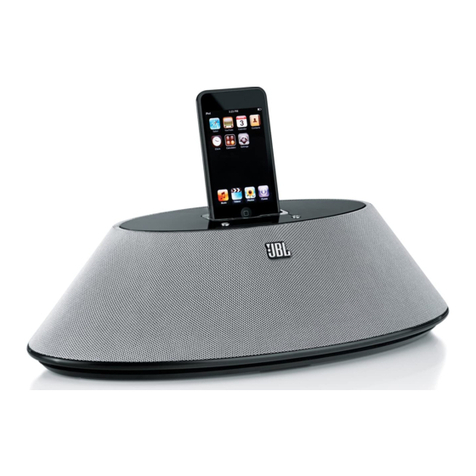
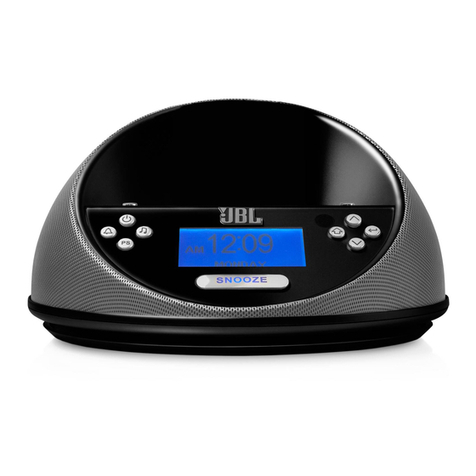
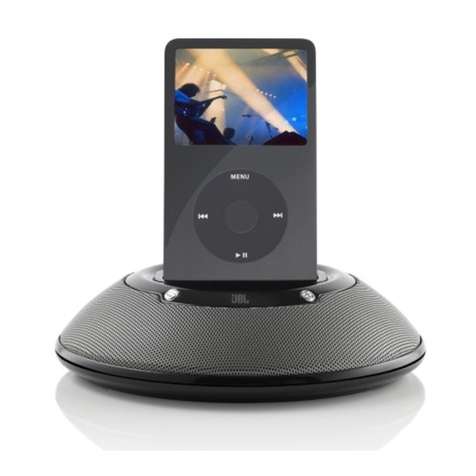
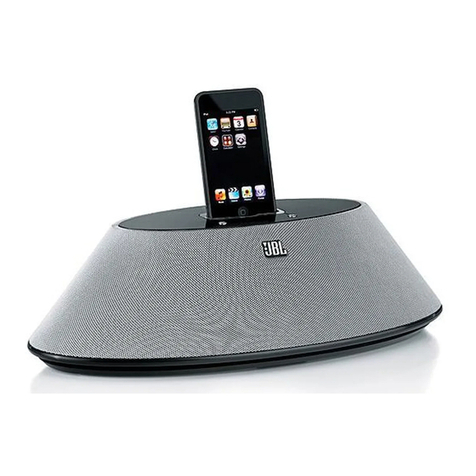
JBL ON TIME 400lHD User manual

JBL
ON
TIME™400lHD
HD/AM/FM
SPEAKER
DOCK
FOR
iPod
®
USER
GUIDE
English
2
Fran~ais
23
Espanal
45
H?)Radio~
o
Madefor
@J
iPod

IMPORTANT
SAFETY
INSTRUCTIONS
PLEASE
READ
THE
FOLLOWING
PRECAUTIONS
BEFORE
USE:
•
Read
these
instructions,
heed
all
warnings
and
keep
for
future
reference.
•
Do
not
use
this
apparatus
near
water.
•
Clean
only
with a
dry
cloth.
•
Do
not
block
any
ventilation
openings;
a
minimum
distance
of
lOmm
around
the
entire
apparatus
is
required
for
sufficient ventilation.
•
No
naked
flame
sources,
such
as
lighted
candles,
should
be
placed
on
or
near
the
apparatus.
•Attention
should
be
drawn to
the
environmental
aspects
of
battery
disposal.
•
The
apparatus
is
to
be
used
in
moderate
climates
only.
•
Do
not
install
near
any
heat
sources
such
as
radiators,
heat
registers,
stoves
or
other
apparatuses
(including
amplifiers) that produce
heat.
•
Do
not
defeat
the
safety
purpose
of
the
polarized
or
grounding-type
plug.
A
polarizing
plug
has
two
blades
with
one
wider
than
the
other.
A
grounding-
type
plug
has
two
bl<!des
and
athird
grounding
prong.
The
wide
blade
or
third
prong
is
provided
for
safety.
If
the
provided
plug
does
not
fit
into
your
outlet, consult
an
electrician
for
replacement
of
the
obsolete
outlet.
•Protect
the
power
cord
from
being
walked
on
or
pinched,
particularly
at
the
plugs
and
convenience
receptacles,
and
at
the
point
where
they
exit
from
the
apparatus.
•
Only
use
attachments/accessories specified
by
the
manufacturer.
•
Unplug
this
apparatus
during
lightning
storms
or
when
unused
for
long
periods
of
time.
•
Refer
all
servicing
to
qualified
service
personnel.
Servicing
is
required
when
the
apparatus
has
been
damaged
in
any
way,
such
as
the
power-supply
cord
or
plug
is
damaged,
liquid
has
been
spilled
or
objects
have
fallen
into
the
apparatus,
or
the
apparatus
has
been
exposed
to
rain
or
moisture,
does
not
operate
normally,
or
has
been
dropped.
•
To
be
completely disconnected
from
the
power
input,
the
main
plug
of
the
AC/DC
adapter
shall
be
disconnected
from
the
main.
•
The
main
plug
of
the
AC/DC
adapter
should
not
be
obstructed
OR
should
be
easily
accessed
during
intended
use.
•
The
marking
information
is
located
at
the
bottom
of
the
apparatus.
•
The
battery
shall
not
be
exposed
to
excessive
heat
such
as
sunshine,
fire
or
the
like.
•
The
apparatus
and
AC/DC
adapter
shall
not
be
exposed
to
dripping
or
splashing,
and
no
objects
filled
with
liquids,
such
as
vases,
shall
be
placed
on
the
apparatus
and
AC/DC
adapter.
•
THERE
IS
A
RISK
OF
EXPLOSION
IF
THE
BATTERY
IS
REPLACED
WITH
AN
INCORRECT
TYPE
OF
BATTERY.
•
TO
PREVENT
THE
RISK
OF
ELECTRIC
SHOCK,
DO
NOT
REMOVE
THE
COVER
(OR
BACK).
THERE
ARE
NO
USER-SERVICEABLE
PARTS
INSIDE
THIS
UNIT.
PLEASE
REFER
SERVICING
TO
QUALIFIED
HARMAN
CONSUMER
GROUP,
INC.,
SERVICE
PERSONNEL.
•
Never
remove
grille
covers
in
order
to
service
the
speaker
system.
The
speaker
system
does
not
contain
any
user-serviceable
parts.
IMPORTANT
NOTE
FOR
ALL
ELECTRONIC
PRODUCTS:
Before
inserting
or
unplugging
audio
cables
from
the
source
device's
headphones
or
line-level output
jacks,
it
is
good
practice
to
turn
off
the
device
first.
This
will
prolong
the
life
of
your
unit,
help
protect
your
device
from
static electricity
and
prevent
potential
damage.
2
.JBL
ON
TIME
400lHD
USER
GUIDE

FCC
STATEMENT
AND
WARNING
This
device
complies
with
Part
15
of
the
FCC
Rules.
Operation
is
subject
to
the
following
two
conditions:
1)
this
device
may
not
cause
harmful
interference,
and
21
this
device
must
accept
any
interference
received,
including
interference
that
may
cause
undesired
operation.
This
equipment
has
been
tested
and
found
to
comply
with
the
limits
for
a
Class
B
digital
device,
pursuantto
Part
15
ofthe
FCC
Rules.
These
limits
are
designed
to
provide
reasonable
protection
against
harmful
interference
in
a
residential
installation.
This
equipment
generates,
uses
and
can
radiate
radio
frequency
energy
and,
if
not
installed
and
used
in
accordance
with
the
instructions,
may
cause
harmful
interference
to
radio
communications.
However,
there
is
no
guarantee
that
interference
will
not
occur
in
a
particular
installation.
If
this
equipment
does
cause
harmful
interference
to
radio
or
television
reception,
which
can
be
determined
by
turning
the
equipment
off
and
on,
the
user
is
encouraged
to
try
to
correct
the
interference
by
one
or
more
of
the
following
measures:
•
Reorient
the
receiving
antenna.
•
Increase
the
separation
between
the
equipment
and
receiver.
•
Connect
the
equipment
into
an
outlet
on
acircuit different
from
that
to
which
the
receiver
is
connected.
•
Consult
the
dealer
or
an
experienced
radio/TV
technician
for
help.
Any
special
accessories
needed
for
compliance
must
be
specified
in
the
instruction
manual.
MODIFICATIONS
NOT
EXPRESSLY
APPROVED
BY
THE
MANUFACTURER
COULD
VOID
THE
USER'S
AUTHORITY
TO
OPERATE
THE
EQUIPMENT
UNDER
FCC
RULES.
I
THE
LIGHTNING
fLASH
AND
ARROWHEAD
WITHIN
THE
TRIANGLE
IS
A
WARNING
SIGN
ALERTING
YOU
TO
DANGEROUS
VOLTAGE
INSIDE
THE
PRODUCT.
CAUTION
R,8K
OP
aL.OTR'O
aHOOK
_
DO
NOT
opaN
CAUTION:
TO
REDUCE
THE
RISK
Of
SHOCK.
DO
NOT
REMOVE
COVEA
NO
USER·SERVICEABLE
PARTS
INSIDE.
REfER
SERVICING
TO
OUALIflEO
SERVICE
PERSONNEl.
A
THE
EXCLAMATION
POINT
WITHIN
THE
TRIANGLE
IS
A
WARNING
SIGN
ALERTING
YOU
TO
IMPORTANT
INSTRUCTIONS
ACCOMPANYING
THE
PRODUCT.
WARNING:
TO
PREVENT
FIRE
OR
ELECTRICAL
SHOCK
HAZARD,
DO
NOT
EXPOSE
THIS
PRODUCTTO
RAIN
OR
MOISTURE.
WARNING:
THE
APPARATUS
SHOULD
NOT
BE
EXPOSED
TO
DRIPPING
OR
SPLASHING
AND
NO
OBJECTS
FILLED
WITH
LIQUID,
SUCH
AS
VASES,
SHOULD
BE
PLACED
ON
THE
APPARATUS.
IMPORTANT:
THE
APPROPRIATE
ADAPTER
MUST
BE
INSTALLED
BEFORE
INSERTING
YOUR
iPod
INTO
THE
JBL<!>
PRODUCT.
MAKE
SURE
THATTHE
CONNECTOR
FOR
THE
iPod
IS
PROPERLY
ALIGNED
WITH
THE
JBL
PRODUCT'S
CONNECTOR
WHEN
INSTALLING
YOUR
iPod.
FAILURE
TO
DO
SO
MAY
CAUSE
PERMANENT
DAMAGE
TO
THE
CONNECTOR
FOR
THE
iPod,
RENDERING
THE
iPod
INOPERABLE.
WWW
.
.JBL.COM
3

dBL
ON
TIMETM
400lHD
HD/AM/FM
SPEAKER
DOCK
FOR
iPod
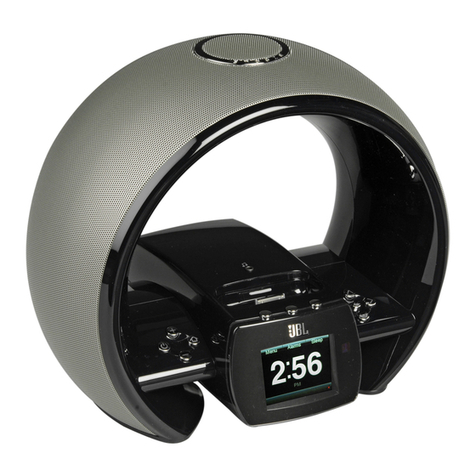
The
compact
JBL
On
lime™
400lHD
speaker
dock
is
an
aesthetically
pleasing,
high-performance
digital
sound
center that will
revolution-
ize
the
way
you
discover
music,
listen
to
your
radio
and
use
your
iPod.
The
JBL
On
lime
400lHD
system
allows
you
to
discover
new
music
through
the
"TAG"
feature.
When
using
the
HD
Radio™
feature,
simply
press
the
illuminated
TAG
button
and
the
JBL
On
lime
400lHD
system
will
capture
the
song
title, artist,
album
and
all
other
data
associated
with
the
song
that
the
radio
station
is
broadcasting.
The
tagged
information
will
be
transferred
to
your
iPod;
when
you
sync
your
iPod
to
your
iTunes
library,
you
will
have
full
access
to
all
of
the
song
information
that
you
tagged.
The
JBL
On
lime
400lHD
speaker
dock
has
full ability
to
navigate
your
iPod,
both
on
the
speaker
dock
itself
and
via
IR
remote.
The
system
also
lets
you
wake
up
to
your
favorite
radio
station
or
iPod
playlist.
With
the
multiple-alarm
option,
you
can
set "his"
and
"hers"
alarms
for whatever
day
or
frequency
you
need.
EVERCHARGETOPOLOGV
The
JBL
On
lime
400lHD
speaker
dock
charges
your
iPod,
even
when
the
system
is
off.
The
system's
memory
is
maintained
by
a
backup
battery.
Even
with
the
power
out,
itwill
provide
the
alarm
function.
COE
(COMPUTER-OPTIMIZED
EQUALIZATION)
The
JBL
On
lime
400lHD
system
equalization
is
computer-optimized
to
provide
a
rich,
complete
soundstage.
OCT
(OPTIMIZED
COMPRESSION
TOPOLOGy)
The
JBL
On
lime
400lHD
radio
and
speaker
dock
utilizes
aproprietary
compression
technology
to
ensure
clean,
accurate
sound
at
high
output
levels.
4..JBL
ON
TIME
400lHD
USER
GUIDE

UNPACKING
YOUR
JBL
ON
TIME'"
400lHD
I
Carefully
unpack
your
speaker
system
and
identify
all
its
components:
or
..
--.."......--
...
IR
remote
S=~
•
JBL
On
lime'M
400lHD
Adapters
for
iPod
Power
supply
Audio
cable
FM
antenna
AM
antenna
QUICK
SETUP
INSTRUCTIONS
•
Choose
the
appropriate adapter for
iPod
and
place
it
into
the
docking
station.
Then
place
your
iPod
into
the
adapter.
•
For
backup
memory,
install
three
AAA
batteries
in
the
battery compartment
found
underneath
the
unit.
•Connectthe external
AM
antenna
for better reception.
•
Unwind
the
FM
antenna
and
straighten
the
wire for
the
best
reception.
•
Plug
the
power
adapter
into
the
"DC
In" jack
and
then
plug
the
adapter
into
awall outlet.
•If
an
additional
audio
source
is
used,
connect
the
source
to
the
"Aux In" jack.
',_
_
51
...
--~_
..
c::::ID
,
or
AM
antenna
[J
WWW.dBL.COM
5

UNIT
CONTROLS
AT
A
GLANCE
® (SNOOZE )
(3
HD
Scan
The
HD
Scan
feature will
surf
all
available
HD
stations
until
you
find
the
station
you
would
like
to
listen
to.
TAG
The
TAG
feature
is
a
music
exploratory
feature
allowing
you
to
capture
information
about
a
song
and
artist
playing
through
an
HD
channel.
Press
the
TAG
button,
and
the
song
title
and
artist
information
currently
broadcast
from
the
HD
radio
station
will
be
transferred
to
your
docked
iPod.
The
next
time
you
sync
your
iPod
to
your
iTunes
library,
all
the
information that
you've
tagged
can
be
accessed.
Mode
The
Mode
button
allows
you
to
select
AM,
FM,
AUX
or
iPod
listening
preferences.
(0
Preset
The
Preset
feature a
1I0ws
you
to
select
or
store your favorite
stations.
Push
the
"PS"
button
and
a
screen
will
come
up
to
give
you
the
option
of
selecting
a
stored
favorite
or
storing
a
new
favorite station.
Snooze
The
Snooze
feature allows
you
to
set
the
amount
of
time
you
would
like
to
snooze
before
the
alarm
sounds
again.
Push
and
hold
this
button
and
you
will
be
prompted
to
select a
snooze
duration.
8
Select
both
Volume
+
and
Volume
-
buttons
to
mute.
@
Alarm
Setting
Push
this
button
and
you
will
be
prompted
to
set
an
alarm
or
turn
on
or
off
an
existing
alarm.
The
alarm
feature
allows
you
to
set
multiple
alarms
at
frequency
ranging
from
daily
to
weekly
(or
limit it
to
just
weekdays
and
weekendsl.
§
Sleep
Mode
Sleep
mode
allows
you
to
fall
asleep
to
J.-----------------1H
your favorite
rad
io
station
or
iPod
playlist.
Push
this
button
and
select a
Sleep
mode
option.
@
Enter
Menu
Up
Step
back
one
menu
0v
per
button
push.
V
Scroll
Down
6..JBL
ON
TIME
400lHD
USER
GUIDE

REMOTE
CONTROLS
AT
A
GLANCE
I
iPod
~
Takes
you
to
iPod
mode.
~
Fast
Reverse
@
__
-~41
Scroll
Down
0----+--.
Mode
@
.----'tI~
Tune/Seek
Down
e
e
HD
Scan
e
Volume
Down
@
Power
On/Power
Off
e
Fast
Forward
~
__
-®
Scroll
Up
e
Tune/Seek
Up
1+---
.......
(
'NOOll
)
Snooze
Recalls
Snooze
menu
screen.
+---
......
·@TopMenu
M-....--
...... e
Preset
Recalls
and
sets
Preset
stations.
Volume
Up
WWW.~BL.COM
7

@TOPMENU
These
buttons
will a
lIow
the
user
to
scroll
up
and
down
through
the
highlighted
text.
The
Enter
button
will
allow
the
user
to
select
the
desired
setting.
8
.JBL
ON
TIME
400lHD
USER
GUIDE

@TOPMENU
,
MAIN
SCREEN
-
FM/AM
2
MAIN
SCREEN
-
FM/AM
,
MAIN
SCREEN
-
POWER
OFF
2
MAIN
SCREEN
-
MODE
DISPLAY
I
WWW.~BL.COM
9

TOP
MENU
@
+
To
Top
Menu -
See
page
8
I
1
MAIN
SCREEN
-
FM/AM
SnOOZ8 Tag
InJonnatlo"
Alenn
Settings Settlngs
Mode
Settings
See
page
19
See
page
13
See
page
16
See
page
18
e8e
AM/FM
Preset
Sleep
Settings
HD
Seen
Settings
See
page
16
See
page
18
See
page
14
Tag
Infonnatlon
See
page
19
HD
Seen
See
page
18
@
Mode
Settings
See
page
18
Language Settings
See
page
20
Of)
)
Brightness/Contrast
Settings
See
page
17
8
Sleep
Settings
See
page
16
SNOOZE
AM
IFM
Preset
Settings
See
page
14
Snooze
Settings
Dete
Settings
See
page
16
See
page
12
(0
Clock
Settings
See
page
11
Alann
Settings
See
page
13
@
These
buttons
allow
the
user
to
scroll
up
and
down
through
the
hig
hlighted
text.
The
Enter
button
allows
the
user
to
select
the
desired
setting.
@
10
dBL
ON
TIME
400lHD
USER
GUIDE

@
CLOCK
SETTING
INSTRUCTIONS
Clock
setting controls
can
be
accessed
through
the
top
menu.
Push
the
Menu
Up
button
until
you
get
to
the top
menu
screen.
Use
the
Scroll
Up
and
Down
buttons
to
highlight
Clock
Settings,
then
press
Enter.
Now
you
will
be
prompted
to
set
the
clock
settings.
Use
the
Scroll
Up
and
Scroll
Down
keys
to
highlightthe
desired
settings
and
press
Enter.
See
below for details.
I
Scroll
Up
and
Down
but-
tons
are
used
to
highlight
desired
setting.
@
The
Menu
Up
button
will
step
back
the
highlighted
item.
See
Illustration
A.
ILLUSTRATION
A
The
Enter
button
will
selectthe
desired
setting.
@
The
Menu
Up
button
will
step
back
the
'LJ
highlighted
item.
WWW
.
.JBL.COM11

lIm
DATE
SETTING
INSTRUCTIONS
Date
setting controls
can
be
accessed
through
the
top
menu.
Push
the
Menu
Up
button
until
you
get
to
the
top
menu
screen.
Use
the
Scroll
Up
and
Down
buttons
to
highlight
Date
Settings,
then
press
Enter.
Now
you
will
be
prompted
to
set
the
date.
Use
the
Scroll
Up
and
Scroll
Down
keys
to
highlight
the
desired
settings
and
press
Enter.
See
below
for details.
,
DATE
SETTING
INSTRUCTIONS
-
ENGLISH
These
buttons
will allow
the
user
to
scroll
up
and
down
through
the
highlighted
text.
Q\
The
Enter
button
will select
the
V
highlighted
setting.
2
DATE
SETTING
INSTRUCTIONS
-
FRENCH
AND
SPANISH
~
The
Enter
button
will select
the
~
highlighted
setting.
These
buttons
will alIow
the
user
to
scroll
up
and
down
through
the
highlighted
text.
12
..JBL
ON
TIME
400lHD
USER
GUIDE

@
ALARM
SETTING
INSTRUCTIONS
Alaim
settiiig
COiitiOls
can
be
accessed
by
selecting
the
Alarm
hot
key
or
through
the
top
menu.
Push
the
Menu
Up
button
untii
you
get
to
the
top
menu
screen.
SET
NEW
ALARM
OR
CHANGE
EXISTING
ALARM
Highlight
an
alarm
slot
and
press
Enter.
You
will
now
be
prompted
to
set
the
wake
time,
alarm
frequency
and
mode
to
wake
to.
See
illustrations.
I
SET
ALARM
WAKE
TIME
, 2 34
NOTE:
If
"Day"
option
is
selected
from
the
above
screen.
the
user
will
be
prompted
to
select
the
day
of
week
he
or
she
would
like
the
alarm
to
be
set
for.
TOGGLE
ALARM
ON
AND
OFF
Use
the
Scroll
Up
and
Down
buttons
to
highlight
an
alarm,
then
push
the
Alarm
hot
key
to
turn
the
alarm
on
or
off.
A
solid
alarm
icon
indicates that
the
alarm
is
on
and
an
empty
alarm
icon
indicates that
the
alarm
is
off.
@
Push
the
Alarm
hot
key
button
to
toggle
the
alarm
on
and
off.
A~RMON
&
Afull
alarm
bell icon indicates that
the
alarm
is
active
...
-----
A~RM
OFF
f\'
An
empty
alarm
bell
icon indicates that
the
alarm
is
not
active.
L...:)
TOGGLE
ALARM
ON
AND
OFF
WWW
.
.JBL.COM13

e
AM/FM
PRESET
INSTRUCTIONS
The
Preset Station
menu
can
be
accessed
by
selecting
the
PS
hot
key
or
through
the
top
menu.
Push
the
Menu
Up
button
until
you
get
to
the
top
menu
screen.
SET
NEW
PRESET
STATION
Push
and
hold
the
PS
button
and
then
the
Place
Preset
menu
will
pop
up.
Next,
use
the
Scroll
Up
and
Scroll
Down
buttons
to
choose a
slot
to
place
the
Preset station. See
below.
SET
NEW
PRESET
STATION
The
Scroll
buttons
will allow
the
user
to
select
the
slot
where
he
or
she
would
like
to
place
the
Preset
To
overwrite
an
existing
Preset.
select
the
slot
where
you
would
like
the
new
Presetto
reside.
The
Enter
button
will
place
the
Preset
or
overwrite
an
existing
Preset
CHOOSE
OR
MODIFY
PRESET
STATION
Push
the
PS
button
and
then
use
the
Scroll
Up
and
Scroll
Down
buttons
to
choose
the
Preset station
to
play.
See
below.
CHOOSE
OR
MODIFY
PRESET
STATION
These
buttons
will allow
the
user
to
scroll
up
and
down
through
the
list
of
available
selections.
The
Enter
button
will select
the
highlighted
setting.
14
..JBL
ON
TIME
400lHD
USER
GUIDE

WHEN
··MODIFV
PRESET··
IS
SELECTED
I
Selectthe
station
to
modify.
Press
Enter
to
select astation
to
be
modified.
CHOOSEBANDFREQUENCV
Use
the
Scroll
buttons
to
highlight
AM
or
FM.
Press
Enter
to
make
your
selection.
SET
STATION
Use
the
Scroll
buttons
to
tune
to
the
desired
station.
Press
Enter
to
select
the
station.
WWW.dBL.COM15

§
SLEEP
SETTING
INSTRUCTIONS
The
Sleep
setting
menu
can
be
accessed
by
selecting
the
Sleep
(ZZZ)
hot
key
or
through
the
top
menu.
Push
the
Menu
Up
button
until
you
get
to
the
top
menu
screen.
SET
SLEEP
TIMER
Push
and
hold
the
ZZZ
button
and
the
Sleep
setting
menu
will
pop
up.
Next,
use
the
Scroll
Up
and
Scroll
Down
buttons
to
select
the
length
of
the
sleep
timer.
See
below.
SLEEP
SETTING
TIMER
These
buttons
will allow
the
user
to
scroll
up
and
down
through
the
highlighted
text
C'I\
The
Enter
button
will select
the
~
highlighted
setting.
(
SNOOZE)
SNOOZE
SETTING
INSTRUCTIONS
The
Snooze
setting
menu
can
be
accessed
by
selecting
the
Snooze
hot
key
or
through
the
top
menu.
Push
the
Menu
Up
button
until
you
get
to
the top
menu
screen.
SET
SLEEP
TIMER
Push
and
hold
the
Snooze
button
and
the
Snooze
setting
menu
will
pop
up.
Next,
use
the
Scroll
Up
and
Scroll
Down
buttons
to
select
the
length
of
the
snooze
timer.
See
below.
SNOOZE
SETTING
These
buttons
will allow
the
user
to
scroll
up
and
down
through
the
hig
hlighted
text.
The
Enter
button
will select
the
highlighted
setting.
16
dBL
ON
TIME
400lHD
USER
GUIDE

ou
CONTRAST
AND
BRIGHTNESS
SETTING
INSTRUCTIONS
I
The
Contrast
and
Brightness setting
menu
can
be
accessed
through
the
top
menu.
Push
the
Menu
Up
button
until
you
getto
the top
menu
screen.
SET
BRIGHTNESS
Use
the
Scroll
Up
and
Down
keys
to
highlight
the
Brightness
icon,
then
press
Enter.
Next,
use
the
Scroll
Up
and
Scroll
Down
buttons
to
set
the
brightness
and
push
Enter.
See
below.
BRIGHTNESS
SETTING
INSTRUCTIONS
These
buttons
will allow
the
user
to
scroll
up
and
down
through
the
highlighted
text.
~
The
Enter
button
will select
the
~
highlighted
setting.
SET
CONTRAST
Use
the
Scroll
Up
and
Down
keys
to
highlight
the
Contrast
icon,
then
press
Enter.
Next,
use
the
Scroll
Up
and
Scroll
Down
buttons
to
set
the
contrast
and
push
Enter.
See
below.
CONTRAST
SETTING
INSTRUCTIONS
These
buttons
will
allow
the
user
to
scroll
up
and
down
through
the
highlighted
text.
~
The
Enter
button
will select
the
~
highlighted
setting.
WWW_~BL.COM
17

@
MODE
SELECTION
INSTRUCTIONS
The
Mode
selection
menu
can
be
accessed
by
selecting
the
Mode
hot
key
or
through
the
top
menu.
Push
the
Menu
Up
button
until
you
get
to
the
top
menu
screen.
MODE
SELECTION
Use
the
Scroll
Up
and
Scroll
Down
buttons
to
select
the
desired
mode
and
then
push
Enter.
See
below.
MODE
INSTRUCTIONS
e
These
buttons
will
allow
the
user
to
scroll
up
and
down
through
the
(9
highlighted
text.
~
The
Enter
button
will select
the
6
highlighted
setting.
@
HD
SCAN
INSTRUCTIONS
Push
the
HD
Scan
button
to
scan
available
HD
stations;
once
you've
arrived
at
a
desired
station,
press
the
Enter
button.
HD
SCAN
BUTTON
DEFINITION
18
dBL
ON
TIME
400lHD
USER
GUIDE

c
CD)
TAG
INSTRUCTIONS
When
tuned
to
an
HD
station,
the
TAG
button
can
be
selected
to
capture
artist
and
song
information.
TAGGING
A
SONG
Push
the
TAG
button
and
wait
for
the
unit
to
confirm
that
information
has
been
"Tagged."
If
the
iPod
is
docked,
the
"Tagged"
information
will
be
passed
to
the
iPod
and
then
can
be
accessed
through
iTunes
the
next
time
the
iPod
is
synced
to
iTunes
through
your
computer.
See
below.
,
TAG
BUTTON
DEFINITION
I
When
the
TAG
button
is
selected,
the
broadcasted
information
will
be
saved
and
transferred
to
the
iPod.
2
TAG
BUTTON
DEFINITION
-
CONFIRMATION
When
"Tagged"
information
is
captured,
the
unit
will
confirm
that
data
is
captured.
WWW.dBL.COM19

@
LANGUAGE
SETTING
INSTRUCTIONS
Language
setting
menu
can
be
accessed through
the
top
menu.
Push
the
Menu
Up
button until
you
get
to
the
top
menu
screen.
SET
LANGUAGE
Use
the
Scroll
Up
and
Down
keys
to
highlight
the
language
preference,
then
press
Enter.
The
language
you
select will automatically
default
the
date
settings
to
the
regional preference.
See
below
for details.
LANGUAGE
SETTING
INSTRUCTIONS
DATE
SETTING
DEFAULT
-
ENGLISH
8
These
buttons
will allow
the
user
to
scroll
up
and
down
through
the
8
highlighted
text.
~
The
Enter
button
will select
the
~
highlighted
setting.
LANGUAGE
SETTING
INSTRUCTIONS
DATE
SETTING
DEFAULT
-
FRENCH
AND
SPANISH
The
Enter
button
will select
the
highlighted
setting.
These
buttons
will allow
the
user
to
scroll
up
and
down
through
the
highlighted
text.
LANGUAGE
SETTING
INSTRUCTIONS
20
.JBL
ON
TIME
400lHD
USER
GUIDE
This manual suits for next models
1
Table of contents
Other JBL Docking Station manuals

JBL
JBL On stage Quick start guide

JBL
JBL smartbase User manual

JBL
JBL radial micro User manual

JBL
JBL ON TIME 200P User manual
JBL
JBL ON TIME MICRO User manual

JBL
JBL 10950-0113-001 User manual

JBL
JBL ON STAGE IV User manual

JBL
JBL On Time 400iHD User manual

JBL
JBL ON STAGE 200iD User manual
JBL
JBL JBL On Stage Micro User manual

JBL
JBL on stage II User manual

JBL
JBL OnBeat air User manual

JBL
JBL ON AIR WIRELESS User manual

JBL
JBL OnBeat air User manual

JBL
JBL ON TIME MICRO User manual

JBL
JBL On Time User manual
JBL
JBL on stage micro II User manual

JBL
JBL ON STAGE 200iD User manual
JBL
JBL JBL On Stage Micro User manual

JBL
JBL ON TIME MICRO User manual