manuals.online logo
Brands
  1. Home
  2. •
  3. Brands
  4. •
  5. Jegs
  6. •
  7. Lighting Equipment
  8. •
  9. Jegs 555-41810 User manual

Jegs 555-41810 User manual

Standalone Direct Wire
Shift Light
555-41810
Black Billet Aluminum with Red LEDs
1
Introduction
We would like to take this opportunity to thank you for
purchasing this JEGS Standalone Direct Wire Shift Light.
We welcome any comments or feedback you might have.
If you have any questions about this product or about the
installation procedure, please feel free to contact us at
1.800.345.4545.
Installation
1. Disconnect the Negative (-) battery terminal.
2. Connect wiring according to the wiring diagram.
• Yellow ignition wire connections options
• IGNITION COIL
•
The yellow wires connects to the negative side
of the coil.
• 4 Cylinder: 2 Pulse Per Rev
• 6 Cylinder: 3 Pulse Per Rev
• 8 Cylinder: 4 Pulse Per Rev
• 10 Cylinder: 5 Pulse Per Rev
• 12 Cylinder: 6 Pulse Per Rev
• COIL PACK:
•
The yellow wire connects to the following
options. (Varies by vehicle)
• Negative side of the coil
• Coil control wire
• Coil trigger wire
• 1 Pulse Per Rev is a good starting point
• COIL-ON PLUG/FUEL INJECTOR
•
The yellow wire connects to the following
options. (Varies by vehicle)
• Negative side of the coil
• Coil control wire
• Coil trigger wire
• 1/2Pulse Per Rev is a good starting point
• AFTERMARKET IGNITION/TACH OUTPUT
•
The yellow wires connects to the tachometer
output terminal.
• 4 Cylinder: 2 Pulse Per Rev
• 6 Cylinder: 3 Pulse Per Rev
• 8 Cylinder: 4 Pulse Per Rev
• 10 Cylinder: 5 Pulse Per Rev
• 12 Cylinder: 6 Pulse Per Rev
3. Locate shift light for easy viewing and accessibility.
• The base is secured with double-sided tape. Choose
a solid mounting surface.
•
Note that the programming buttons are used to recall
peak RPM.
•
Mount the shift light so that access to the programming
buttons is possible after installation.
4. Reconnect the Negative (-) battery terminal.
Dash lighting (12-Volt)
Accessory Power (12-Volt)
Ignition
Ground
Display Screen
Program Buttons
Adhesive
Mounting
Base
Angle
Adjustment
DISPLAY
WIRING
BASE
Operation
This shift light is equipped with an easy to use LED menu.
The LED display will also display your engine RPM while
the car is running.
2
000
ACCESSING THE MENU
1.
Turn on power to the shift light by turning on the red
wire’s keyed 12-volt source. You will see the LED display
light up and show three 0s.
2. To access the menus follow this procedure:
• Quick press - Enters menu mode
• Quick press - Toggles through menu
• Press and hold for 2 seconds - Selects menu
PPr
PULSES PER REV MENU
Start by setting up your pulses per rev (PPr). Once this is
nished, the shift light is ready for use. There are two ways
to accomplish this; either by setting a PPr count (.5-6), or by
selecting the Program Mode (Pr9). The Pr9 mode lets you
dial the shift light to match your know engine RPM. This is
useful if you don’t know your PPr count or where the value
is different than .5-6 PPr count values.
1.
Enter the PPr menu by pressing and holding the
programming button for two seconds.
2.
Toggle through the available PPr options while in the
PPr Menu.
•
PPr Options: 0.5, 1.0, 1.5, 2.0, 2.5, 3.0, 4.0, 5.0, 6.0
3. At the desired PPr setting, let the shift light time out for
ve seconds to save the PPr setting. Program mode (Pr9)
is explained in the next section.
PPr
sp
PP9
PROGRAM MODE (Pr9)
Program mode (Pr9) will let you dial in the RPM on the LED
display to match your engine RPM. You can use this option
instead of the PPr for applications where the value is different
than .5-6 PPr or you don’t know the exact value. This lets you
dial in the shift light to match the engine RPM.
1. Start the engine and power up the shift light.
2.
Press and hold the program button for 2 seconds to
select the PPr menu.
3. Bypass all available PPr settings by toggling to the last
option (Pr9) and hold the program button for 2 seconds.
4.
You will see 1.00 (1,000 RPM) displayed on the screen.
Toggle the buttons up and down to have the LED read-
out match your engine RPM.
• This must be done with the engine running.
5. Once the LED readout matches the engine RPM, let the
shift light time out for 5 seconds to save the settings. The
LED will blink two times when it saves the setting.
SET SHIFT POINT MENU
1.
Press and hold the program button for 2 seconds to
select the Shift Point menu.
2.
Use the buttons to toggle the RPM up or down to the
desired shift point.
•
When setting a shift point <9,999 RPM, the shift point
can be selected in 10 RPM increments. (8.53=8,530)
3. When you have reached the desired shift point, let the
shift light time out. The LED will blink two times when it
saves the setting.
3
RECALL PEAK
1. Press and hold either program button for 2 seconds to
select Peak Recall.
2.
Peak will be displayed for as long as you hold the button
and also for 5 seconds after you release it.
3. Clearing the maximum peak RPM.
•
With the peak RPM showing, release the program
button. After releasing the button press and release
the program button again within 5 seconds.
4.
When recalling peak RPM <9,999 RPM it will be
displayed in a 3 digit format.
• Example: 8,530 RPM = 8.53
pea
Operation

Popular Lighting Equipment manuals by other brands

MJ LED LIGHTNING MJ-3200 user manual

MJ LED LIGHTNING

MJ LED LIGHTNING MJ-3200 user manual

Mr. Nixie Magic Eye Winker Assembly manual

Mr. Nixie

Mr. Nixie Magic Eye Winker Assembly manual

Feniex GEO Series instruction manual

Feniex

Feniex GEO Series instruction manual

RapidLED R9996-S-BK installation instructions

RapidLED

RapidLED R9996-S-BK installation instructions

Flash Technology FTS 812 L user manual

Flash Technology

Flash Technology FTS 812 L user manual

Elko inels RFSAI-62B/230V quick start guide

Elko

Elko inels RFSAI-62B/230V quick start guide

RIG-A-LITE EXSXPJ Series Installation datasheet

RIG-A-LITE

RIG-A-LITE EXSXPJ Series Installation datasheet

Beghelli METRica LED L LG 230 manual

Beghelli

Beghelli METRica LED L LG 230 manual

Naked NKD1 Installation & operating guide

Naked

Naked NKD1 Installation & operating guide

LUMEN CENTER ITALIA BRAWALL Assembly istructions

LUMEN CENTER ITALIA

LUMEN CENTER ITALIA BRAWALL Assembly istructions

EGO Power+ LT1000E Operator's manual

EGO

EGO Power+ LT1000E Operator's manual

FLINQ FQC8256 instruction manual

FLINQ

FLINQ FQC8256 instruction manual

Home Accents Holiday 22RT0752214 Assembly instructions

Home Accents Holiday

Home Accents Holiday 22RT0752214 Assembly instructions

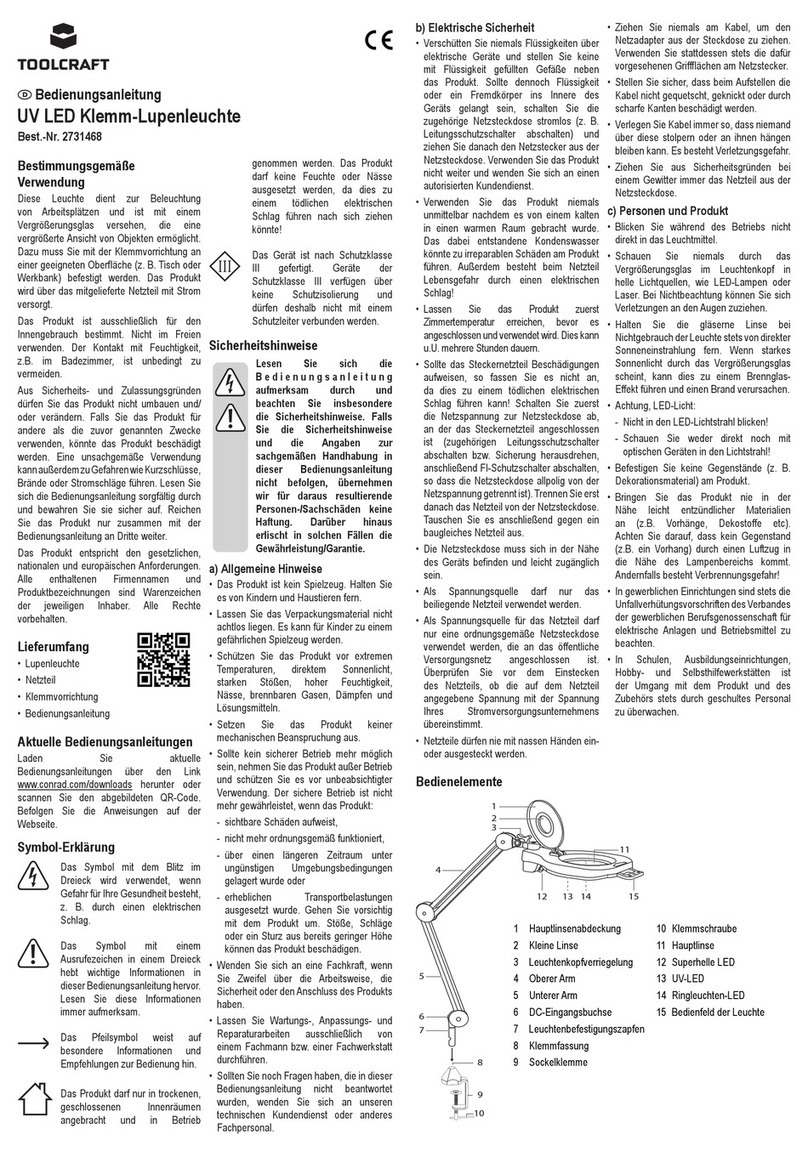
TOOLCRAFT 2731468 operating instructions

TOOLCRAFT

TOOLCRAFT 2731468 operating instructions

Anolis ArcPower 48 Outdoor /W user manual

Anolis

Anolis ArcPower 48 Outdoor /W user manual

Saxby Lighting 98440 instruction manual

Saxby Lighting

Saxby Lighting 98440 instruction manual

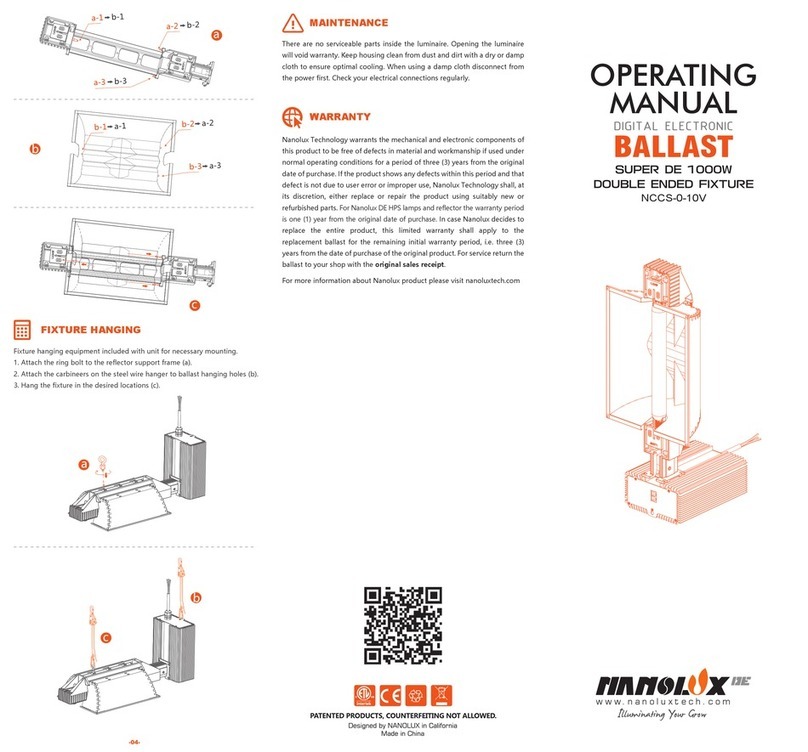
NANOLUX SUPER DE 1000W operating manual

NANOLUX

NANOLUX SUPER DE 1000W operating manual

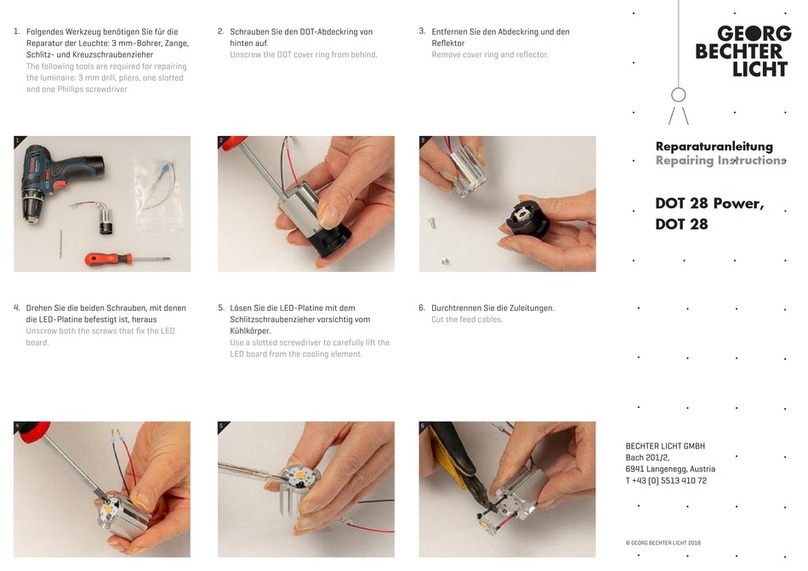
Georg Bechter Licht DOT 28 Power Repairing instructions

Georg Bechter Licht

Georg Bechter Licht DOT 28 Power Repairing instructions

manuals.online logo
manuals.online logoBrands
  • About & Mission
  • Contact us
  • Privacy Policy
  • Terms and Conditions

Copyright 2025 Manuals.Online. All Rights Reserved.