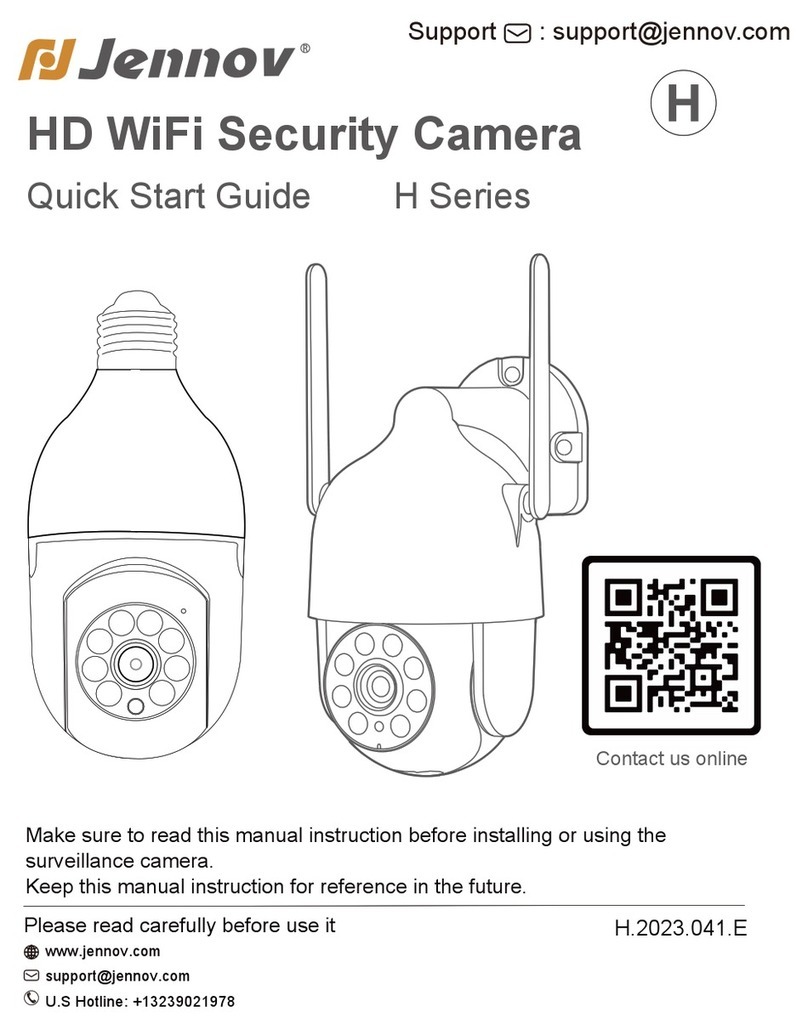
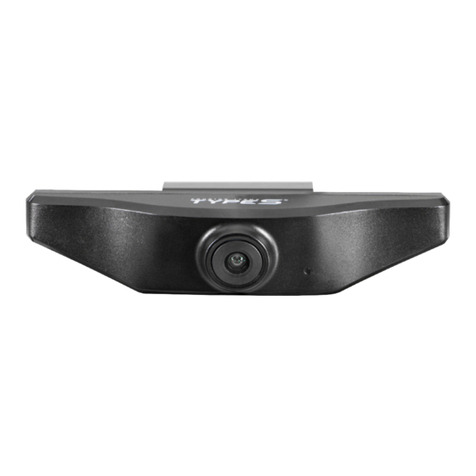
Jennov M Series User manual

Available on the
App Store
GET IT ON
Google Play
M.2023.032.E
The functions supported by different models may be different.
If you have any questions, please feel free to contact us.
Please read carefully before use it
iPhoneAndroid
M Series
VideoLink
User Manual
U.S Hotline: +13239021978
www.jennov.com
Support : support@jennov.comSupport : support@jennov.com

1. This manual is for reference only. The settings and functions
of your device may differ from those described in this manual due
to device updates etc.
2. Please check each accessory when you receive the item.
3. Turn on the camera and check that the screen comes out before
installation.
4. Please change the IP address before using the camera to
communicate within the same LAN.
5. This product can be added to a POE security camera kit. It can
also be used separately. The monitoring methods and
operations described in this manual are for single use.
Please note that some features may not be supported when
added to other POE security camera system.
Notes Before Installation
Support : support@jennov.com

Chapter 1 Installation Instructions
1.1 Product Overview............................................................01
1.2 Packing List.....................................................................04
1.3 Camera Installation.........................................................05
1.3 Device Connection..........................................................06
1.4 Connection via Switch.....................................................07
1.5 Separate Connection Use...............................................08
Chapter 2 How to View the Camera via Browser?
2.1 Download PC Search Tool..............................................09
2.2 Batch Modify IP Method..................................................10
2.3 Preview Screen with IE Browser.....................................11
2.4 Record to TF Card...........................................................12
2.5 Playback TF Card Video via Browser.............................14
2.6 Download Video Data......................................................15
2.7 Alarm Settings-1..............................................................16
2.8 Alarm Settings-2..............................................................17
2.9 Human Tracking Settings................................................19
Chapter 3 How to Monitor via PC Application
3.1 Set up LMS on Computer 1.............................................20
3.2 Set LMS on Computer 2..................................................21
3.3 Set LMS on Computer 3..................................................22
3.4 Recording to Local Computer Disk -1..............................23
3.5 Recording to Local Computer Disk -2.............................24
3.6 Local Playback of Video..................................................25
Catalog Support : support@jennov.com

3.7 Set Alarm-1......................................................................26
3.8 Set Alarm-2......................................................................27
3.9 Set Alarm-3......................................................................28
3.10 Human Tracking Settings..............................................29
Chapter 4 How to Remotely Control via Smartphone
4.1 Mobile APP Operation.....................................................30
Registration and Login..........................................................31
Equipment Management.......................................................32
Real-time monitoring.............................................................33
Human tracking settings........................................................34
Alarm and event notification..................................................35
Playback of TF video.............................................................36
Function Tey Introduction-1...................................................37
Function Key Introduction-2...................................................38
Function Key Introduction-3...................................................39
Function Key Introduction-4...................................................40
Chapter 5 Q & A
5.1 Where is the reset button................................................41
5.2 I can't detect the camera.................................................41
5.3 The terracotta lobby lights up at night.............................42
5.4 LAN cable options...........................................................43
5.5 How to connect it to your NVR?......................................44
5.6 How to add if NVR is Dual IP?.........................................45
5.7 RTSP setting...................................................................46
Chapter 6: Peace of Mind
Support : support@jennov.com

Camera Details
Microphone
Infrared light
Lens
Sensor
136mm
198mm
245mm
Product Overview
SKU:P87HM
Support : support@jennov.com
- 01 -

SD Card Slot
CAUTION: Please insert the Micro SD Card according to the direction shown in the picture.
If it is not inserted correctly, it may get stuck in the camera.
SD card port: Support micro SD card for local storage (Max 256GB).
Reset button: Used to restore the camera to factory settings (Press and hold on 5-8s).
Card capacity requirements: 8-256 GB.
Read and write speed requirements: Class10 level.
File format: FAT32.
81mm
62mm
96mm
115mm
Support : support@jennov.com
- 02 -

SKU:A76WM
Note: The A76WM does not come with a TF card slot.
Support : support@jennov.com
- 03 -

Packing List
Packing List
Note: The package list should refer to the list of corresponding camera shape.
Screw PackCamera
Power Adapter
Warning Sticker
Network Cable User Manual
Waterproof RJ45 Connector
Screw PackCamera
Power Adapter
Warning Sticker User Manual
Network Cable
Waterproof RJ45 Connector
Support : support@jennov.com
- 04 -

Some cameras may not designed with a reset button. You can also reset the camera
through App, Client or AjDevTools.
Installation Diagram (For tracking cameras only)
1.Please refer to the schematic diagram to adjust the appropriate installation angle;
2.When multiple targets appear at the same time, the camera will preferentially track
the relatively large target;
3. When installing the camera, try not to look at any place with strong light source.
For example, street lights, glass, sun, green plants within 7-10ft will directly affect.
the definition and night vision effect of the camera.
4.The camera is suitable for border defense, reservoirs, forests, farms and other
low-density scenes, which can give full play to the advantages of the product. There
is a large flow of people, such as stations and squares, which are not suitable for
tracking cameras.
NOTE: If the target distance is less than 3m or more than 50m, the tracking effect will be
affected.
5M 25M 50M
5M-8M
50M
3-15Km/h 3-15Km/h 3-15Km/h
360° range of
monitoring area
Camera Installation
Support : support@jennov.com
- 05 -

DC IN POE3 POE4 UP LINK VGA HD-OUT USB
POE1 POE2
Router
Monitors
Power Adapter
Cell phone
PC
WAN
POE Camera
Mouse
Notebook
·Compatible with 8MP POE NVR which support Onvif protocol
·Compatible with Hikvision POE NVR (Plug&Play)
·Compatible with Dahua POE NVR (Plug&Play)
Device Connection
Support : support@jennov.com
- 06 -

If your NVR only has one LAN port and the POE camera can't connect to the NVR
directly, you can connect the camera to NVR via a POE switch.
Note: If your switch is not POE switch, please plug the power supply cable of
the camera.
After connecting the camera to NVR, please power on the POE switch and follow
the steps to modify IP address.
Router
Monitors
POE Switch
Power Adapter
DC IN UP LINK VGA HD-OUT USB
NVR
WAN
POE
POE Camera
Connection via Switch
*Note: The IP address must be changed before the camera can be
used.
For instructions on how to change the IP address, see page 10.
Support : support@jennov.com
- 07 -

Q: How to use the camera separately?
A: You can use the camera and router separately by connecting them via POE
power supply.
Separate Connection Use
WAN
Data &
Powar Out Data In
POE Camera
Router
POE Power Supply
Power Adapter
Support : support@jennov.com
- 08 -

1
2
3
Download PC Search Tool
Q: Where to find and download the PC software?
A: Go to our official website: https://www.jennov.com/download/
Download "M Series Application - Windows" and run the
"AjDevTools".
Support : support@jennov.com
- 09 -

1. Please power on the camera and plug in a network cable, then run the software
“SearchTools” to search the camera IP address.
2. Modify the IP address, enable the DHCP to obtain a IP address automatically,
or you can modify the IP address manually.
3. The camera QR code is used for remote viewing via phone APP.
4. Right mouse click on the IP address and select watch device on top of IE.
Note:
1,The software and the camera must be on the same LAN.
2,You can add a camera with mobile app by scanning the camera's QRcode.
21
3
Batch Modify IP Method
4
Support : support@jennov.com
- 10 -

After logging in, you can watch live video.
Click "W:H" in the lower left corner to adjust the screen display ratio appropriately.
Username: admin
Password: 123456
admin
123456
Camera
2023-04-17 Tuesday 10 : 14 : 16
Preview Screen with IE Browser
Support : support@jennov.com
- 11 -

1. Record to TF card
The A76 has no SD card slot, so it does not support TF card related functions.
Enter "Configuration" - "Storage" - "Timer Recording" The default is 5 minutes
recording length. The maximum length can be adjusted to 30 minutes. The default is
to overwrite the recorded data automatically.
2. Default Timer Recording
1
2
1
2
Record to TF Card Support : support@jennov.com
- 12 -

3. TF card capacity query and formatting
You need to format the TF card when you use it for the first time
4. If you want to save the video to your computer disk, you need to use the
"LMS" client to set up.
5. Automatic overwrite, when the TF card is full will overwrite automatically
overwrite the beginning of the video for recycling.
Support : support@jennov.com
- 13 -

1. Click Playback. After selecting the video type, click the date you want to play and
the video file will be displayed according to your search criteria.
2. You can play the video by clicking on the play time zone at the bottom.
You can view the recording types by time zone.
Green is timed recording, red is alarm recording.
Playback TF Card Video via Browser
CAM1 2023-04-17 Wednesday 15 : 14 : 16
1
2
3
1. Playback
2. Stop
3. Slow
4. Fast
5. Next frame
Note: Only P87 is supported
Support : support@jennov.com
- 14 -

Click Playback→ Select the date and type of video → Click on "File List" to display
or download the video files based on the search criteria.
Download Video Data
3
CAM1 2023-04-17 Wednesday 15 : 14 : 16
Camera
1
Note: Only P87 is supported
2
Support : support@jennov.com
- 15 -

Alarm Settings-1
1.Motion Detection Setting:
1) Click Settings > Events > Motion Detection, check "Enable" to enable motion
detection.
2) Then set the motion detection schedule and detection area, and then click "OK".
Finally, click "Save" to finish the settings.
3) After setting, the system will alert you when motion is detected in the set red
detection area. Send the set email notification and APP notification.
2. Motion Recording Setting:
Check "Trigger recording", set the recording time, and click "Save" to finish the
setting. Then, the alarm recording will start at the specified time.
3. Capture a Picture: it will take a screenshot to the TF card when the motion
detection is started.
4. Trigger the Alarm: when the alarm area can be triggered after the alarm sound,
the alarm sound can also be set and uploaded.
2
4
5
6
3
1
Support : support@jennov.com
- 16 -
This manual suits for next models
2
Table of contents
Other Jennov Digital Camera manuals
