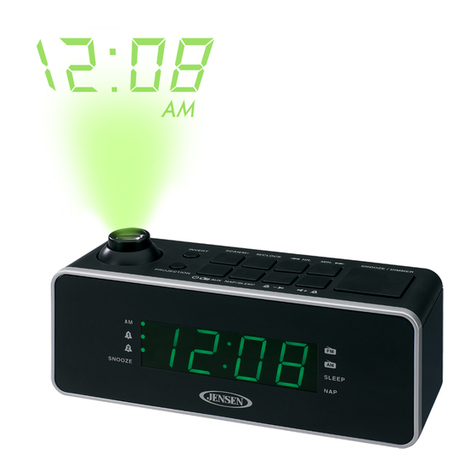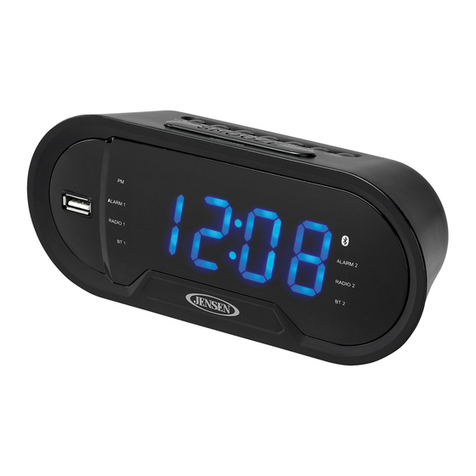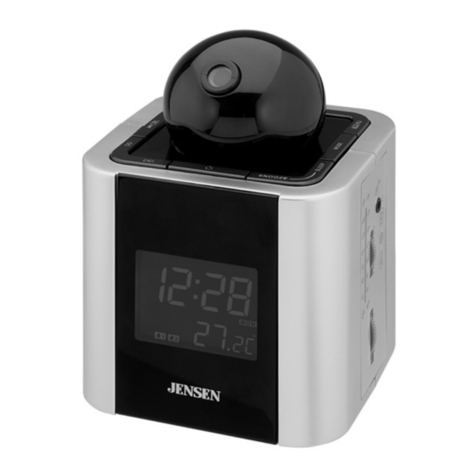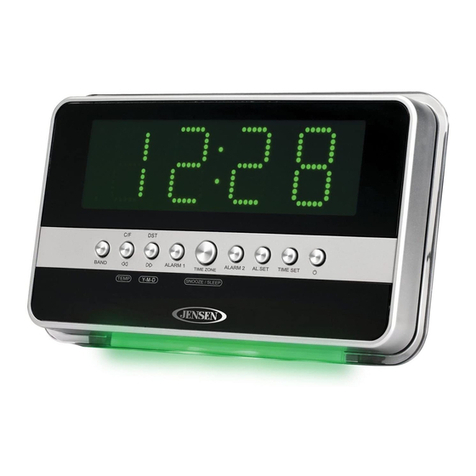
CAUTIO S:
1. Do not mix old nd new b tteries.
2. Only use good qu lity/n me br nd b tteries.
3. Do not mix lk line, st nd rd (c rbon-zinc) or rech rge ble (nickel-c dmium)
b tteries.
4. If the unit is not going to be used for n extended period of time, ple se remove
the b tteries. Using old, le king or che ply m de b tteries c n c use d m ge to
the unit nd m y void the w rr nty.
5. Do not dispose of b tteries in fire, b tteries m y explode or le k.
6. B tteries sh ll not be exposed to excessive he t such s sunshine, fire or the
like.
7. Repl ce ll the b tteries t the s me time, no m tter exh usted or not, every 2
ye rs t the s me time to void possible b ttery le k ge.
8. Do not try to rech rge b tteries not intended to be rech rged; they c n overhe t,
rupture nd le k. (Follow b ttery m nuf cturer's directions).
9. Only n dult should repl ce the b tteries.
STA DBY MODE
St ndby Mode is when the unit is first plugged into n AC power source (displ y
fl shing) or fter ll the settings h s been m de nd the time is showing on the displ y.
St ndby mode is lso en bled when the R dio/AUX re off, no buttons re pressed
nd no l rms re sounding.
CLOCK SETTI G
The LED DISPLAY (#10) will be fl shing when the unit is plugged in for the first time.
The unit is now in st ndby mode.
Setting the Time:
1. In st ndby mode, press nd hold the TIME / MEMORY
BUTTON (#4) until the hour digits of the clock displ y
begin to fl sh.
2. Repe tedly t p the TUNE - /
BUTTON (#6) or
TUNE + / BUTTON (#7) to set the hour. Press nd
hold the button for f st reverse/ dv nce setting. M ke
sure the correct AM or PM time is selected when setting the hour.
ote:
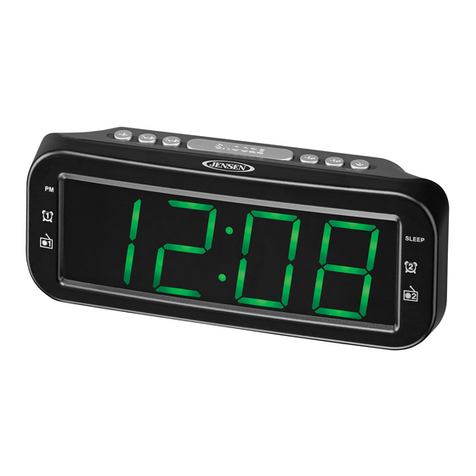
The PM INDICATOR (#9) is loc ted in the upper left p rt of the displ y.
The PM INDICATOR (#9) will light when the hour digits selected re for PM time.
The PM INDICATOR (#9) will be off when the hour digits selected re for AM time.
3. Press the TIME / MEMORY BUTTON (#4) to confirm
the hour setting, the minute digits will fl sh to prompt for
input.
4. Repe tedly t p the TUNE - /
BUTTON (#6) or
TUNE + / BUTTON (#7) to set the minute. Press
nd hold the button for f st reverse/ dv nce setting.
5. T p the TIME / MEMORY BUTTON (#4) to confirm nd complete the setting. The
displ y will stop fl shing.
ote:
The unit will utom tic lly s ve the settings nd exit the time set mode if you do not
press ny buttons within 10 seconds.
