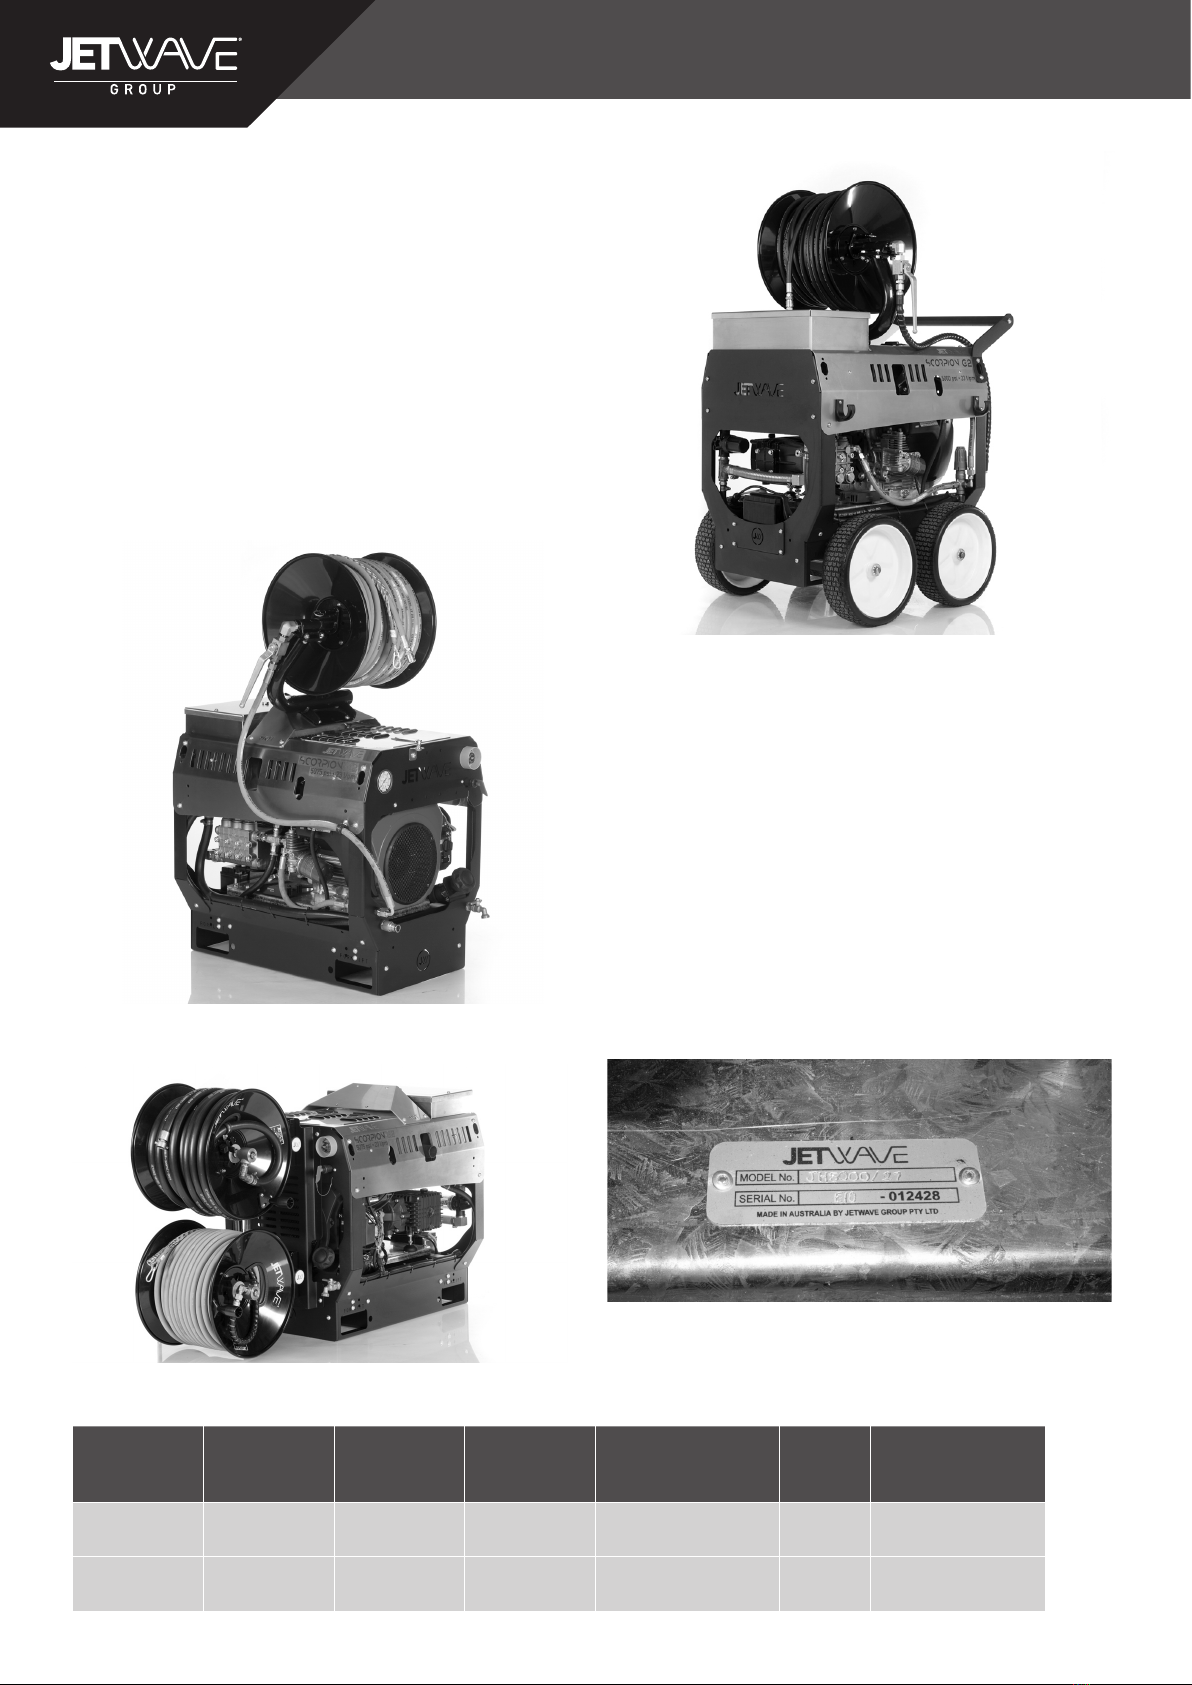
SCORPION G2 MANUAL - WATER JETTER/DRAIN CLEANER
4
clean. Properly maintained tools with sharp cutting
edges are less likely to bind and are easier to control.
• Check for misalignment or binding of moving parts,
breakage of parts and any other condition that may
affect the tool’s operation. If damaged, have the tool
serviced before using. Many accidents are caused by
poorly maintained tools.
Use only accessories that are recommended by the
manufacturer for your model. Accessories that may be
suitable for one tool, may become hazardous when used
on another tool.
Service
• Tool service must be performed only by qualied repair
personnel. Service or maintenance performed by
unqualied personnel could result in a risk of injury.
• When servicing a tool, use only identical replacement
parts. Follow instructions in the Maintenance section
of this manual. Use of unauthorized parts or failure to
follow Maintenance Instructions may create a risk of
electrical shock or injury.
WATER JETTER SAFETY
WARNING
This section contains important safety information
that is specic to this tool.
Read these precautions carefully before using
this drain Cleaning Machine to re duce the risk of
electrical shock or other serious injury.
SAVE ALL WARNINGS AND INSTRUCTIONS
FOR FUTURE REFERENCE!
Keep this manual with machine for use by the operator.
• Never operate the jetter with the hose end outside of
the drain. Hose can whip, causing striking injuries and
spray can penetrate skin and cause serious injury.
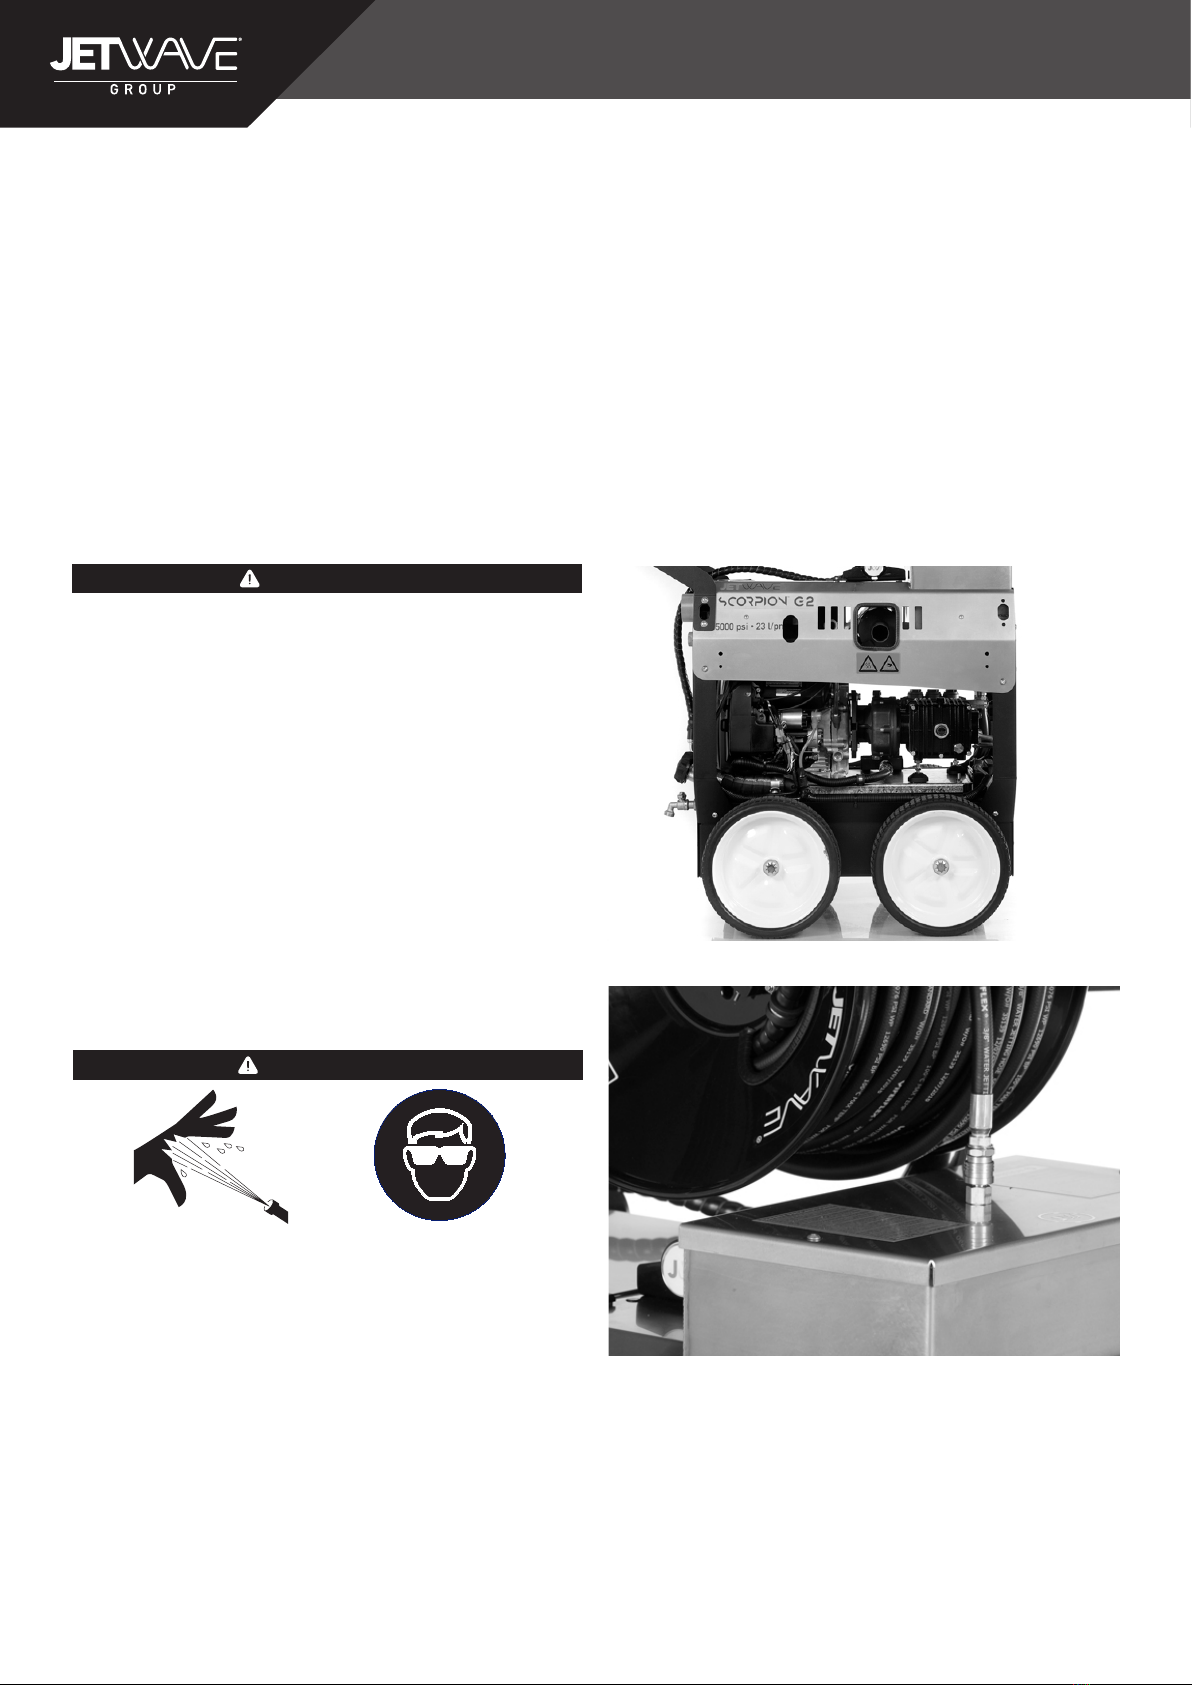
• High pressure water can inject under skin resulting in
serious injury including amputation. Do not direct spray
at people or animals.
• Do not operate jetter above the 5080 psi pressure
rating or 60°C (inlet water temperature). This increases
the risk of injury, including burns, and damage to the
jetter.
• One person must control the jetting process and
water ow. If the jetter hose comes out of the drain,
the operator must be able to shut off the water ow
to reduce the risk of the jetter hose whipping, causing
striking and high pressure injection injuries.
• Always use appropriate personal protective equipment
while handling and using drain cleaning equipment.
Drain may contain chemicals, bacteria and other
substances that may be toxic, infectious, cause
burns or other issues. Appropriate personal protective
equipment (PPE) includes safety glasses and gloves,
and may also include equipment such as latex or
rubber gloves, face shields, goggles, protective
clothing, respirators, head protection, hearing
protection and steel toed footwear.
• Practice good hygiene. Use hot soapy water to wash
hands and other body parts exposed to drain contents
after handling or using drain cleaning equipment.
Do not eat or smoke while operating or handling
drain cleaning equipment. This will help prevent
contamination with toxic or infectious material.
• Do not spray toxic or ammable liquids. This will
reduce the risk of burns, re, explosion or other injury.
• Gasoline and its vapors are highly ammable and ex-
plosive. See engine manual for precautions to reduce
the risk of burns, explosions and serious injury while
handling and using gasoline.
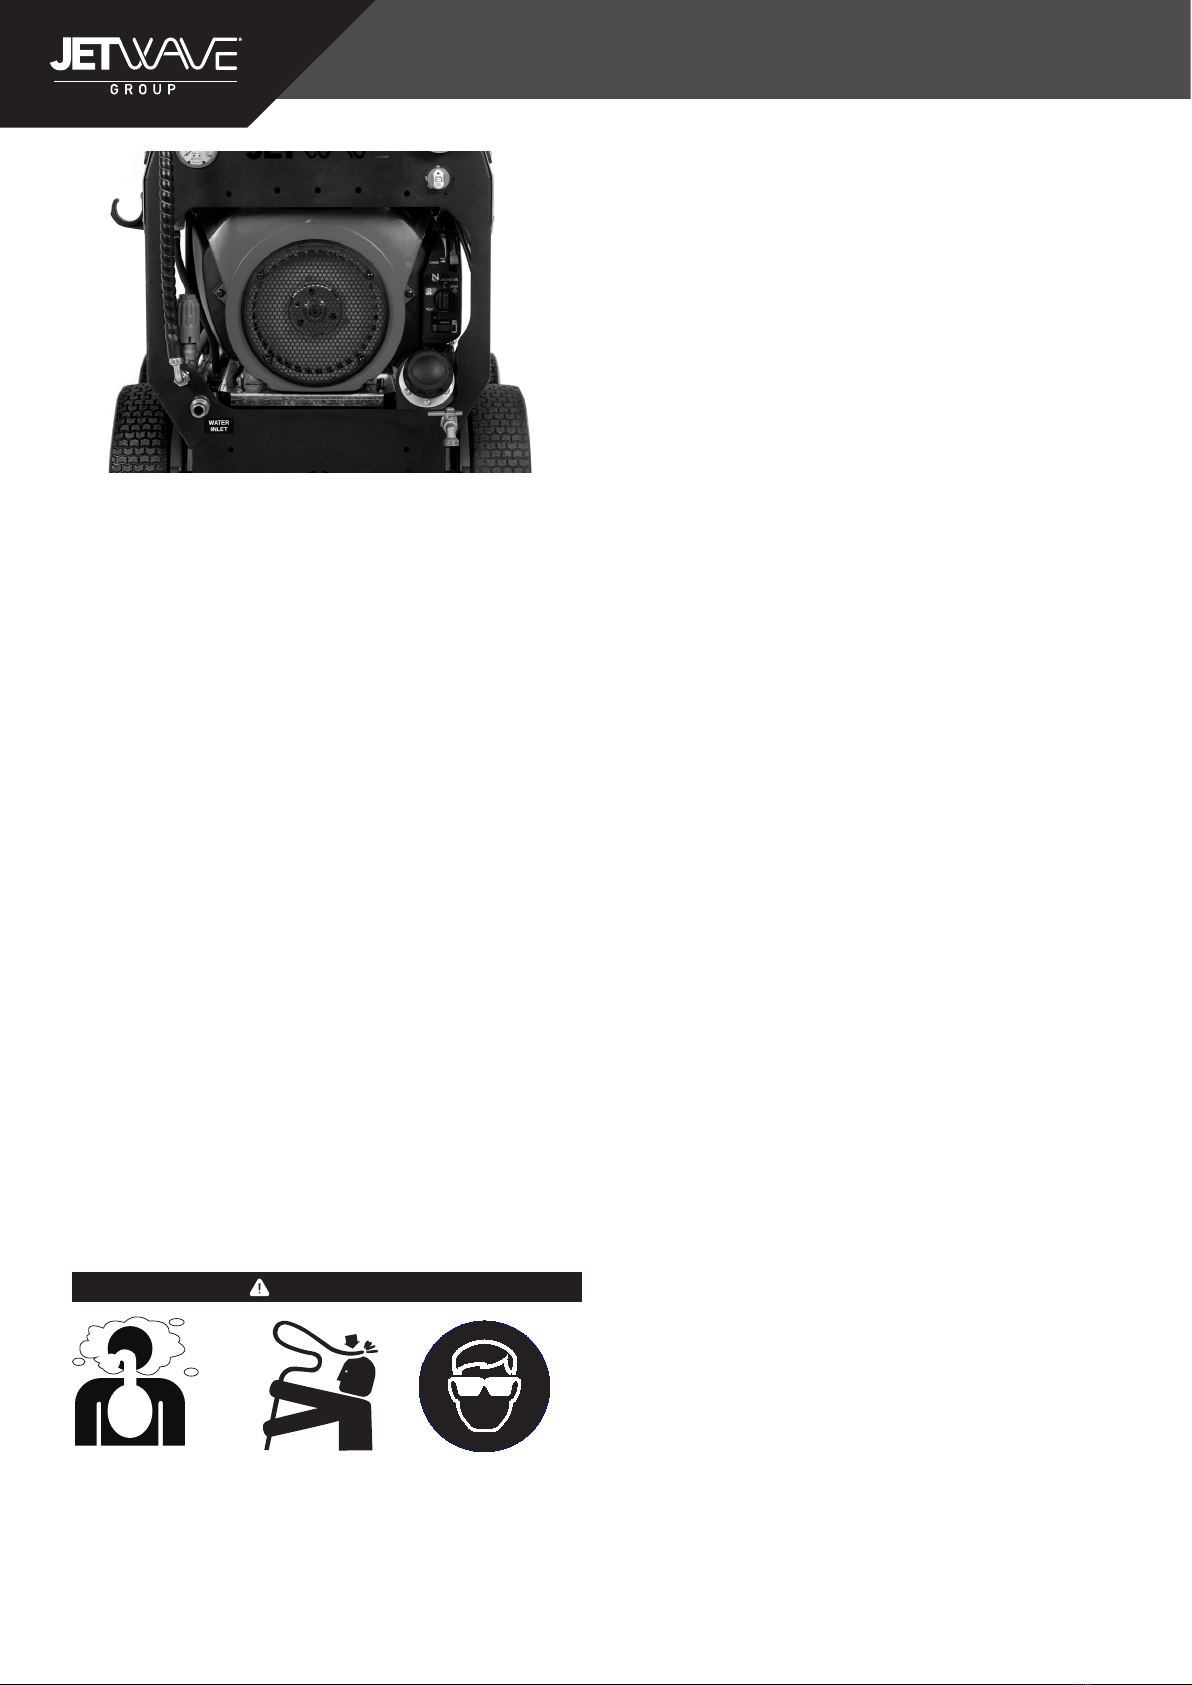
• Engines produce carbon monoxide, a colorless,
odorless poison gas. Breathing carbon monoxide can
cause nausea, fainting or death. Do not start and run
engine in an enclosed area, even if doors and windows
are open. Only operate outside.
• Hot surfaces can cause burns and re. Keep body
parts and ammable material away from hot surfaces.
• Read and understand this manual, the engine manual
and the warnings and instructions for all equipment
and material being used with this tool before operat-
ing. Failure to follow all warnings and instructions may
result in property damage and/or serious injury.
• Follow all applicable workplace health and safety
regulations and guidelines concerning the use of this
equipment.
If you have any question concerning this Jetwave®product:
– Contact your local Jetwave®distributor.
– Visit jetwave.com.au/nd-a-dealer to nd your local
Jetwave contact point.