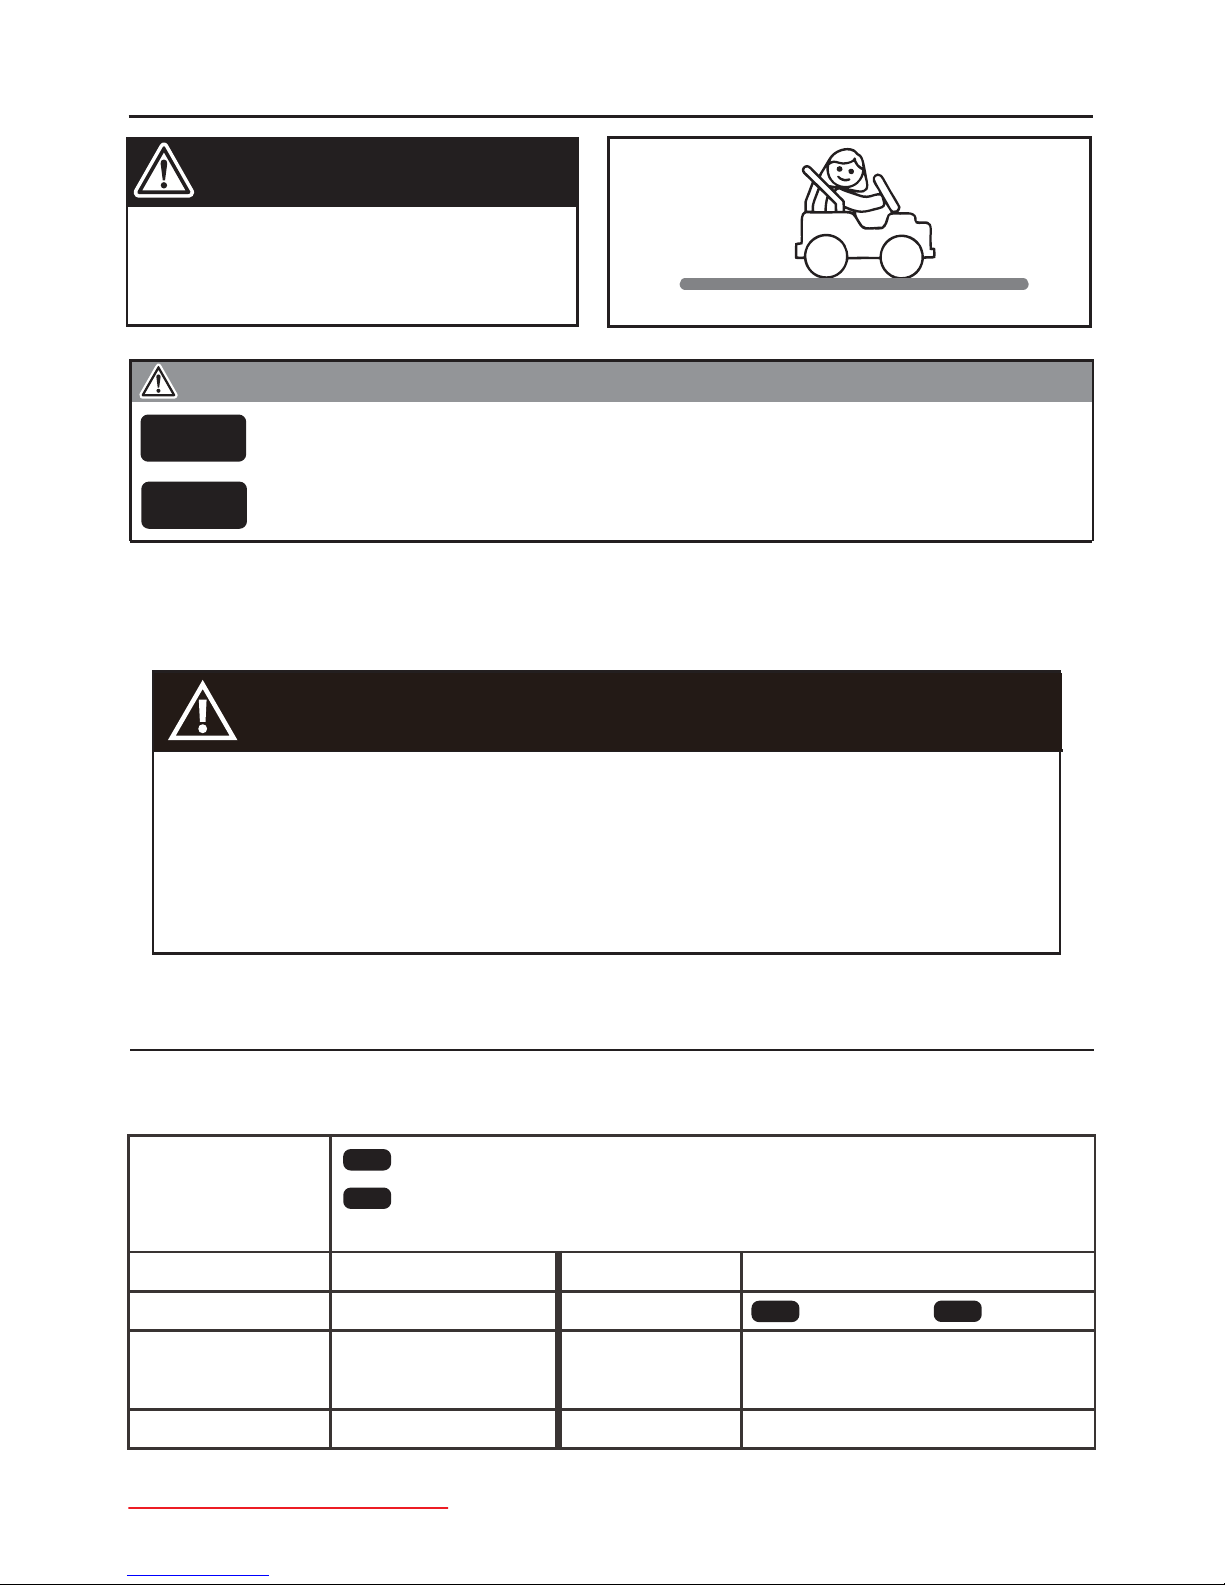
Use the vehicle on generally level ground ONLY!
caution
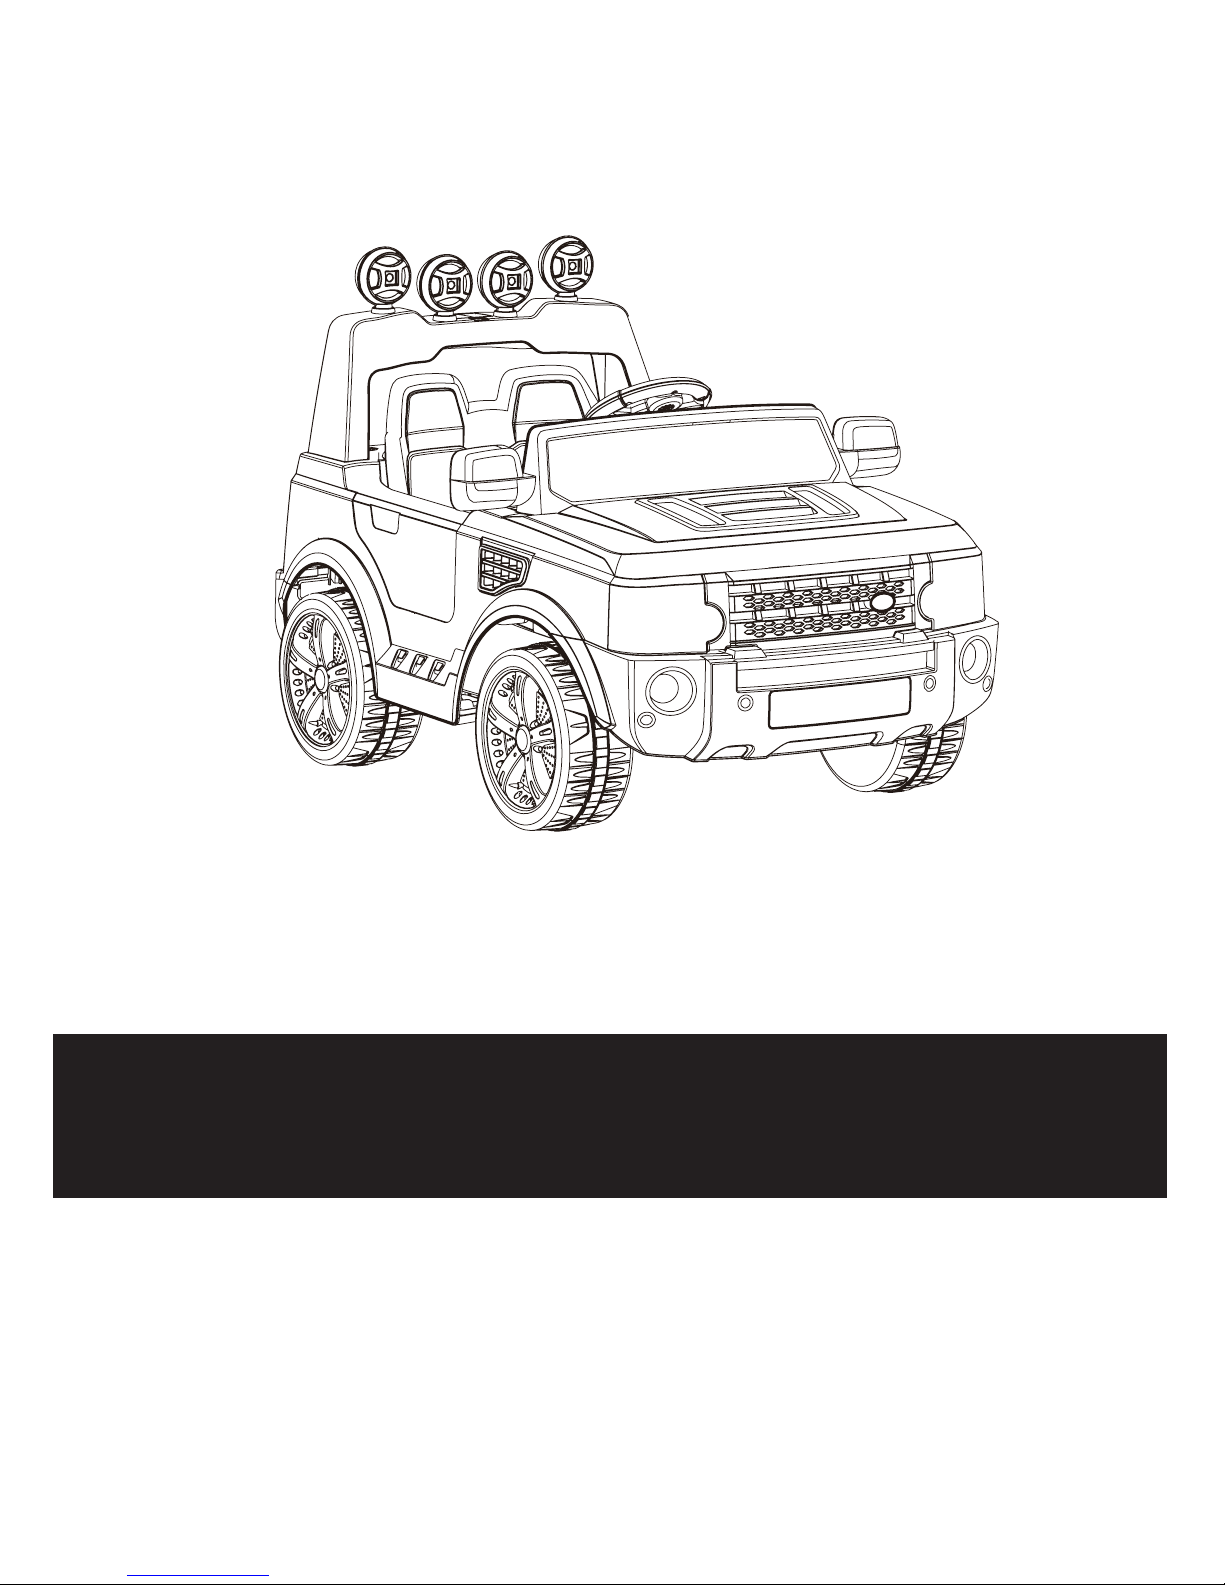
About Your New Vehicle
Thank you for your purchasing our products, we wants your child to enjoy this product for years to
come. Keep these points in mind as you read this guide:
FOR THE SAFETY OF YOUR CHILD, PLEASE READ ALL WARNINGS AND
ASSEMBLY/USE INSTRUCTIONS. KEEP THIS GUIDE FOR FUTURE REFERENCE.
• ADULT ASSEMBLY REQUIRED. The product contains small parts, which are for
adult assembly only. Keep children away when assembling.
• Always remove protective material and poly bags and dispose before assembly.
WARNING!
Suitable age: 37~96 months
Load Capacity:
Under 30KGS
Size of car:
106 x 70.5 x 71 CM
Speed: 3KM/H 3~5KM/H
Power way:
Charging type
Charger: Input: depend on local voltage
Output: DC DC6V1A or DC12V1A
Average
battery life:
Approximately
300 times
Charge time: 8-12 Hours
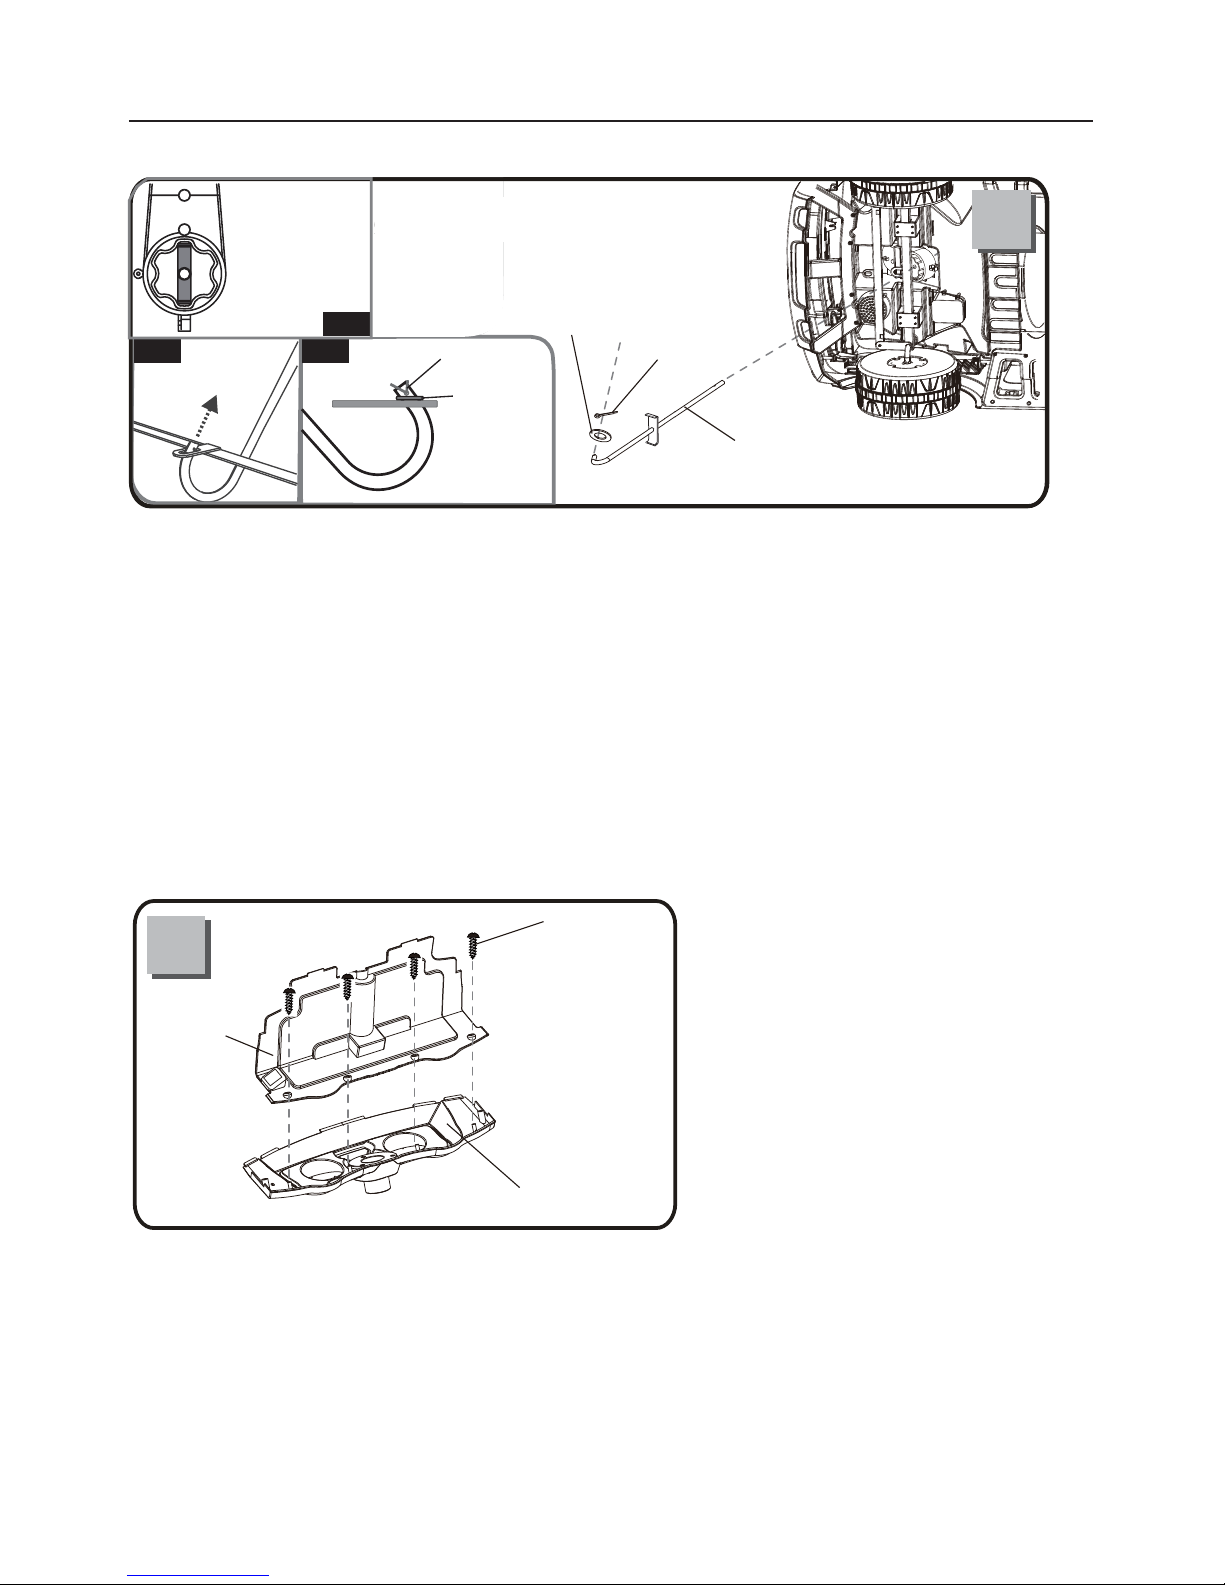
Battery &
Fuse:
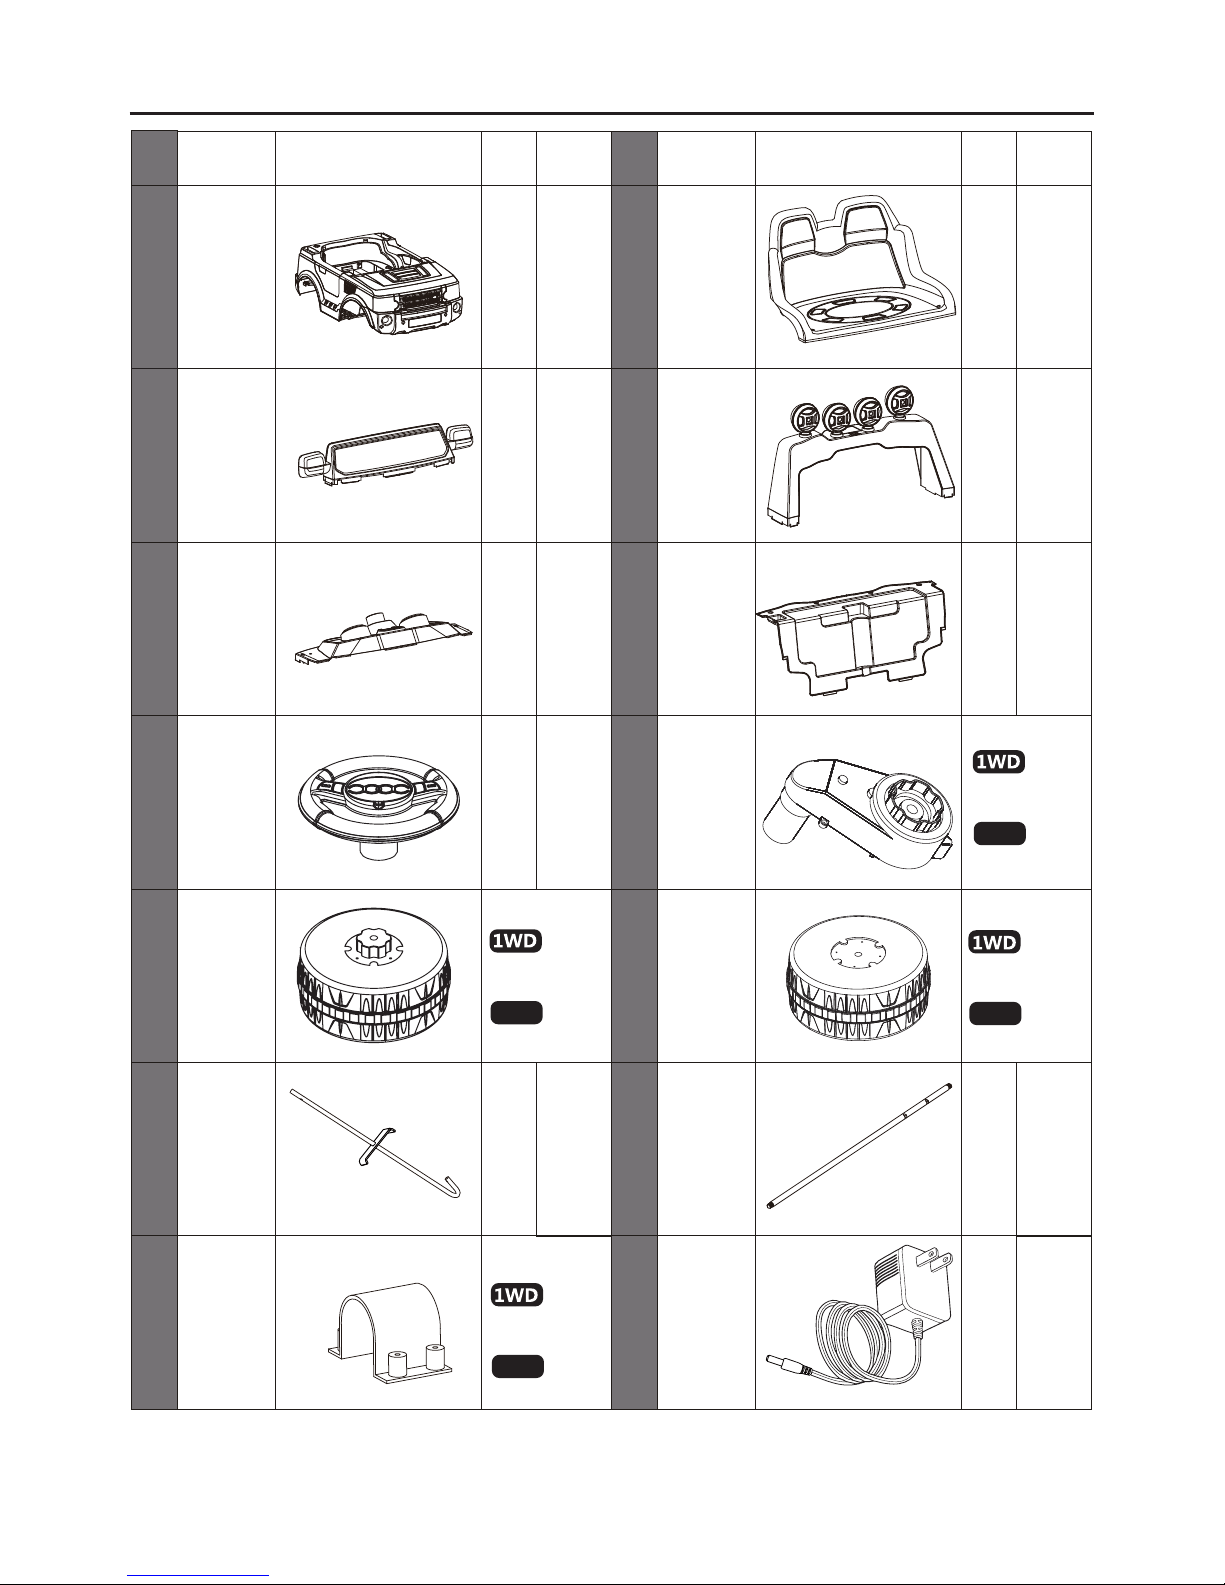
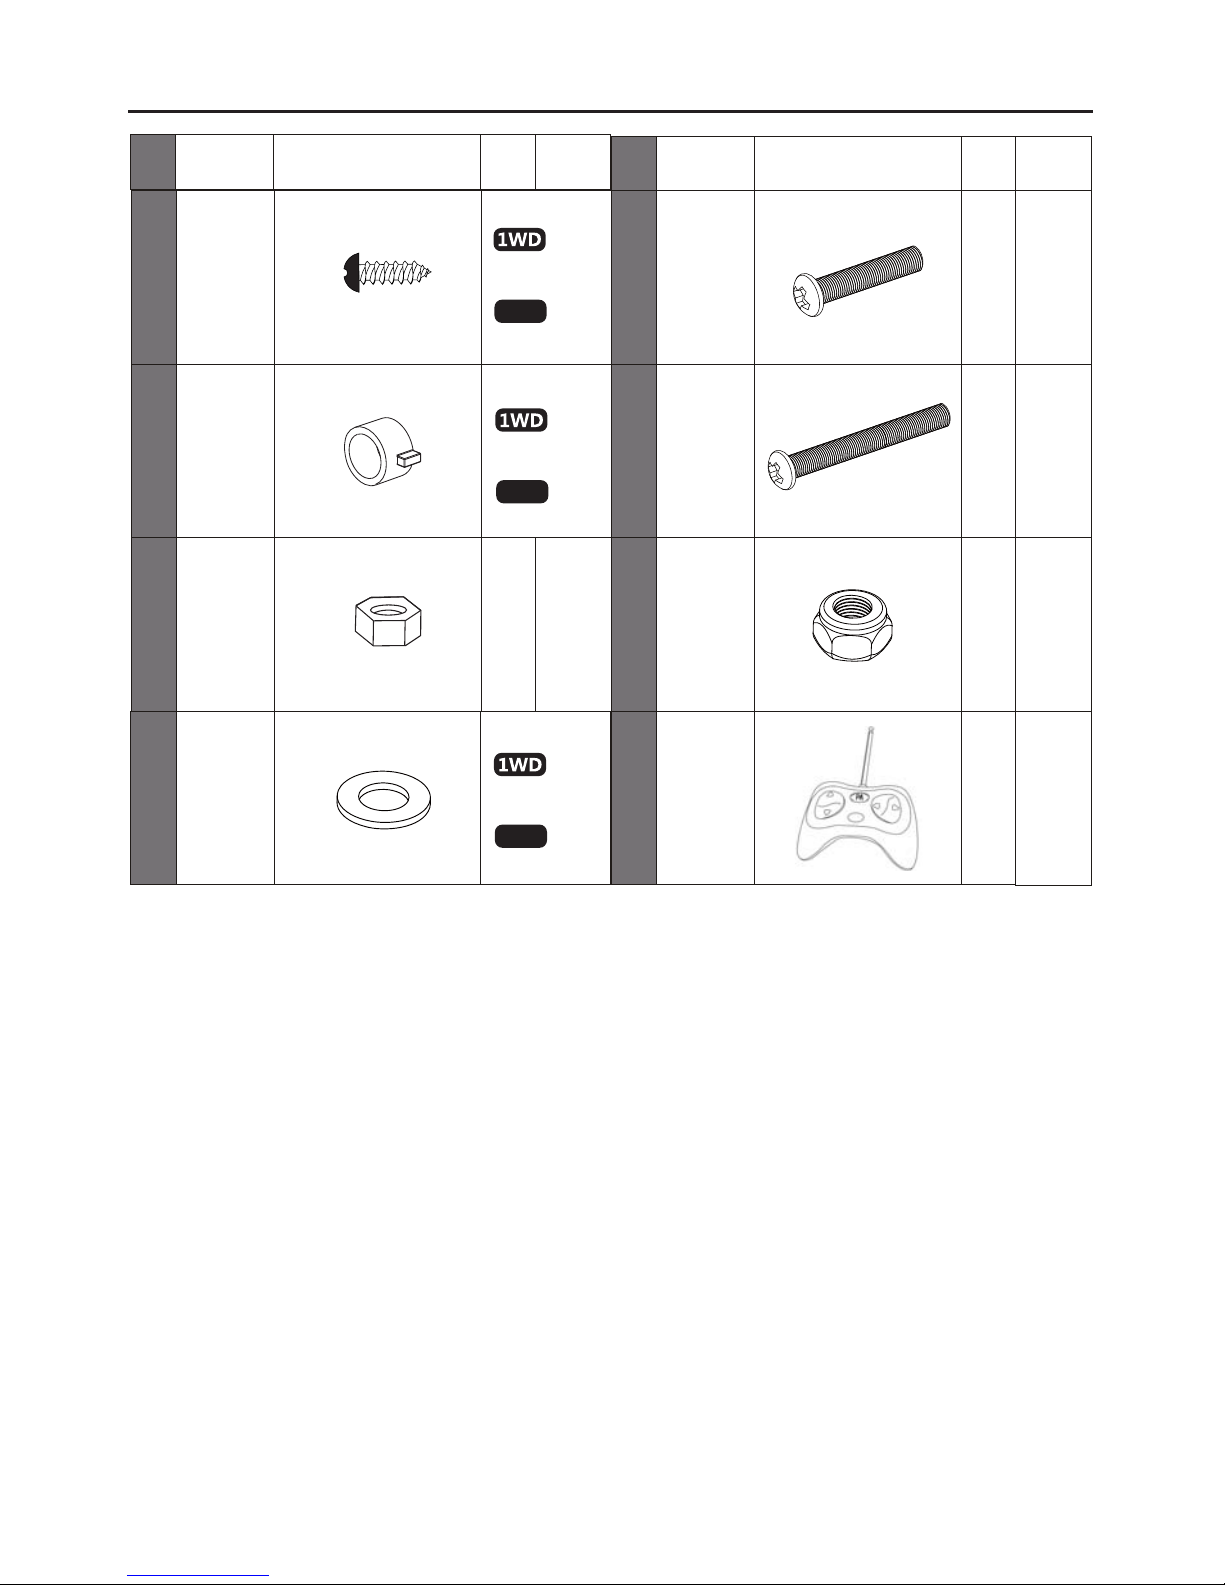
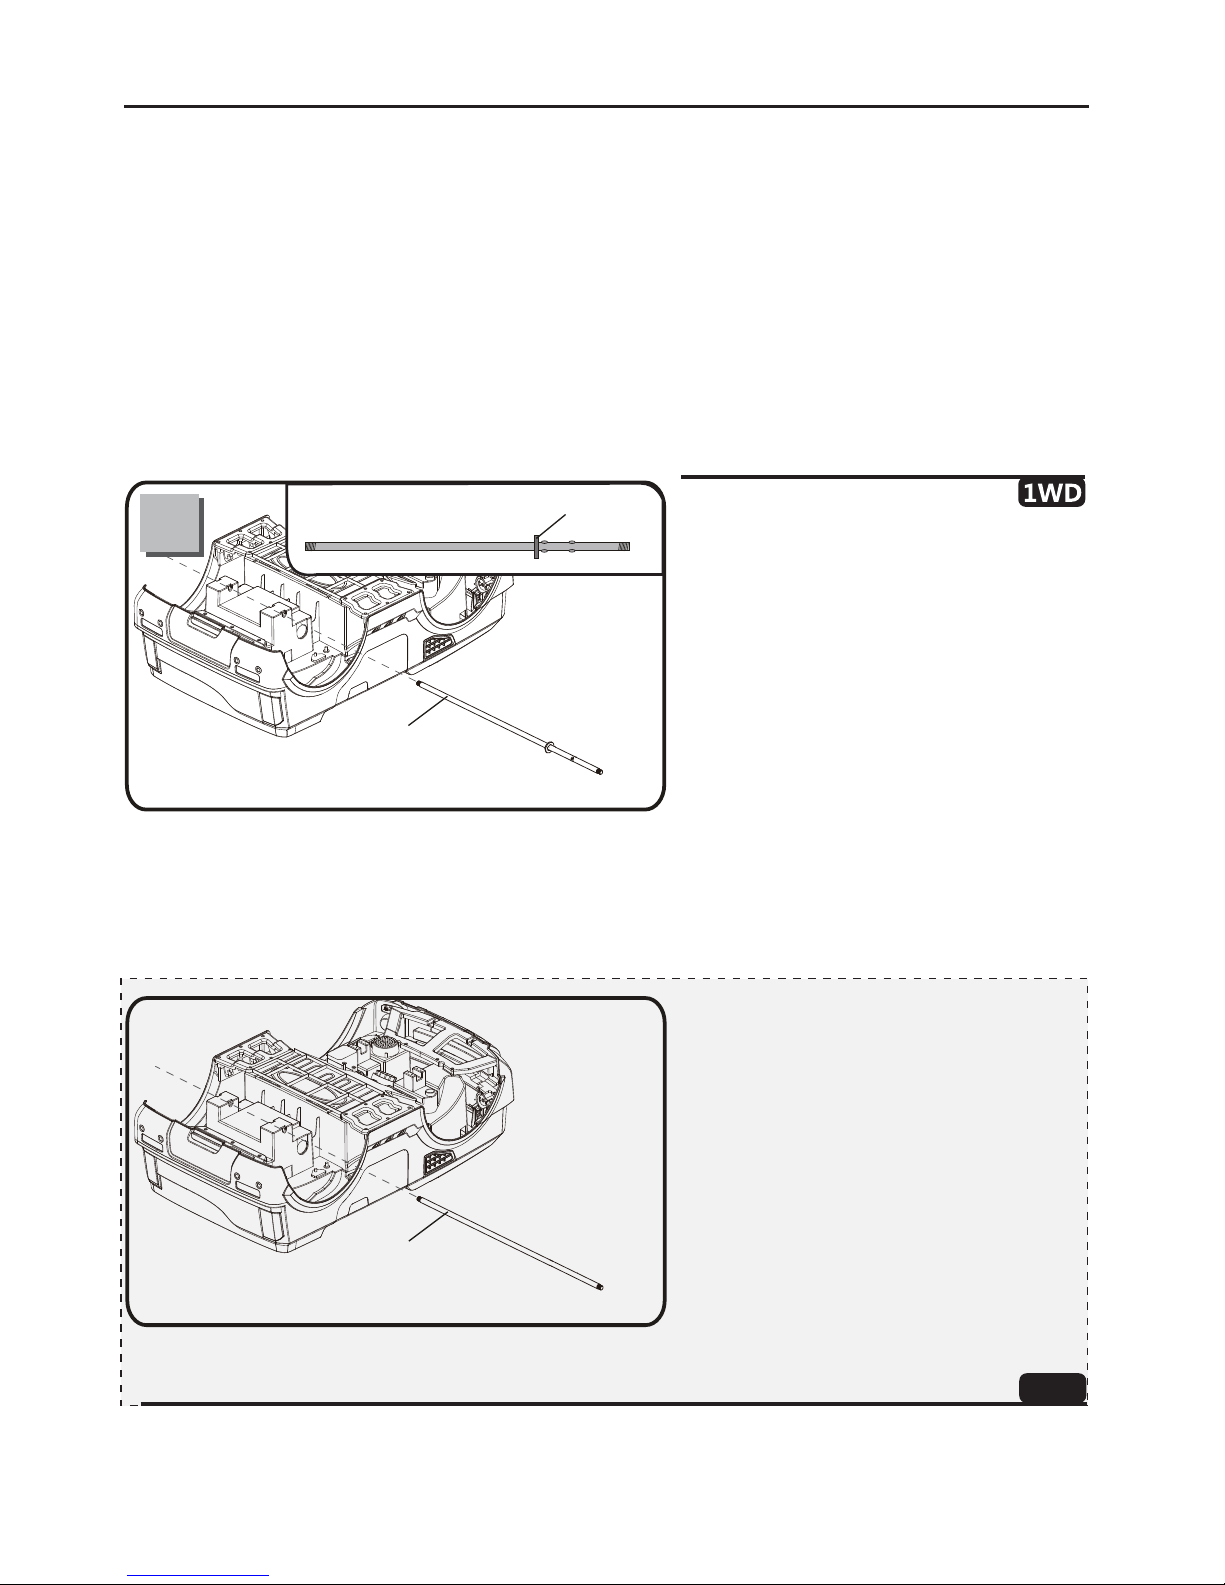
1WD
2WD
1WD
1WD
2WD
H/LSPEED
2WD
IMPORTANT
WARNING
This label means the information or assembly for One Wheel Drive version ONLY!
This label means the information or assembly for Two Wheels Drive version ONLY!
CHOKING HAZARD - Small parts.
Not suitable for children under 37
months.
VER:SMS-JJ012-EN-120605
This label means the information for High/Low Speed version ONLY!
H/LSPEED
6V10AH x1 (Fuse: 10A)
6V7AH x2 (Fuse: 13A) or 6V10AH x2 (Fuse: 13A)
6V7AH x2 (Fuse: 13A and 5A) or 6V10AH x2 (Fuse:13A and 5A)
VER:SMS-JJ012-RC-EN-151228