manuals.online logo
Brands
  1. Home
  2. •
  3. Brands
  4. •
  5. JL Audio
  6. •
  7. Car Receiver
  8. •
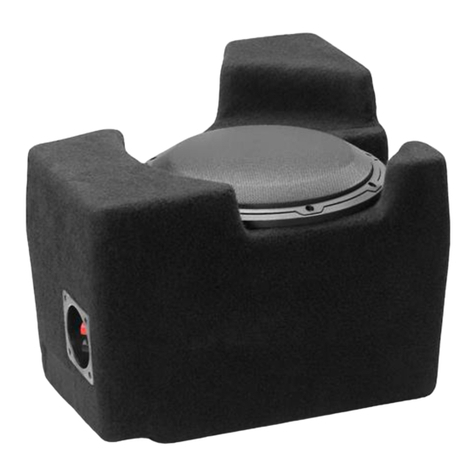
  9. JL Audio Stealthbox SB-D-MGACAB/10W6v3 User manual

JL Audio Stealthbox SB-D-MGACAB/10W6v3 User manual

Other JL Audio Car Receiver manuals

JL Audio Stealthbox SB-Y-YXZ1/10TW3 User manual

JL Audio

JL Audio Stealthbox SB-Y-YXZ1/10TW3 User manual

JL Audio Stealthbox SB-CAN-MVX3PASS/10TW3 User manual

JL Audio

JL Audio Stealthbox SB-CAN-MVX3PASS/10TW3 User manual

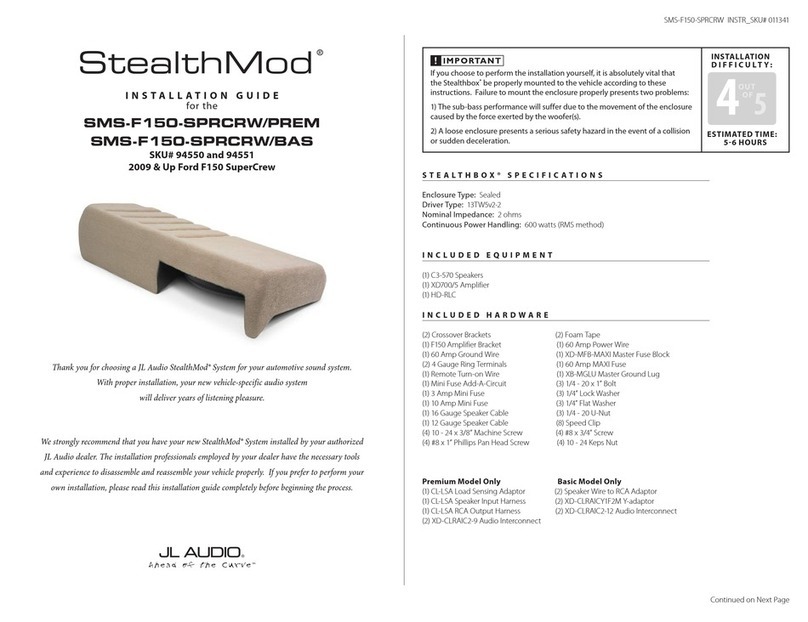
JL Audio StealthMod SMS-F150-SPRCRW/PREM User manual

JL Audio

JL Audio StealthMod SMS-F150-SPRCRW/PREM User manual

JL Audio Stealthbox SB-J-GCHWK2/10W3v3 User manual

JL Audio

JL Audio Stealthbox SB-J-GCHWK2/10W3v3 User manual

JL Audio XR650-CXi User manual

JL Audio

JL Audio XR650-CXi User manual

JL Audio SB-F-EXPED User manual

JL Audio

JL Audio SB-F-EXPED User manual

JL Audio Stealthbox SB-GM-AVAL2/12TW3 Manual

JL Audio

JL Audio Stealthbox SB-GM-AVAL2/12TW3 Manual

JL Audio Stealthbox User manual

JL Audio

JL Audio Stealthbox User manual

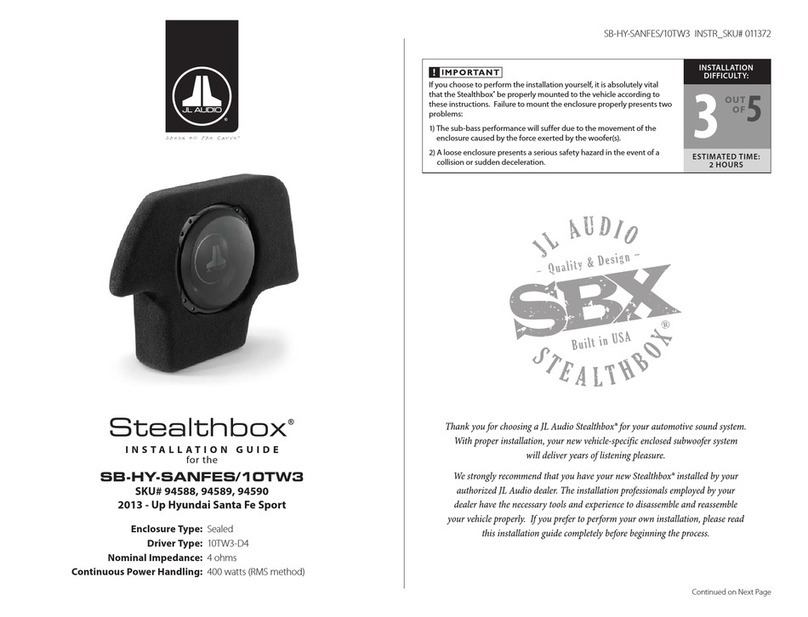
JL Audio Stealthbox SB-HY-SANFES/10TW3 User manual

JL Audio

JL Audio Stealthbox SB-HY-SANFES/10TW3 User manual

JL Audio 94635 User manual

JL Audio

JL Audio 94635 User manual

JL Audio Stealthbox SB-F-ESCP/10W1V3 User manual

JL Audio

JL Audio Stealthbox SB-F-ESCP/10W1V3 User manual

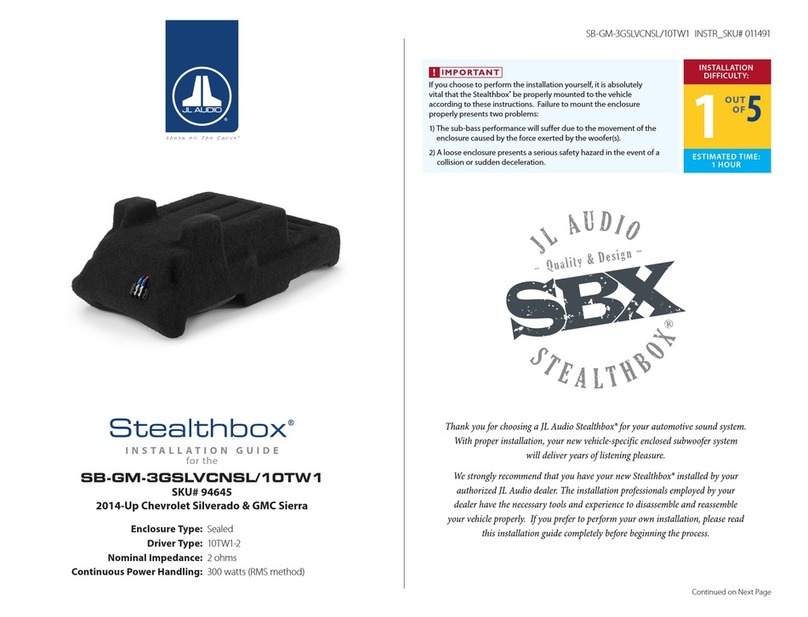
JL Audio Stealthbox SB-GM-3GSLVCNSL/10TW1 User manual

JL Audio

JL Audio Stealthbox SB-GM-3GSLVCNSL/10TW1 User manual

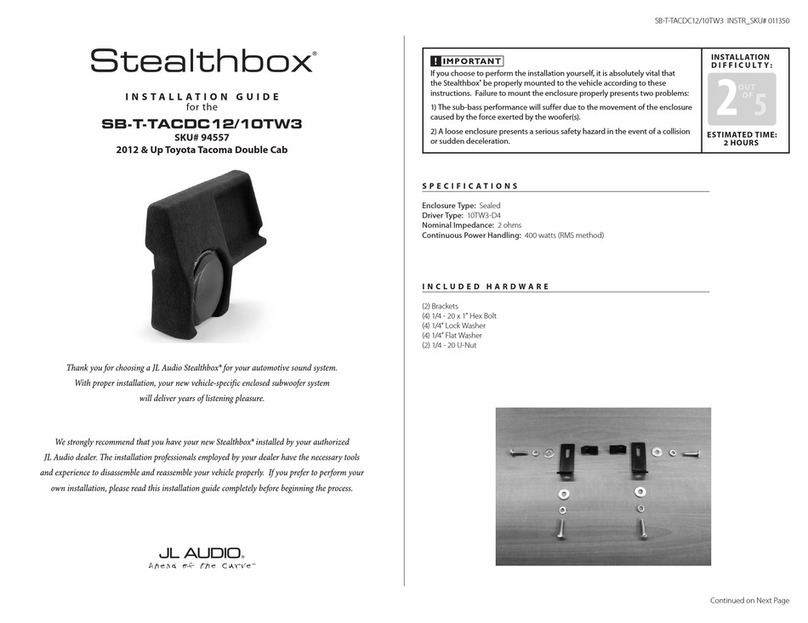
JL Audio Stealthbox SB-T-TACDC12/10TW3 User manual

JL Audio

JL Audio Stealthbox SB-T-TACDC12/10TW3 User manual

JL Audio 94537 User manual

JL Audio

JL Audio 94537 User manual

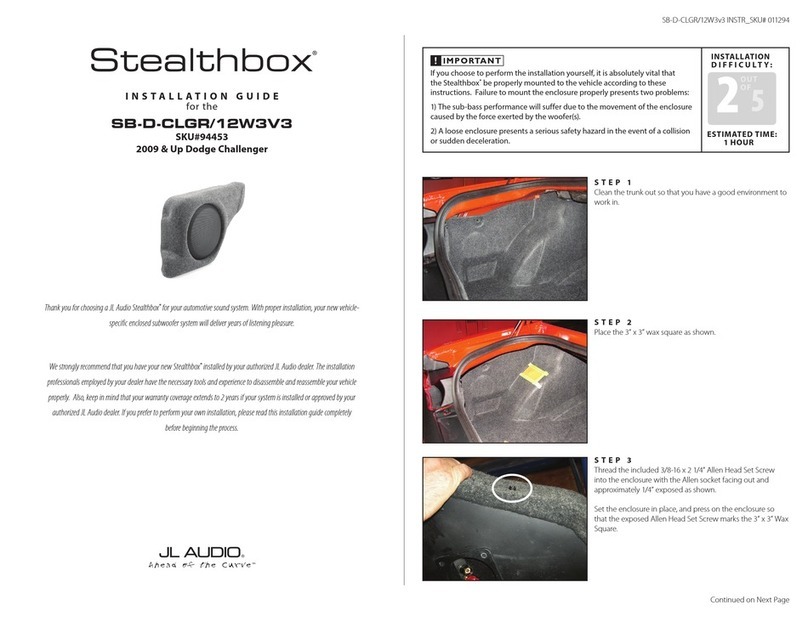
JL Audio Stealthbox SB-D-CHLGR/12W3v3 User manual

JL Audio

JL Audio Stealthbox SB-D-CHLGR/12W3v3 User manual

JL Audio Stealthbox SMS-B-X5E70 User manual

JL Audio

JL Audio Stealthbox SMS-B-X5E70 User manual

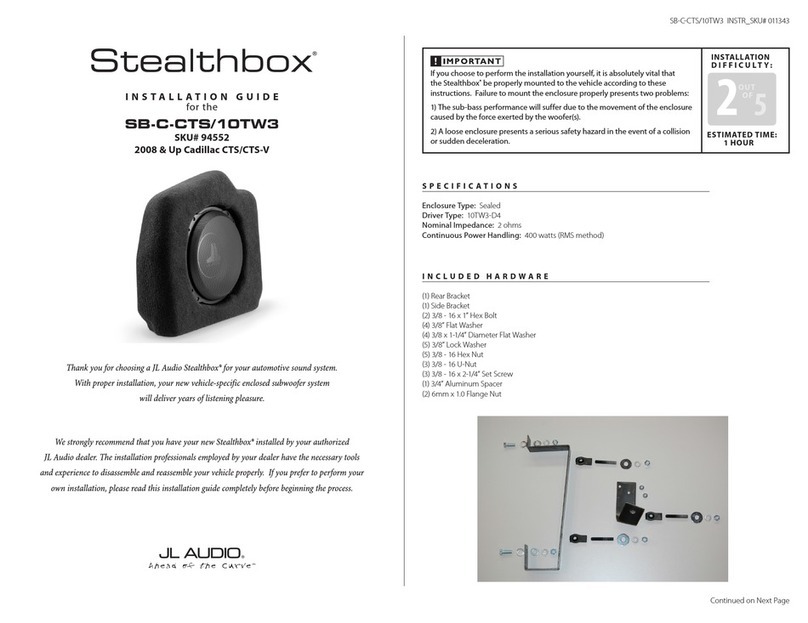
JL Audio stealthbox CB-C-CTS/10TW3 User manual

JL Audio

JL Audio stealthbox CB-C-CTS/10TW3 User manual

Popular Car Receiver manuals by other brands

Linear Series LS5050 Operation and installation manual

Linear Series

Linear Series LS5050 Operation and installation manual

Kenwood KRC-160 instruction manual

Kenwood

Kenwood KRC-160 instruction manual

Sony XR-CA430X Service manual

Sony

Sony XR-CA430X Service manual

T+A Elektroakustik K1 CD-RECEIVER operating instructions

T+A Elektroakustik

T+A Elektroakustik K1 CD-RECEIVER operating instructions

SoundMax SM-CDM1052 instruction manual

SoundMax

SoundMax SM-CDM1052 instruction manual

Xtrons HD107HD user manual

Xtrons

Xtrons HD107HD user manual

Mopar RB3 manual

Mopar

Mopar RB3 manual

Clarion ADDZEST DMZ615 owner's manual

Clarion

Clarion ADDZEST DMZ615 owner's manual

Sony XAV-601BT Specifications

Sony

Sony XAV-601BT Specifications

PIE GM12-POD/S Operation manual

PIE

PIE GM12-POD/S Operation manual

Hyundai H-910H instruction manual

Hyundai

Hyundai H-910H instruction manual

Sony XR-C6100 Service manual

Sony

Sony XR-C6100 Service manual

Sony CDX-L600X - Fm/am Compact Disc Player Installation/connections

Sony

Sony CDX-L600X - Fm/am Compact Disc Player Installation/connections

Motorola VWA63 Service manual

Motorola

Motorola VWA63 Service manual

Sound Storm STM93R user manual

Sound Storm

Sound Storm STM93R user manual

Nextar D3201 instruction manual

Nextar

Nextar D3201 instruction manual

Alpine CDE-163BT owner's manual

Alpine

Alpine CDE-163BT owner's manual

Kenwood KDC-X303 quick start guide

Kenwood

Kenwood KDC-X303 quick start guide

manuals.online logo
manuals.online logoBrands
  • About & Mission
  • Contact us
  • Privacy Policy
  • Terms and Conditions

Copyright 2025 Manuals.Online. All Rights Reserved.

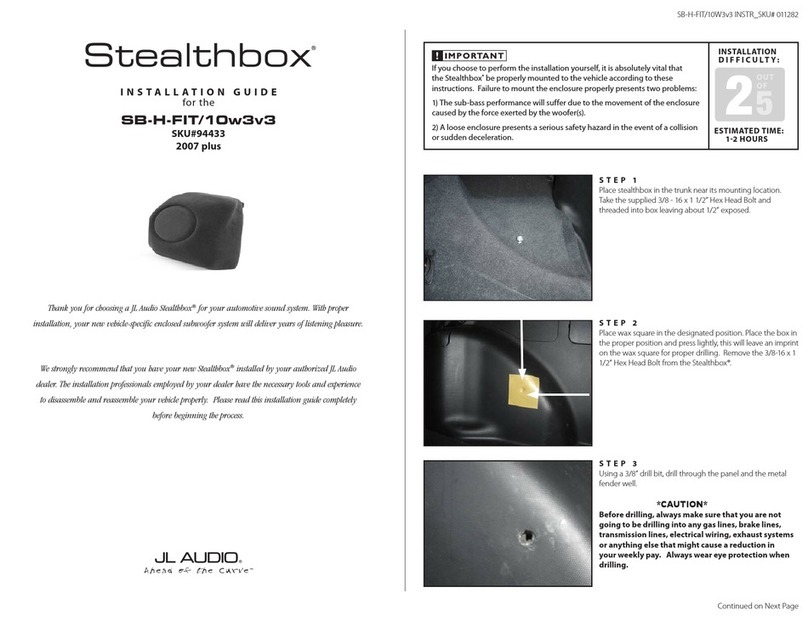
INSTALLATION
DIFFICULTY:
INSTALLATION GUIDE
for the
SB-D-MGACAB/10W6v3
2006 - Up Dodge Ram Mega Cab Trucks
Thank you for choosing a JL Audio Stealthbox®for your automotive sound system.
With proper installation, your new vehicle-specific enclosed subwoofer system
will deliver years of listening pleasure.
We strongly recommend that you have your new Stealthbox®installed by your authorized
JL Audio dealer. The installation professionals employed by your dealer have the necessary
tools and experience to disassemble and reassemble your vehicle properly. Also, keep
in mind that your warranty coverage extends to two years if your system is installed
or approved by your authorized JL Audio dealer. If you prefer to perform your own
installation, please read this installation guide completely before beginning the process.
If you choose to perform the installation yourself, it is absolutely vital that
the Stealthbox®be properly mounted to the vehicle according to these
instructions. Failure to mount the enclosure properly presents two problems:
1) The sub-bass performance will suffer due to the movement of the enclosure
caused by the force exerted by the woofer(s).
2) A loose enclosure presents a serious safety hazard in the event of a collision
or sudden deceleration.
STEP 1
Remove all contents from the rear seating area and fold
down the rear seating.
Open the storage unit that is located between the rear seat
and the rear wall. In this storage unit there is three bolts.
Remove the passenger side bolt.
Continued on Next Page
STEP 2
Remove the middle bolt.
STEP 3
Remove the driver’s side bolt.
Remove the storage unit out of the vehicle.
SB-D-MGACAB/10W6v3_INSTR_SKU# 011217
25
OUT
OF
STEP 9
Place the Stealthbox® upside down on the folded rear seats.
Back out both socket cup set screws to expose 1-1/5".
With an 1/2" drill bit and drill. Drill through the floor at the
wax squares, using the impressions of the socket cup set
screw as a guide.
Once both holes have been drilled, remove both
wax sqaures.
STEP 11
From under the vehicle, place the supplied fender washers, flat
washers, lock washers and then hex nuts onto each protruding
socket cup set screw and secure. Adjust the amount of
exposed thread on each cup set screw if necessary.
Note: For added protection, it is recommended that
you apply a bead of silicone between the vehicle
and the fender washer. After the bolt assembly is
tightly secured, it is also recommended that vehicle
under-coating material is applied to the exposed
assembly.
STEP 10
Place the Stealthbox® into place. Carefully guiding the socket
cup set screws through the drilled holes.
Run speaker wire from the amplifier location to the enclosure
and attach to the terminal.
Check the woofers for proper operation.
Continued on Next Page
SB-D-MGACAB/10W6v3_INSTR_SKU# 011217
STEP 7
Thread in the two supplied socket cup set screws to the
bottom of the Stealthbox®. Leaving about 1/4" exposed.
STEP 6
The 31-3/4" measurement is starting from the middle of the
first wax square to the left, as seen in STEP5&6.
Remove the paper backing from the second supplied wax
square. Apply this second wax square 31-3/4" to the left of
the first wax square.
STEP 5
As in the picture, measure for the exact placement of the
wax square.
Remove the paper backing from one of the supplied wax
squares. Apply the wax square onto the flooring behind the
rear seating on the driver's side.
STEP 4
Remove the driver’s and passenger’s side folding
floor extensions.
STEP 8
Position the enclosure and press firmly down. This is to leave
an impression onto the wax squares.
1BHFr+-"VEJP*OD
4-inches
9-1/4-inches
9-1/4-inches
31-3/4-inches
31-3/4-inches
SB-D-MGACAB/10W6v3_INSTR_SKU# 011217
CONGRATULATIONS
You have completed the installation for this model!
Please refer to the Power Recommendation section for an
amplifier recommendation and basic set-up help.
STEP 14
Use scissors to clean up the carpet’s edge.
Mount the folding floor extensions.
STEP 13
The passenger’s side folding floor extension will only need to
be cut on the rear corner, driver’s side.
If the folding floor extensions are to be retained, they will
need to be permanently modified, follow STEPS 12-14.
If they are not to be retained,
CONGRATULATIONS
You have completed the installation for this model!
STEP 12
The driver's side folding floor extension will need to be cut
across the entire rear section. As in the picture, use the metal
framing as a cutting guide.
1BHFr+-"VEJP*OD
All specifications are subject to change without notice. “JL Audio®” and the JL Audio logo, “Stealthbox” and the Stealthbox logo are registered
trademarks of JL Audio, Inc.“Ahead of the Curve” and its respective logo is a trademark of JL Audio, Inc.
JLA-SKU#011217-8-20-2014t1SJOUFEJO64"tª+-"VEJP*ODt641"5&/54
%%0UIFS64'PSFJHOQBUFOUTQFOEJOH
For more detailed information please visit us online at www.jlaudio.com.
(954) 443-1100
www.jlaudio.com
/035)$0..&3$&1"3,8":t.*3"."3'-03*%"tt64"
INCLUDED HARDWARE
(2) 3/8-inch - 16 x 2-1/2-inch Socket Cup Screw (2) 3/8-inch Hex Nut
(2) 3/8-inch x 2-inch Fender Washer
(2) 3/8-inch USS Flat Washer
(2) 3/8-inch Split Lock Washer
SPECIFICATIONS
&ODMPTVSF5ZQF Acoustic Suspension (sealed)
%SJWFS5ZQF Two 10W6v3-D4
/PNJOBM*NQFEBODF 4 ohms mono
$POUJOVPVT1PXFS)BOEMJOH 120 0 Watts
POWER RECOMMENDATION
+-"VEJPSFDPNNFOETVTJOHBIJHIRVBMJUZBNQMJGJFSTVDIBTUIF+-"VEJP)%)%7
5IFEJBHSBNCFMPXTIPXTUIFSFDPNNFOEFEDSPTTPWFSJOGSBTPOJDGJMUFSBOEFRVBMJ[FSTFUUJOHTGPSUIF7
when being used to power your Stealthbox®.
5IF+-"VEJP7JTBWFSZWFSTBUJMFBVEJPDPNQPOFOU1MFBTFDPOTVMUUIFPXOFSTNBOVBMGPSFWFONPSF
detailed information about installing and tuning this amplifier.
MID/HIGH FREQUENCY DRIVER FITMENT
"WBSJFUZPG+-"VEJPDPBYJBMBOEDPNQPOFOUTZTUFNTXJMMGJUJOUIFGBDUPSZTQFBLFSMPDBUJPOTPGZPVWFIJDMF
Front Speaker Size / Location: 6 x 9 / Front Doors
'JUT+-"VEJP.PEFMT 5359J$UY
3FBS4QFBLFS4J[F-PDBUJPO 5.25-inch / Rear Door
'JUT+-"VEJP.PEFMT 53$9J$Y$
1-1/2-inches
3-inches