i
TABLE OF CONTENTS
Introduction ..............................................................................................................................................................................................1
EC-Declaration of Conformity .....................................................................................................................................................................2
Important Safety Precautions ....................................................................................................................................................................3
Main Features ............................................................................................................................................................................................4
Controls and Connections ..........................................................................................................................................................................5
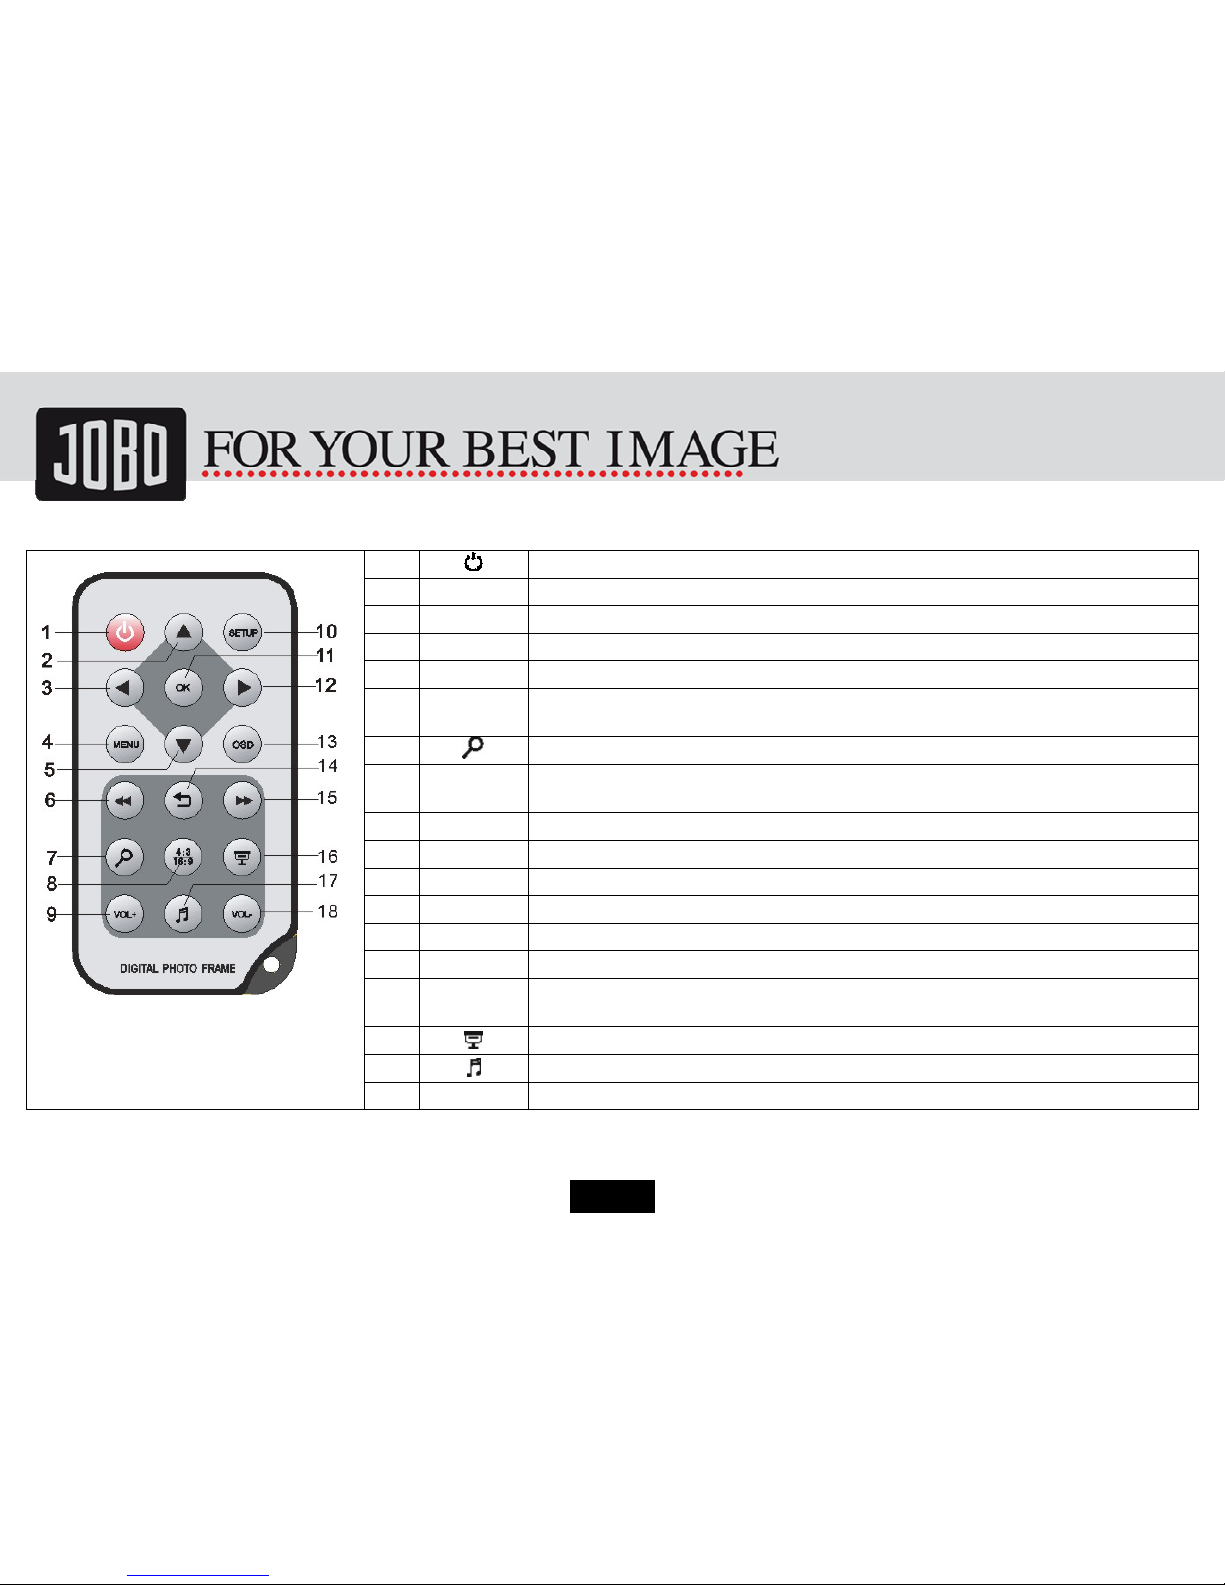
Remote Control ..........................................................................................................................................................................................6
Battery installation for the Remote Control ...............................................................................................................................................7
Getting Started..........................................................................................................................................................................................8
Attaching the mount ...............................................................................................................................................................................8
Connecting to the power..........................................................................................................................................................................9
Inserting Media.......................................................................................................................................................................................9
Viewing Photos ........................................................................................................................................................................................ 11
Main menu............................................................................................................................................................................................ 11
Viewing thumbnails ...............................................................................................................................................................................12
Browsing a single photo ........................................................................................................................................................................13
Playing a slideshow ...............................................................................................................................................................................13
Using OSD menu....................................................................................................................................................................................14
Listening to Music ...................................................................................................................................................................................15
Watching Videos ......................................................................................................................................................................................16
Managing Files.........................................................................................................................................................................................17
Coping files ..........................................................................................................................................................................................17