JOBO GIGA MINI User manual

Bedienungsanleitung ( 86 548) Stand: 28.07.05 Seite: 1 von 15
Instruction manual GIGA mini
Mobile photo hard drive incl. 20GB or 40 GB hard disc.
For digital photographer GIGA mini is one of the most innovative
and economical solution for solving the problem of having not
enough storage space.
Please read instructions carefully before first use of your GIGA
mini.
Contents Page
1. Content / Included accessories 2
2. Instruction 2
3. Functions 2
4. Symbols of the main menu 2
5. System Support 3
6. Supported Flash Memory and how to use 3
7. How to use the different slots 3
8. Charging the battery 4
9. Use of AC power adapter 4
10. Switching on the GIGA mini 4
11. Quick Guide 5
12. Connecting the GIGA mini to PC 6
12.1 WIN XP
12.2 Managing the GIGA mini from PC
12.3 WIN 98SE, ME, 2000
13. MAC OS 7
13.1 MAC OS X
13.2 MAC 9.0 – 9.6
14. Download from flash memory (without PC) 7
14.1 transferring data from flash card onto GIGA mini
14.2 transfer failed
14.3 interrupted transfer
15 hard disc full/reformat 8
15.1 no capacity
16. data management 10
16.1 choose data source
16.2 manage files
17. MP3 Function 12
17.1 Settings in the menu
18. FMRadio 13
19. Recordfunction 14
20. Compatibility 14
21. Troubleshooting 14
22. Notes/Updates 14
23. Service / techn. support 15

Bedienungsanleitung ( 86 548) Stand: 28.07.05 Seite: 2 von 15
1. Content
-GIGA mini with 20/40GB HDD - USB cable
-AC power adapter - Driver CD
-Lithium Ion battery - Instruction Manual
- Earphones
2. Exterior structure and use
View
Front
Left
Right
Back
Power
3.Function
Ф- Switches device on/off
MENÜ - Menu for MP3 and Recording Function
ESC - back to last selected menu
2- fast copy /function
- ENTER
►◄ - chose menu up/down
▲▼ - Volume control up/down
(special functionality in submenu)
4. Displaying symbold of the main menu
USB A
Mikro/Line
IN
Audio OUT
Card
Slot
USB B
OTG RESET
LED
Dis
p
la
y
Mikro
Audio OUT
Connections/Slots
Power - Power Socket
USB A - USB connection to PC/Mac
USB B - USB connection to camera OTG *
Mikro - Mikrophon Line in
Line IN - Line in for external sound
Audio OUT – Earphone/ Line OUT
Slot L - Slot for SD/MM/MS/xD
Slot R - Slot for CF/Mikro Drive

Bedienungsanleitung ( 86 548) Stand: 28.07.05 Seite: 3 von 15
FILE - File management
RADIO - FM Radio
REC - Recording Function
Symbol HDD - shows activated hard
disk
Symbol CF-card - shows inserted flash memory
(CF,SD,MS,SM)
Socket Symbol charging
battery - shows working AC power adapter
Symbol Battery - shows battery status –
maximum 4 bars
Symbol FILE - Enter the data management menu (files and MP3)
Symbol Radio- Enter the radio function
Symbol REC - Enter the recording function
5. System Support
WIN 98SE / 2000-SP3/ ME / XP-SP1 /for MAC 9.0 – 9.6; OS X
6. Supported flash cards
CF I, II, Micro Drive, SM, SD, MMC, MS ,MS-Pro, MS-Duo-Pro
(XD with adapter)
7. How to use flash cards in the different slots
Left Slot
SD/MM card - golden contacts above
MS card - golden contacts above
XD card - golden contacts above
Right Slot
CF card - Printed side above

Bedienungsanleitung ( 86 548) Stand: 28.07.05 Seite: 4 von 15
Micro Drive - printed side underneath
Note
JOBO gives no warranty for misuse of flash cards and so damaged slots.
8. Cahrging the battery
-Der Akku benötigt normal zur vollständigen Ladung ca. 2 – 3 Stunden.
-- battery needs 2-3 hours to be fully charged.
- before first use, battery should be charged for 3 hours.
- for charging GIGA mini put in AC power adapter in the power socket
and connect with power.
You can use the AC adapter for 100 to 240 V.
- while charging battery the red LED is on, left to display.
- battery charging is finished, when LED is changing from red to green.
- when power adapter is connected, a battery symbol is displayed next to .
- with full charge of battery you can:
download about 5 GB data.
listen to about 13 to 15 hours of MP3.
9. Connecting AC power adapter
GIGA mini can be connected with supplied AC power adapter for usage or for
charging the battery. The power socket is based on the upper side of the device.
Warning!
Never use another power adapter for GIGA mini even when it seems to work
with it. Using wrong power adapters can destroy the GIGA mini!
10. Switch on/off GIGA mini
-Press Фbutton – display turns to cool blue and shows "Jobo - For your best
Image" claim for 2 seconds.
After that the main menu is displayed - "FILE, RADIO, REC".
-to switch off, press Ф.
-For saving energy the colour backlight of the display is switched off after 10
seconds, and the whole device is switched off after 30 seconds when not in use.

Bedienungsanleitung ( 86 548) Stand: 28.07.05 Seite: 5 von 15
Quick guide GIGA mini
11. Short instructions
Download from Flash Card
-switch on GIGA mini ФButton
-Insert flash card
-Start fast copie 2Button
-Transfer succesful? Display shows ÆOK
-Transfer failed ? Display shows ÆNG
Warning – save flash card before reformat !
Data management (Picture- or MP3 files)
- switch on GIGA mini ФButton
- select file menu ►or ◄
- select data source ESC Æ►or ◄Æ
- select file Æ►or ◄Æ
Manage data source
- switch on GIGA mini ФButton
- select FILE menu ►or ◄
- select data source ESC Æ►◄Æ2Button
- select operation ►or ◄
- execute
MP3 Funktion
- switch on GIGA mini ФButton
- select FILE menu ►or ◄
- select data source ESC Æ►or ◄Æ
- select MP3 Æ►or ◄Æ
- change settings MENU Button
- volume control ▲▼
Radio function
- switch on GIGA mini ФButton
- select RADIO menu ►or ◄
- switch on radio
- select channel/station ►or ◄
- volume control ▲▼
- search for channel 2Button

Bedienungsanleitung ( 86 548) Stand: 28.07.05 Seite: 6 von 15
Recording function
- switch on GIGA mini ФButton
- select REC menu / ►or ◄
- start REC
- change settings MENU Button
- Mikro/Line In connect
- start recording
12. Connection to Computer
Important Notice!
Before use of GIGA mini please test connection to computer first.
-Never connect the GIGA mini via USB HUB.
Always use a direct USB connection to Computer to avoid malfunctions.
USB A
When GIGA is connected via USB A to PC/Mac, the shown symbol is
displayed. All buttons are now inactiv.
*USB B
Connection USB B supports OTG function, this means you can connect directly to
camera, if your camera supports OTG.
12.1 WIN XP-SP1 / ME / 2000-SP3
-GIGA mini installs itself on PC (plug & play).
-close and save all running programs first
-USB connection between GIGA mini and PC with USB cable should be installed.
-Switch on GIGA mini via ON/OFF button.
-WIN XP will install drivers automatically for GIGA mini.
12.2 Managing GIGA mini from PC
-Open My Computer.
-4 different disk drives will be displayed on the desktop.
-The 1. disk drive is the external hard drive of GIGA mini.
-The other disk drives with successive letters are the flash card slots of GIGA mini,
from which you can read/write directly on/from the flash cards like a reader/writer.
Important notice
Never disconnect USB connection between GIGA mini and computer while
not having selected the disconnection function on the computer.
Disconnecting while processing can cause failure of data.
12.3 WIN 98-SE
Please install drivers as described in the following steps.
-Please insert driver CD into the drive of computer and select folder „WIN“.
-Select „setup.exe“ in the next folder.
-Press „enter“ to continue.
-Confirm next step with „OK“ – drivers are completly installed.

Bedienungsanleitung ( 86 548) Stand: 28.07.05 Seite: 7 von 15
-Shut down computer and reboot..
13. MAC OS X
13.1 Mac 10.1. and up
Important Notice
Never copy files back on GIGA mini which have names with special symbols
or more than 128 letters. THIS WILL CAUSE FAILURE OF DATA.
- GIGA mini is compatible with all MAC OS X systems via plug & play.
-Please close and save all current programs on Mac before using device.
-Connect GIGA mini with AC power adapter ( do not switch on GIGA mini ).
-Connect GIGA mini and MAC via USB cable.
-Switch on GIGA mini using ON/OFF button.
-After a short while desktop shows GIGA mini as „UNTITLED“.
-After selecting folder „UNTITLED“ connection between devices via USB is
ready.
-Desktop shows disk drives only when flash card is inserted.
-Disconnect devices while putting „UNTITLED“ folder in the recycle bin.
13.2 MAC (9.0 - 9.6) – special driver required per download from www.jobo.com
Important notice
Never copy files back on GIGA mini which have names with special symbols
or more than 128 letters. THIS WILL CAUSE DATA FAILURE.
-Down load driver from www.jobo.com to your PC.
-Open downloaded folder „MAC“ on your PC.
-Select „CHRWF2_200F/IMGSIT.HQX“ and save on HD.
-Desktop shows symbol „CHRW05F62-2.0“ – please select.
-You will find further instructions in „READ ME“ folder.
-For driver installation select „INSTALLER“ and follow the instructions.
-After installation close down the system.
-Connect GIGA mini and AC adapter and put adapter in the power socket.
-Connect GIGA mini and Mac via USB cable.
-Switch on GIGA mini.
- Disconnect devices while putting „UNTITLED“ folder in the recycle bin.
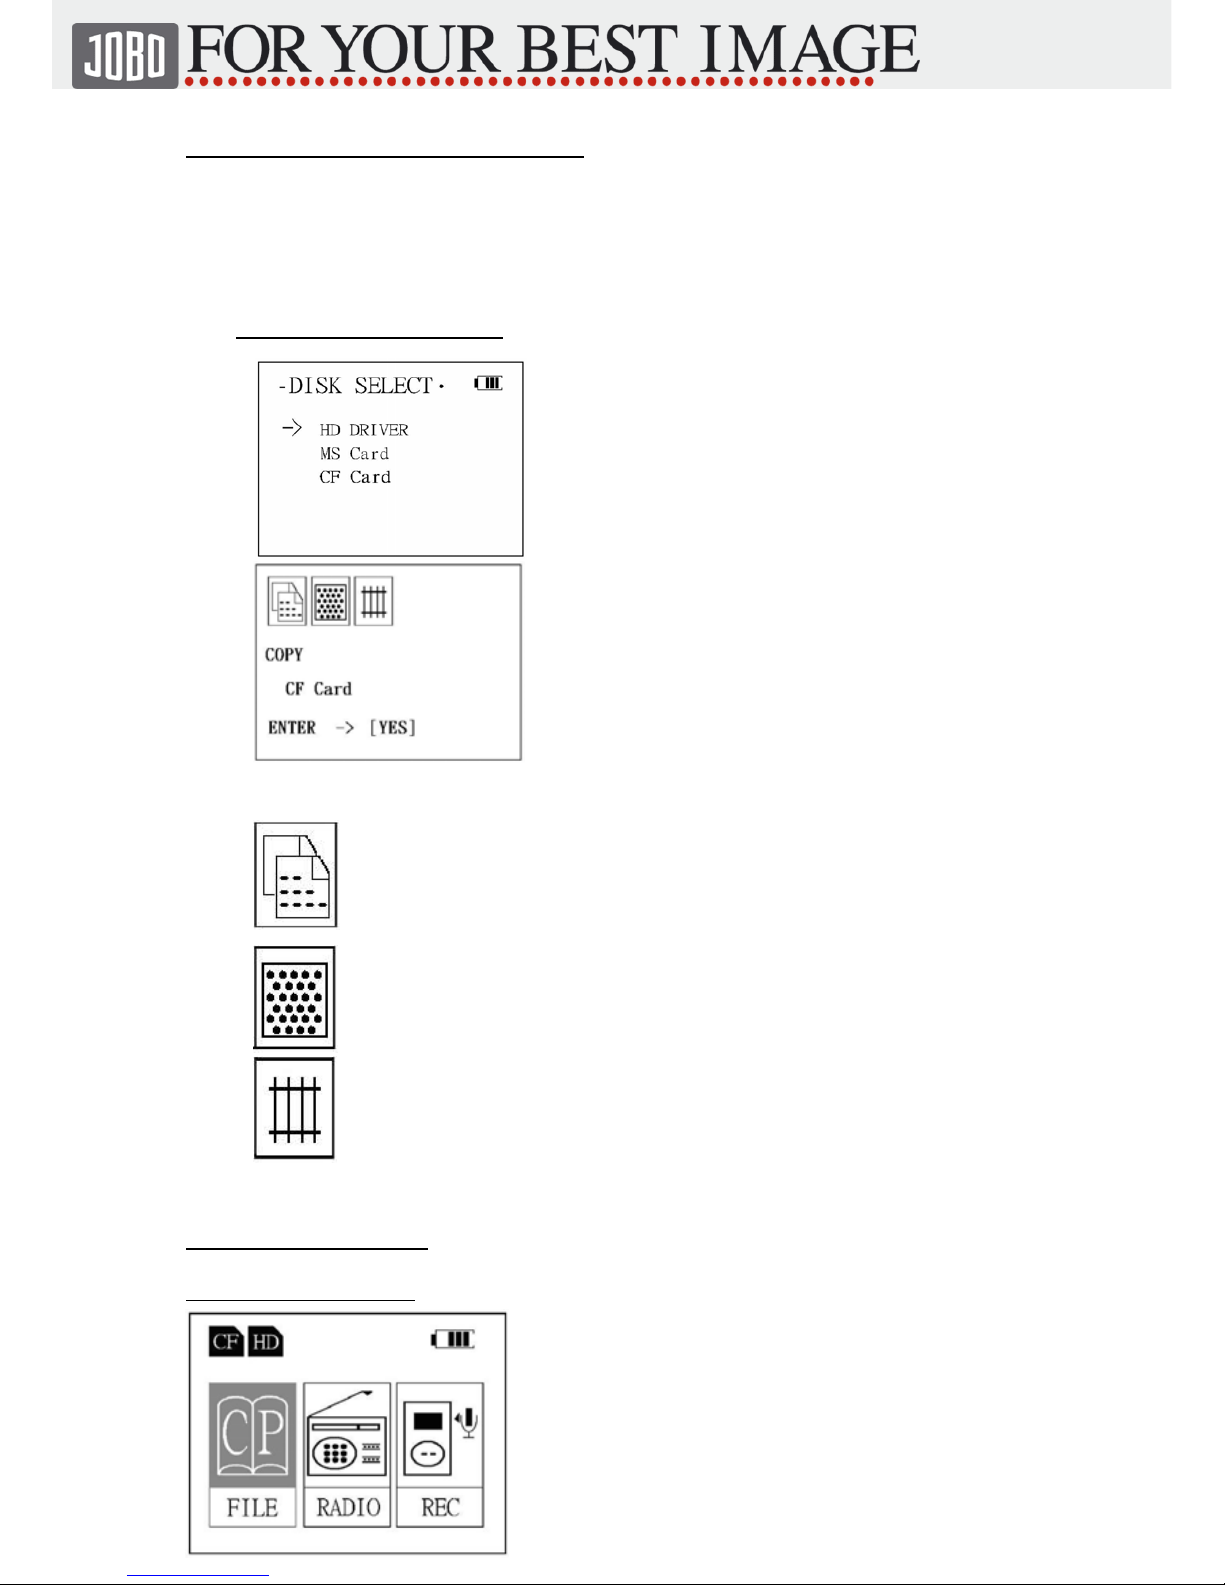
14. Download from Flash Card (without PC)
Insert flash card in the right card slot. See picture in description page 7 for details !
-Insert cards carefully as described!
-Insert flash card while device is switched off .
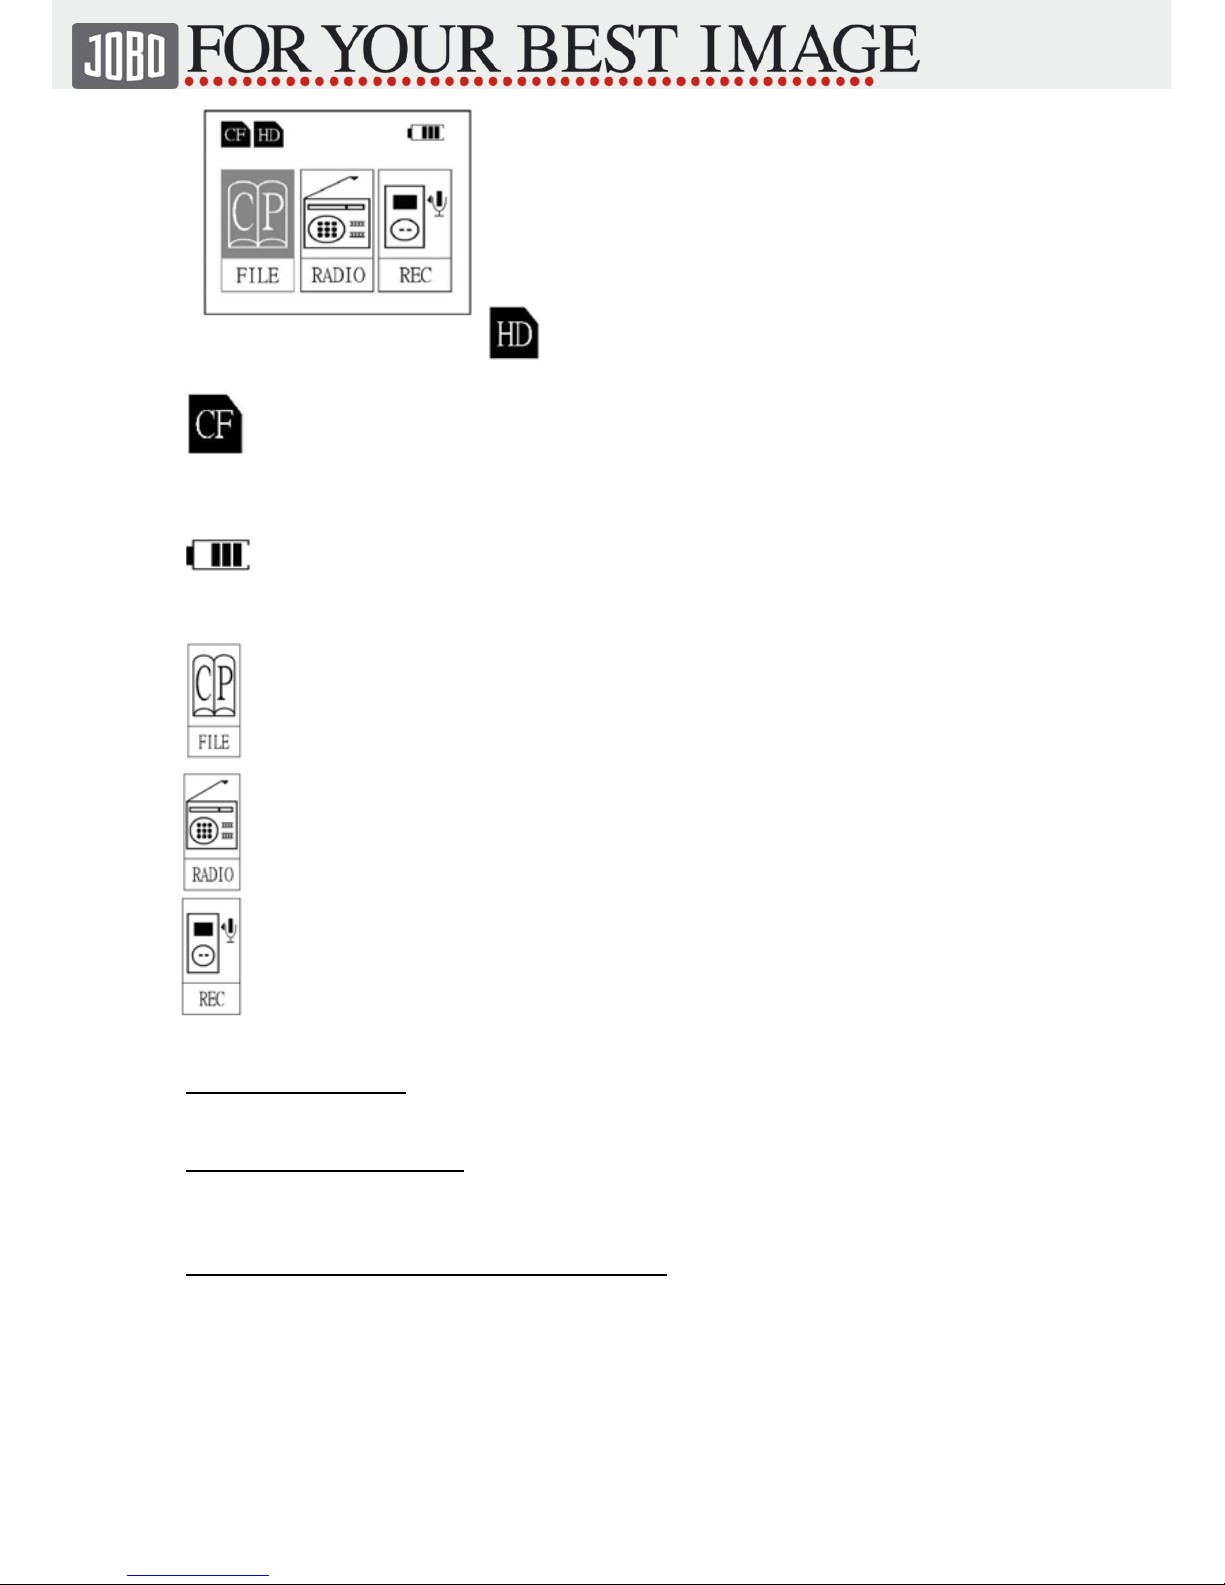
-Switch on Giga mini and display shows symbol of inserted flahs card in the left
upper corner (CF,SD,MS,SM) and activated FILE management.
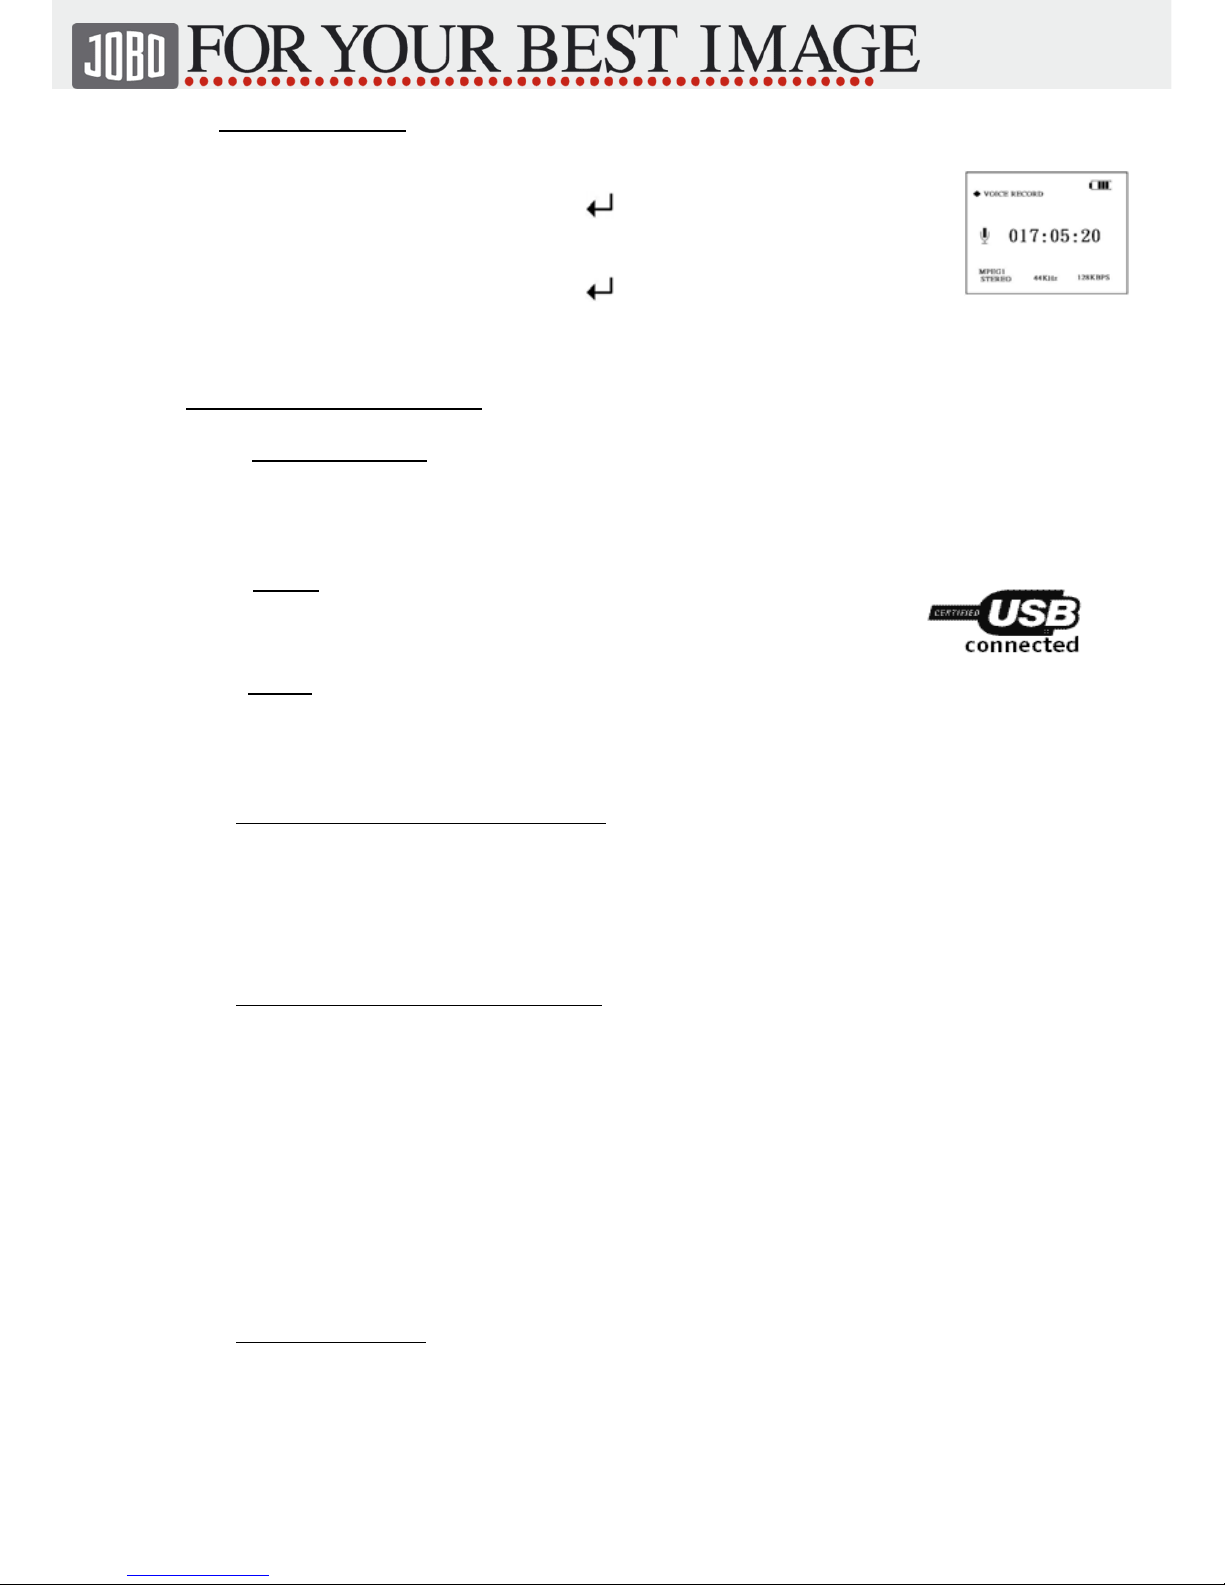
-Press 2button to start datatransfer, the symbols will be shown as followed:
Dislay 1
COPYING (CF ->HD)

Bedienungsanleitung ( 86 548) Stand: 28.07.05 Seite: 8 von 15
All disc to HD
Please wait
Disc Initialing
Display 2
COPYING - (CF ->HD) (ransfer to HDD)
Copyed Dir - 0XX (number of folder)
Copyed File - 0XX (number of files)
Copying ..... XX% (processing in % -per file)
Display 3
COPYING - (OK) ( confirmation of transfer)
Copyed Dir - 0XX (number of copied folder)
Copyed File - 0XX (number of copied files)
Enter -> (SURE) (back to main menu)
-Reformat flash card in you camera.
-All data will be copied on Giga mini 1:1, so that the device is able to save all kind
of data - even RAW formats of all cameras, all Mac and PC files etc.
Verify: This feature is available after running a firmware upgrade under
www.jobo.com. The verify function compares the file size of the copied data with the
data from the source to render maximum security.
14.1. Data transfer failed (no good)
-if display shows failure during data transfer:
COPYING - (NG) ( Failure)
Copied Dir - 000 (number of copied folders)
Copied File - 000 (number of copied files)
Enter -> (SURE) (back to main menu)
- Do not erase data on flash card before they have been saved on Mac/PC first.
14.2 Interrupt transfer
-Press ESC button and transfer will be interrupted.
-The following will be displayed:
COPYING - (NG) ( Failure)
Copyed Dir - 00X (number of folder)
Copyed File - 00X (number of files)
Enter -> (SURE) (back to main menu)
14.3 Directory of copied files
-with every download from flash card the GIGA mini creates a folder containing
the data from the flash card. Folders are named with numbers starting from 1 to
9999 and the type of flash card as a pre-fix, e.g..
CF and Micro Drive CF0001 – CF9999
SD and MMC SD0001 - SD9999
SM SM0001 – SM9999
MS MS0001 – MS9999

Stand: 28.07.05 Seite: 9 von 15
15. HDD full/ reformatting Giga mini
- when hard disk is full, please save data completely on another HDD and reformat
GIGA mini.
15.1 Reformat Hard Disk
Press ESC button in the main menu and function
DISC SELECT is activated.
Bedienungsanleitung ( 86 548)
Select data source using ►or ◄button and confirm
using 2.
In this menu you can select data source to copy
reformat or to execute function FDISC.
Select ・Copy“ to copy files or folders from flash card to hard disk.
When ・Driver Format” is selected, data source is ready to be
reformatted. All files and data will be deleted .
Warning ! Save your data on another hard disk before they get lost.
When ・FDISC” is selected, device is ready to be reformatted. All files
and data will be complete deleted
Warning ! Save your data on another hard disk before they get lost.
16. Data management
16.1 Select data source
To display different files select first symbol in the main
menu (HDD or flash card).

Bedienungsanleitung ( 86 548) Stand: 28.07.05 Seite: 10 von 15
Press ESC button and select data source using ▲▼button press to
enter
Press to display file names.
Display noe shows folder on
Memory Stick.
On MS card are 2 files and 2
folder. The first two files show
system files from MS card..
Select „PIC“ folder to see file names of 5 JPG files.
16.2 Manage data
Press 2button to select manage mode for data. You
have different possibilities for working and changing
data and files on GIGA mini as followed:.
Warning ! During copy function, please do not take away flash card. If you take away flash
card while copying all data could be damaged or lost.
Copy
Selected file or folder can be transferred from/to flash card or hard disk as followed:
-Select data source/folder/file using ÆESC Æ ►◄
-Press ►or ◄and to enter and mark

Bedienungsanleitung ( 86 548) Stand: 28.07.05 Seite: 11 von 15
-Press2button, select function Copy using ►◄confirm with
-Press ESC button several times and select data source with ►or ◄button always
confirm with .
-Use several times and ►or ◄button to select target folder.
-Press2button and choose ►or ◄button select PASTE using to confirm.
-Pasted content will be saved into target folder.
Paste
Copied (Copy) or Cut (CUT) file can be transferred via PASTE function onto the
target data source.
Copy/PASTE function can transfer data to and from data source.
Select files and press buttons as described under Copy.
Delete
Selected file or folder will be deleted.
File and folder could be selected as described and then be deleted using DELETE.
CUT
Folder and files can be CUT like in MS-Windows.
Select file and folder like described in the Copy chapter and confirm using CUT.
After that select target folder as described under Copy and use PASTE function to
transfer.
17. MP3 Player
Select FILE function (datamanagement) and
confirm with .
Select data source on which the MP3 file is
saved.
Choose ►or ◄button to select MP3 file and
press to enter.
MP3 Player starts automatically and shows
symbols as followed.
-Volume control with –V and +V .
-Plug in head- or earphones in the socket.
Track Titel
Repeat
EQ Mode (watch submenu settings )
Titel-Name

Bedienungsanleitung ( 86 548) Stand: 28.07.05 Seite: 12 von 15
Audio Frequence
Sound Quality
Left channel
Right channel
17.1 Settings in the sub menu
Using EQ button you reach the sub menu of
settings where you can find the follwing:
Lock/Unlock: - on/ off
By pressing –V or +V device can be locked or unlocked. Save status
pressing .
Sound
NORMAL / USER / POP / CLASSIC / JAZZ / ROCK
Lyric
LYRIC: Lyric display options:
LYRIC: Show lyrics
Non LYRIC: Hide lyrics
Lyric Language
ENGLISH / KOREAN / NO_NLS / SAYE_FONT /
CHINESE_TRAD / CHINESE_SIMP / JAPANESE
Repeat
Once Dir: play folder once
Once File: play file once
Repeat Dir. repeat folder endlessly
Repeat File: repeat file endlessly
18. FM Radio
Use ►◄button to select RADIO function in
the main menu press to enter.

Bedienungsanleitung ( 86 548) Stand: 28.07.05 Seite: 13 von 15
Use ►◄button to select channel or station.
Keep ►◄button pressed for automatical
channel search.
Volume control via –V and +V.
Programming channels automatically
Press to start PRESET mode. Press 2to start channel search and programming mode
(max. 20 channels)– stop using .
In the PRESET Mode channels are selected using ►◄.
Mode ( MONO / STEREO ) and number of the selected channel is displayed.
19. Recording function
Press ►◄button to select recording
function in the main menu and use to
enter.
Press EQ button to enter the sub menu. You
will find settings as followed:
Lock/Unlock: on/ off
Press –V or +V to lock/unlock device and save status pressing
.
REC SET: recording quality
Select function using ►◄button
and select with –V und +V, save using .
32KHz 112KBPS
44KHz 128KBPS
44KHz 160KBPS
44KHz 192KBPS

Bedienungsanleitung ( 86 548) Stand: 28.07.05 Seite: 14 von 15
REC SET: Recording
Select function using ►◄button and choose –V und +V to change, save using
.
MIC IN: Recording via microphone.
LINE IN: Recording from other data source.
To connect with other sources or microphone use socket on the left side of the
device.
20. Compatibility
You will find actual list of compatibility at www.jobo-digital.de / Service /
Information/Driver/Firmware/Software / Devices/Flash Card compatible
21. Notes/Updates
Verify Function – will be available in January 2005 free firmware update at
www.jobo-digital.de.
OTG Function - will be available in January 2005 at www.jobo-digital.de free
firmware update.
22. Troubleshooting
Questions Answers
Function under DOS, WIN95,
WIN98?
These systems are not supported, only
WIN98SE and up.
Function under Linux? Function just with Linux kernel Version
2.4.0 and up.
Which data formats could be
downloaded on HDD?
All data and formats could be downloaded
on HDD.
Device could not be switched on. 1. No battery inserted.
2.Battery has no / not enough power.
Buttons do not work. System failure - Press RESET button
(see back of device)
No hard drives are shown when
connected to PC/Mac.
1. Check if drivers are installed when
needed.
2. Refresh display using F5.
Download failure. 1. Please check if file is damaged.
2. Please check if it is let enough space on
Giga mini; if not, please delete or reorganise
data.
3. Max. number of folders (9999) has been
exceeded, please delete something or
reorganise data.
4. Check, if flash card as been correctly
inserted.
MP3 function does not work. 1. Please check file format (MP3 ?).
2. Please check, if ear- or headphones have

Bedienungsanleitung ( 86 548) Stand: 28.07.05 Seite: 15 von 15
been plugged in properly.
3. Please check, if data or files are damaged.
23. Service / technical support
In case of questions please contact the technical support of our distributors or send
Subject to technical modification. BA Art. Nr.: 86548
digital.de
Table of contents
Other JOBO Storage manuals