Belt Speed Troubleshooting
belt. The right display should show a number that increases as you push faster and 0
when the belt is stopped—this is the output of the speed sensor.
d.
While standing on the side rails, press Speed Up to increase the number in the left
display—this is the commanded speed signal. Press Start and the belt will start moving
slowly. By setting the left display to the following values, the right display should read
as indicated in the chart below:
Belt speed should change accordingly with the commanded
speed. The right display should read out within 10% of these
values and remain steady when the speed is not changing—
remaining at 0 or fluctuating as little 10 points up or down could
indicate that the speed sensor is out of adjustment, disconnected,
or faulty.
*These values were measured on T101-05s with console software version 1.xx. Values may be different
in different console software versions.
High belt/deck friction triggering overcurrent protection
T101-05, T101-07, TR5, TR3
The MCB measures the motor current and triggers self-protection when the motor is drawing too much
current. When this occurs, the belt will come to a stop but the console will continue operating the
workout – counting time & distance and appearing to respond to user controls. Cycling power (switch
on the front base or disconnecting the power cord) is necessary to restore normal function.
This issue can be difficult to diagnose because it may happen sporadically, depending on user weight,
speed, incline, temperature, distance/time into workout, and many other factors.
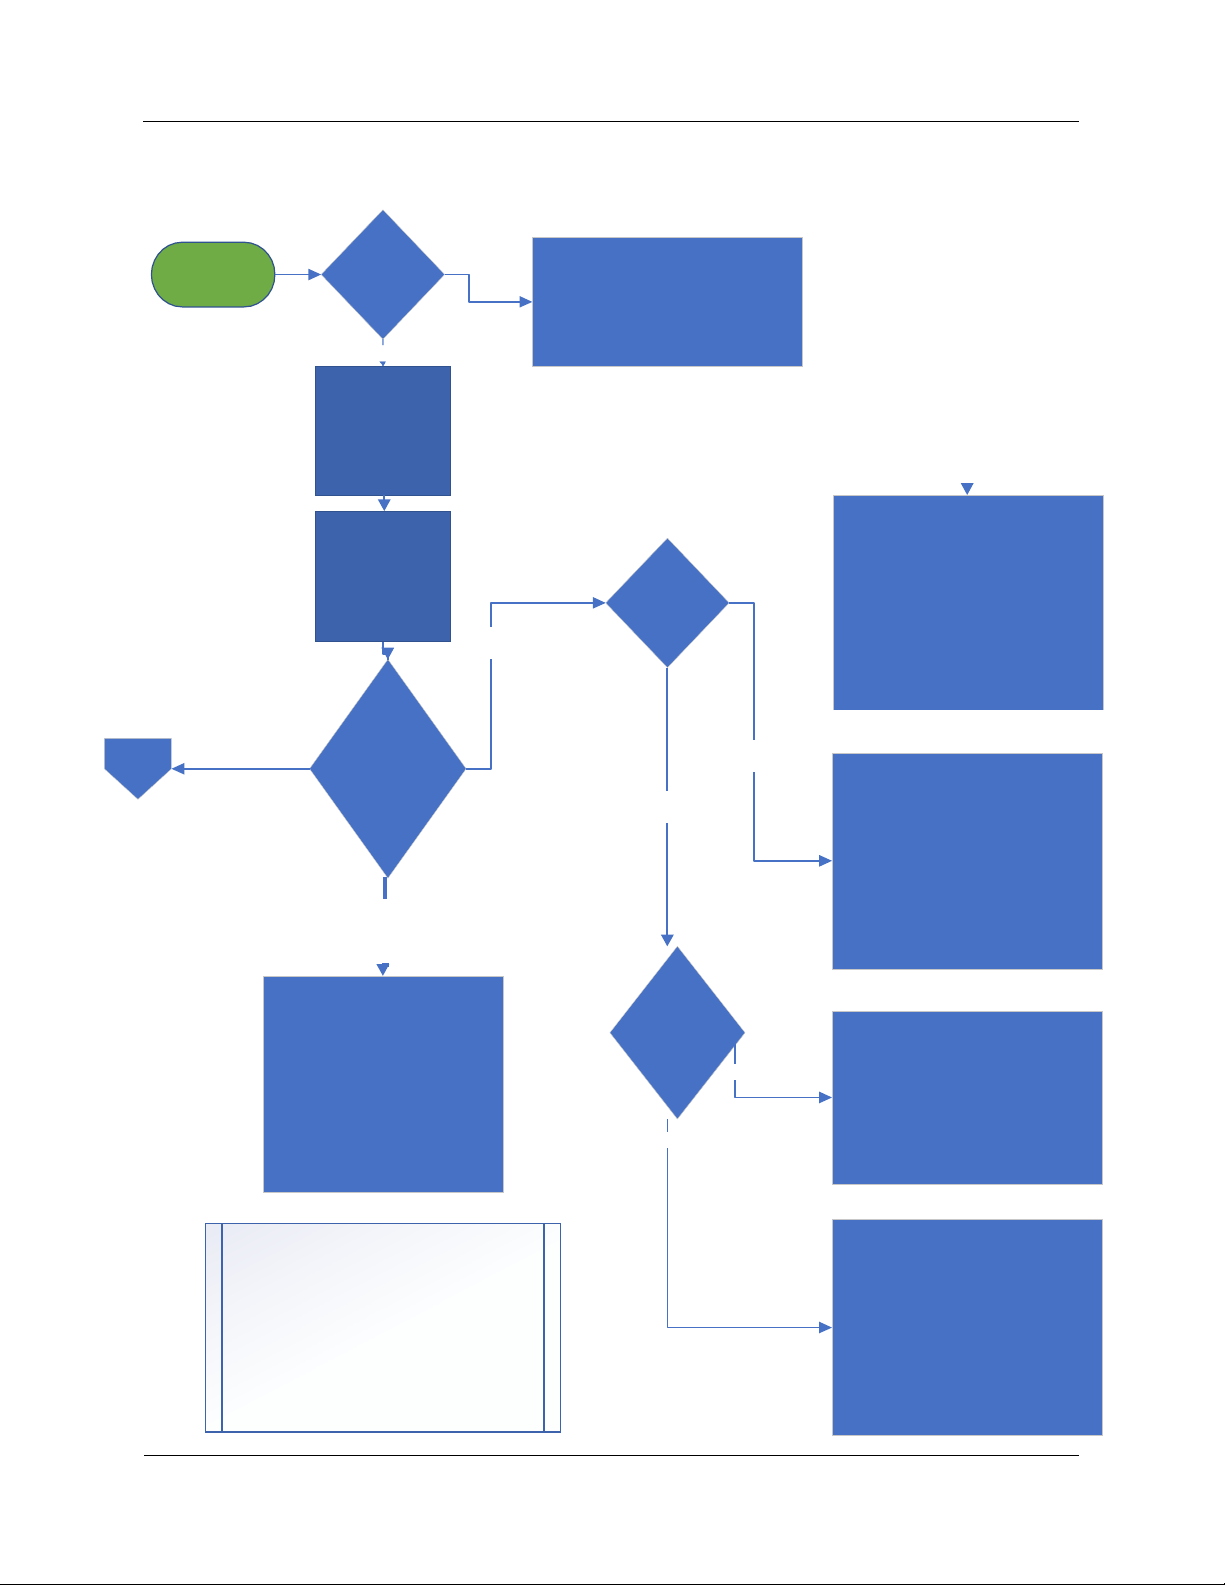
To diagnose & correct this issue:
1.
When the issue occurs, remove the motor cover, and examine the MCB without disconnecting
power or turning the power switch off. If there is a RED LED illuminated on it, the MCB is in
overcurrent self-protection. Reinstall the motor cover and cycle power. Note: This LED will
reset when power is cycled. Confirm that the power remains on after the belt stop issue
occurred when making this check.
2.
Lubricate the belt & deck according to the instructions included in the treadmill Owner’s
Manual.
3.
If the issue re-occurs, the belt & deck are likely worn beyond lubrication resolving. Replace the
belt & deck.
4.
If the issue continues to re-occur, the motor or MCB have likely been stressed to failure.
Replace the motor first. If issues continue to occur, replace the MCB.