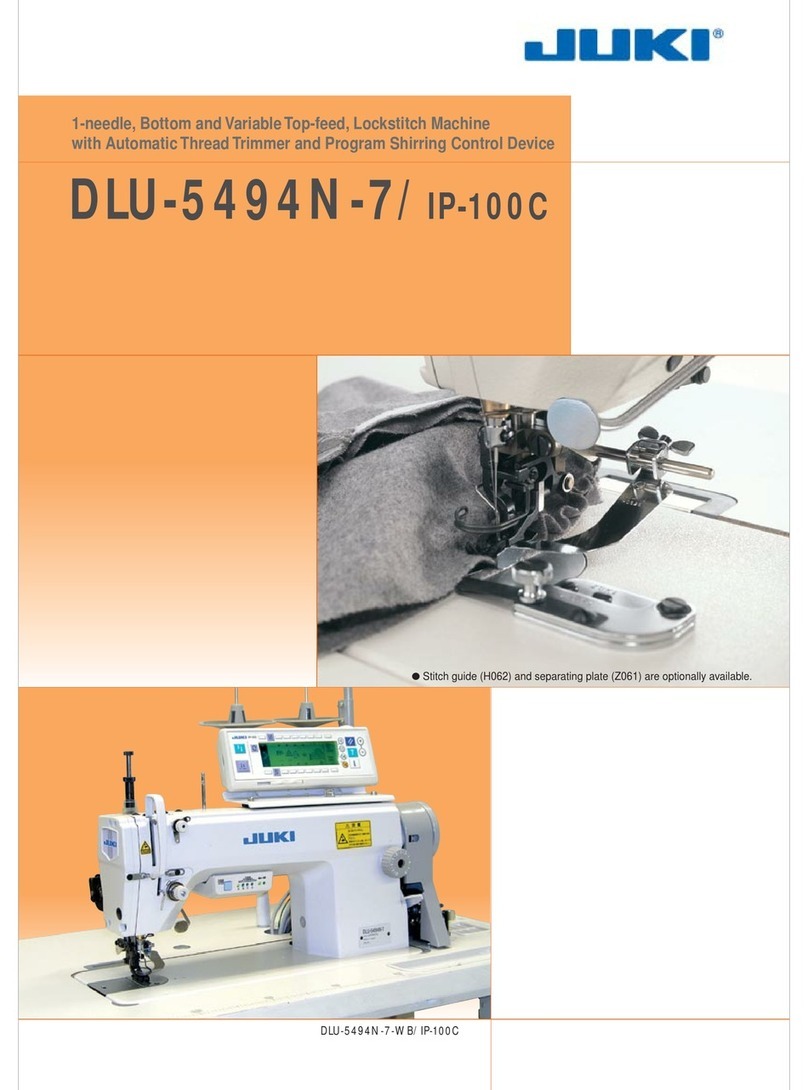
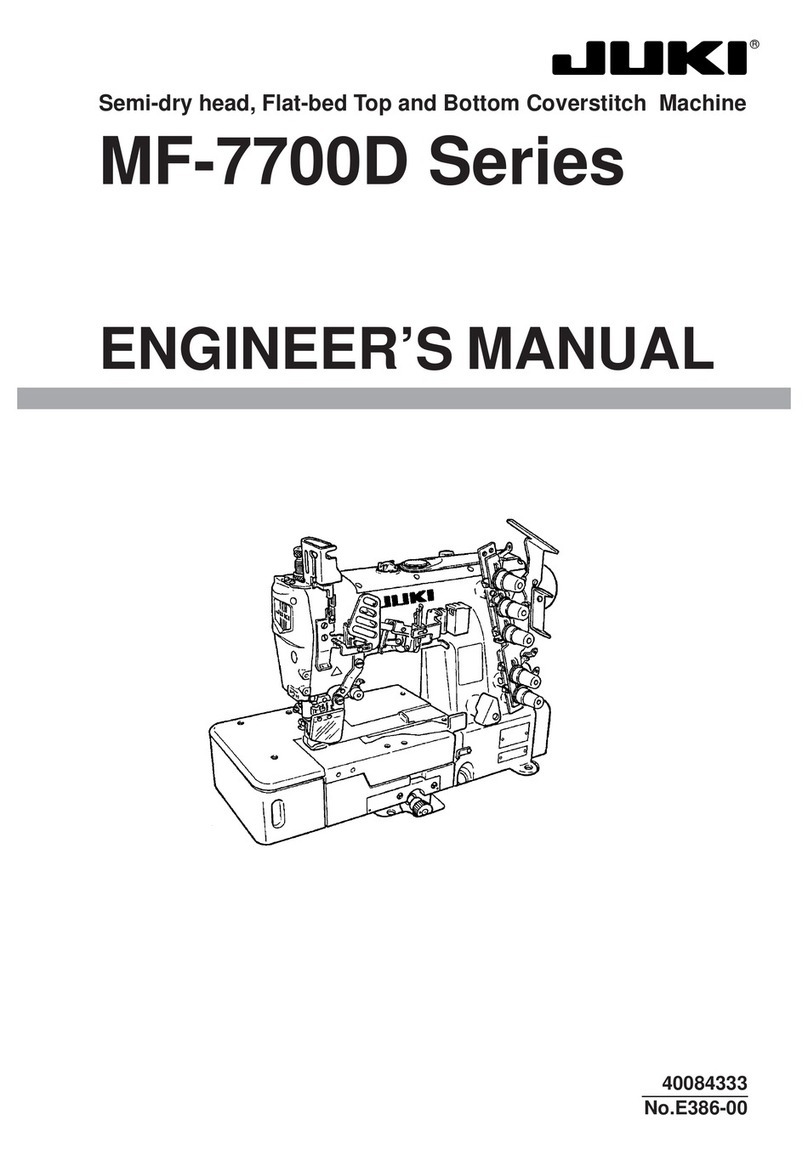
JUKI MF-7700 Series Quick start guide

R
ENGINEER’S MANUAL
13371604
No.E361-01
High-speed, Flat-bed Coverstitch Machine
MF-7700 Series

PREFACE
This Engineer’s Manual is written for the technical personnel who are responsible for the service and maintenance of
the machine.
The Instruction Manual for these machines intended for the maintenance personnel and operators at an apparel
factory contains operating instructions in detail. And this manual describes “Standard Adjustment”, “Adjustment
Procedures”, “Results of Improper Adjustment”, and other important information which are not covered by the Instruction
Manual.
It is advisable to use the relevant Instruction Manual and Parts List together with this Engineer’s Manual when carrying
out the maintenance of these machines.
In addition, for the motor for the sewing machine with thread trimmer, refer to the separate Instruction Manual or
Engineer’s Manual for the motor. And for the control panel, refer to the Instruction Manual for the control panel.
This manual gives the “Standard Adjustment” on the former page under which the most basic adjustment value is
described, and on the latter page “Results of Improper Adjustment” under which stitching errors and troubles arising
from mechanical failures are described together with the “Adjustment Procedures”.

CONTENTS
1. SPECIFICATIONS ............................................................................................. 1
2. CONFIGURATION OF THE MACHINE COMPONENTS .................................. 2
3. MODEL NUMBERING SYSTEM ....................................................................... 3
4. MOTOR PULLEY AND BELT MF-7700 Series ................................................ 4
5. STANDARD ADJUSTMENT ............................................................................. 5
(1)Threading the machine head ........................................................................................... 5
(2) Adjusting the rocking thread take-up............................................................................. 7
(3) Adjusting the position of the needle thread guide rod ................................................. 9
(4) Adjusting the position of the thread receiver .............................................................. 11
(5) Adjusting the position of the spreader thread guide and spreader thread take-up ...... 13
(6) Adjusting the spreader .................................................................................................. 15
(7) Adjusting the timing relation between the looper and needle bar............................. 19
(8) Retuming amount of the looper .................................................................................... 21
(9) Height of the needle ....................................................................................................... 23
(10) Locus and longitudinal motion of the looper ............................................................ 25
(11) Adjusting the needle guard ......................................................................................... 27
(12) Instlling cover of the looper and needle guard after adjusting ................................ 31
(13) Adjusting the feed dog................................................................................................. 33
(14) Adjusting the feed relation .......................................................................................... 39
(15) Adjusting the presser foot........................................................................................... 41
(16) Adjusting the micro-lifter............................................................................................. 43
(17) Adjusting the looper thread cam ................................................................................ 45
(18) How to change needle bar stroke ............................................................................... 47
(19) How to change the spreader ....................................................................................... 51
(20)With reagard to lubrication .......................................................................................... 53
(21) Adjusting and setting SC-380...................................................................................... 55
6. TROUBLES AND CORRECTIVE MEASURES............................................... 57
7. DRAWING OF TABLE (SEMI-SUBMERGED TYPE) ..................................... 71
–1–
No. Item Specifications
1 Model name High-speed, flat-bed coverstitch machine
2 Model MF-7700 series
3 Stitch type ISO standard 406, 407, 602, and 605
4 Example of application Hemming and covering for knits and general knitted fabrics
5 Max. sewing speed Max. 6,500 rpm (at the time of intermittent operation)
6 Needle gauge 3-needle ... 4.8 mm, 5.6 mm, and 6.4 mm
2-needle ... 4.0 mm (3.2 mm can be accepted as special order)
7 Differential feed ratio 1 : 0.7 to 1 : 2 (stitch length : less than 2.5 mm)
Micro-differential feed adjustment mechanism is provided. (Micro-adjustment)
8 Stitch length 1.2 mm to 3.6 mm (can be adjusted up to 4.4 mm)
9 Needle UY128GAS ORGAN #9S to #14S (standard #10S)
(SCHMETZ Nm65 to Nm90, standard Nm70)
10 Needle bar stroke 31mm (standard), possible up to 33 mm by adjustment)
11 Dimensions (Height) 451 x (Width) 515 x (Length) 265
12 Weight 46kg
13 Lift of presser foot 8 mm (needle gauge : 5.6 mm without top covering), and 5 mm (with top covering)
Micro-lifter mechanism is provided.
14 Feed adjustment method Main feed ... dial type stitch pitch adjustment method
Differential feed ... lever adjustment method (micro-adjustment mechanism is provided.)
15 Looper mechanism Spherical rod drive method
16 Lubricating system Forced lubrication method by gear pump
17 Lubricating oil JUKI MACHINE OIL 18 (Equivalent to ISO VG18)
18 Oil reservoir capacity Oil gauge lower line : 600 cc to upper line : 900 cc
19 Installation Semi-submerged type
20 Needle tip, needle thread and Provided as standard
silicon oil lubricating unit
21 Noise Workplace-related noise at sewing speed
n= 5000 min-1 : LPA ≦78 dB (A)
Noise measurement according to DIN 45635-48-A-1.
1. SPECIFICATIONS

–2–
2.CONFIGURATION OF THE MACHINE COMPONENTS
1Presser spring regulator !0 Thread tension nut !9 Thread trimming knife
2Needle bar thread take-up cover !1 Oil gauge @0 Rocking thread take-up receiver
3Oil circulation identification window !2 Feed regulating knob @1 Rocking thread take-up
4Oil hole cap !3 Eye guard cover @2 Front cover
5Micro-lifter !4 Throat plate @3 Slide cover
6"Oil" indication !5 Needle tip silicon oil lubricating unit @4 Needle bar thread take-up thread
7Needle thread silicon !6 Differential lock nut receiver
oil lubricating unit !7 Micro-adjustment knob @5
Rocking thread take-up thread guide
8Thread guide No. 1 !8 Finger guard @6 Silicon container thread guide
9Upper pulley @7 Belt cover
12
345678
9
!0
!1
!2
!3
!4
!5
!6
!7
!8
!9
@0 @1
@7
@3
@2
@5
@4
@6

–3–
3.MODEL NUMBERING SYSTEM
High-Speed, Flat-bed Coverstitch Machine
Applicable model : MF-7700 Series
3~6 Model code
7722 2-needle top & bottom covering stitch
7723 3-needle top & bottom covering stitch
Application code
7~9 Application Description
U10 For universal Lapseam, Covering, Hemming
C10 For collarette Collarette
10 Tongue shape of throat plate
B B-type (Standard)
Availabilty
11~12 Needle gauge For 2-needle For 3-needle U10 C10
40 4.0mm Avail – – Avail
48 4.8mm Avail Avail Avail –
56 5.6mm Avail Avail Avail Avail
64 6.4mm Avail Avail Avail Avail
14~22 Device and attachment
(blank) Not provided
24 Destination
A Standard
25 Accessory
A Standard
* When device or attachment is one, delete slash (/) of 13th digit.
1 2 3 4 5 6 7 8 9 10111213141516171819202122232425
MF 7 7 B / / –

–4–
50Hz 60Hz
Pulley size (mm) Belt size (inch) Pulley size (mm) Belt size (inch)
4,500 ø 100 M-35 ø 85 M-35
4,800 ø 105 M-36 ø 90 M-35
5,000 ø 115 M-36 ø 95 M-35
5,500 ø 125 M-37 ø 105 M-36
5,800 ø 130 M-37 ø 110 M-36
6,000 ø 135 M-37 ø 115 M-37
6,200 ø 140 M-38 ø 120 M-38
6,500 ø 150 M-39 ø 125 M-38
4. MOTOR PULLEY AND BELT MF-7700 Series
1 . The table shows the numbers when a 3-phase 2-pole 400 W clutch motor (1 / 2 HP) is used.
2 . The commercially-available motor pulley near to the counted value is designated since the outside diameter of the
commercially-available motor pulley counts by 5 mm.
3 . When you use a new sewing machine, use the machine at a speed of 5,000 rpm or less for the first 200 hours
(approximately one month). A good result can be obtained in terms of the durability.
(Caution) 1. Use a motor pulley which is adaptable to this sewing machine.
2. The sewing speed exceeds the max. sewing speed of this sewing machine and machine trouble will be
caused unless a motor pulley which is adaptable to this sewing machine is used.
Sewing
speed(rpm)

–5–
5. STANDARD ADJUSTMENT
1. Threading for standard seame
(Caution) In case of threading for standard seams, rocking thread take-up thread guide 5is not used.
(Caution) In case of the soft seams, rocking thread take-up thread guide 5is used.
2
When covering thread is
excessively tense = D
When covering thread is
excessively loosened = B
When covering thread is
excessively loosened even
after passing B= C
B
C
D
1
Broken lines Awhen stretcher
thread is used
A
Standard Adjustment
(1) Threading the machine head
2. Threading for soft seams
(1) Do not pass needle thread through needle bar thread take-up 8.
(2) When soft seams are required, change the threading of needle thread and slide the position of looper thread cam
eyelet.
(3) Do not pass needle thread through needle bar thread take-up 8. Pass the thread from rocking thread take-up 9to
rocking thread take-up thread guide
5.
(4) Other points are same as those of “1. Threading for standard seame”.
In case of soft seams
Engraved marker line
Left Right
7
5
When using more
stretchable thread When using less
stretchable thread
3
8
9
5
E
12
4
5
3

–6–
1. When motion of thread is very rough, and stable seams can not be
obtained, there are cases where the condition can be improved by
the following threading.
(1) Wind thread around 1st thread guide 6.
(2) Wind thread around the thread tension thread guide !0.
2. When using more stretchable thread (wooly thread or the like), the
threading as given below does not make thread stretch and neat
seams can be obtained.
(1) Do not pass thread through spreader auxiliary thread tension 4.
(2) Do not pass thread through the looper thread tension disk.
Refer to section E.
(Caution) Even when using wooly thread or the like, seams are more
stabilized by passing thread through looper thread
auxiliary thread tension 7.
™When threading is not properly
performed, not only sewing trouble
occurs, but also needle breakage is
caused. So, be careful.
Engraved marker line
7
Do not pass thread.
4
Standard Adjustment Results of lmproper Adjustment
6
!0

–7–
(2) Adjusting the rocking thread take-up
Standard Adjustment
1. Length of the rocking thread take-up
(1) It is the standard that the length of rocking thread take-up 2from the center of the shaft of rocking thread take-up
support arm 4to the thread hole face of rocking thread take-up 2is 95 mm.
2. Position of the rocking thread take-up
(1) Install so that rocking thread take-up 2is flush with rocking thread take-up 2when the needle bar is in its lowest
position.
3. Timing of the rocking thread take-up
(1) It is the standard timing that rocking thread take-up 2is in
its lowest position as well when the needle bar is in its lowest
position.
Timing of rocking thread take-up 2is performed by adjusting
the position of rocking thread take-up ball arm 8.
4. Relation between the timing of rocking thread take-up and
the needle thread loop
(1) When using the excessively stretchable thread or the hard-
to-stretch thread, the size of needle thread loop can be
changed by by changing the timing of rocking thread take-
up 2.
(2) Relation between the timing of the rocking thread take-up
and the size of needle thread loop is as shown in the table
on the next page.
(The relation becomes reverse when using the needle bar
thread take-up = standard seams and when it is not used =
soft seams. So, be careful.)
1
2
4
95 mm
2
7
3
6
2
5
Flush
!1
3
8
4mm
Anti-operator’s side
Operator’s side
9
!2
/
/
!0

–8–
Standard Adjustment Results of lmproper Adjustment
™When length of rocking thread take-
up 2is lengthened, needle thread is
tightened.
(Caution) When lengthening rocking
thread take-up 2, check
whether it comes in contact
with the thread take-up cover.
™When length of rocking thread take-
up 2is shortened, needle thread is
loosened.
™When installing position of rocking
thread take-up 2is raised, needle
thread is loosened when the needle
bar thread take-up is used, and needle
thread is tightened when the needle
bar thread take-up is not used.
1. Length of the rocking thread take-up
(1) Loosen screws 1and move rocking thread take-up 2to the right
or left to adjust the length.
2. Position of the rocking thread take-up
(1) Loosen screw 5and move rocking thread take-up 2up or down
to adjust the position.
(Caution) When adjusting the position of rocking thread take-up 2,
adjust the rocking thread take-up to the same plane of the
edge of rocking thread take-up shaft 3and fix it so that
spreader thread take-up 6and spreader thread guide 7
do not come in contact with each other.
3. To adjust the timing of the rocking thread take-up 2, remove the top
cover, loosen setscrew 9in the rocking thread take-up ball arm and
move the position of rocking thread take-up ball arm 8to and fro.
(1) Standard adjustment figure is the position where the rear end (anti-
operator’sside)ofrocking threadtake-up ballarm 8alignswith engraved
marker line !0 on rocking thread take-up shaft 3. (As the standard at this
time, note that the clearance provided between the rear end of rocking
thread take-up ball arm 8and thrust collar !1 is 4 mm.)
(Caution) 1. When loosening screw 9in rocking thread take-up
ball arm 8, there is a case where rocking thread take-up
2rotates by its weight. After the adjustment, be sure to
check the rocking position (flush at the lowest position)
of rocking thread take-up 2.
2. When moving rocking thread take-up ball arm 8to the
operator’s side, adjust rocking thread take-up ball arm
8within the range where it does not come in contact
with rocking thread take-up bushing !2 (operator’s side).
4. Relation between timing of rocking thread take-up and needle
thread loop
When needle bar thread take-up is used Loop becomes small. Loop becomes large.
When needle bar thread take-up is not used Loop becomes large. Loop becomes small.
Advance timing
(Move to anti-operator’s side.)
Delay timing
(Move to operator’s side.)
Adjusting procedure is the same as step 3. Loosen setscrew 9in rocking thread take-up ball arm 8and adjust
the position of rocking thread take-up ball arm 8.
(Caution) Adjust the timing of rocking thread take-up 2each time in accordance with thread used or conditions.

–9–
Standard Adjustment
1. Position of the needle thread guide rod
(1) It is the standard that the height of needle thread guide rods 1is the position where the dimensions from the top
surface of needle thread guide base 2to the bottom end of the hole are as follows.
Left needle A: 7 mm
Middle needle B: 15 mm
Right needle C: 23 mm
2. Adjusting the position of needle thread guide base and silicon container thread guide
(1) It is the standard that the height of silicon containder thread guide 4(refer to 2. CONFIGURATION OF THE
MACHINE COMPONENTS) is the position where the height from the center of setscrew 5to the bottom end of
thread hole is 9 mm.
(2) Move the lateral position of needle thread guide base 2fully to the right of slot (43 mm).
Extreme right position
C
B
A
A : 7mm B : 15mm C : 23mm
12
3
Extreme right position
7
43mm
9mm
5
4
6
2
(3) Adjusting the position of the needle thread guide rod

–10 –
Standard Adjustment Results of lmproper Adjustment
1. Loosen setscrews 3, adjust the height of respective needle thread
guide rods 1, and fix the rods with setscrews 3.
(Caution) 1. Move the lateral position of needle thread guide base 2
fully to the right of slot.
2. When adjusting the height of needle thread guide rods
1, install the rods so that the thread holes are parallel to
the thread holes of silicon container thread guide 4so
that excessive resistance is not applied to threads.
2. Adjusting the position of needle thread guide base and silicon
container thread guide
(1) Loosen setscrews 5and 6and move silicon container thread
guide 4up or down to adjust the height.
(2) Loosen setscrew 7and adjust the lateral position of needle thread
guide base 2.
™When needle thread guide rod 1is
raised, needle thread is loosened.
™When needle thread guide rod 1is
lowered, needle thread is tightened.
™When silicon container thread guide
4is raised, needle thread is loosened.
™When silicon container thread guide
4is lowered, needle thread is
tightened.
™When needle thread guide base 2is
moved to the left, needle thread is
loosened.

–11 –
(4) Adjusting the position of the thread receiver
Standard Adjustment
1. Position of the needle bar thread take-up thread receiver (in case of standard seams)
(1) It is the standard that the height of needle bar thread take-up thread receiver 1is in the position where the bottom
end of thread hole to the center of needle bar thread take-up 2aligns with the top surface of needle bar thread
take-up thread receiver 1when the needle bar is in its lowest position.
1. Position of the rocking thread take-up thread receiver (in case of soft seams)
(In case thread is not passed through needle bar thread take-up 2)
(1) It is the standard that the height of rocking thread take-up receiver 7is in the position where the top surface of
rocking thread take-up receiver 7is in the range of the center to the top end of thread hole 9of rocking thread
take-up 8when rocking thread take-up 8is in its lowest position.
This range
6
!0
!1
7
8
9
This range
1
2
3
Thread hole
Center of hole
To align

–12 –
Standard Adjustment Results of lmproper Adjustment
1. Loosen setscrew 3and move needle bar thread take-up thread
receiver 1up or down to adjust the height.
2. When desired to make needle bar thread take-up thread receiver
1work especially on the right needle where loop is hard to be
made, adjust the height of right needle thread receiver 4with
setscrew 5.
1. Loosen setscrew !0 and move rocking thread take-up receiver 7up
or down to adjust the height.
2. When desired to make rocking thread take-up receiver 7work
especially on the right needle where loop is hard to be made, adjust
the height of the right needle thread receiver 6with screw !1.
™When the needle bar thread take-up
thread receiver 1is raised, loop
becomes large.
™When the needle bar thread take-up
thread receiver 1is excessively
raised,
4
5

–13 –
Standard Adjustment
(5) Adjusting the position of the spreader thread guide and spreader thread take-up
1. Relation of the position between spreader thread take-up 1and spreader thread guide 2is the standard when
the top end of thread hole 3of spreader thread guide 2aligns with the bottom end of slot5of spreader thread
take-up 1when spreader thread take-up 1is in its highest position.
Adjust the relation of the position so that thread is moderately stretched when spreader thread take-up 1is in its
highest position in accordance with thread used or conditions.
2. Standard position of the spreader auxiliary thread tension
Standard adjustment figure of the spreader auxiliary thread tension is the standard when the top end of thread
tension rod 6is flush with knob 7.
To align
Highest position
1
5
2
3
4
1
8
A
2
24
9
3
5
1
8
7
6

–14 –
1. Loosen setscrews 4in spreader thread guide 2and adjust the
position of spreader thread guide 2. (Spreader thread take-up 1
is fixed to rocking thread take-up 9and can not be adjusted in the
height direction.)
2. After the adjustment, turn the sewing machine by hand and check
whether spreader thread take-up1comes in contact with spreader
thread guide 2, or section Aof clearance is too small.
3. Adjusting procedure of the clearance
(1) Loosen setscrews 4in spreader thread guide 2and adjust in the
lateral direction, or loosen setscrews 8in the rocking thread take-
up and move spreader thread take-up 1to the right or left to adjust
the clearance.
(Caution) When loosening setscrews 8in the rocking thread take-
up and adjusting the position of spreader thread take-up
1, adjust so that 95, length of rocking thread take-up 9
(95mm) does not change.
Standard Adjustment Results of lmproper Adjustment
™When the relation of position between
spreader thread take-up 1and the
spreader thread guide is not proper,
sewing troubles such as stitch skipping
and the like will be caused.
™If thread is less stretched and
slackness of thread occurs at the
thread take-up section when spreader
thread take-up 1is in its highest
position, the spreader fails to pick up
thread and stitch skipping occurs.
™If stretch or feeding of thread is
excessive when spreader thread take-
up 1is in its highest position, not only
thread on the seam side is drawn and
needle thread can not be tightened, but
also needle bend or needle breakage
will be caused.
™If stretch or feeding of thread is
excessive when spreader thread take-
up 1is in its lowest position, thread
slacks when the spreader moves from
left to right and stitch skipping occurs.

–15 –
Standard Adjustment
1. Height of the spreader
It is the standard that the height from the top surface of throat plate 2to the bottom surface of spreader 1is 8.3
to 8.7 mm.
2. Longitudinal position of the spreader
It is the standard that when spreader 1returns from the extreme left position to the right and top end Aof thread
hooking section reaches to the front of left needle, the clearance between the spreader and the left needle is 0.1
to 0.3 mm.
3. Protruding amount
It is the standard that the dimension from the center of left needle to top end Aof thread hooking section, when
spreader 1is in the extreme left position, is 4.5 to 5.5 mm.
4. Spreader stroke
It is the standard that the spreader stroke is 16 to 18 mm at the stroke of thread hooking section.
5. Timing of the spreader
Standard position is the position where the spreader 1is in the extreme left position when the needle bar comes
down from the upper dead point by 1.1±0.1 mm.
(6) Adjusting the spreader
8.3 to 8.7 mm
4
1
2
3
0.1 to 0.3 mm 4.5 to 5.5 mm 16.0 to 18.0 mm
Extreme left position
1A
A1
3

–16 –
Standard Adjustment Results of lmproper Adjustment
1. Adjusting the height of the spreader
2. Adjusting the longitudinal position of the spreader
Loosen setscrew 3and adjust the height and longitudinal position
of the spreader 1.
3. Protruding amount of the spreader
Loosen setscrew 4in the spreader folder and adjust the protruding
amount. Adjust aiming the adjustment figure of 5 mm.
4. Adjusting the spreader stroke
Standard position is the position where the engraved marker line of
spreader drive lever 5aligns with the center of the shaft of
connecting pin 6. When desired to increase the stroke, loosen
lock nut 7and move in the right direction. When desired to decrease
the stroke, loosen lock nut 7and move in the left direction. Adjust
aiming the adjustment figure of 17 mm.
5. Adjusting the timing between the needle bar and the spreader
When changing the timing, loosen two setscrews 9in spreader
eccentric cam 8to adjust. Standard position is the position where
notch !0 in the main shaft aligns with notch !1 in spreader eccentric
cam. When changing, turn the upper pulley and change with
spreader eccentric cam 8fixed.
™Height of the spreader is improper,
stitch skipping of spreader occurs.
™Adjust the height in accordance with
the needle gauge.
™Even when the protruding amount is
excessive or insufficient, stitch
skipping of spreader will be caused.
™When the protruding amount is
insufficient, it will be the cause for left
needle not to scoop covering thread
at overlapped section.
™When the stroke is increased, disorder
of covering thread stitching will be
caused.
™When the stroke is decreased, stitch
skipping of spreader will be caused.
™When the timing is excessively
advanced, needle does not take
covering thread when it comes down
and stitch skipping will be caused.
™When the timing is excessively
retarded, resistance increases when
covering thread slips out from the
spreader and a load is applied to the
right needle. As a result, needle
breakage or stitch skipping will be
caused.
(Caution) When changing, temporarily
tighten No. 2 screw in the
rotation direction of setscrews
9and turn the upper pulley
to change.
8
9!0
!1
7
6
5

–17 –
Standard Adjustment
6. Adjustment figures of the spreader thread guide
(1) It is the standard that the clearance provided between spreader 1and spreader thread guide !2 is 0.4 to 1.0 mm.
(2) It is the standard that the clearance provided between spreader thread guide !2 and needle clamp thread guide !3
is 0.8 to 1.2 mm.
(3) Lateral position of the spreader thread guide
Top end of thread hooking section Dof the spreader aligns with center Eof slot Cin spreader thread guide !2
when spreader 1is in the extreme right position.
(6) Adjusting the spreader
0.8 to 1.2 mm
0.4 to 1.0 mm
1
!4
!3
!2
1
CE
D
!3
!4
!5
!2
!2
Table of contents
Other JUKI Sewing Machine manuals

JUKI
JUKI DLM-5200N User manual

JUKI
JUKI PLK-J10050R User manual

JUKI
JUKI ACF-172-1790 User manual

JUKI
JUKI DDL-9000C-F Series User manual

JUKI
JUKI DLD-5430N User manual

JUKI
JUKI TU-273 User manual

JUKI
JUKI MO-655 User manual

JUKI
JUKI CP-170 User manual

JUKI
JUKI MEB-3200 Series User manual

JUKI
JUKI LZ-2290A-SR-7 User manual

JUKI
JUKI TL-2010Q User manual

JUKI
JUKI AP-874/IP-420 User manual

JUKI
JUKI AMS-210EN-7450 User manual

JUKI
JUKI DLM-5200 User manual

JUKI
JUKI MF-7900D/UT59 User manual

JUKI
JUKI Union Special MFC-7406 User manual

JUKI
JUKI DDL-5550N-7 User manual

JUKI
JUKI MO-654DE User manual

JUKI
JUKI DDL-8000AS User manual

JUKI
JUKI HZL - 355Z Series User manual