Jumpking A4 User manual

User Guide
10ft Inground Trampoline
Got a Problem building your trampoline?
Call us on 0344 800 4060 and we can help
Patent no: DE602006006495D1, EP1721640B1 and US7628731
WARNING: Read these assembly instructions carefully
before attempting to assemble or use this product. Keep
this user guide in a safe place for future reference.
Made In China

IMPORTANT INFORMATION
2
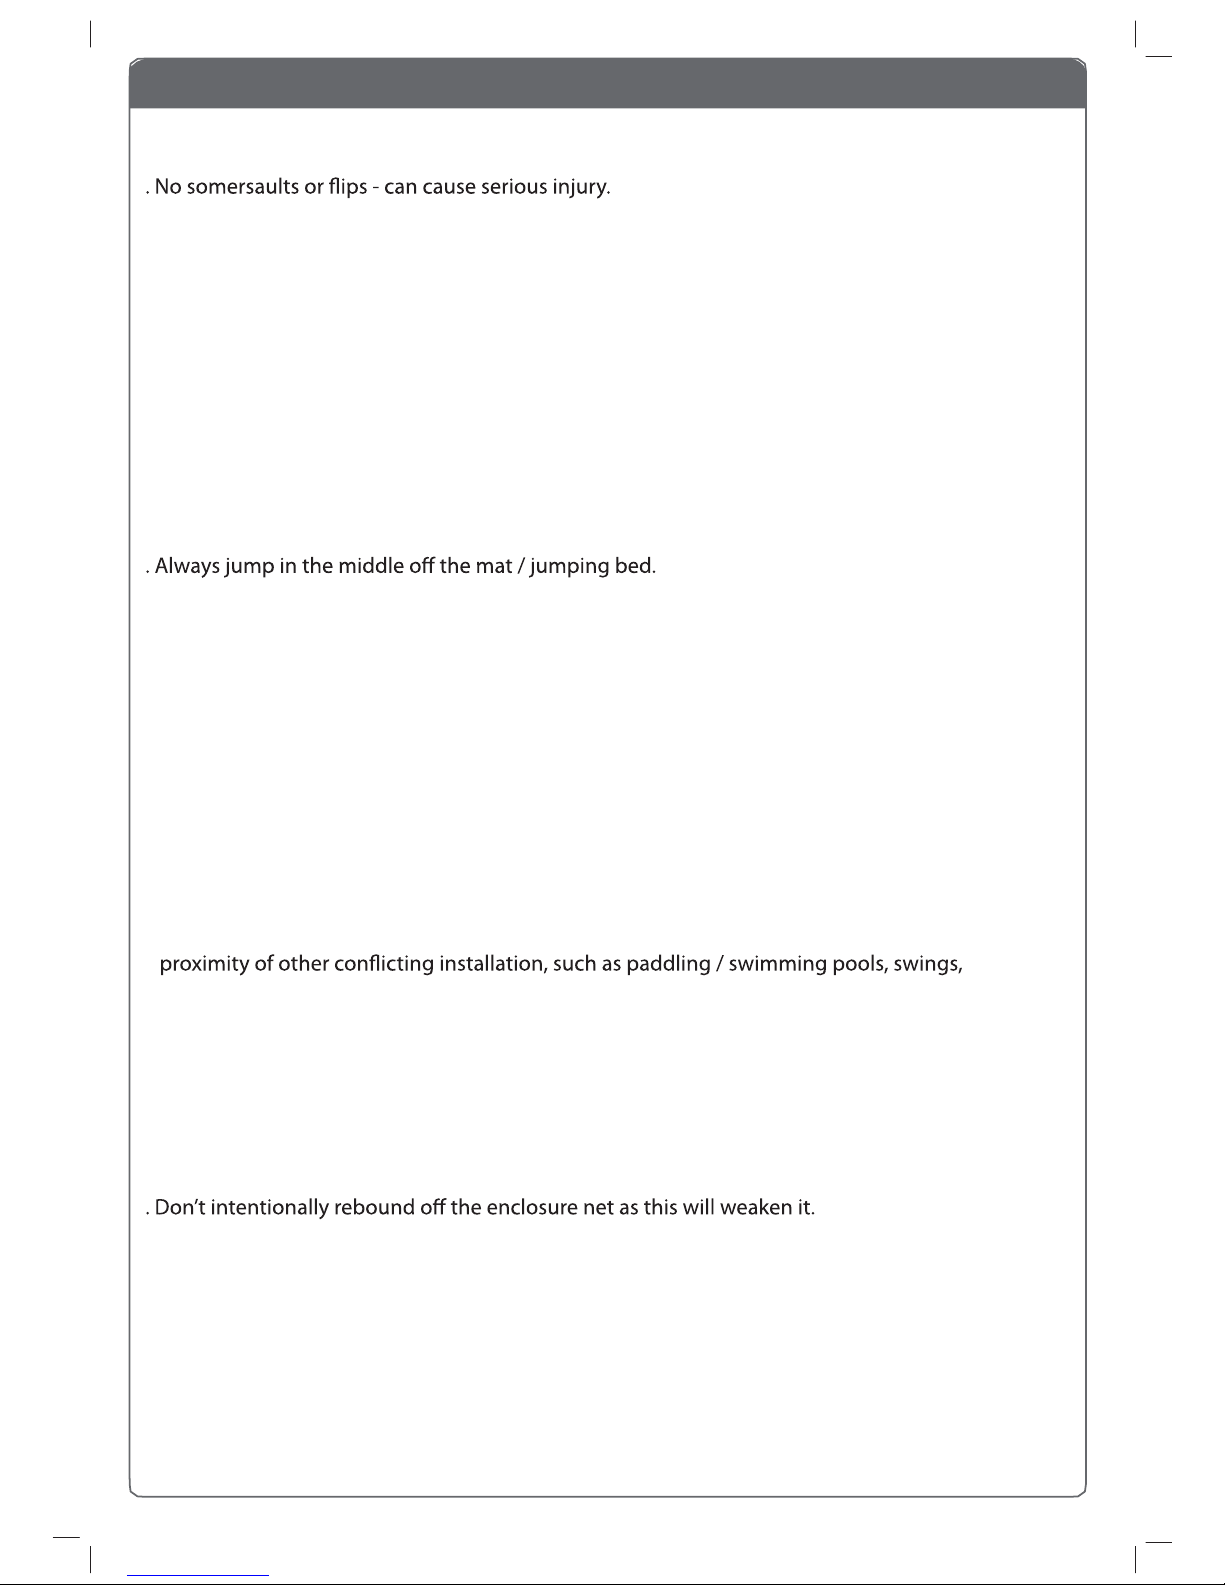
. WARNING! ADULT SUPERVISION & GUIDANCE REQUIRED AT ALL TIMES.
. Recommended age 6+ years.
WARNINGS!
. Only for domestic use.
. Maximum user weight limit 115 kg.
. Not suitable for children under 36 months - small parts, choking hazard.
. Outdoor use only.
. The trampoline should be assembled by an adult in accordance with assembly instructions and
checked in every instance before use.
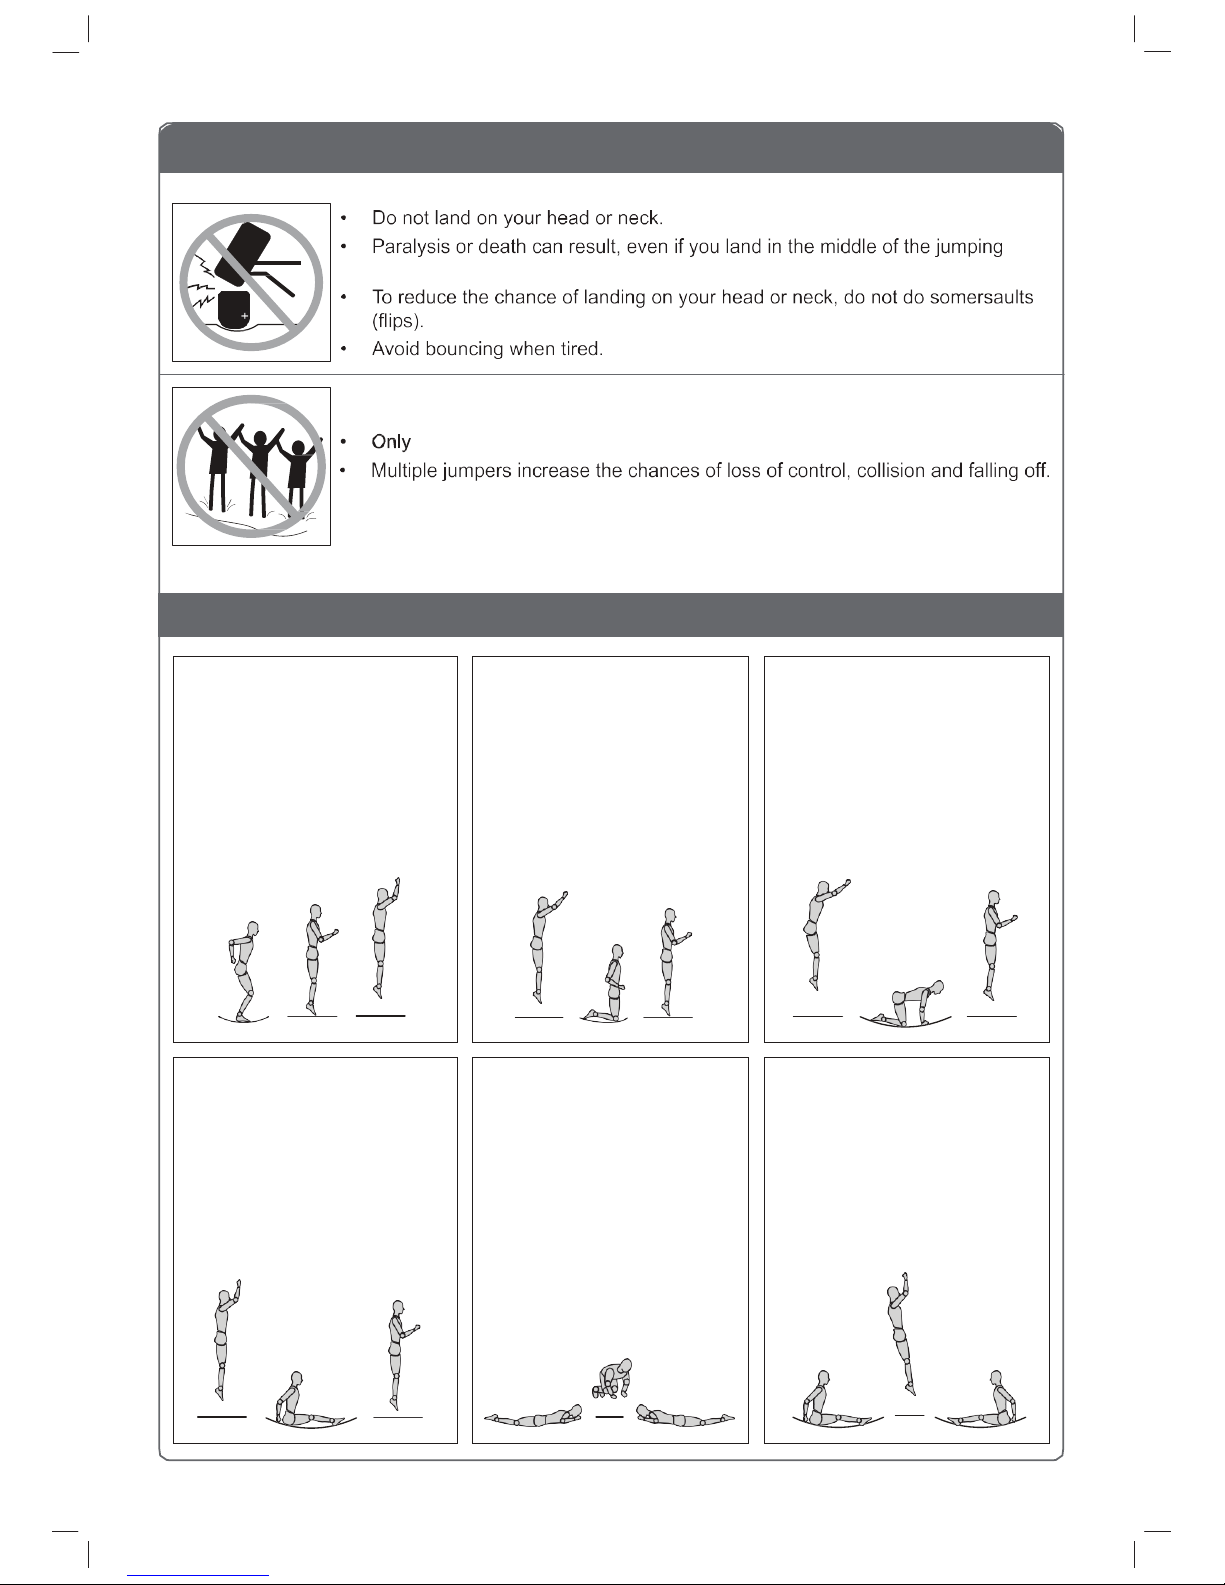
. Only one user. Collision hazard.
. Always close the net opening before jumping.
. Remove footwear before jumping on the trampoline.
. Do not use the mat / jumping bed when it is wet.
. Empty pockets and hands before jumping.
. Do not eat whilst jumping.
. Do not exit by a jump.
. Limit the time of continuous usage (make regular stops).
. Do not use in strong wind conditions and secure the trampoline.
. The net should be changed every 1 year.
ADVISORY
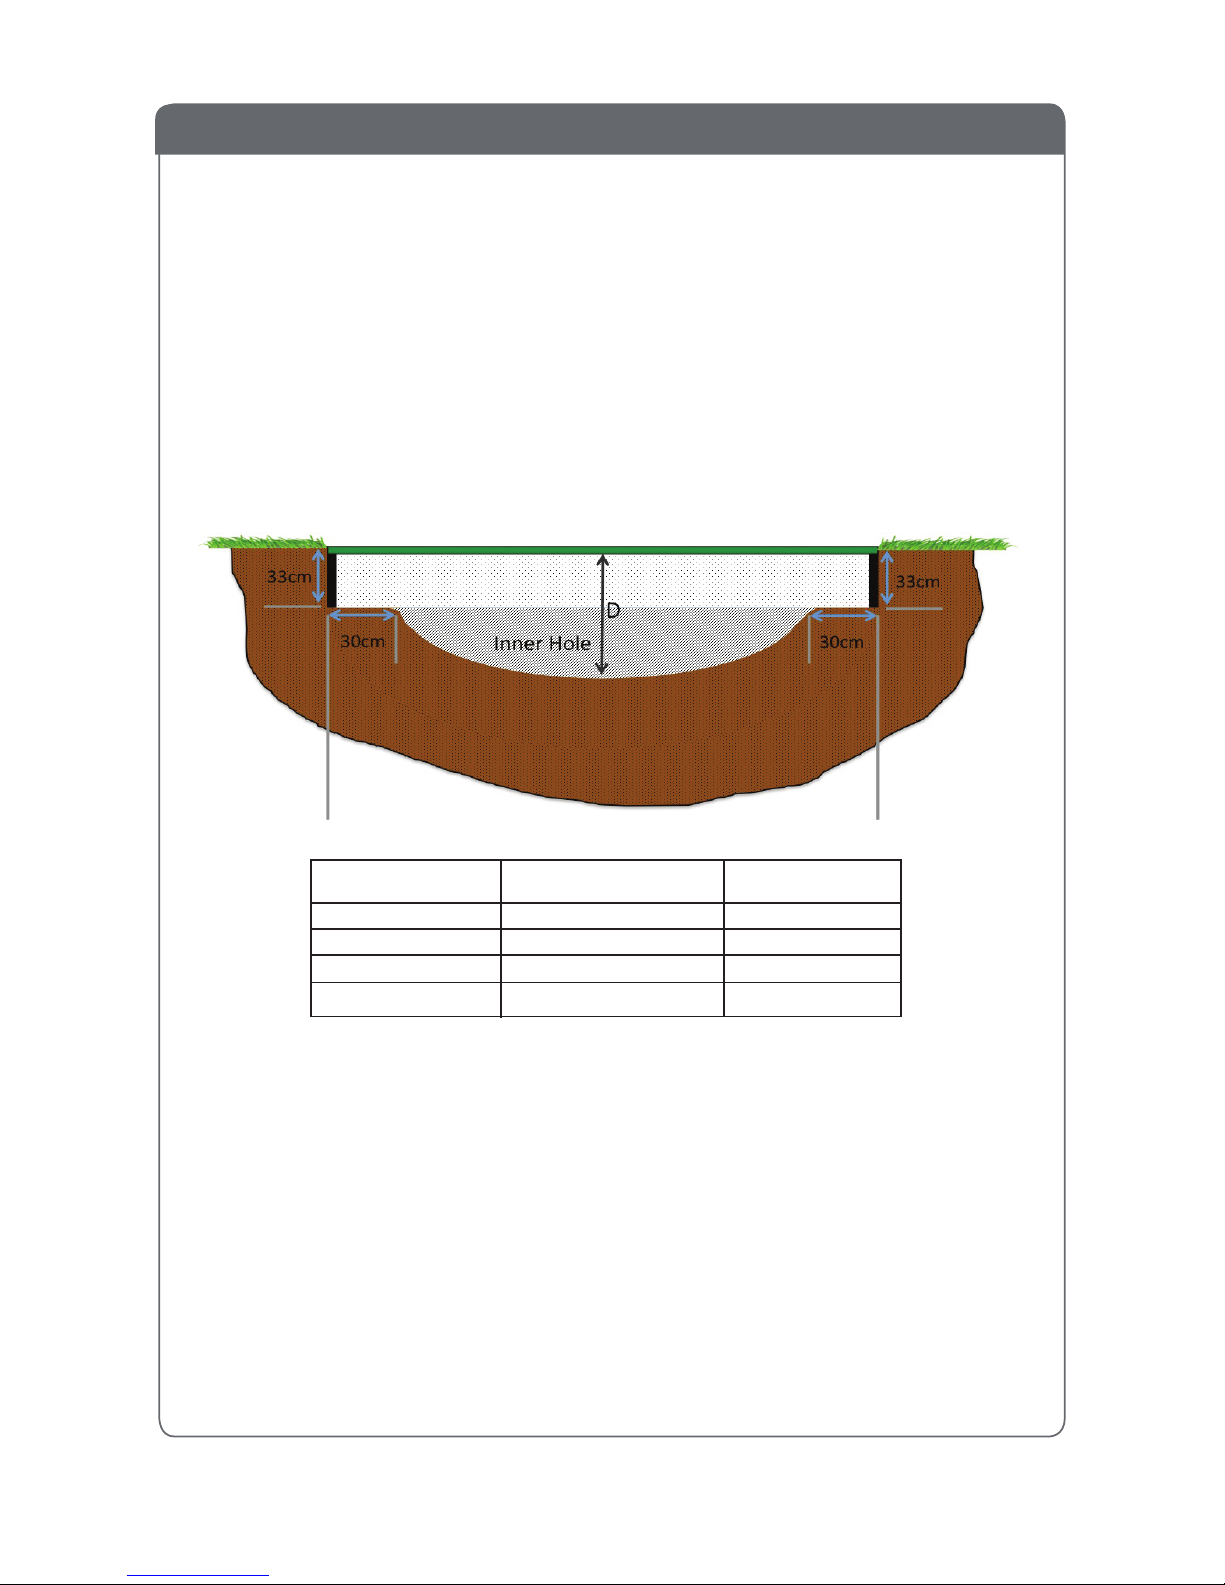
. This trampoline is not intended to be buried in the ground.
. The following product dimension relate to this 10ft Inground trampoline:
- Height from ground to top rail: 30cm (0.30m)
. The trampoline must be placed on a level surface at least 2m from any structures or obstructions
such as fence, garage, house, overhanging branches, laundry lines or electrical wires.
. Do not install the trampoline over concrete, asphalt or any other hard surface not at
slides or climbing frames.
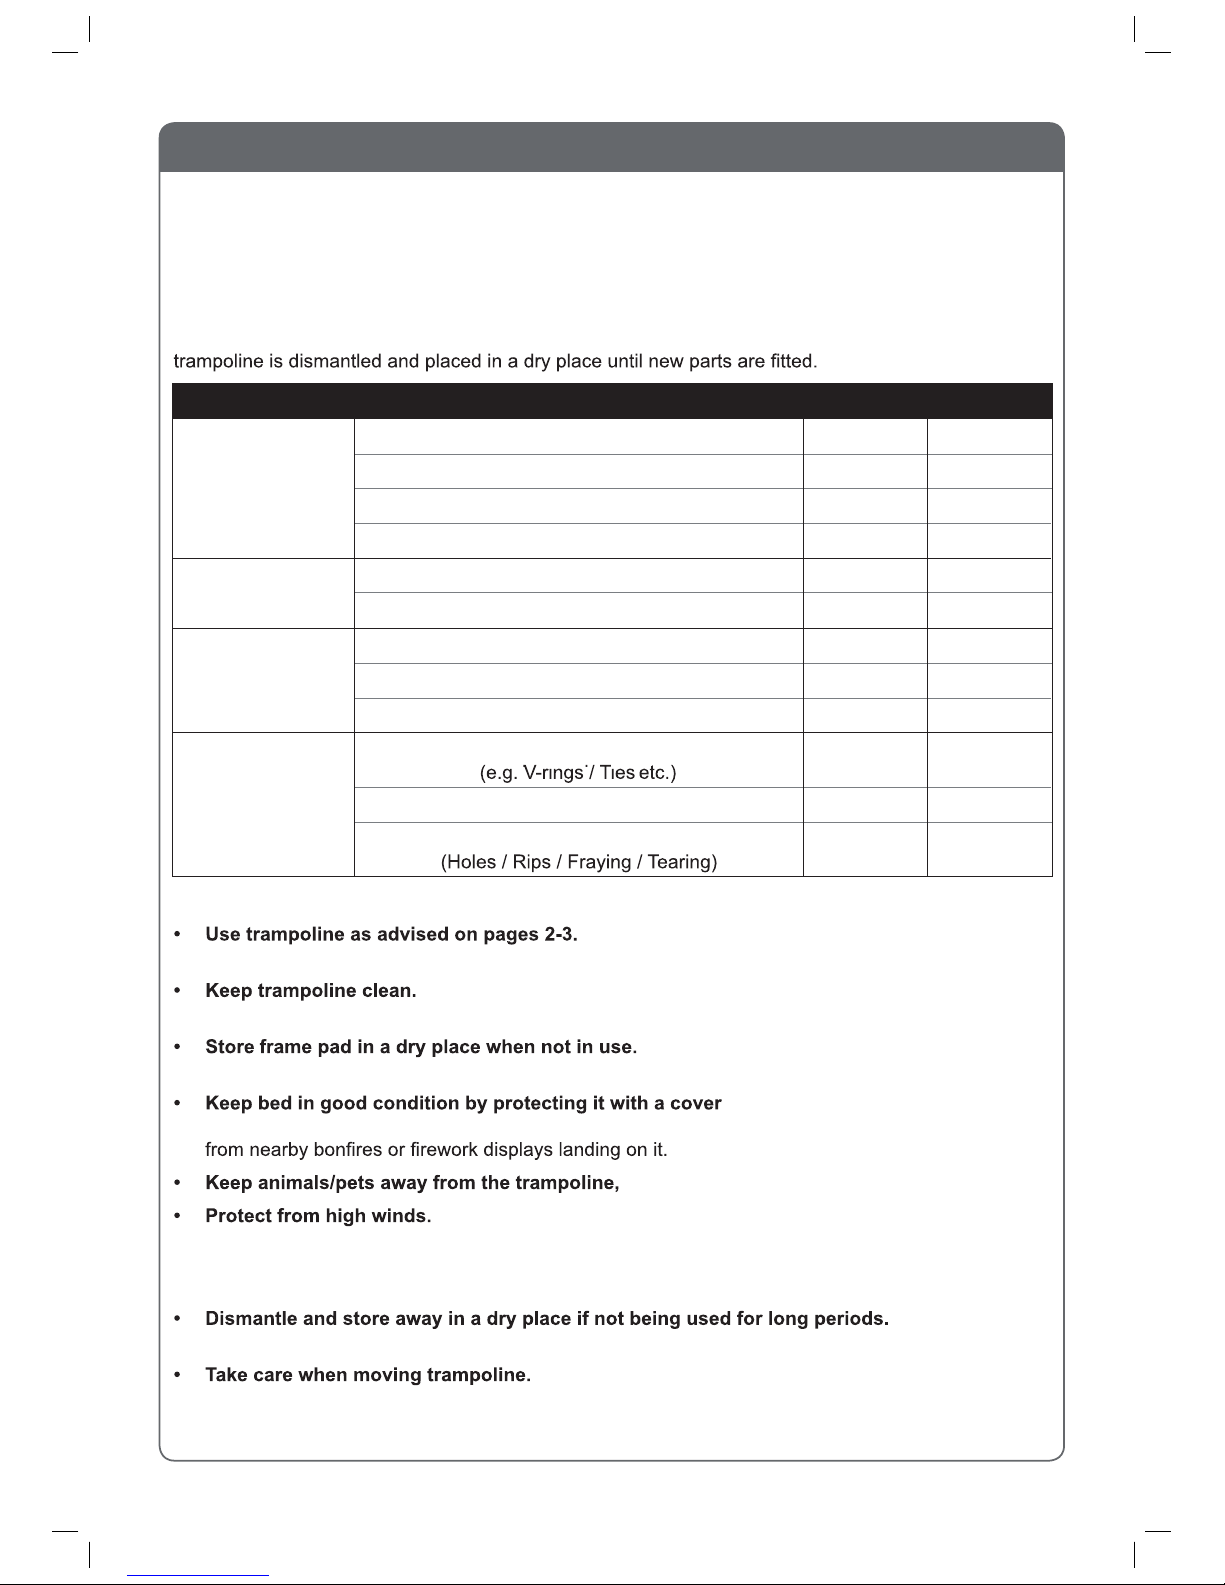
. Inspect trampoline / enclosure net before each use. Any damaged or worn parts must be
replaced before using the trampoline.
. If an access ladder is used it should be removed when trampoline is not in use.
. Make sure there are no children / animals / obstructions underneath the trampoline.
. Access the trampoline through the door of the enclosure net only. Making sure you securely close
it before bouncing.
. Please don’t use when it’s windy or rainy as this can cause you slip and become injured.
. Only attach manufacturer approved accessories to the trampoline and enclosure net.
. Always jump in the middle of the mat and practice bounce techniques safety with adult supervi-
sion and guidance.
. Jump without shoes.
. In certain countries during winter period, the snow load and the very low temperature can
damage the trampoline. It is recommended to remove the snow and store the mat and the enclo-
sure indoor.

3
IMPORTANT PRECAUTIONS
surface.
1 user
allowed at any one time.
This can result in serious injury to head, neck, arms or legs.
JUMPING INSTRUCTIONS
Fundamental Bounce
1.
Start from a standing posion with
your head erect and your eyes on the
frame pad.
2.
Swing your arms forward and up in a
circular moon.
3.
Bring your feet together and point
your toes downward while in the air.
4.
Keep your feet about 30 cm (15in.)
apart from when landing on the bed.
Knee Drop
1.
Start bouncing from a standing
posion, keeping your eyes on the
frame pad.
2.
Land on your knees, keeping your
back straight and your body erect.
3.
Come back up to an erect posion.
Hand and Knee Drop
1.
Start bouncing from a standing
posion, keeping your eyes on the
frame pad.
2.
Land on the bed on your hands and
knees.
3.
Push with your hands and come back
up to an erect posion.
Seat Drop
1.
Land in a sing posion with your
legs parallel to the bed.
2.
Place your hands on the bed beside
your hips.
3.
Push with your hands to return to an
erect posion.
HalfTurntable
1.
Start from the front drop posion
and push to the leor right with
your arms to begin turning your body
in the opposite direcon.
2.
Turn your head and shoulders
toward the direcon that your body
is turning.
3.
Keep your back parallel to the bed
and your head up.
4.
Aer compleng a half turn, land in
the front drop posion.
Swivel Hips
1.
Start with a seat drop.
2.
Turn your head to the leor right
and swing your arms up in the same
direcon.
3.
Turn your hips in the same direcon
as your head and arms, compleng a
twist.
4.
Land in the seat drop posion.

4
CARE & MAINTENANCE
Regular care and maintenance of your trampoline is required. This will help prolong its life and reduce
the possibility of injury. Neglecting this can lead to a risk for users.
Inspect your trampoline before each use using the checklist below as a guide. Take particular care in
doing this at the start of each season and at regular intervals. Ensure all parts are intact and cannot
become dislodged during play, tighten any screws or nuts and bolts where required.
IMPORTANT: If any faults are found, the trampoline MUST NOT BE USED. We advise that the
Looking after your trampoline:
Excess weight and improper use will damage it cause
it to break easily.
If any part becomes dirty, clean with a damp cloth and dry thoroughly. Do
not use any abrasive cleaners as this could damage the product.
Prolonged exposure to sun and harsh weather
can shorten its life.
(available to buy from our website).
Common damage can be caused by water pooling, garden/outdoor debris landing on it, sparks
their claws can damage it.
A trampoline can act like a sail in strong winds. It can be blown over
which can cause damage to the frame and surrounding areas. We recommend that it is moved
to a sheltered location and secured to the ground (tie-down kit available from our website), or
dismantled and stored away.
Follow assembly
instructions in reverse order making sure the springs are removed before dismantling frame.
To be lifted by 2 people. Lift slightly off the ground,
keeping the frame horizontal. Never drag to move it as this can displace parts. Always check that
parts are positioned correctly after moving.
PART
All Parts
Springs
Frame
Bed / Frame Pad
CHECKLIST
Securely attached
Correctly positioned
No sharp edges or points present
No missing parts
No damage (bent / broken)
No missing parts
No bent parts
No damage
No rusting or corrosion
No missing parts
No sagging
No damage
NOT OKOK

5
Install Time: This will vary depending on trampoline size, equipment used and soil
conditions. The In-Ground trampolines have been designed to minimize the
need to excavate too much soil. If you have a mini-digger then the hole excavation
will only take a couple of hours. If you’re hand digging then allow a full day for 2-4
people to dig the hole, assemble the trampoline and do the finishing landscaping.
You need to create an outer hole 33cms deep and then an inner hole which creates
a 30cm wide ledge on which the trampoline sits. Excavate your hole in accordance
with the following dimensions:
Every hole construction will vary in respect of size of trampoline, soil conditions and
drainage requirements.
However, these general tips and guidelines will assist you:
1. Mark out hole. It’s best to mark out a hole around 6 inches wider than the
diameter of your trampoline. This will make it easier for you to put the frame in and
find the right level. It’s very difficult to dig an exact round hole and this gives you
some tolerance. At the end of the install you back-fill around the outside of the hole
with soil you have saved and re-turf.
STAGE 1: DIG THE HOLE
Trampoline size Inner hole diameter Hole depth (D)
8ft 6ft 75cm
10ft 8ft 75cm
12ft 10ft 90cm
14ft 12ft 90cm
Table of contents
Other Jumpking Accessories manuals