7
S8 – Quick Reference Guide
TTouch ‘Start’.
TTouch ‘Start’ again.
‘Empty coffee grounds container’
TEmpty the drip tray and coffee grounds container and put
them back into the machine.
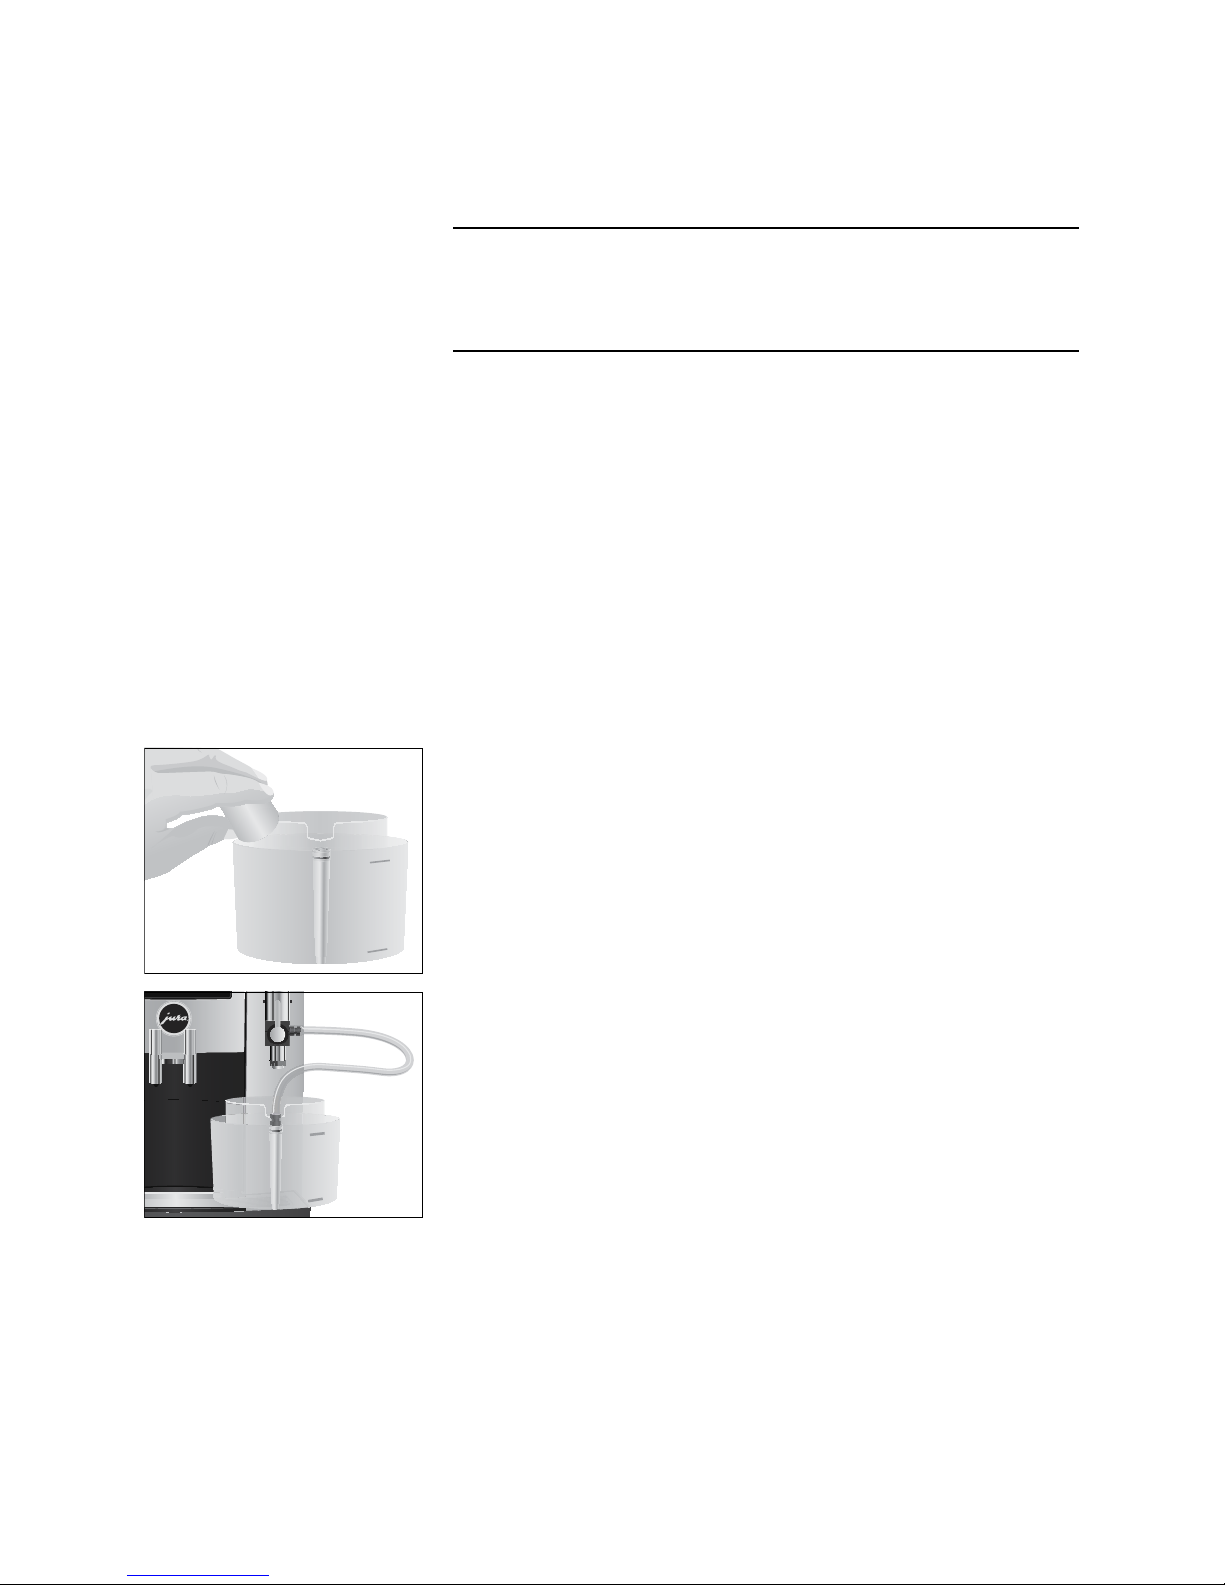
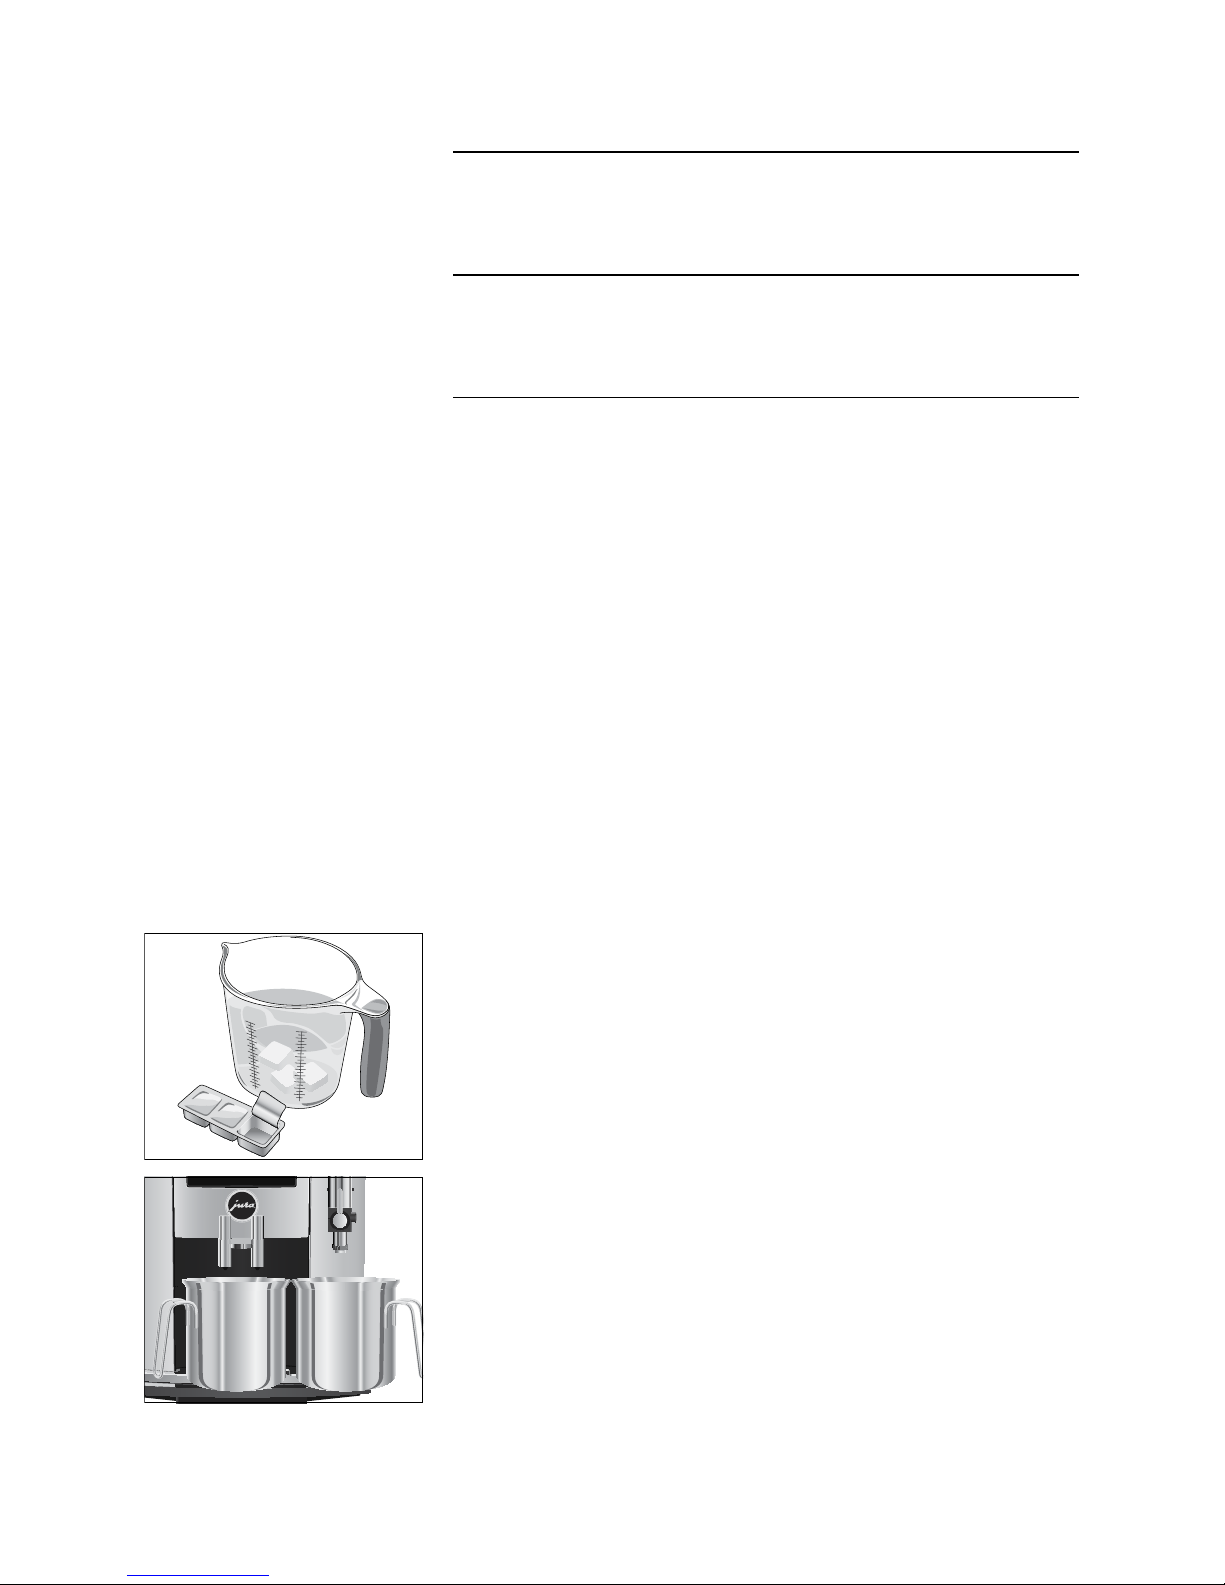
TPlace one receptacle under the coffee spout and another
under the fine foam frother.
TTouch ‘Next’.
‘Machine is being cleaned’ appears and water flows out of
the coffee spout and the fine foam frother.
The operation is interrupted, ‘Add cleaning tablet’.
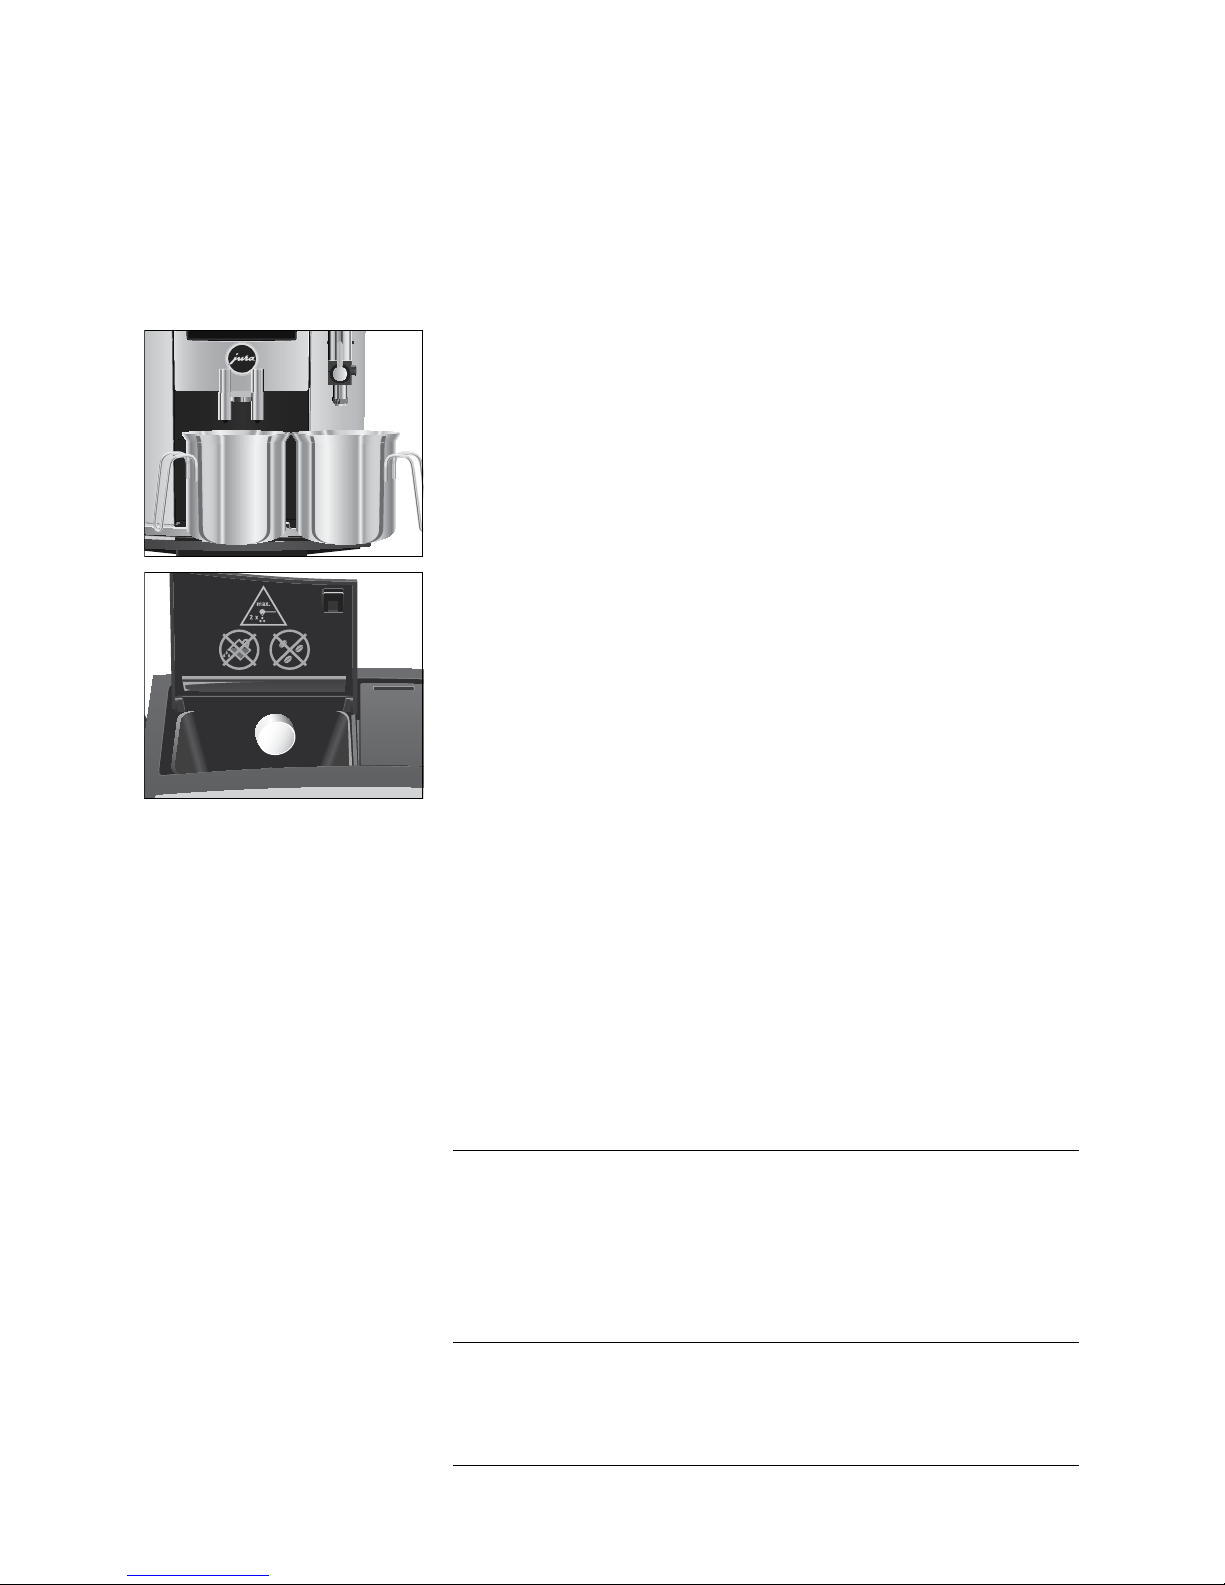
TOpen the cover of the filler funnel for ground coffee.
TInsert a JURA cleaning tablet into the filler funnel.
TClose the cover of the filler funnel.
TTouch ‘Next’.
‘Machine is being cleaned’, water flows repeatedly out of the
coffee spout and the fine foam frother.
The operation stops automatically.
‘Empty coffee grounds container’
TEmpty the drip tray and coffee grounds container and put
them back into the machine.
Cleaning is now complete. The start screen is displayed.
The S8 builds up deposits of limescale over time and automatically
prompts you to descale it when necessary. The degree of calcifica-
tion depends on the hardness of your water.
EIf you are using a CLARIS Smart filter cartridge, you will not be
prompted to descale.
If the descaling agent comes into contact with the skin or eyes, this
can cause irritation.
TAvoid contact with the skin or eyes.
TRinse off the descaling agent with clean water. Should you get
any descaling agent in your eye, see a doctor.
If the wrong descaling agent is used, the machine could be dama-
ged and/or traces could be left behind in the water.
TUse only original JURA maintenance products.
Descaling the machine
JCAUTION
CAUTION