Initial settings
8
LT-32/26C31BUE/SUE/BJE/SJE / LCT1590-001A-U / English (EK)
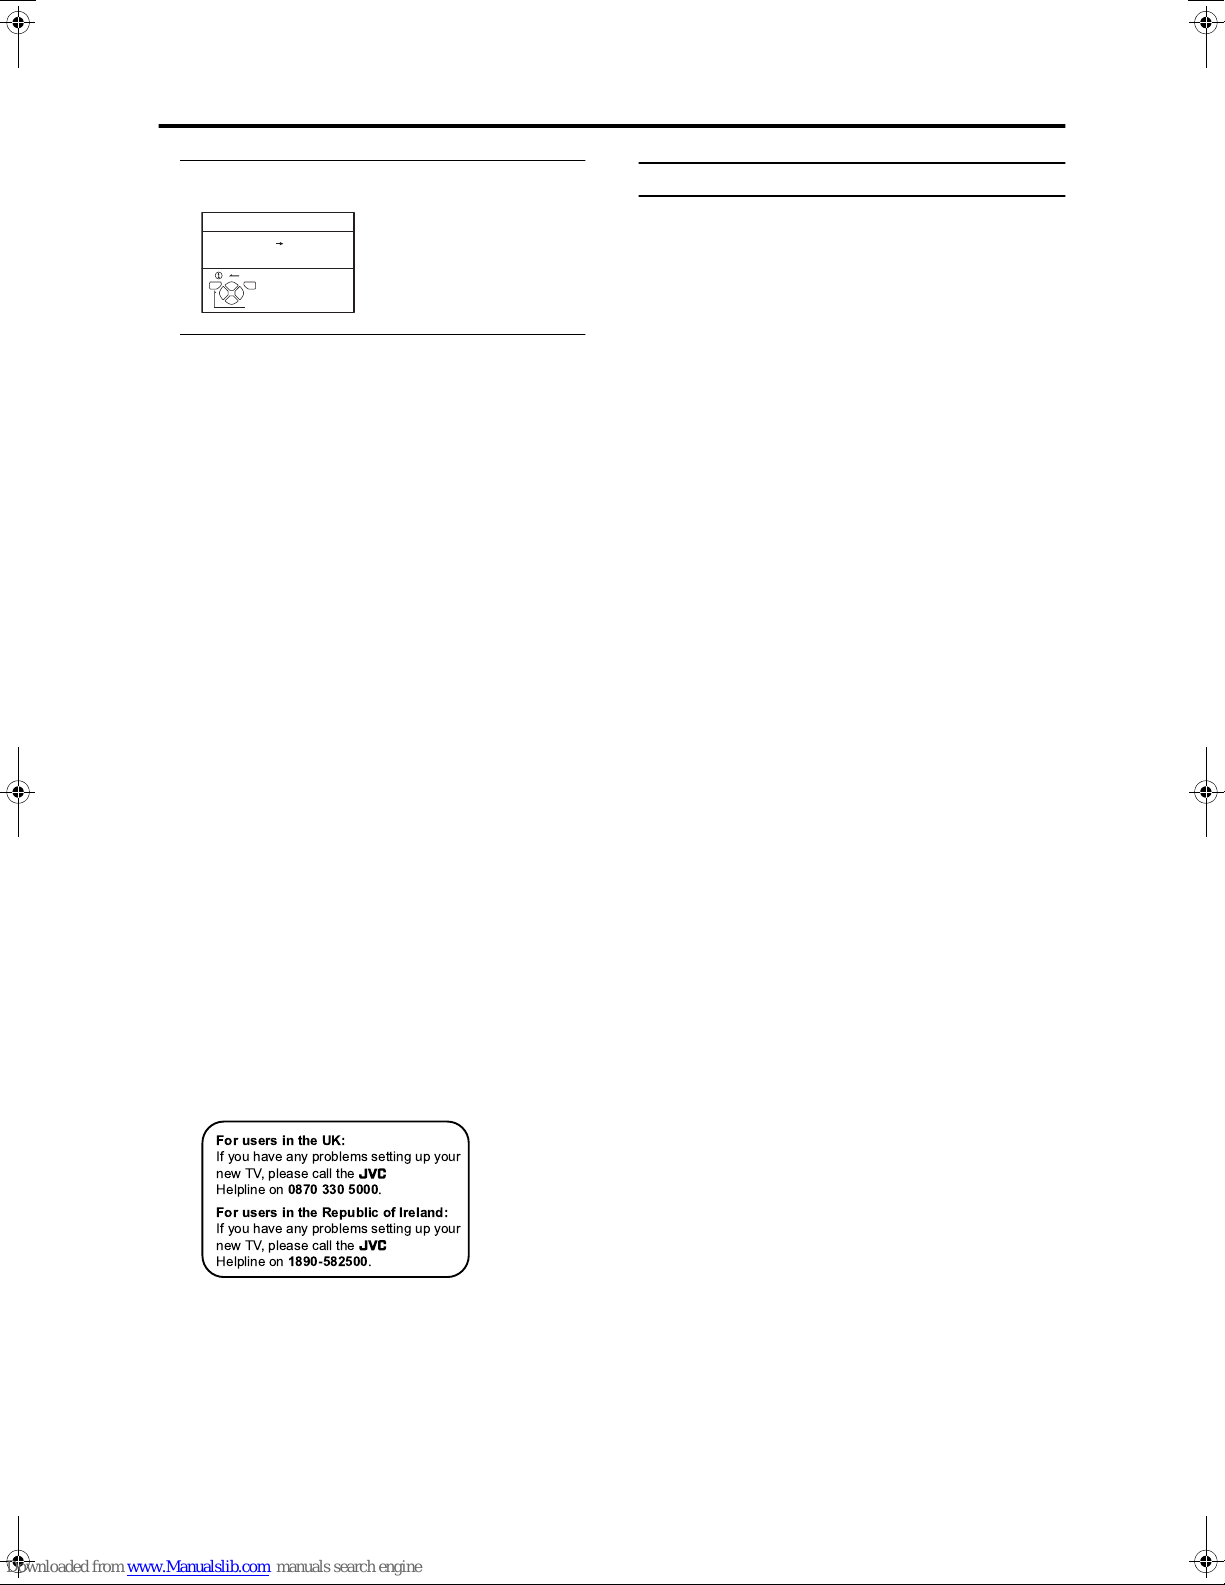
7 Press the a
aa
abutton to display the T-V LINK
menu
8 If you do not have a T-V LINK compatible VCR
connected:
Press the bbutton to exit the T-V LINK menu.
The T-V LINK menu disappears.
If you have a T-V LINK compatible VCR
connected to the EXT-2 terminal:
Follow the operating procedure “Downloading data to a
VCR” on page 31 to transmit the programme number
(PR) data.
Now, the initial settings are complete, and you can
watch the TV
•When the COUNTRY setting is UNITED
KINGDOM:
BBC1, BBC2, ITV, Channel 4 and Channel 5 are
automatically set to the programme numbers PR1 to
PR5. If the TV doesn't receive one of these TV channels,
that programme number (PR) will not be set. Programme
number PR6 is not normally set.
•When the COUNTRY setting is not UNITED
KINGDOM:
If your TV can detect the TV channel name from the TV
channel broadcast signal, the TV channel name is
assigned to the programme number (PR) to which the
TV channel has been set. However, which TV channels
are set to which programme numbers (PR) will depend
on the area in which you live.
• If a TV channel you want to view is not set to a
programme number (PR), you can set it using the
MANUAL function. For details, see “EDIT/MANUAL”
on page 28.
• The AUTO PROGRAM function does not set the
programme number PR 0 (AV) for your video cassette
recorder. You will need to set this using the MANUAL
function.
• In some areas you may get TV reception from more than
one transmitter, for example different ITV regions. In
this case each TV channel could be set twice. If this
happens, the first set of channels will have the stronger
signal. If you want to delete the second set of channels,
you will have to do it manually (see page 30).
T-V LINK functions
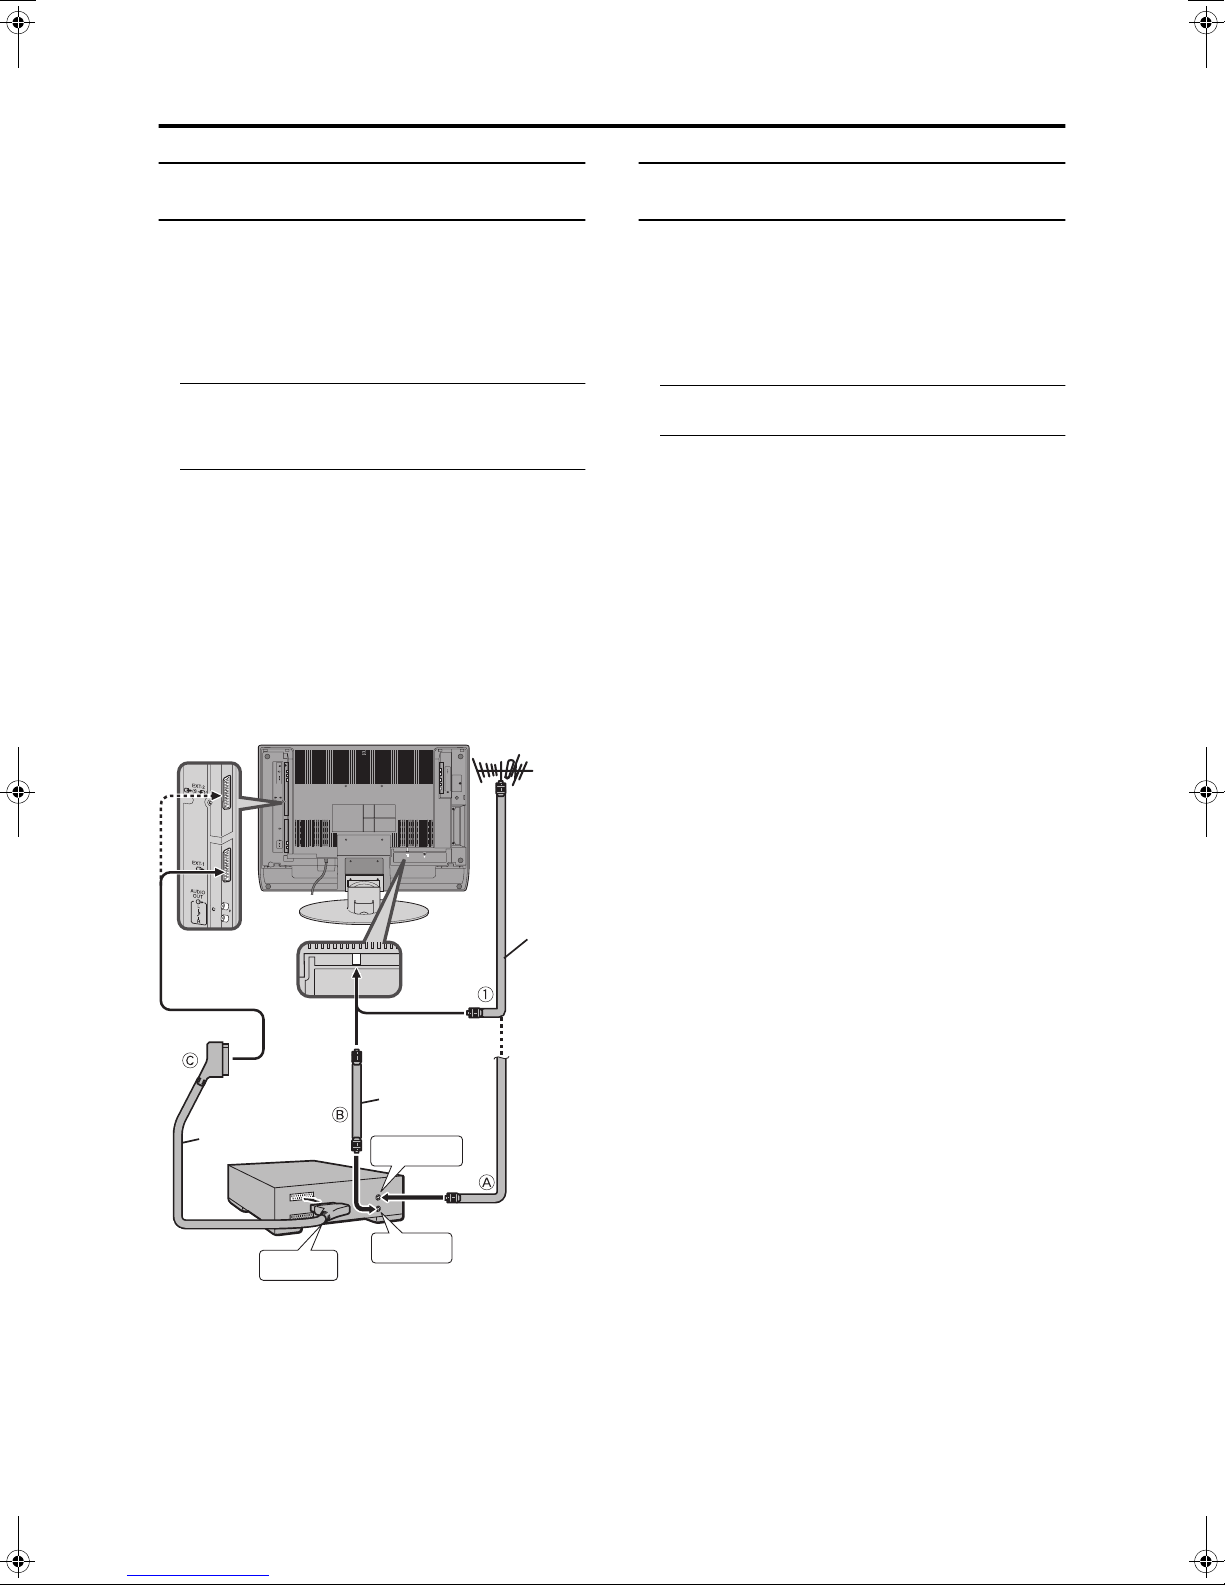
When you have a T-V LINK compatible VCR connected to
the EXT-2 Terminal on the TV, it is easier to set up the VCR
and to view videos. T-V LINK uses the following features:
To use T-V LINK functions:
A “T-V LINK compatible VCR” means a JVC video
cassette recorder with the T-V LINK logo, or with one of
the following logos. However, these VCRs may support
some or all of the features described earlier. For details, see
your VCR instruction manual.
“Q-LINK” (a trademark of Panasonic Corporation)
“Data Logic” (a trademark of Metz Corporation)
“Easy Link” (a trademark of Phillips Corporation)
“Megalogic” (a trademark of Grundig Corporation)
“SMARTLINK” (a trademark of Sony Corporation).
Pre-set download
The VCR will automatically download the registered data on
the TV channels from the TV. This means you do not need
to set up the program channels on your VCR manually.
The preset download function automatically begins when
the initial setting is complete or whenever you carry out the
AUTO PROGRAM or EDIT/MANUAL functions.
You can also carry out this function using your VCR controls.
When “FEATURE NOT AVAILABLE” is displayed:
If “FEATURE NOT AVAILABLE” is displayed, the
download was not performed correctly. Before trying to
download again, check that:
• the VCR power is turned on
• the VCR is T-V LINK compatible
• the VCR is connected to the EXT-2 terminal
• the SCART cable is fully wired.
Direct Rec
“What You See Is What You Record”
You can easily record to VCR the images that you are
watching on the TV.
For details, read the manual for your VCR.
Use your VCR controls. “VCR IS RECORDING” is displayed.
In the following situations, the VCR will stop
recording if the TV is turned off, if the TV channel
or input is changed, or if the menu is displayed on
the TV:
• when recording images from an external device
connected to the TV (for example a camcorder)
• when recording a TV channel after it has been
unscrambled on a decoder
• when recording a TV channel by using the TV’s output
because the VCR’s own tuner cannot properly receive
that channel.
When the VCR is not ready (for example when there is no
tape inserted), “NO RECORDING” is displayed.
You cannot carry out Direct Rec using your TV’s control.
Generally, the VCR cannot record a TV channel that it
cannot receive properly on its own tuner, even if you can
view that TV channel on the TV. However, some VCRs can
record a TV channel by using the TV’s output if that
channel can be viewed on the TV. For details, see your
VCR instruction manual.
TV auto power on/VCR image view
When the VCR starts playing, the TV automatically turns on
and the images from the EXT-2 terminal appear on the screen.
When the VCR menu is operated, the TV automatically
turns on and the images from the EXT-2 terminal appear on
the screen.
• Check that the AC plug on the power cord from the TV
is connected to an AC outlet.
D0005-EN
BACK
DOWNLOAD TV VCR
T-V LINK
TV OK
EXIT
For users in the UK:
If you have any problems setting up your
new TV, please call the
Helpline on
0870 330 5000
.
For users in the Republic of Ireland:
If you have any problems setting up your
new TV, please call the
Helpline on
1890-582500
.
LT-32&26C31BUE(EK)_Eng.book Page 8 Wednesday, January 14, 2004 9:44 AM