manuals.online logo
Brands
  1. Home
  2. •
  3. Brands
  4. •
  5. JVC
  6. •
  7. Security Camera
  8. •
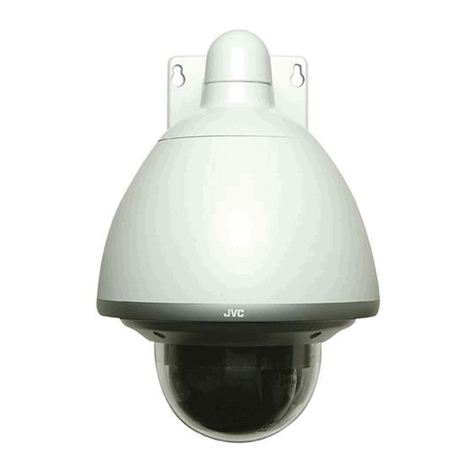
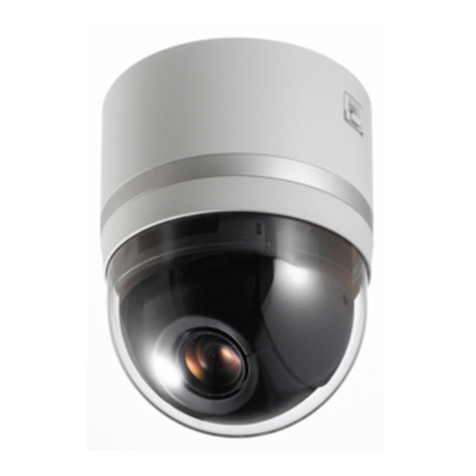
  9. JVC TK-C215VP4 User manual

JVC TK-C215VP4 User manual

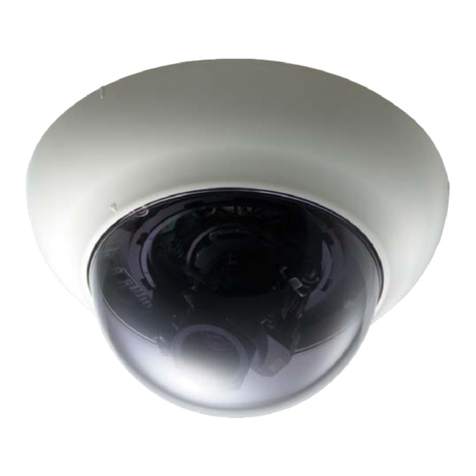
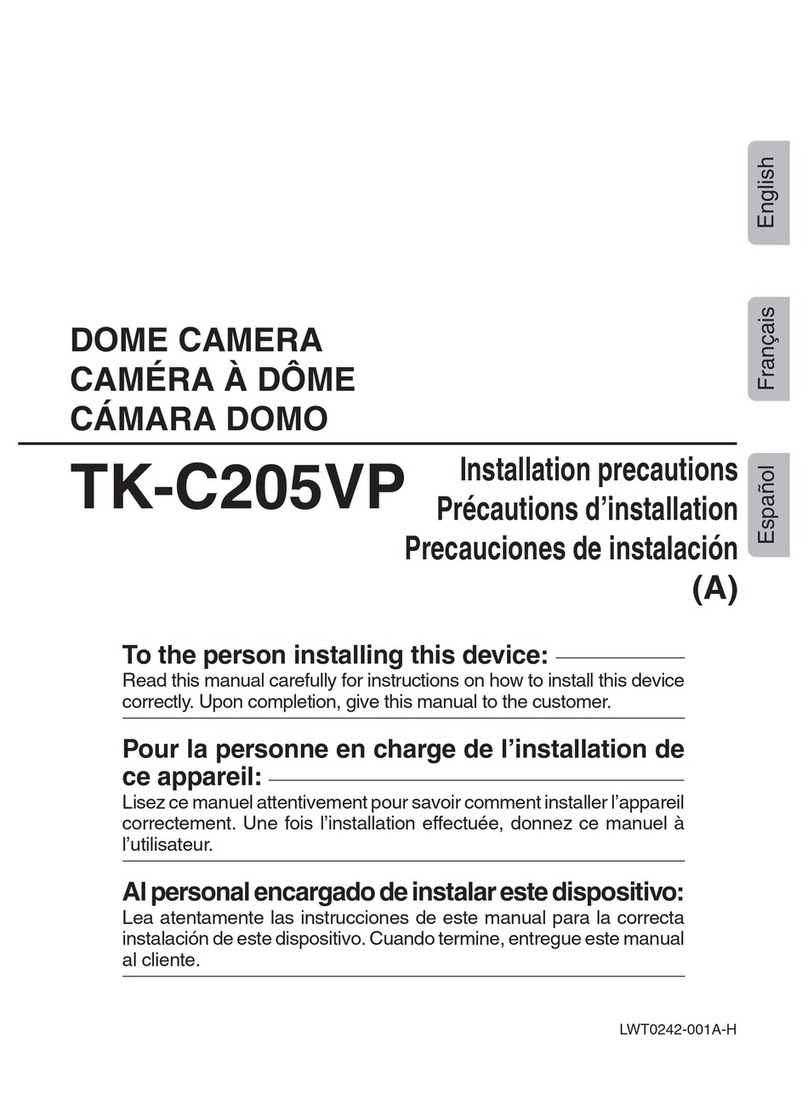
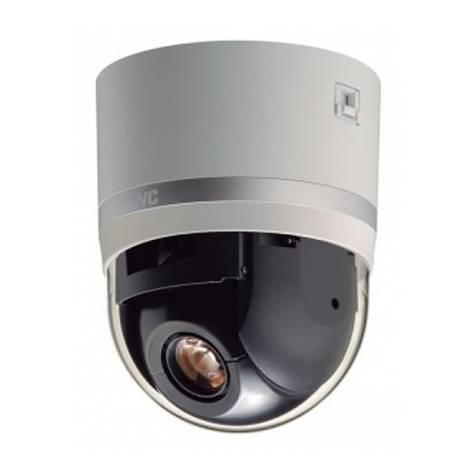
DOME CAMERA
TK-C215VP4
TK-C215VP12
INSTALLATION PRECAUTIONS
LST0474-001B
To installation contractor
: Be sure to read the followings beforehand for proper installa-
tion. Pass the manual to user after reading.
To user
: Please be sure to keep together with the instruction manual
after reading.
TK-C215VP4_JP.book Page 1 Wednesday, September 20, 2006 6:02 PM
All manuals and user guides at all-guides.com
all-guides.com
Precautions regarding fall prevention
䡵Mounting screws for the base
Be sure to use M4 screw.
䡵Mounting the fall prevention wire
Note:
●Pay attention to the length, strength, routing
and material (insulation properties) of the fall
prevention wire used.
●The internal diameter of the rounded portion
on the camera unit to which the fall
prevention wire is to be mounted shall be at
least R4.1 mm and not larger than R6.5 mm,
and its external diameter shall not be larger
than R12 mm.
●When mounting the fall prevention wire to the
base, be sure to use the M4 screws mounted
on the base.
䡵Handling camera
Note:
●When mounting the base to the ceiling, or
when connecting the cable of the camera
unit, pay enough attention to the fall of each
part.
Safety Precautions
warning
Mounting to a firm place.
When mounting this unit to the ceiling or wall,
mount it to a secure location where it can
support the mass of this unit. When mounting
to an insecure location, make sure to carry out
reinforcement of the ceiling or wall before
installation.
The camera unit may fall if the mounting screw
or piping is not properly tightened. Ensure that
the screws and nuts are properly tightened.
Mounting the fall prevention wire
Connect the fall prevention wire to prevent this
unit from falling accidentally. The camera unit
may fall if this wire is not connected.
8mm
2mm
Fall Prevention
Wire
Base
R4 mm screw
M4 screw
(Attached to the base
)
TK-C215VP4_JP.book Page 2 Wednesday, September 20, 2006 6:02 PM
All manuals and user guides at all-guides.com
Precautions regarding water-proof and
dust-proof
䡵Fill the hole with sealing material
Fill the piping hole as well as the 2 mounting
holes mounted with screws using a sealing
material.
Memo:
●Use GE silicon or its equivalents as the
sealing material.
Note:
●If the piping hole and the 2 mounting holes
mounted with screws are not filled with
sealing material completely, water or vapor
may enter the holes causing the lens and
dome cover to fog. Make sure that these
holes are completely filled.
䡵Inserting the silica gel supplied
Take out the silica gel from the aluminum
package, insert it into the silica gel insertion
space of the camera unit and fasten using the
lug plate.
Memo:
●During reconnection or re-installation after
repair or maintenance, make sure to replace
the silica gel with a new one.
●Consult your nearby JVC’s dealer on the
replacement procedures.
Serial number of part to be replaced: Use a
LW40500-001A silica gel.
Note:
●When mounting is performed on a rainy day,
make sure that rain water does not enter this
unit.
●Make sure to use the silica gel supplied.
Failure to do so may cause the camera lens
and dome cover to fog.
●If the angle of view is not adjusted
immediately after mounting the camera,
insert the silica gel after adjustment is
completed. The silica gel loses its effect if it is
exposed to the air for a prolonged period of
time.
Precautions for proper
installation
Sealing Material
Silica Gel Insertion
Space
Silica Gel
Lug Plate
TK-C215VP4_JP.book Page 3 Wednesday, September 20, 2006 6:02 PM
All manuals and user guides at all-guides.com
Precautions regarding water-proof and
dust-proof (continued)
䡵Precautions when mounting the
dome cover
●Make sure that the dome cover is firmly
fastened.
Otherwise, the humidity level may rise, which
may result in fogging and even falling of the
cover.
●Ensure that the fall prevention wire of the
dome cover is not caught in the space
between the dome cover and base. Failing to
do so may cause the dust-proof and water-
proof features to malfunction.
䡵Binding the sealing tape.
(When mounting the camera using the pipe)
Bind at least 2 layers of the sealing tape to the
joint of the pipe (point where the thread of the
piping hole coincides with the screw hole of the
pipe).
䡵Dust-proof performance
䢇Although this unit is IP66-compliant, water-
proof under all kinds of environment is not
guaranteed.
Precautions for proper
installation (continued)
Sealing Tape
12 mm(15/32 inch)
and below
© 2006 Victor Company of Japan, Limited LST0474-001B
TK-C215VP4_JP.book Page 4 Wednesday, September 20, 2006 6:02 PM
All manuals and user guides at all-guides.com

This manual suits for next models

1

Other JVC Security Camera manuals

JVC VN-C3WU - Digital Web Color Camera User manual
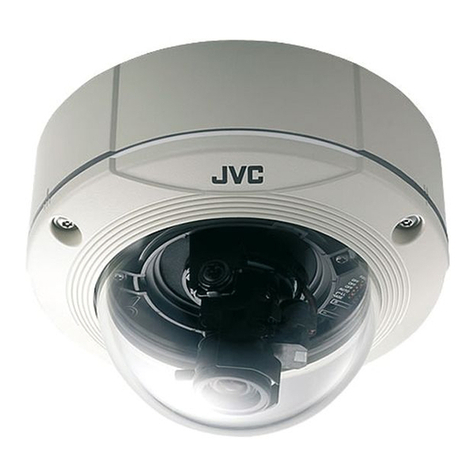
JVC

JVC VN-C3WU - Digital Web Color Camera User manual

JVC VN-C655U - Network Camera User manual

JVC

JVC VN-C655U - Network Camera User manual

JVC Super LoLux HD VN-H237U User manual

JVC

JVC Super LoLux HD VN-H237U User manual

JVC TK-C920BE User manual

JVC

JVC TK-C920BE User manual

JVC VN-T16U User manual

JVC

JVC VN-T16U User manual
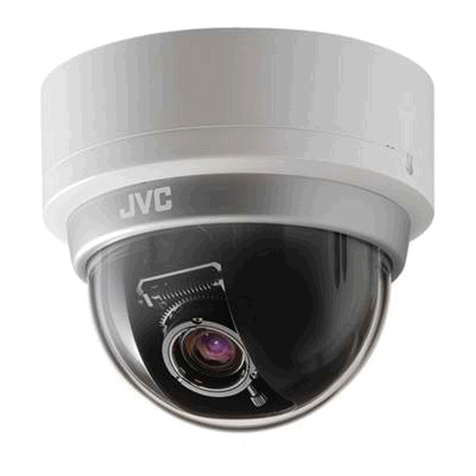
JVC KY-PZ510NWU User manual

JVC

JVC KY-PZ510NWU User manual

JVC V.NETWORKS VN-C11 Manual

JVC

JVC V.NETWORKS VN-C11 Manual

JVC VN-C20 User manual

JVC

JVC VN-C20 User manual

JVC TK-C675B User manual

JVC

JVC TK-C675B User manual

JVC LST0420-001B User manual

JVC

JVC LST0420-001B User manual

JVC VN-V686U User manual

JVC

JVC VN-V686U User manual
JVC TK-C553 User manual

JVC

JVC TK-C553 User manual

JVC KY-PZ400NWU User manual

JVC

JVC KY-PZ400NWU User manual

JVC TK-C920 User manual

JVC

JVC TK-C920 User manual

JVC TK-C1460BE User manual

JVC

JVC TK-C1460BE User manual

JVC TK-N1100 User manual

JVC

JVC TK-N1100 User manual

JVC VN-C215VP4U - Fixed Ip Network Mini Dome User manual

JVC

JVC VN-C215VP4U - Fixed Ip Network Mini Dome User manual

JVC VN-H657WPBU User manual

JVC

JVC VN-H657WPBU User manual

JVC TK-C720TPU - Cctv Color Camera User manual

JVC

JVC TK-C720TPU - Cctv Color Camera User manual

JVC TK-C655 User manual

JVC

JVC TK-C655 User manual

JVC VN-C215V4U - Fixed Ip Network Mini Dome User guide

JVC

JVC VN-C215V4U - Fixed Ip Network Mini Dome User guide

JVC TK-C215VP12 User manual

JVC

JVC TK-C215VP12 User manual

JVC LST0926-001A User manual

JVC

JVC LST0926-001A User manual

JVC CU-V803 User manual

JVC

JVC CU-V803 User manual

Popular Security Camera manuals by other brands

ZMODO ZM-KW1001-1TB quick start guide

ZMODO

ZMODO ZM-KW1001-1TB quick start guide

UAI SD600 user manual

UAI

UAI SD600 user manual

Vivotek IP3112/IP3122 user manual

Vivotek

Vivotek IP3112/IP3122 user manual

4xem WL40 user manual

4xem

4xem WL40 user manual

Swann PRO-761 Dome user guide

Swann

Swann PRO-761 Dome user guide

Axis Axis 211 quick start guide

Axis

Axis Axis 211 quick start guide

Shelly ShellyEye user guide

Shelly

Shelly ShellyEye user guide

Clover HDC041 Specifications

Clover

Clover HDC041 Specifications

GeoVision GV-MFD2401 Specifications

GeoVision

GeoVision GV-MFD2401 Specifications

TRENDnet TV-IP862IC user guide

TRENDnet

TRENDnet TV-IP862IC user guide

VADDIO WallVIEW 50i PTZ HideAway Installation and user guide

VADDIO

VADDIO WallVIEW 50i PTZ HideAway Installation and user guide

Swann Hidden Still Camera & Recorder Specifications

Swann

Swann Hidden Still Camera & Recorder Specifications

ACTi E924 Hardware manual

ACTi

ACTi E924 Hardware manual

Technaxx TX-145 user manual

Technaxx

Technaxx TX-145 user manual

Comelit HDCAM502A manual

Comelit

Comelit HDCAM502A manual

ELiiXA 3V MONOCHROME CAMERA user manual

ELiiXA

ELiiXA 3V MONOCHROME CAMERA user manual

DynaColor QIG-510 Series installation guide

DynaColor

DynaColor QIG-510 Series installation guide

Axis M3205-LVE installation guide

Axis

Axis M3205-LVE installation guide

manuals.online logo
manuals.online logoBrands
  • About & Mission
  • Contact us
  • Privacy Policy
  • Terms and Conditions

Copyright 2025 Manuals.Online. All Rights Reserved.