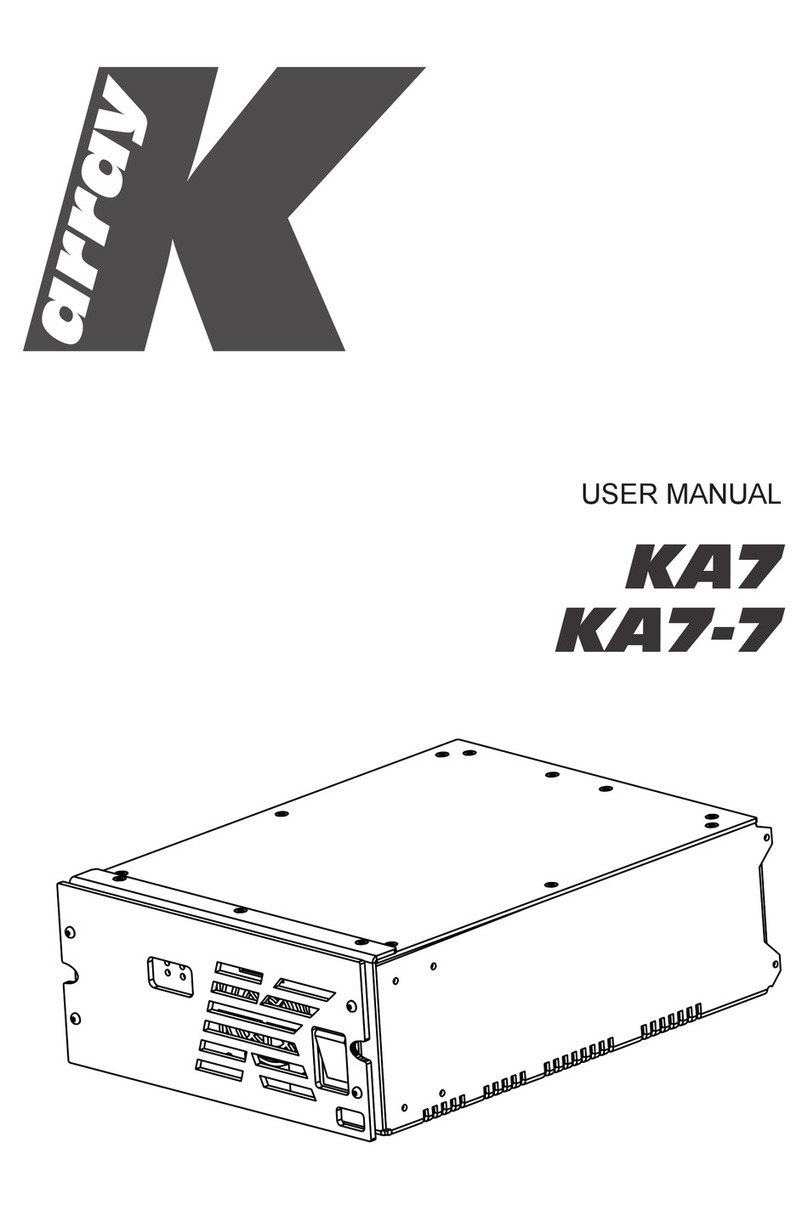
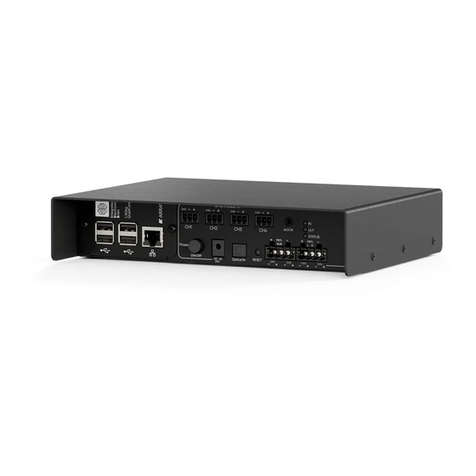
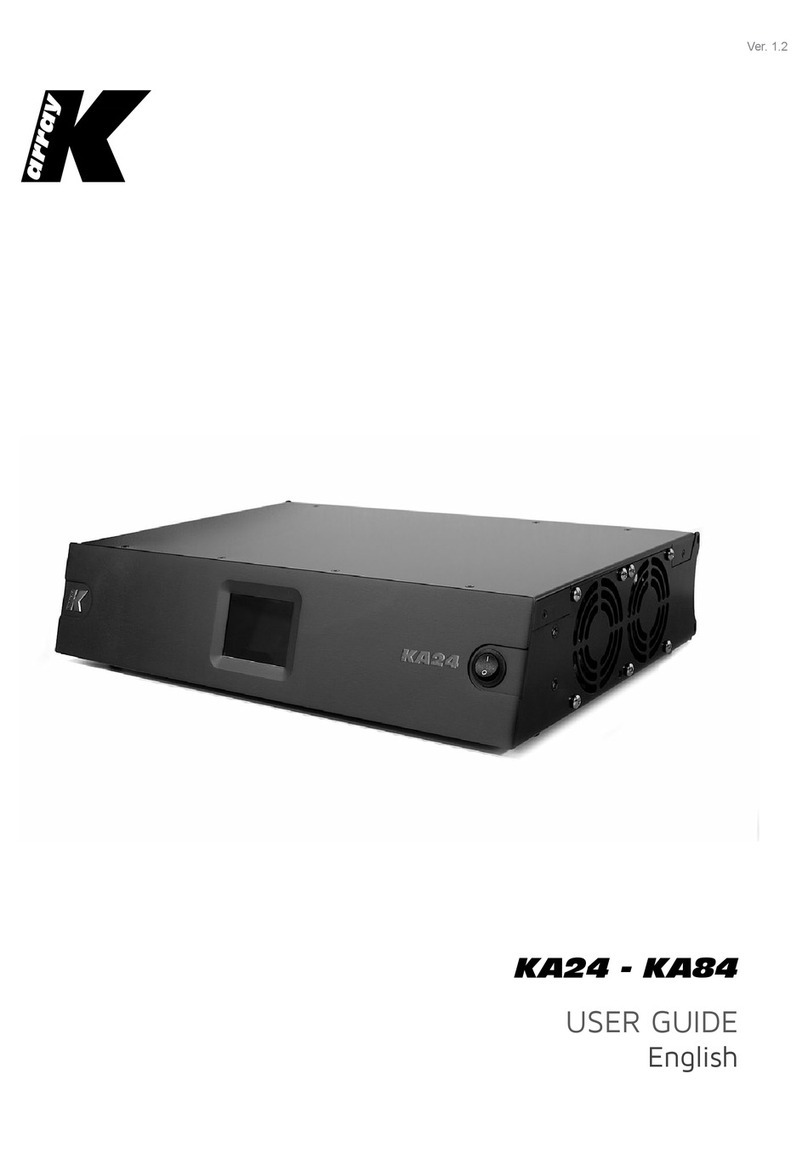
K-array Kommander-KA Series User manual

KA18
KA28
KA68
KA208
KA14
KA34
KA104
Kommander-KA
Versatile amplier platforms with DSP
USER GUIDE
PRELIMINARY

•20210812•
IMPORTANT SAFETY INSTRUCTIONS
WEEE
Please dispose of this product at the end of its operational
lifetime by bringing it to your local collection point or
recycling center for such equipment.
The exclamation point within an equilateral triangle is
intended to alert the user to the presence of important
operating and maintenance (servicing) instructions in this
guide.
For indoor use only
This electrical equipment is designed primarily for indoor
use.
Operator’s manual; operating instructions
This symbol identifies the operator’s manual that relates to
the operating instructions and indicates that the operating
instructions should be considered when operating the
device or control close to where the symbol is placed.
This symbol alerts the user to the presence of
recommendations about the product’s use and
maintenance.
The lighting flash with arrowhead symbol within an
equilateral triangle is intended to alert the user to the
presence of uninsulated, dangerous voltage within the
product enclosure that may be of magnitude to constitute a
risk of electrical shock.
This device complies with Restriction of Hazardous
Substances Directive.
General heed and warnings
• Read these instructions.
• Keep these instructions.
• Heed all warnings.
• Follow all instructions.
• Do not use this apparatus near water.
• Clean only with dry cloth.
• Do not block any ventilation openings. Install in accordance with the
manufacturer’s instructions.
• Do not install near any heat sources such as radiators, heat registers,
stoves, or other apparatus (including amplifiers) that produce heat
• Do not defeat thesafetypurpose of the polarized or grounding plug.
A polarized plug has two blades with one wider than the other. A
grounding plug has two blades and a third grounding prong. The wide
blade or the third prong is provided for yoursafety. If the provided plug
does not fit into your outlet, consult an electrician for replacement of the
obsolete outlet.
• Only use attachments/accessories specified by the manufacturer.
• Protect the power cord from being walked on or pinched
particularly at the plugs, convenience receptacles, and at
the point where they exit from the apparatus.
• Clean the product only with a soft and dry fabric. Never use
liquid cleaning products, as this may damage the products
cosmetic surfaces.
• Use only with the cart, stand, tripod, bracket, or table specified by the
manufacturer, or sold with the apparatus. When a cart is used, use
caution when moving the cart/apparatus combination to avoid injury
from tip-over.
• Unplug this apparatus during lightning storms or when unused for long
periods of time.
• Avoid placing the product in a location under direct sunlight or near any
appliance that generates UV (Ultra Violet) light, as this may change the
product surface finishing and cause a change in color.
• Refer all servicing to qualified service personnel. Servicing is required
when the apparatus has been damaged in any way, such as power-
supply cord or plug is damaged, liquid has been spilled or objects have
fallen into the apparatus, the apparatus has been exposed to rain or
moisture, does not operate normally, or has been dropped.
• CAUTION: These servicing instructions are for use by qualified service
personnel only. To reduce the risk of electric shock, do not perform any
servicing other than that contained in the operating instructions unless
you are qualified to do so.
• WARNING: Only use attachments/accessories specified or provided
by the manufacturer (such as the exclusive supply adapter, battery, etc.)
Installation and commissioning may only be carried out
by qualified and authorized personnel.
This apparatus are intended for professional use.
Warning. Failure to follow these safety instructions
could result in fire, shock or other injury or damage to
the device or other property.
PRELIMINARY

• Before turning the power on or off for all devices, set all volume levels to
minimum.
• Use only speaker cables for connecting speakers to the speaker
terminals. Be sure to observe the amplifier’s rated load impedance
particularly when connecting speakers in parallel. Connecting an
impedance load outside the amplifier’s rated range can damage the
apparatus.
• K-array cannot be held responsible for damage caused by improper use
of the loudspeakers.
• K-array will not shoulder any responsibilities for products modified
without prior authorization.
This equipment has been tested and found to comply with the limits
for a Class B digital device, pursuant to part 15 of the FCC Rules.
These limits are designed to provide reasonable protection against
harmful interference in a residential installation. This equipment
generates, uses and can radiate radio frequency energy and, if not
installed and used in accordance with the instructions, may cause harmful
interference to radio communications. However, there is no guarantee that
interference will not occur in a particular installation. If this equipment does
cause harmful interference to radio or television reception, which can be
determined by turning the equipment off and on, the user is encouraged to
try to correct the interference by one or more of the following measures:
1. Reorient or relocate the receiving antenna.
2. Increase the separation between the equipment and receiver.
3. Connect the equipment into an outlet on a circuit different from that to
which the receiver is connected.
4. Consult the dealer or an experienced radio/TV technician for help.
This device complies with FCC radiation exposure limits set forth for an
uncontrolled environment. This equipment must be installed and operated
in accordance with provided instructions and the antenna(s) used for this
transmitter must be installed to provide a separation distance of at least 20
cm from all persons.
This device complies with Part 15 of the FCC Rules. Operation is subject to
the following two conditions:
1. this device may not cause harmful interference, and
2. this device must accept any interference received, including
interference that may cause undesired operation.
CAUTION!Any changes or modifications not expressly approved by the
party responsible for compliance could void the user’s authority to operate
the equipment.
FCC Statement
FCC Radiation Exposure Statement
Canadian Statement
CE Statement
Trademark Notice
This device complies with Industry Canada’s licence-exempt RSSs.
Operation is subject to the following two conditions:
this device may not cause interference, and
this device must accept any interference, including interference that may
cause undesired operation of the device.
The device meets the exemption from the routine evaluation limits in section
2.5 of RSS 102 and compliance with RSS-102 RF exposure, users can
obtain Canadian information on RF exposure and compliance.
This equipment should be installed and operated with a minimum distance
of 20 centimeters between the radiator and your body.
K-array declares that this device is in compliance with applicable CE
standards and regulations. Before putting the device into operation,
please observe the respective country-specific regulations!
All trademarks are the property of their respective owners.
PRELIMINARY

This page intentionally left blank

V
Index
General heed and warnings II
FCC Statement III
FCC Radiation Exposure Statement III
Canadian Statement III
CE Statement III
Trademark Notice III
Unpacking 2
4-channel Units: KA14 I, KA34, KA104 2
8-channel Units: K18, KA28, KA68, KA208 2
Introduction 3
Getting Started 3
Mounting and cooling 4
4-channel Amplifier Rear Panel 4
8-channel Amplifier Rear Panel 4
Amplifier Front Panel 5
AC mains supply 5
LED chart 5
Status LEDs 5
Loudspeakers Wiring 6
Connectivity 6
K-array Connect 6
K-framework3 6
Connectivity Reset 6
K-array Connect Mobile App 7
Connection to a single Kommander-KA 7
Connection to a network of Kommander-KA 8
Output configuration 9
Signal Routing 9
Volume 10
Media Player 10
On-Board Web App 11
System Update 11
System Update via Internet 12
System Update via USB 12
K-framework3 Software 13
Discovery 13
Grouping 13
Service 14
Cleaning 14
Mechanical Drawings 14
DSP Block Diagram 15
4-channel units 15
8-channel units 15
Technical Specifications 16
Kommander-KA
User Guide
PRELIMINARY

VI
This page intentionally left blank
Kommander-KA
User Guide
PRELIMINARY

1
Thank you for choosing this K-array product!
To ensure proper operation, please carefully read this owner’s
manual and safety instruction before using the product.
After reading this manual, be sure to keep it for future reference.
Should you have any questions about your new
device please contact K-array customer service at
support@k-array.com or contact the official K-array distributor
in your country.
Kommander is the line of K-array amplifiers meticulously
designed and built with powerful DSPs and Class D amp
modules that extend the sound experience through intelligent
sound processing that can adapt to any context.
Each amplifier of the Kommander line is fully loaded on board
with all the configurations necessary to drive any K-array
passive product to fulfill maximum power of each output
channel, of course a variety of power differ from model to
model to give you a wider choice for specific applications.
The K-array Connect mobile app and K-framework software
provide the control dashboards to access all Kommander
DSP features for system settings, fine tuning and monitoring
in single unit installations and demanding applications where
thousands of watts must be carefully managed.
Kommander-KA
User Guide
PRELIMINARY

2
Unpacking
Each K-array amplifier is built to the highest standard and
thoroughly inspected before leaving the factory.
Upon arrival, carefully inspect the shipping carton, then
examine and test your new amplifier. If you find any damage,
immediately notify the shipping company. Check that the
following parts are supplied with the product.
• 1x Amplifier unit: model and version shall be one from
the following list:
a. Kommander-KA14 I
b. Kommander-KA18
c. Kommander-KA28
d. Kommander-KA34
e. Kommander-KA68
f. Kommander-KA104
g. Kommander-KA208
• 2x Rack mounting brackets with screws
• PC 4/ 4-ST-7,62 speaker output flying connectors *
• 1x Power cord
• 1x The quick guide
4-channel units: KA14 I, KA34, KA104
8-channel units: K18, KA28, KA68, KA208
Kommander-KA
User Guide
Notes
* 2 pieces in 4-channel units, 4 pieces in 8-channel units.
** The AC mains cord plug may differ from the picture according
to local regulation.
**
PRELIMINARY

3
K-framework3
WINDOWS and OSX software
Introduction
The Kommander-KA amplifiers are available in two versions:
4-channel units and 8-channel units. Both versions implement
multichannel free routing and DSP with Grouping, Input EQ,
Output EQ, Level adjustment, Dynamic Limiters and Delay per
channel.
Getting Started
1. Connect the input and output signal cables according
to the configuration you want to achieve.
2. Connect the power cord to an AC mains socket
outlet and to the powerCon TRUE connector on the
Kommander-KA rear panel: the amplifiers switches on
when the powerCon TRUE connector is locked and
electricity flows from the AC mains.
3. Hold your mobile device (smartphone or tablet):
4. ensure the Wi-Fi connectivity is on;
5. in Android based systems the app looks for any Wi-Fi
network whose SSID name starts with “K-array”; swipe
down to force refresh the list of available networks;
6. if the list of available devices is empty touch the SCAN
QR CODE button and use the mobile device camera
to frame the QR code at the bottom right corner of
the Kommander-KA rear panel: this provides the
mobile device to connect to the Kommander-KA Wi-Fi
network;
7. enter the password to connect to Kommander-KA
amplifier (see “Connection to a single Kommander-KA”,
page 7 for details).
8. In the K-array Connect app bottom menu, select
PRESET and touch the compass button in order to
check or set loudspeaker configuration (see “Output
configuration”, page 9), i.e. check that the presets
match the actual configuration of passive subwoofer
and Hi/Mid-range speakers connected to the amplifier
connectors.
9. Design the signal routing from the input channels to the
output channels in the ROUTING menu (see “Signal
Routing”, page 9).
10. Check signal volume in the VOLUME tab (see “ Volume”,
page 10)
11. Enjoy K-array sound!
4-channel units Line
inputs
Speaker
outputs
Power Rating
per channel
Kommander-KA14 I 4 4 600W @ 2Ω
Kommander-KA34 4 4 750W @ 4Ω
Kommander-KA104 4 4 2500W @ 4Ω
8-channel units Line
inputs
Speaker
outputs
Power Rating
per channel
Kommander-KA18 8 8 150W @ 4Ω
Kommander-KA28 8 8 600W @ 2Ω
Kommander-KA68 8 8 750W @ 4Ω
Kommander-KA208 8 8 2500W @ 4Ω
Leveraging on the remote control system via the dedicated
K-array Connect app or the K-framework3 software, the highly
configurable output section and the powerful DSP make any
Kommander-KA amplifier a flexible driving unit.
In order to remote control any Kommander-KA amplifier
download the K-array Connect app or the K-framework3
software:
Kommander-KA
User Guide
click to goclick to go
PRELIMINARY

4
4-channel Amplifier Rear Panel
1. Status LED
2. Reset button
3. 4x XLR-F balanced line channel inputs
4. USB ports
5. 2x PC 4/ 4-ST-7,62 speaker output terminals
6. PowerCon TRUE link (AC mains out)
7. PowerCon TRUE inlet (AC mains in)
8. QR Code for the K-array Connect app remote connection
9. RJ45 Ethernet port
10. 4x XLR-M balanced line channel outputs
A. Status LED
B. Reset button
C. 4x XLR-F balanced line channel 1, 2, 3 and 4 inputs
D. USB ports
E. 4x PC 4/ 4-ST-7,62 speaker output terminals
F. PowerCon TRUE link (AC mains out)
G. PowerCon TRUE inlet (AC mains in)
H. QR Code for the K-array Connect app remote connection
I. RJ45 Ethernet port
J. 4x XLR-M balanced line channel 5, 6, 7 and 8 inputs
Mounting and cooling
K-array Kommander amplifiers are provided with a couple of
brackets for common 19” rack installation: each Kommander
amplifier occupies 2 rack units. In order to set the amplifier
for rack installation:
• unscrew the four bottom feet;
• assemble the lateral rack mounting brackets with
screws provided within the package.
In order to prevent any mechanical issue, use both frontal and
rear mounting brackets to secure the amplifier to its location.
Install the amplifier in a well-ventilated location: the ventilation
openings must not be impeded by any item.
Fresh air enter the amplifier from aside, warm air is expelled
under the front panel.
In rack mount installation leave one rack unit empty every
three installed amplifiers to guarantee adequate air flow.
8-channel Amplifier Rear Panel
Kommander-KA
User Guide
3
C
4
D
5
E
6
F
7
G
8
H
9
I
10
J
1
A
2
B
Fresh air
Warm air
PRELIMINARY

5
click!
Power
consumption*
Max number of cascade
powered equal units
Kommander-KA14 I 400 W 4x KA14 I
Kommander-KA34 600 W 4x KA34
Kommander-KA104 120 0 W 2x KA104
Kommander-KA18 300 W 6x KA18
Kommander-KA28 800 W 2x KA28
Kommander-KA68 120 0 W 2x KA28
Kommander-KA208 120 0 W -
* Power Consumption at 4 Ω load, Pink noise, 1/8 rated power.
AC mains supply
The AC Main connection is made via the provided power
cord: insert the powerCon TRUE flying connector into the
inlet and then rotate it clockwise.
Once properly plugged, the amplifier power up: the front and
back LEDs light on.
In order to set the amplifier unit in standby mode, keep
pressed the button on the front panel for 2 seconds. Keep
pressed the button for 2 seconds to wake up the amplifier
from standby mode.
Amplifier Front Panel
LED chart
In the front panel, the input signal monitor LED and the output
signal monitor LED blink according to the presence of audio
signal at any input or output channel respectively. The input
and output signal monitor LEDs light on orange when the
DSP is limiting the signal level.
Status LEDs
Color Mode Description
orange solid DSP software is loading
green solid System ready
blue solid User command: system identification
A. Input signal monitor LED
A. Output signal monitor LED
B. Status LED
C. Standby button
The powerCon TRUE link (AC mains out) connector allows to
distribute the AC main power to other units according to their
power consumption. Please don’t exceed the limits stated
on the next table.
Kommander-KA
User Guide
1 2
A B C D
PRELIMINARY

6
K-framework3
WINDOWS and OSX software
Connectivity
The Kommander-KA amplifiers can be controlled remotely by
a mobile device or desktop PC/MAC.
K-array Connect
K-array Connect is the mobile app that
allows to direct manage and control one
Kommander-KA amplifier at a time with
wireless with a mobile device (smartphone
or tablet).
Download the K-array Connect mobile APP
fro m t he dedi cated sto re of your mo bil e devi ce.
Refer to paragraph “K-array Connect Mobile
App”, page 7 for details about the system configuration.
K-framework3
The K-array K-framework3 is the managing and control
software dedicated to professionals and
operators looking for a powerful tool for
designing and managing a large number
of units in demanding applications (see
“K-framework3 Software”, page 13 for
details). Download the K-framework3 software
from K-array website.
Connectivity Reset
Keep pressed the RESET button for 10 to 15
seconds in order to:
• Revert the wired IP addressing to DHCP;
• Activate the built-in Wi-Fi and reset the wireless
parameters to the default SSID name and
password (see “K-array Connect Mobile App”,
page 7 for details).
Loudspeakers Wiring
In order to set the proper connections with the loudspeakers,
a set of euroblock PC 4/4-ST-7,62 flying connectors are
provided.
Each PC 4/4-ST-7,62 flying connector features four terminals
designed to be connected to a couple of loudspeaker cables
(carrying two wires each). Be sure to observe the correct
polarity at both the loudspeaker and amplifier cable ends.
When connecting multiple loudspeakers in parallel to the
same amplifier’s output channel, make sure the total nominal
impedance doesn’t lower under the amplifier minimum
recommended load impedance.
Minimum
Load
Power Rating per
channel at minimum load
Kommander-KA14 I 2 Ω 600 W @ 2Ω
Kommander-KA34 4 Ω (2 Ω tolerant) 750 W @ 4Ω
Kommander-KA104 4 Ω (2 Ω tolerant) 2500 W @ 4Ω
Kommander-KA18 4 Ω 150 W @ 4Ω
Kommander-KA28 2 Ω 600 W @ 2Ω
Kommander-KA68 4 Ω (2 Ω tolerant) 750 W @ 4Ω
Kommander-KA208 4 Ω (2 Ω tolerant) 2500 W @ 4Ω
Amplifiers stated 2 Ω tolerant have enough current capabilities
to drive low impedance down to 2 Ω, but are power limied to
the value stated at 4 Ω.
Kommander-KA
User Guide
PRELIMINARY

7
K-array Connect Mobile App
The K-array Connect mobile app can connect to the
Kommander-KA amplifier both directly to the built-in Wi-Fi
and wireless to an access point connected to a LAN where
the Kommander-KA is wired to.
* The on-board web interface is a further user interface embedded on the built-in DSP that allows to manage the system features over a network (see
“On-Board Web App”, page 11 for details). The K-array Connect mobile app offers a shortcut to access the on-board web interface.
Connection to a single Kommander-KA
1. Ensure the Wi-Fi of the mobile device is on.
2. Launch the K-array Connect app.
a. In Android based systems the app looks for any
Wi-Fi network whose SSID name starts with
“K-array”; swipe down to force refresh the list of
available networks.
b. Touch the device name to establish a connection
and insert the password (see below).
3. If the list of available devices is empty touch the SCAN
QR CODE button and use the mobile device camera
to frame the QR code at the bottom right corner of the
Kommander-KA rear panel: this provides the mobile
device to connect to the Kommander-KA Wi-Fi network.
4. Enter the password to connect to Thunder-KS active
subwoofer. If not modified, the default password is
12345678
5. The the K-array Connect app connects directly to the
Kommander-KA amplifier.
Kommander-KA
User Guide
List of available
devices in the
network
Main menu
Tab menu
Access the device
on-board web app *
Make the status
LED blinking
Scan device
QR code for
remote access
PRELIMINARY

8
Connection to a network of Kommander-KA
The Kommander-KA amplifiers feature an RJ45 Ethernet port
on the rear panel that allows to connect the amplifiers to a
local area network (LAN), in order to ease the remote control.
The Kommander-KA amplifiers implement the zeroconf
network technologies, allowing to direct connect the amps
to a PC via the Ethernet CAT5 cables, as well as including the
devices into a network without any user configuration.
The simplest local network of Kommander-KA amplifiers
requires the implementation of an Ethernet switch. When
an access point is available, the network of Kommander-KA
amplifiers can be easily managed with the K-array Connect
mobile app over the LAN.
1. Connect each Kommander-KA amplifier to a Wi-Fi
access point with built-in Ethernet switch: use Ethernet
Cat5 or Cat6 cables.
2. Set the access point Wi-Fi network SSID and parameters.
3. Ensure the Wi-Fi of the mobile device is on.
4. Connect the mobile device to the access point Wi-Fi
network.
5. Launch the K-array Connect app: the app looks for any
device in the network whose name starts with “K-array”
and tries to establish a connection.
6. If the list of available devices is empty swipe down to
force refresh the list of available devices.
If a DHCP service is available, it will assign an IP address to
each Thunder-KS. If a DHCP service is not available, each
Thunder-KS active subwoofer will self assign an IP address
in the range 169.254.0.0/16 (auto-IP).
Kommander-KA
User Guide
Access Point
with built-in Ethernet switch
List of available
devices in the
network
Device Preset Name
Amplifier Model
IP Address
MAC address
K
K
K
K
PRELIMINARY

9
Output configuration
Once connected to the Kommander-KA amplifier (see
paragraph “K-array Connect Mobile App”, page 7) the
output configuration can be performed either using the
on-board web interface or with the K-array Connect app, as
described below.
A. Touch the Preset tab in the tab menu at the bottom
of the screen: this will modify the buttons in the list of
available devices.
B. Select the device you want to configure and touch the
button to enter the Output Configuration page.
Signal Routing
Kommander-K A 4-channel units feature direct line output hard-
wired to the inputs. Analog input signals on both 4-channel
and 8-channel amplifiers can be freely routed to the output
channels (speaker output) via the built-in DSP matrix.
Signal routing can be configured either with the on-board
web app or with the K-array Connect app, as described
below.
1. Touch the Routing tab in the tab menu at the bottom
of the screen: this will modify the buttons in the list of
available devices.
C. In the Output Configuration page fill in the field according
to the actual loudspeakers configuration: match the
loudspeakers models and quantities connected to the
Kommander-KA output connectors.
D. Once completed, save the output configuration
touching the APPLY button at the bottom of the page.
2. Select the device you want to configure and touch the
button to enter the Routing table page.
3. Touch the squares in order to toggle the connection
among the input channels on the left side to the output
channels in the top side.
Kommander-KA
User Guide
IN1 routed to OUT1
IN1 not routed to OUT1
PRELIMINARY

10
Audio OUTPUT
IN1
OUT1 OUT2 OUT3 OUT4
IN2
IN3
IN4
Audio INPUT
Media player
Digital streaming
Volume
The Volume tab in the K-array-Connect mobile app provides
access to volume adjustments for the input and output
channels. In 4-channel units a further signal gain control tab
is present for at the analogue, digital and media player inputs.
1. Touch the Routing tab in the tab menu at the bottom
of the screen: this will modify the buttons in the list of
available devices.
2. Select the device you want to configure and touch the
button to enter the volume adjustment section.
3. Input and output levels
adjustments are always
available: input gain
adjustments are available
only in 4-channel units.
The media player level
can always be adjusted
via the built-in web app.
Media Player
The Kommander-KA amplifier built-in DSP implements a
media player that can be used to playback audio files from
USB devices. The media player controls are accessible via
the on-board web app user interface: see “On-Board Web
App”, page 11 for details.
The audio signals from the media players are routed by
default to the input channels 3 & 4 in 4-channel units and 7 &
8 in 8 channel units.
Kommander-KA
User Guide
Default routing diagram of 4-channel units.
PRELIMINARY

11
On-Board Web App
Once the IP address of a Kommander-KA amplifier is set and
known, it is possible to access the built-in DSP features over a
LAN with a web browser (Google Chrome is recommended):
• type the Kommander-KA amplifier IP address in the
adress field of the web browser (e.g. 10.20.16.171): the
amplifier will push the web interface for a direct access
to its DSP features.
• The K-array Connect mobile app offers a shortcut to
access the on-board web interface via any mobile
device.
System Update
The Kommander-KA amplifier built-in DSP is managed by an
embedded operating system whose name is osKar. osKar
manages the user interface and communication as well as
the system features. osKar can be updated via the on-board
web app.
• Access the Kommander-KA on-board web app either via
the K-array Connect mobile app, or with a web browser
within a LAN (see “On-Board Web App”, page 11).
• Navigate the main menu and access the Advanced
menu. The System Update section lists the current
system version and, if the Kommander-KA amplifier is
connected to a LAN with Internet access, the Available
Version field is filled with the latest published system
version number available on K-array website.
Kommander-KA
User Guide
PRELIMINARY

12
AES3
OUT
AES3
IN
System Update via Internet
When an Internet connection is available, the Kommander-KA
amplifier’s osKar embedded system can be updated directly
from the on board web app.
1. Connect the Kommander-KA amplifier to a LAN with
Internet access.
2. Access the Kommander-KA on board web app and
open the Advanced menu page: the Download button
becomes active if a higher system version is available
on K-array website.
3. Click on the Download button in order to start
downloading the system update file from the Internet:
the file is saved inside the amplifier local memory.
4. Once the download is finished, the Update button
becomes active: click on the Update button to start
updating the system.
The update procedure via Internet lasts in few minutes: at the
end of the updating process the system reboots.
System Update via USB
In order to update the Kommander-KA amplifier’s osKar
embedded operating system locally, a USB key with the
system update files must be prepared in advance.
A. Retrieve the system update file from the official K-array
repository and move it into a folder named update on
the USB key.
The system update file name ends with three numbers,
e.g. 0.1.18, — namely the system version — and has
.mender extension.
The update folder must contain only one system
update file.
B. Access the Kommander-KA on board web app and
open the Advanced menu page: the Install via USB
button becomes active if a valid update folder and
.mender file are available on the USB key.
C. Click on the Install via USB button in order to start the
system update.
The update procedure via USB lasts in few minutes: at the
end of the updating process the system reboots.
Kommander-KA
User Guide
PRELIMINARY

13
Ethernet switch
or router
K
K
K
PC or MAC
K-framework3
K-framework3 Software
Use the K-array K-framework3 to control, configure and fine
tune K-array Kommander-KA amplifier platforms via a wired
Ethernet network.
Discovery
1. Ensure that any amplifier and the PC or Mac running the
K-framefork are properly connected to the same network.
2. Power up the amplifier(s).
3. Launch the K-framework3.
4. Open the Network window: for back compatibility with
legacy amplifiers, by default the discovery over the
RS485 serial communication is active.
a. In case no legacy amplifiers shall be discovered, disable
the discovery over the RS485 serial communication.
Any configuration made with the
K-array Control mobile app or the built-in web app
will be overridden by the K-framework3.
5. Click on the Discovery button: the K-framework starts
scanning the network looking for K-array devices.
a. If the K-framework finds two or more device with the
wrong ID, a dialog window appears where unique ID
can be assigned to the amplifiers.
6. Once discovered, click on the SYNC button in order
to synchronize the devices and import them into the
workspace.
Grouping
The working paradigm is to group the amplifier’s input and
output channels and adjust the system performance within
the groups.
A. In Setup mode, set the amplifier local parameters
(presets, routing, input gains, limiters, etc).
B. Add INPUT and OUTPUT groups as needed.
C. Assign the amplifier’s channels to the groups.
D. In Tuning mode align the system (eq, delay, polarity, etc).
Kommander-KA
User Guide
PRELIMINARY

14
87mm
3,43in
428mm
16,85in
398mm
15,67in
383mm
15,07in
34mm
1,32in
432mm
16,99in
Service
To obtain service:
1. Please have the serial number(s) of the unit(s) available
for reference.
2. Contact the official K-array distributor in your country:
find the Distributors and Dealers list on K-array website.
Please describe the problem clearly and completely to
the Customer Service.
3. You will be contacted back for on-line servicing.
4. If the problem cannot be resolved over the phone,
you may be required to send the unit in for service. In
this instance, you will be provided with an RA (Return
Authorization) number which should be included on all
shipping documents and correspondence regarding
the repair. Shipping charges are the responsibility of the
purchaser.
Any attempt to modify or replace components of the device
will invalidate your warranty. Service must be performed by
an authorized K-array service center.
Cleaning
Use only a soft, dry cloth to clean the housing. Do not use
any solvents, chemicals, or cleaning solutions containing
alcohol, ammonia, or abrasives. Do not use any sprays near
the product or allow liquids to spill into any openings.
Mechanical Drawings
Kommander-KA
User Guide
PRELIMINARY
This manual suits for next models
7
Table of contents
Other K-array Amplifier manuals

K-array
K-array KA7 User manual

K-array
K-array KA10-10 User manual

K-array
K-array KA10-10 User manual

K-array
K-array Kommander-KA02 User manual

K-array
K-array Azimut Series User manual

K-array
K-array KA24 User manual

K-array
K-array Kommander-KA04 User manual

K-array
K-array KA40 User manual

K-array
K-array Kommander-KA02 User manual

K-array
K-array Kommander-KA User manual