7
Random Playback (On Remote Control Only)
The Random Playback function allows you to play all tracks
in random order. To enter random or shuffle mode, press
the Play Mode Button three times. The random/shuffle icon
will appear in the display and all tracks on the disc will play
in random order. Random playback will stop when all tracks
are played once. To stop random playback, press and hold the
Play Mode Button until the random/shuffle icon disappears
from the screen.
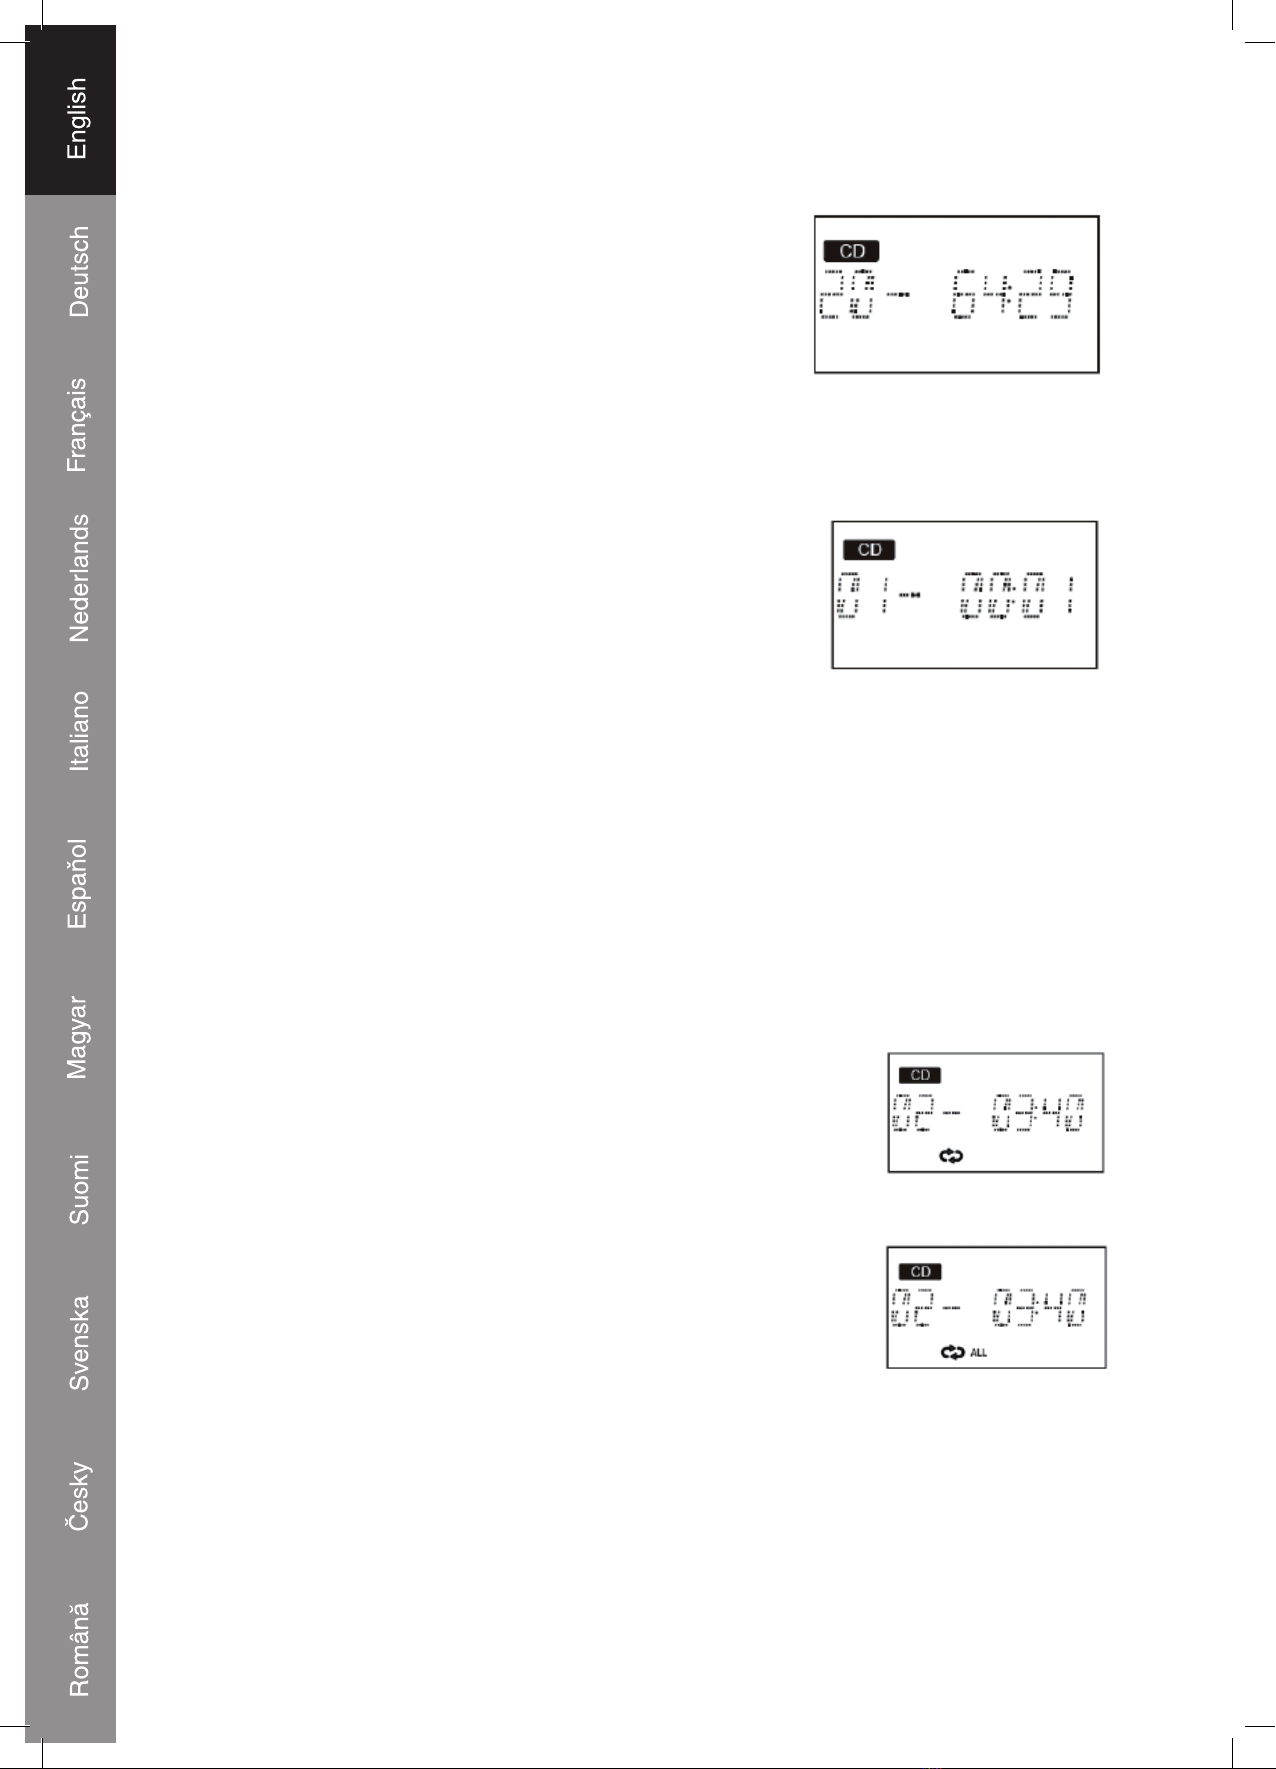
Program Play
1. While in CD Stop Mode, press the Memory/Clock Button
once and the screen will show the Program icon together
with the program number and the digits for the track
number.
2. Use the Next/Previous Buttons to select the first track for
the program.
3. Press the Memory/Clock Button to save the selected track.
4. Repeat steps 2-3 until you have programmed all tracks. You can program up to
40 tracks.
5. Press the Play/Pause Button to start playback when you've completed your program.
6. Press the Stop Button to cancel programmed playback.
Note: Repeat function can also be used during programmed playback.
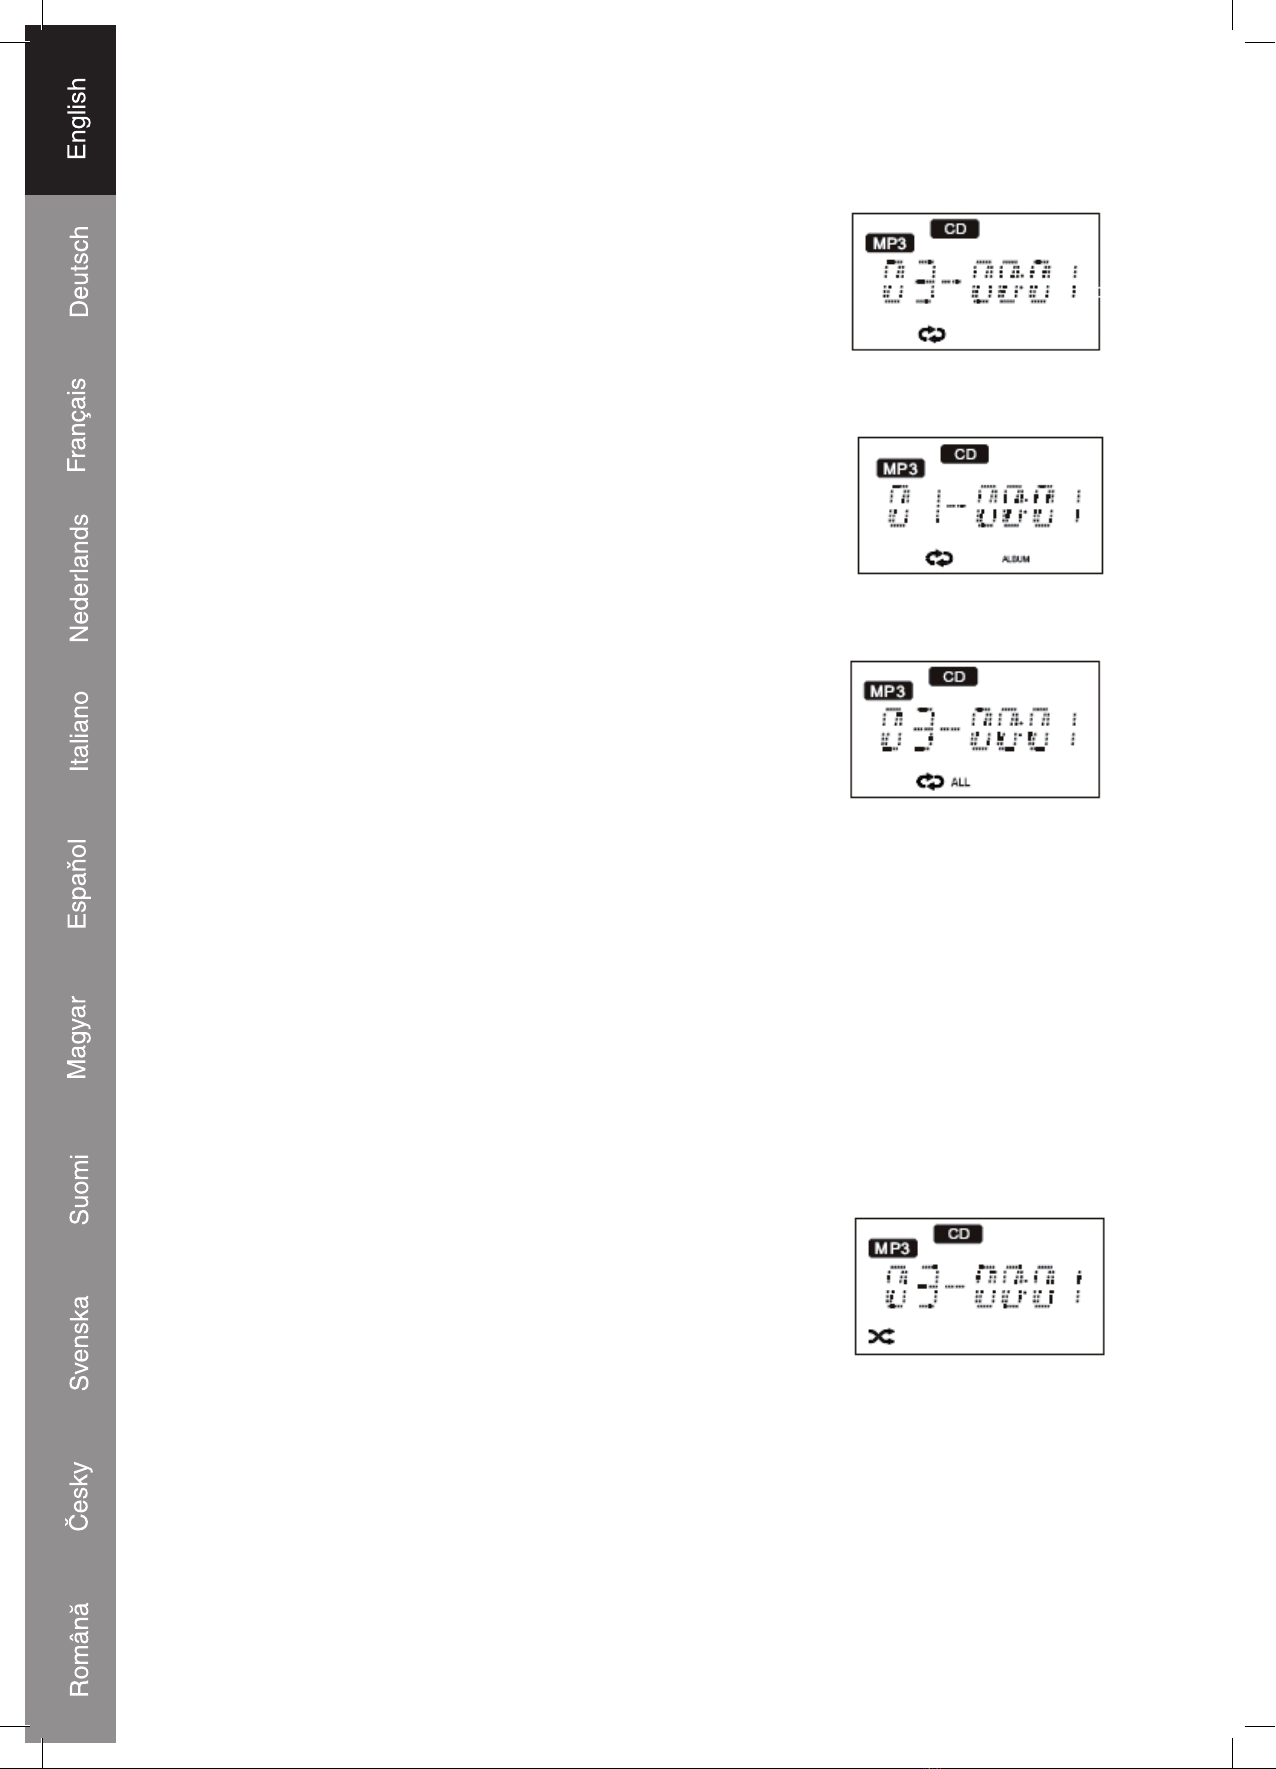
Playing MP3 and WMA Discs
Most of the normal CD Operations described in this manual also apply to MP3/WMA
discs. However there are several differences in MP3/WMA Disc playback functions as
described below.
MP3/WMA CD Reading Time and Display Information
After you load an MP3/WMA CD, the player will read all
directories on the disc and indicate the total playing time and
total amount of numbers in the display. Because MP3/WMA
discs can contain much more information than normal audio
discs, it can take longer to fully scan the MP3/WMA disc.
You may see the flashing “READING” indicator for quite some time before playback
begins. This is normal and no indication for any problems.
MP3/WMA Disc Playback
To skip quickly from a track in one directory to a track in
another directory you can use the Folder Up/Down buttons.
Example: Let’s assume that you want to skip to Directory
Number 03 / Track Number 05. Press the Folder Up/Down
button repeatedly to select album “03”. The track indicator will
display “T001”. Press the Next/Previous Button four times and
the display will show “T005”. Press the Play/Pause Button to
start playback.
MP3/WMA CD Repeat Playback (On Remote Control Only)
There are three Repeat Playback options with MP3/WMA
Discs. In addition to the Repeat Once and Repeat All options,
you may select Repeat Directory to repeat all tracks in a
single directory.
ALBUM TRACK