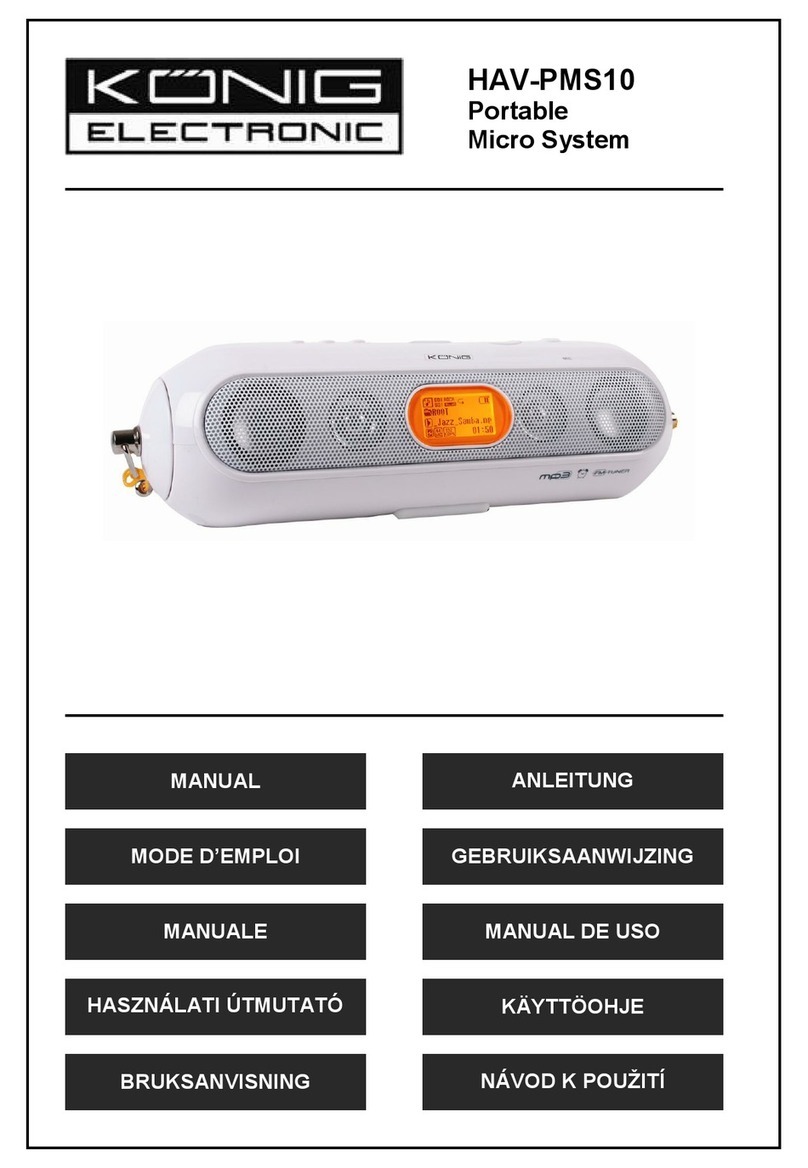
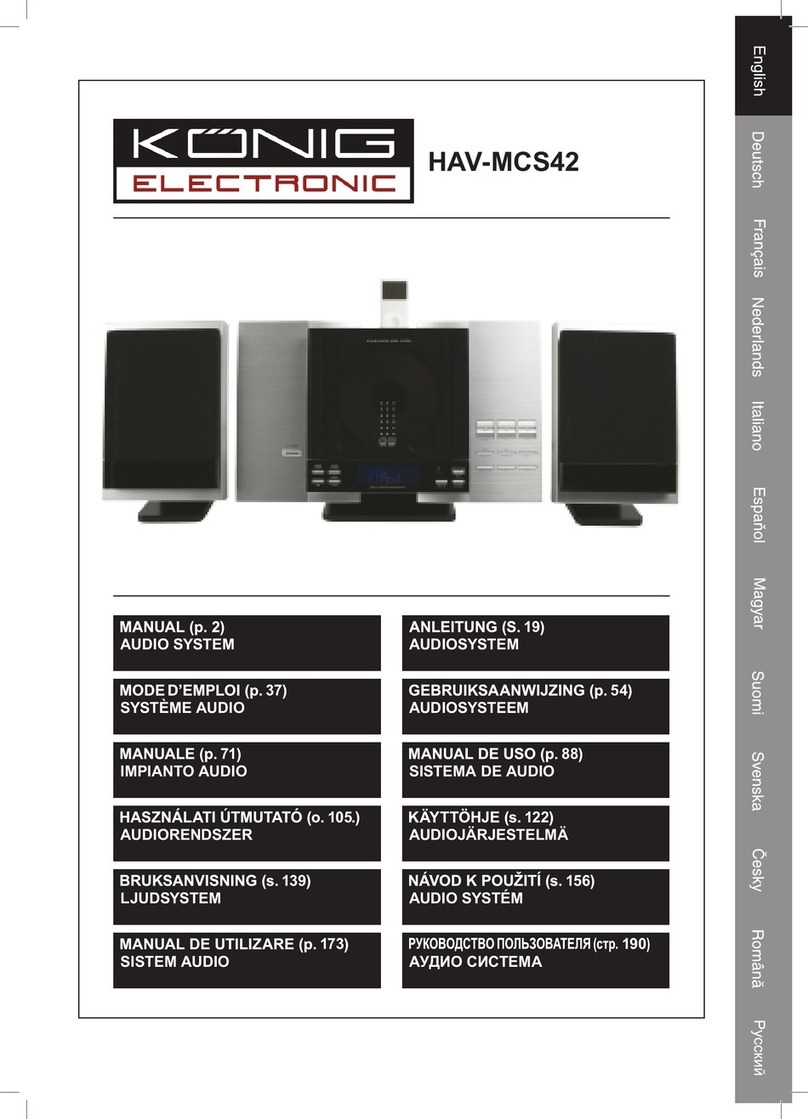
König Electronic HAV-MCS52 User manual

135
AUDIO SYSTÉM
106
AUDIOJÄRJESTELMÄ
76
SISTEMA DE AUDIO
46
AUDIOSYSTEEM
16
AUDIOSYSTEM
150
SISTEM AUDIO
120
LJUDSYSTEM
91
AUDIORENDSZER
61
IMPIANTO AUDIO
31
SYSTÈME AUDIO
AUDIO SYSTEM
HAV-MCS52

2
ENGLISH
Getting started
This section helps you to position and install the unit.
Antenna set up:
AM
AM
Antenna
Jack
FM Antenna
FM Antenna
Battery installation
Insert two AAA batteries into the remote control and make sure you insert them
according to the indicated polarity.
Power ON the Main Unit
Press the STANDBY button and the display will briefly show “HELLO”.

3
Wall mount the unit
Step 1 Remove the stand
1. Carefully place the unit face down on a flat, stable surface that is covered by soft
cloth. The cloth should be thick enough to protect the device.
2. Use a cross-head screwdriver (not supplied),
unscrew the three screws that secure the
stand to the unit.
3. Firmly pull the stand from the bottom of the unit. Place both the stand and screws
in a secure location for future reinstallation

4
1. FUNCTION BUTTON
2. STANDBY BUTTON
3. REMOTE SENSOR
4. STOP/BAND BUTTON
5. LCD DISPLAY
6. PLAY/PAUSE BUTTON
7. CD DOOR
8. OPEN/CLOSE BUTTON
9. VOLUME UP BUTTON
10. TIMER BUTTON
11. MEMORY/CLOCK BUTTON
12. LINE IN JACK
13. PHONES JACK
14. PREVIOUS BUTTON
15. DBBS BUTTON
16. SD/MMC CARD JACK
17. NEXT BUTTON
18. USB PORT
19. PLAY MODE BUTTON
20. VOLUME DOWN BUTTON
21. DC - INPUT
22. FM ANTENNA
23. AM ANTENNA SOCKET

5
1. OPEN/CLOSE BUTTON
2. MEMORY/CLOCK BUTTON
3. FUNCTION BUTTON
4. BAND BUTTON
5. PREVIOUS BUTTON
6. STOP BUTTON
7. PLAY MODE BUTTON
8. FOLDER UP/DN BUTTON
9. EQ BUTTON
10.1-9 NUMERIC
11. SLEEP BUTTON
12. STANDBY BUTTON
13. MUTE BUTTON
14. TIMER BUTTON
15. PLAY/PAUSE BUTTON
16. SKIP BUTTON
17. ST/MO/ID3 BUTTON
18. VOLUME BUTTON
19. DBBS BUTTON
20. 0 BUTTON
Volume/Sound Controls
This device has multiple sound control options. You can adjust the volume, choose
between different equalizer presets, and turn on/off the bass boost.
Volume UP/DOWN
Use the VOLUME UP/DOWN buttons to control the level of the output volume.
The system remembers the volume level when the power is switched off and
automatically returns to the same level when the power is switched on again.
EQ (Electronic preset equalizer)
Press the EQ button on the remote control to cycle through
the following equalizer settings: FLAT, CLASSIC, ROCK,
POP, JAZZ. The chosen EQ preset briefly appears in the
display to confirm your selection. After that it is indicated in
the bottom of the display. When you switch the device off, it remembers the last EQ
preset, so the next time you switch the audio system on it will automatically choose
that last preset.
DBBS (Dynamic Bass Boost)
Press the DBBS button on the remote control to increase the dynamic bass response.
“DBBS ON” appears briefly in the display and the “DBBS” indicator remains in the
upper right corner of the display. Press the DBBS button again to turn it off.
MUTE
Press the MUTE button on the remote control to shut off the speakers temporarily.
The sound stops and the “MUTE” indicator shows in the display. Press the MUTE
button again to cancel the mute function and restore the volume. The MUTE indicator
disappears. The mute function will also be canceled by pressing the VOLUME UP
button.

6
Setting the Clock
To set the clock, make sure you are in Standby Mode.
Setting the Time (On Remote Control Only)
1. Press the MEMORY/CLOCK button once.
2. Choose either the 12 or 24 hour format by pressing the NEXT/PREVIOUS buttons.
Press the MEMORY/CLOCK button again to save your selection.
3. Press the NEXT/PREVIOUS buttons to set the Hour, then press the MEMORY/
CLOCK button to save.
4. Press the NEXT/PREVIOUS buttons to set the minute, then press the MEMORY/
CLOCK button to save.
Setting the Wake Timer
1. Press the TIMER button once.
2. Select the source by pressing the FUNCTION button. You can select CD, Tuner,
USB and Memory Card
3. Press the TIMER button again and adjust the volume level by pressing the
VOLUME UP/DOWN buttons
4. Press TIMER to confirm, the display shows SET ON TIMER, press TIMER again
5. The hour digits will start to flash, use the NEXT/PREVIOUS buttons to set the
desired hour
6. Press TIMER to confirm, the minute digits will start to flash
7. Use the NEXT/PREVIOUS buttons to set the desired minutes
8. Press the TIMER button to confirm, the display shows SET OFF TIMER, press
TIMER again
9. The hour digits will start to flash, use the NEXT/PREVIOUS buttons to set the
desired hour
10. Press TIMER to confirm, the minute digits will start to flash
11. Use the NEXT/PREVIOUS buttons to set the desired minutes
12. Press the TIMER button to confirm
The TIMER icon will appear in the display, and the device will now start- and stop
playback at the selected times. To turn the TIMER function off, press and hold the
TIMER button until the TIMER icon disappears from the display.
Note: The timer settings will be automatically cancelled and reset if no button is
pressed for 10 seconds.
Note: If the selected source is CD but there is no CD inserted, the device will
automatically start in Tuner mode.
Note: Please make sure you correctly set the clock‘s time setting
Sleep Timer
Press the SLEEP button to activate the SLEEP modus. The SLEEP timer automatically
turns the device off after a preset amount of time. You can choose the different SLEEP
times by pressing the SLEEP button repeatedly.
Note: If you are using the sleep mode while playing a CD, keep in mind that the system
will stop when the last track of the disc is reached, even if the sleep timer has
not yet reached 0 minutes. Sleep mode will not force the CD into repeat mode.
7
CD Playback
1. Press the FUNCTION button and select the “CD” function.
2. Press the OPEN/CLOSE button on the remote control or on the front panel to
open the CD door.
3. Insert the CD with the label side outwards.
4. Press the OPEN/CLOSE button to close the CD door.
5. “READING” will flash in the display while the player reads the disc. After reading,
the display will show the total amount of tracks and playback time.
6. Press the PLAY/PAUSE button to begin playback.
7. Playback will continue until the end of the disc is reached. To stop playback
halfway, press the BAND button.
Pause
To pause CD playback press the PLAY/PAUSE button. The player will temporarily
pause playback and the elapsed time flashes in the display. Press the PLAY/PAUSE
button again to resume playback.
Skip track and high speed music search
During playback press the NEXT/PREVIOUS buttons repeatedly to skip to the next or
previous track. Press and hold the NEXT or PREVIOUS button to search at high speed
within a track. Release the NEXT/PREVIOUS button to resume normal playback.
Repeat Playback
The repeat function enables you to continuously repeat a single track, or the entire
disc. The repeat function can be activated during playback or in stop mode.
One Track Repeat
Select the track you would like to repeat and begin playback. Press the PLAY MODE
button once. The REPEAT indicator appears in the display and the selected track will
play over and over. To cancel repeat mode press and hold the REPEAT button until
the REPEAT indicator disappears from the display. You can also cancel the repeat
function by opening the CD-tray or switching to another mode.
All Tracks Repeat
Load the disc you would like to hear into the CD compartment and begin playback.
Press the PLAY MODE button twice. The ALL indicator appears in the display and all
track on the disc will be repeated continuously. To cancel repeat mode press and hold
the REPEAT button until the ALL indicator disappears from the display. You can also
cancel the repeat function by opening the CD-tray or switching to another mode.
Random Playback
The Random playback feature plays all the tracks from a disc in random order. Random
playback can be activated during playback or in stop mode.
1. To activate Random playback load a disc in the CD compartment.
2. Press the PLAY MODE button three times
3. The RANDOM/SHUFFLE indicator appears in the display
4. Press PLAY/PAUSE to start random playback, the player will randomly select a
track from the disc to begin from

8
To stop random playback press the PLAY MODE button again. The RANDOM/
SHUFFLE indicator will disappear from the display, and the disc will be played in
normal order again.
Programmed Playback
The Program feature allows you to program a playlist of up to 40 tracks in any desired
order. It’s possible to program a single track multiple times within a program sequence.
Programming has to be done before starting playback. If a disc is playing press the
BAND button to stop playback.
1. Load a disc into the CD compartment
2. Press the MEMORY/CLOCK button
3. The MEMORY indicator and PR01 will show in the display
4. Use the NEXT/PREVIOUS buttons to select the first track of the program
5. Press the MEMORY/CLOCK button again to confirm the selected track for the
first program position
6. The display will show PR02 and the system will be awaiting your input for the
second program position
7. Repeat steps 4-5 until the memory is full or your program is complete.
8. Press the PLAY/PAUSE button to begin playback of the program. The system will
now play your complete program
9. After completing the program the device will automatically stop, the program
remains in the devices memory
10. To restart the program press the MEMORY/CLOCK button and then the PLAY/
PAUSE button
To cancel program playback press the BAND button in program mode.
Note: You can use the repeat mode in combination with the program mode to
continuously repeat your program. To start repeat playback, press the PLAY
MODE button twice while your program is playing. The REPEAT indicator will
show in the display.
MP3/WMA CD Playback
1. Press the function button and select the “CD” function.
2. Press the OPEN/CLOSE button on the remote control or on the front panel to
open the CD door.
3. Insert the CD with the label side outwards.
4. Press the OPEN/CLOSE button to close the CD door.
5. “READING” will flash in the display while the player reads the disc. The system
reads all directories and files. Because MP3/WMA CDs contain much more
information then normal discs, reading can take a bit longer. After reading, the
display will show the total amount of directories and tracks. The MP3 and WMA
logo’s indicate the format of the files on the CD.
6. Press the PLAY/PAUSE button to begin playback.
7. Playback will continue until the end of the disc is reached. To stop playback
halfway, press the BAND button.

9
Pause
To pause CD playback press the PLAY/PAUSE button. The player will temporarily
pause playback and the elapsed time flashes in the display. Press the PLAY/PAUSE
button again to resume playback.
Skip track and high speed music search
During playback press NEXT/PREVIOUS buttons repeatedly to skip to the next or
previous track. Press and hold the NEXT or PREVIOUS button to search at high speed
within a track. Release the NEXT/PREVIOUS button to resume normal playback.
Press the FOLDER UP/DOWN buttons to move to another directory.
Repeat Playback
The repeat function enables you to continuously repeat a single track, the whole
directory or the entire disc. The repeat function can be activated during playback or in
stop mode.
One Track Repeat
Select the track you would like to repeat and begin playback. Press the PLAY MODE
button once. The REPEAT indicator appears in the display and the selected track will
play over and over. To cancel repeat mode press and hold the REPEAT button until
the REPEAT indicator disappears from the display. You can also cancel the repeat
function by opening the CD-tray or switching to another mode.
Directory Repeat
Load the disc you would like to hear into the CD compartment and begin playback.
Press the PLAY MODE button twice. The ALBUM indicator appears in the display
and all the tracks in the selected folder will be repeated continuously. To cancel repeat
mode press and hold the REPEAT button until the ALBUM indicator disappears
from the display. You can also cancel the repeat function by opening the CD-tray or
switching to another mode.
All Tracks Repeat
Load the disc you would like to hear into the CD compartment and begin playback.
Press the PLAY MODE button three times. The ALL indicator appears in the display
and all track on the disc will be repeated continuously. To cancel repeat mode press
and hold the REPEAT button until the ALL indicator disappears from the display. You
can also cancel the repeat function by opening the CD-tray or switching to another
mode.
Random Playback
The Random playback feature plays all the tracks from a disc in random order. Random
playback can be activated during playback or in stop mode.
1. To activate Random playback load a disc in the CD compartment.
2. Press the PLAY MODE button three times
3. RANDOM/SHUFFLE indicator appears in the display
4. Press PLAY/PAUSE to start random playback, the player will randomly select a
track from the disc to begin from

10
To stop random playback press the PLAY MODE button again. The RANDOM/
SHUFFLE indicator will disappear from the display, and the disc will be played in
normal order again.
Programmed Playback
The Program feature allows you to program a playlist of up to 40 tracks in any desired
order. It’s possible to program a single track multiple times within a program sequence.
Programming has to be done before starting playback. If a disc is playing press the
BAND button to stop playback.
1. Load a disc into the CD compartment
2. Press the MEMORY/CLOCK button
3. The MEMORY indicator and ALBUM01 will show in the display
4. Use the NEXT/PREVIOUS buttons to select the folder of the first file
5. Press the MEMORY/CLOCK button to select the folder, the display will show
a number. This number is the number of the first track in the selected directory
6. Use the NEXT/PREVIOUS buttons to select the first track of the program
7. Press the MEMORY/CLOCK button again to confirm the selected track for the
first program position
8. The display will show ALBUM02 and the system will be awaiting your input for
the second program position
9. Repeat steps 4-7 until the memory is full or your program is complete.
10. Press the PLAY/PAUSE button to begin playback of the program. The system will
now play your complete program
11. After completing the program the device will automatically stop, the program
remains in the devices memory
12. To restart the program press the MEMORY/CLOCK button and then the
PLAY/PAUSE button
To cancel program playback press the BAND button in program mode.
ID3 Track Information Display
When you create a CD on your computer containing MP3/WMA audio files, the
software you use to create the disc will normally allow you to input the name of the
artist, the name of the album, and the titles of the individual songs
To display ID3 track information:
Press and hold the ST/MO/ID3 button to scroll through the “ID3 text” information. If the
information was properly written when the files were created, the display will show the
song “TITLE”, “ALBUM” name, and “ARTIST” name. If the ID3 Tags were not correctly
written, the display will show “UNKNOWN”
Press the ST/MO/ID3 button again to return to Track and Play-time information.

11
SD/USB Memory card operation
Inserting and removing flash devices
Flash devices are inserted at the front panel of the unit. Gently push the desired
memory device into the appropriate socket. Don’t push to hard, the devices will only fit
one way.
SD/MMS
USB-stick
Playing MP3/WMA Audio Files Stored On SD/MMC Memory Cards or USB
stick.
Note: This device is compatible with MP3 and WMA files without DRM. It cannot play
songs in AAC or ATRAC format. It may be possible to convert your music into
MP3 or WMA files with special software, this depends on the DRM restrictions
of the file.
1. Press the FUNCTION button repeatedly until the main display shows “CARD” or
“USB”
2. Insert the SD/MMC or USB device containing the files into the appropriate slot.
3. The player will read the information on the storage device and the display will
show the total amount of directories and numbers on it
4. Press the PLAY/PAUSE button to begin playback
5. Playback will continue until the last track of the storage device has been played
6. Press the BAND button anytime to stop playback halfway
Skip track and high speed music search
During playback press SKIP/PREVIOUS buttons repeatedly to skip to the next or
previous track. Press and hold the NEXT or PREVIOUS button to search at high speed
within a track. Release the NEXT/PREVIOUS button to resume normal playback.
Press the FOLDER UP/DOWN buttons to move to another directory.
ID3 Track Information Display
Files on you computer can be “tagged”. These tags contain information about the
artist, song title and album title. If your files have a tag you can see this information on
the display of your audio set.
To display ID3 track information:
Press and hold the ST/MO/ID3 button to scroll through the “ID3 text” information. If
the information was properly written when the files were created, the display will show
the song “TITLE”, “ALBUM” name, and “ARTIST” name. If the ID3 Tags were not
correctly written, the display will show “UNKNOWN”

12
Press the ST/MO/ID3 button again to return to Track and Play-time information.
Radio operation
Press the FUNCTION BUTTON repeatedly until the display shows “TUNER”. You can
choose between MW (AM) or FM with the BAND button on the remote control.
Manual Tuning
Repeatedly press the NEXT/PREVIOUS buttons until the display shows the exact
frequency of the desired station. Use the manual tuning method to tune to weak or
distant stations that are not strong enough to be recognized by the automatic tuning
system.
Automatic Tuning
Press and hold the NEXT/PREVIOUS buttons until the radio begins to scan
automatically. The tuner will search for the next strong channel. Repeat this procedure
until it stops at the desired channel.
If the channel you are receiving is in stereo, a ST indicator shows in the display. If the
reception of the channel is distorted or weak, press the ST/MONO/ID3 button on the
remote control to select FM Mono mode.
Hints For Better Reception
FM: Extend the FM lead wire antenna fully for optimal reception. You can also try to
move the antenna around for a better reception
MW(AM): Connect the loop aerial into the AM antenna socket. Adjust the position of
the loop aerial to find the position with the best reception.
Saving preset radio stations
The memory of this audio system allows you to store up to 40 of your favourite radio
stations (30FM/10AM). This enables you to easily recall any of the stations at any
time.
1. Tune in to the station you want to save, use either manual tuning or auto-tuning.
2. Press the MEMORY/CLOCK button, the display shows TUNER and a number
indicator will start flashing
3. Use the FOLDER UP/DOWN buttons to select the desired preset location
4. Press the MEMORY/CLOCK button to save the current station to the selected
preset location
5. To save more radio station repeat steps 1-4 until you saved all your favourite
station or 30 FM/10 AM stations

13
TECHNICAL SPECIFICATIONS:
General
Power requirements: DC 12V, 1.5V through built-in DC jack
Power consumption: 18 W (operation)
1.1 W (standby)
Dimensions of main unit: 480x150x280 mm
Weight of main unit 2.80 Kg
Amplifier section
Power output: 2x 5 W
Tuner
FM frequency range: 87.5 MHz to 108 MHz
MW frequency range: 522 KHz to 1620 KHz
Preset memory: FM 30 / AM 10
CD player section
Playback system: Compact disc digital audio
DAC: 8 times over sampling
1 bit D/A converter
Frequency response: 100-20.000 Hz
Card/USB section
Flash memory card support: SD/MMC up to 2GB
USB support: Flash storage device up to 2 GB
Speaker system
Speakers: 1 Way 2 speakers
Impedance: 4 Ohms
Supported DISC Types CD Audio/CD-R/CD-RW
Supported Memory Card Formats Secure Digital™ (SD)/miniSD™ (with adapter
only)/microSD™ (with adapter only)/Multimedia
Card (MMC)
Compatible audio formats
This system supports playback of songs in CD-audio (pre-recorded CDs), MP3 and
Windows Media formatted Audio (WMA). This system does not support Digital Rights
Management (DRM). This system cannot play songs purchased from iTunes or other
songs in AAC or ATRAC format. It may be possible to convert your music into MP3 or
WMA files with special software, this depends on the DRM restrictions of the file.
This system is compatible with MPEG1 Audio Layer 3 (MP3) 32, 44.1 or 48kHz formats.
The recording format should be in accordance with ISO9660 CD-ROM file system.
MP3 file names require MP3 or mp3 as an extension. Chinese characters cannot be
displayed, although files featuring them can be played. VBR (Variable Bit Rate) files
can be played, but playing time may not be shown correctly. Up to 299 tracks/folders
can be played.

14
Declaration of conformity
We,
Nedis B.V.
De Tweeling 28
5215MC ’s-Hertogenbosch
The Netherlands
Tel.: 0031 73 599 1055
Email: info@nedis.com
Declare that product:
Brand: König Electronic
Model: HAV-MCS52
Description: Audio system
Is in conformity with the following standards
EMC
EN55013:2001+A1+A2
EN61000-3-2:2006
EN61000-3-3: 1995+A1+A2
EN55020:2007
LVD
EN60065:2002+A1:2006
IEC60065:2001+A1:2005
And complies with the requirements of the European Union Directives 2004/108/EC
and 2006/95/EC.
‘s-Hertogenbosch, 2009, January 14
Mrs. J. Gilad
Purchase Director

15
Safety precautions:
RISK OF ELECTRIC SHOCK
DO NOT OPEN
CAUTION To reduce risk of electric shock, this product should
ONLY be opened by an authorized technician when
service is required. Disconnect the product from
mains and other equipment if a problem should occur. Do not expose the product to
water or moisture.
Maintenance:
Clean only with a dry cloth. Do not use cleaning solvents or abrasives.
Warranty:
No guarantee or liability can be accepted for any changes and modifications of the
product or damage caused due to incorrect use of this product.
General:
Designs and specifications are subject to change without notice.
All logos brands and product names are trademarks or registered trademarks of their
respective holders and are hereby recognized as such.
Attention:
This product is marked with this symbol. It means that used electrical and
electronic products should not be mixed with general household waste.
There is a separate collections system for these products.
Copyright ©

16
DEUTSCH
Die ersten Schritte
Dieser Abschnitt hilft Ihnen beim Aufstellen und Installieren des Geräts.
Einrichtung der Antenne:
AM
AM-
Antennenbuchse
FM-Antenne
FM-Antenne
Einlegen der Batterie
Legen Sie zwei AAA-Batterien in die Fernbedienung ein, und achten Sie darauf, dass
sie entsprechend der angezeigten Polarität eingelegt werden.
Hauptgerät anschalten
Drücken Sie die STANDBY-Taste, und auf dem Display wird kurz “HELLO” angezeigt.

17
Bringen Sie das Gerät an der Wand an
Schritt 1 Entfernen Sie den Standfuß
1. Stellen Sie das Gerät mit der Vorderseite nach unten vorsichtig auf eine ebene,
stabile Fläche, die mit einem weichen Tuch bedeckt ist. Das Tuch sollte dick
genug sein, um das Gerät zu schützen.
2. Schrauben Sie die drei Schrauben, die den
Standfuß am Gerät halten, mit einem Kreuz-
schlitzschraubendreher (nicht mitgeliefert) ab.
3. Ziehen Sie den Standfuß kräftig vom Boden des Geräts ab. Legen Sie den
Standfuß und die Schrauben an einen sicheren Ort, damit sie später wieder
angebracht werden können.

18
1. FUNKTIONSTASTE
2. STANDBY-TASTE
3. FERNBEDIENUNGSSENSOR
4. STOPP/BAND-TASTE
5. LCD-DISPLAY
6. WIEDERGABE/PAUSE-TASTE
7. CD-TÜR
8. ÖFFNEN/SCHLIESSEN-TASTE
9. TASTE FÜR LAUTSTÄRKE ERHÖHEN
10. TIMER-TASTE
11. SPEICHER /UHR-TASTE
12. LINE IN-BUCHSE
13. KOPFHÖRERBUCHSE
14. ZURÜCK-TASTE
15. DBBS-TASTE
16. SD/MMC-KARTENBUCHSE
17. WEITER-TASTE
18. USB-ANSCHLUSS
19. WIEDERGABEMODUS-TASTE
20. TASTE FÜR LAUTSTÄRKE VERMINDERN
21. DC-EINGANG
22. FM-ANTENNE
23. AM-ANTENNENBUCHSE

19
1. ÖFFNEN/SCHLIESSEN-TASTE
2. SPEICHER/UHR-TASTE
3. FUNKTIONSTASTE
4. BAND-TASTE
5. ZURÜCK-TASTE
6. STOPP-TASTE
7. WIEDERGABEMODUS-TASTE
8. ORDNER AUFWÄRTS/ABWÄRTS-TASTE
9. EQ-TASTE
10.1-9 ZIFFERNTASTEN
11. SCHL AF-TASTE
12. STANDBY-TASTE
13. STUMMSCHALT-TASTE
14. TIMER-TASTE
15. WIEDERGABE/PAUSE-TASTE
16. SPRUNG-TASTE
17. ST/MO/ID3-TASTE
18. LAUTSTÄRKE-TASTE
19. DBBS-TASTE
20. 0-TASTE
Lautstärke/Klang-Regler
Dieses Gerät hat mehrere Klangregler. Sie können die Lautstärke einstellen, zwischen
verschiedenen Equalizervoreinstellungen wählen und die Bassanhebung an- oder
ausschalten.
Lautstärke erhöhen/vermindern
Regeln Sie mit den VOLUME UP/DOWN-Tasten die Lautstärke.
Das System speichert die Lautstärke, wenn das Gerät ausgeschaltet wird, und kehrt
automatisch zur selben Lautstärke zurück, wenn es wieder angeschaltet wird.
EQ (Elektronischer programmierter Equalizer)
Drücken Sie an der Fernbedienung die EQ-Taste, um sich
zyklisch durch die folgenden Equalizereinstellungen zu
bewegen: FLAT, CLASSIC, ROCK, POP, JAZZ. Es wird
kurz die EQ-Einstellung angezeigt, um Ihre Auswahl zu
bestätigen. Danach wird sie unten auf dem Display angezeigt. Wenn Sie das Gerät
ausschalten, erinnert es sich an die letzte EQ-Einstellung, so dass beim nächsten
Anschalten des Audiosystems die letzte Einstellung automatisch ausgewählt wird.
DBBS (Dynamische Bassanhebung)
Drücken Sie an der Fernbedienung die DBBS-Taste, um das dynamische Bassverhalten
zu erhöhen. Auf dem Display wird kurz “DBBS ON” angezeigt, und “DBBS” bleibt in
der oberen rechten Ecke des Displays. Drücken Sie die DBBS-Taste noch einmal, um
die Funktion auszuschalten.

20
STUMMSCHALTEN
Drücken Sie die MUTE-Taste an der Fernbedienung, um die Lautsprecher
vorübergehend auszuschalten. Der Ton wird beendet, und es wird “MUTE”
angezeigt. Drücken Sie die MUTE-Taste noch einmal, um die Stummschalt-Funktion
zu beenden und den Ton wiederherzustellen. MUTE verschwindet vom Display. Die
Stummschalt-Funktion wird auch beendet, wenn die VOLUME UP-Taste gedrückt
wird.
Einstellung der Uhr
Die Uhr können Sie nur im Standby-Modus einstellen.
Einstellung der Zeit (nur auf Fernbedienung)
1. Drücken Sie einmal die MEMORY/CLOCK-Taste.
2. Wählen Sie das 12- oder 24-Stundenformat, indem Sie die NEXT/PREVIOUS-Tasten
drücken. Drücken Sie die MEMORY/CLOCK-Taste noch einmal, um Ihre Auswahl zu
speichern.
3. Drücken Sie die NEXT/PREVIOUS-Tasten, um die Stunde einzustellen, dann
drücken Sie die MEMORY/CLOCK-Taste, um zu speichern.
4. Drücken Sie die NEXT/PREVIOUS-Tasten, um die Minute einzustellen, dann
drücken Sie die MEMORY/CLOCK-Taste, um zu speichern.
Einstellung des Weckers
1. Drücken Sie die TIMER-Taste einmal.
2. Wählen Sie mit der FUNCTION-Taste die Quelle. Sie können wählen zwischen
CD, Tuner, USB und Speicherkarte.
3. Drücken Sie die TIMER-Taste noch einmal und stellen die Lautstärke mit den
VOLUME UP/DOWN-Tasten ein.
4. Drücken Sie zur Bestätigung die TIMER-Taste. Es wird SET ON TIMER angezeigt.
Drücken Sie noch einmal die TIMER-Taste.
5. Die Stundenziffern fangen an zu blinken. Stellen Sie mit den NEXT/PREVIOUS-Tasten
die gewünschte Stunde ein.
6. Drücken Sie zur Bestätigung die TIMER-Taste, und die Minutenziffern fangen an
zu blinken.
7. Stellen Sie die gewünschten Minuten mit den NEXT/PREVIOUS-Tasten ein.
8. Drücken Sie zur Bestätigung die TIMER-Taste. Es wird SET OFF TIMER
angezeigt. Drücken Sie noch einmal die TIMER-Taste.
9. Die Stundenziffern fangen an zu blinken. Stellen Sie mit den
NEXT/PREVIOUS-Tasten die gewünschte Stunde ein.
10. Drücken Sie zur Bestätigung die TIMER-Taste, und die Minutenziffern fangen an
zu blinken.
11. Stellen Sie mit den NEXT/PREVIOUS-Tasten die gewünschten Minuten ein.
12. Drücken Sie zur Bestätigung die TIMER-Taste.
Es wird TIMER angezeigt, und das Gerät beginnt und beendet die Wiedergabe
zur ausgewählten Zeit. Um die TIMER-Funktion auszuschalten, halten Sie die
TIMER-Taste gedrückt, bis das TIMER-Symbol nicht mehr angezeigt wird.
Table of contents
Languages:
Other König Electronic Stereo System manuals

König Electronic
König Electronic HAV-MCS50 User manual

König Electronic
König Electronic HAV-MCS35 User manual

König Electronic
König Electronic HAV-MCS30 User manual

König Electronic
König Electronic IPD-SPEAKER40 User manual

König Electronic
König Electronic HAV-MCS30 User manual

König Electronic
König Electronic HAV-SDC20 User manual

König Electronic
König Electronic HAV-PMS10 User manual

König Electronic
König Electronic HAV-MCS42 User manual

König Electronic
König Electronic HAV-MCS42 User manual

König Electronic
König Electronic HAV-MC100 User manual