224440 15
Timer
The timer can be used to automatically switch off a cooking zone after a pre-set time of between 1 and 99 minutes.
The required cooking zone must be activated, stand-by dot ¬lights up. Select a cooking level from 1 to 9 by
means of the minus or plus keys T/U. Then press timer key Q. The timer display Rshows “00”. Select the
required cooking time between 1 and 99 minutes by means of the minus or plus keys T/U. The control lamp Sof
the selected cooking zone lights up.
The selected cooking time can be altered at any time. Activate the relevant cooking zone, press timer key Qand
change the cooking time by means of the Minus or Plus keys T/U.
When the pre-set cooking time has finished, the cooking zone switches off automatically and an acoustic signal
sounds for two minutes. This can be switched off by pressing any key.
If you want to switch the timer off beforehand, press cooking zone key Mand timer key Q. The minus key Tcan
now be used to set the timer Rto “00”, or alternatively this can be done by simultaneously pressing the minus and
the plus keys T+U.
The timer can also be used as an egg timer when none of the cooking zones are activated. In this case, no cooking
zone should be activated when the timer Qis being set (the cooking zone stand-by dot ¬does not light up).
Safety switch-off
The maximum operating time for each individual cooking zone
is limited, and details are shown in the enclosed table of times.
When the safety switch-off has switched off the touch control
system, a “0” or an “H” is shown in the cooking level display ?
if there is still any residual heat left. Pressing the on/off switch
key makes the control system ready for operation again.
If more than one key is pressed simultaneously - with the
exception of the minus and plus keys - the control system will
not accept this as a valid command. If one or more keys are
activated for longer than 30 seconds, for example by boiling
over or the weight of a pan, the control system assumes that
there is an error and switches off automatically. If key operation
continues, a constant acoustic signal sounds.
2. Things to watch out for
2.1 Important tips for induction
2.1.1 Induction cooking zones and cooking ware
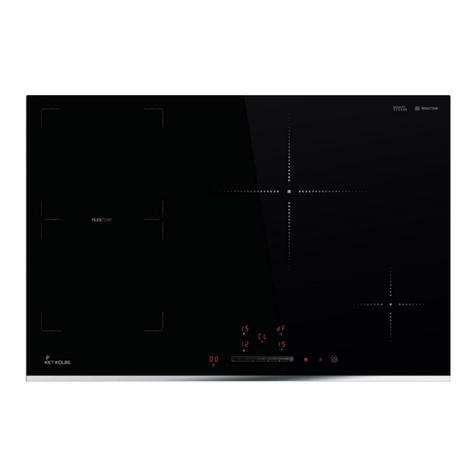
Your hob is equipped with induction cooking zones which are characterised by high performance when it comes
to quick heating and energy saving. The heat is generated directly in the bottoms of the pots where it's needed,
without a loss of energy through the ceramic hob. That's why the energy consumption is lower than with normal
radiation heating elements.
The ceramic hob is not directly heated, though it becomes hot due to the effect of heat reflected by the pan. When
the cooking zones are switched off, a hot cooking zone is indicated by the flashing “H” (residual heat indicator). In
induction cooking zones, heating is achieved by means of an induction coil installed below the ceramic hob which
produces an electromagnetic field. With the use of magnetizable pans or dishes made of steel, steel mesh or iron
cast (suitable for induction ceramic hob), energy is transmitted directly to the bottom of the equipment.
Only use induction cooking zones with suitable cooking utensils, made of materials such as steel, steel
mesh or cast iron. Stainless steel pans with copper or aluminium bottoms and glass pans are not suitable.
When you purchase a set of pans, check for the label “Suitable for induction”.
When cooking on an induction hob, only use pots and pans with a flat, smooth base. Cooking and baking
with warped cookware, parts of which may not even make contact with the cooking zone, can cause
damage to the cookware and to the glass ceramic hob as a result of overheating.
Table of times
MOT = maximum operating time,
in hours
Cooking level MOT (h)
16
26
35
45
54
61,5
71,5
81,5
91,5


