3
the handle and raise the concave mould plate until the wooden piece getting in touch with the
upper die (form plunger)
After putting up the new die, all the fasten bolts of the die should be tightened up. In some
cases, especially the using of narrow die it is necessary to put a piece thin paper between the
upper die and the lower die.
2.6.2 Adjustement of the cross girder
To make the braking work go on smoothly, and to separate the formed metal that between
the upper die and the lower die form being blocked , you must adjust the crossbeam.
First, you put a steel plate (its width echo the demand of the machine and its thickness is
1mm) on the concave mould plate, then, turn the handle carefully to raise concave mould plate,
loosen the fasten bolt of the crossbeam when the upper die (formplunger) getting in touch with
the processing metal plate, after that , in order to fix the crossbeam, you can adjust the screw
which on the crossbeam, at last, tighten up all the fasten screws. During this period, the handle is
not fixed to turn an angle of 360 degrees, brake a piece of metal plate that with game width and
thickness on both side of the braking system, their angles should be similar, the job should be
excessively braked when you turn the handle and fully brake the job.
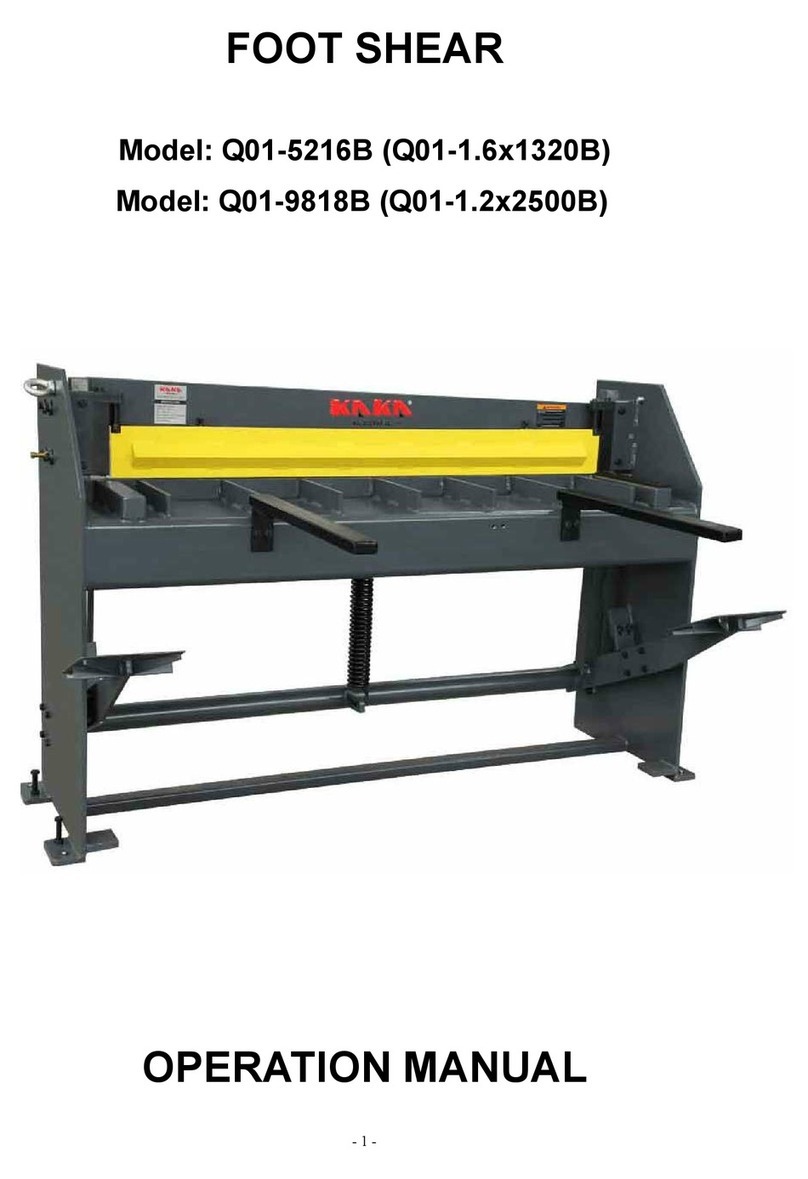
1.7 Adjustment of the shearing installation
You should adjust the zero-clearance of the upper cutter and the lower cutter.
Adjustment of the lower cutter:
Unload the pressing plate, loosen the fasten screw and the two adjustable screws of the
working table, turn the handle make the upper cutter near the cutter on the working table, tighten
the fasten table room moving bake when the machine is used. Install the pressing plate once
again and ensure that it run paralled to the upper cutter.
Adjustment of the positioning plate:
During the period of the shearing , there will be a powerful strengthen produced at the middle
of the cutter, in order to avoid the clearance that between the upper and lower cutter, you should
adjust the central screw that behind the positioning plate. If the adjustment was not suitable, the
metal plate will be foldedin the middle of the two cutters when shearing is executed.
If the lower cutter and upper cutter still press close together after the adjustment, two parts
must be examined: First, the fasten screw of the lower cutter, you can fully tighten the cutter up,
then loosen the screw about 1/8 circle. Second ,the contact face of the an cover mould plate
and the positioning plate. In most, cases this contact face and lubricate.
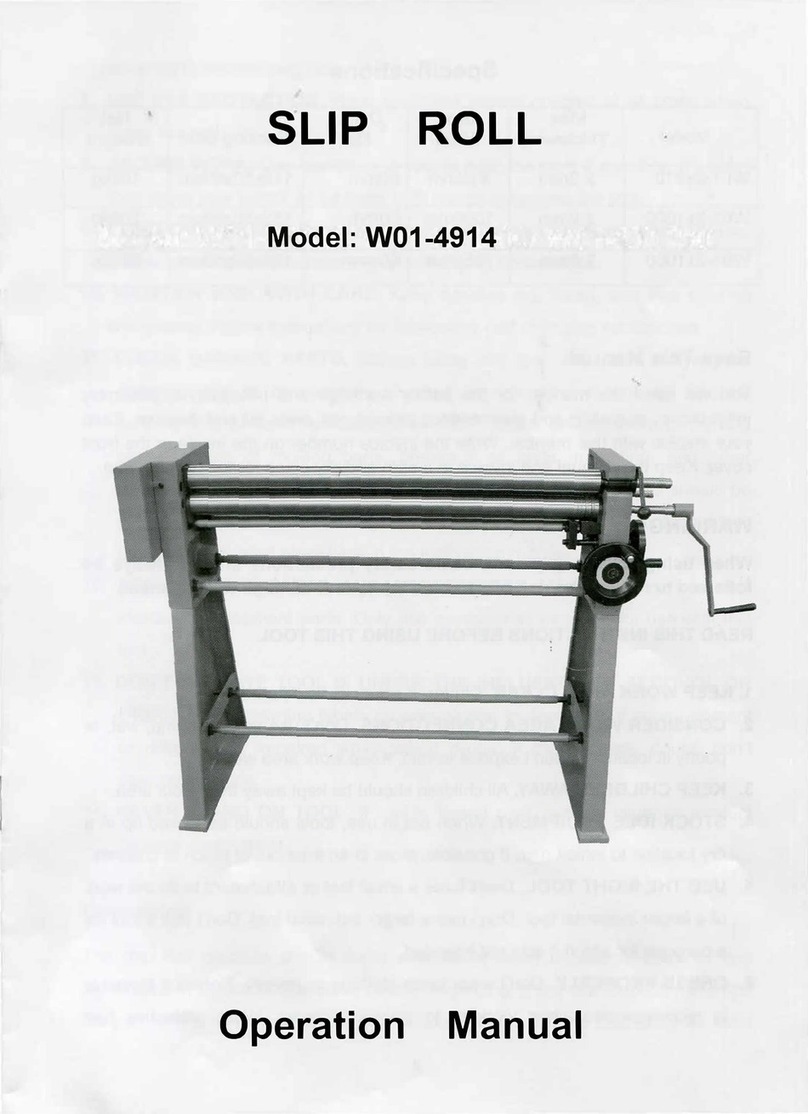
1.8 Adjustment of the rolling installation
This rolling installation can roll straight, roll taper or metal ring with the help of the liner
channel roller.
When a job was finished, turn the pin to right, the left side of the roller can be taken off the
machine, the job will be taken out with ease.
When you operate the slide roller, you must give enough pressure to roller for the purpose of
suitable import of the job.
Adjust the cleance of the upper roller have the same learance.
1.9 When you finished your work, you must clean the machine and spread oil on the surface that
not be applied a coat of paint.
