Kamikaze KV 4 User manual

Electronic Tying Machine
KV4
User’s Manual
ΚΗΠΟΓΕΩΡΓΙΚΗ
ΦΥΤΑ - ΜΗΧΑΝΗΜΑΤΑ - ΕΡΓΑΛΕΙΑ
18οΧλμ. Εθνικής Οδού ΑΘΗΝΩΝ-ΚΟΡΙΝΘΟΥ
Τηλέφωνο: 2105573739
E-mail: [email protected]
https://www.kipogeorgiki.gr
18οχλμ. Ν.Ε.Ο.Α.Κ. - Τηλ. 210 5573739

25
ENGLISH –Translation from the original instructions
CAUTION: READ ALL OF PAGE AND FIGURE FIRST BEFORE USE
Contents
1. Note of Safety: ....................................................................................................................................25
2. Safety Symbols:...................................................................................................................................25
3. General Safety Instructions for Power Tools:...................................................................................27
4. Special safety instruction ....................................................................................................................28
5. Purpose ...............................................................................................................................................31
6. Function description ...........................................................................................................................31
7. Summary.............................................................................................................................................34
8. Specification........................................................................................................................................34
9. Part list ................................................................................................................................................35
10. Charging the battery ...........................................................................................................................35
11. Working environment .........................................................................................................................35
12. Assemble battery ................................................................................................................................36
13. Operating procedure...........................................................................................................................38
14. Warning...............................................................................................................................................40
15. Cleaning and maintenance .................................................................................................................41
16. Storage ................................................................................................................................................43
17. Waste disposal and environmental protection...................................................................................43
18. Spare parts..........................................................................................................................................43
19. Warranty .............................................................................................................................................44
20. Trouble shooting and repair................................................................................................................45
21. Declaration of conformity...................................................................................................................46
1. Note of Safety:
Before first using the machine, please read this instruction manual carefully, for your own
safety and for the safety of others. Keep the manual in a safe place and pass it on to any
subsequent owner to ensure that the information therein is available at any times.
2. Safety Symbols:
This part includes safety indications for using the machine.
https://www.kipogeorgiki.gr
18οχλμ. Ν.Ε.Ο.Α.Κ. - Τηλ. 210 5573739

26
2.1 Symbols in Manual:
Warning symbol
Risk of cutting and severe injuries
Hot surface
Instruction symbol
Read through the instruction manual
carefully
Wear protective gloves
Wear protective goggles
Wear protective shoes with non-slip
soles
Do not use the tying machine in the
rain or wet hedge or branch.
Do not place with domestic waste.
2.2 Symbols on Battery:
Li-on battery. Don’t dispose with
household waste.
Don’t dispose the battery in fire where
it will explode.
Don’t disassemble the battery.
The battery can be recharged and
recycled. Discarded batteries should be
recycled in an environmentally friendly
way.
https://www.kipogeorgiki.gr
18οχλμ. Ν.Ε.Ο.Α.Κ. - Τηλ. 210 5573739

27
2.3 Symbols on Charger:
Warnings
Only use the charger indoor
Temperature protection limiter
Insulation Class II
Electrical equipment cannot be disposed
to domestic waste.
3. General Safety Instructions for Power Tools:
Warning! Read all safety directions and instructions.
Omissions in the compliance with safety directions and instructions can cause electric shock and fire
and/or severe injuries.
Retain all safety directions and instructions for future use.
The term “Power Tools” used in the safety instructions refers to mains-operated power tools (with
power cord) and battery-operated power tools (without power cord).
3.1 Work area safety:
•Keep work area clean and light. Cluttered or dark areas will cause accidents.
•Do not operate power tools in explosive and flammable atmospheres, such as in the presence of
flammable liquids, gases or dust. Power tools create sparks, which may ignite the dust or fumes.
•Keep children and bystanders away while operating a power tool.Distractions can cause you to
lose control of power tool.
3.2 Electrical safety:
•Power tool plug must match the outlet. Never modify the plug in anyway. Do not use any adapter
plugs with earthed (grounded) power tools. Unmodified plugs and matching outlets will reduce risk
of electrical shock.
•Do not use non-approved AC adapters or plugs
•Avoid body contact with earthed or grounded surfaces, such as pipes, radiators, ranges and
refrigerators. There is an increased risk of electric shock if your body is earthed or grounded.
•Do not expose power tools to rain or wet conditions. Water entering charger or a power tool will
increase the risk of electric shock.
•Do not abuse the cord. Never use the cord for carrying, pulling or unplugging the power tool. Keep
cord away from heat, oil, sharp edges or moving parts. Damaged or entangled cords increase the
risk of electric shock.
•When operating a power tool out-doors, use an extension cord suitable for outdoor use. Use of a
cord suitable for outdoor use reduces the risk of electric shock.
•If operating a power tool in a damp location is unavoidable, use a residual current device (RCD)
protected supply. Use of an RCD reduces the risk of electric shock.
https://www.kipogeorgiki.gr
18οχλμ. Ν.Ε.Ο.Α.Κ. - Τηλ. 210 5573739

28
3.3 Notice of using the tools:
•Don’t use the tool if the switch doesn’t work properly. Tool should be repaired if the switch doesn’t
work.
•Disconnect the battery from tool or power source before adjusting, repair, replace or storage the
tool. This will avoid injuries due to unexpected start of the tool.
•Store the tool away from the children, don’t put tool to non-training person operate.
•Maintain tools. Always check tool, moving parts, any damage parts are all can cause injury, the
correct maintenance of the tool can avoid injury.
•Read manual before using the tool, select suitable tools and right accessories to avoid injury.
3.4 Notice using cordless tool:
•Make sure the switch and battery insertion hole are in perfect working order before connecting the
battery.
•Use only the charger specified by the manufacturer. Use of other charger can damage the battery
and cause risk of fire.
•The tool is only designed for original battery. Using other battery to match the tool can cause
damage and risk of injuries.
•Battery should be stored away from metal parts, like clip, coin, key, nail, screw or other small metal
parts. Short circuit the battery will cause fire.
•Inappropriate usage will cause leakage of liquid. If your body is splashed by the liquid, please flush
by clean water. Must see a doctor if liquid touches eyes. Liquid of battery will canker or burn.
3.5 Personal safety:
•Keep alert, watch what you are doing and use common sense while shifting the power tool. Do not
operate the power tool when you are tired, or under the influence of drugs, alcohol or medication.
A moment of inattention when operating the power tool may cause serious personal injury.
•Use personal protective equipment. Always wear goggles. Safety equipment, such as dust mask,
anti-skid safety shoes, hard hat, hearing protection and other devices used for appropriate
conditions will reduce personal injury.
•Avoid accidental start. Carrying power tool with your finger on the switch or plugging in power tool
that have the switch ON, may cause danger.
•Remove all adjustment keys or wrenches before the power tool is switched ON. A wrench or key
left attached to a rotating part of the power tool may cause personal injury.
•Do not overreach. Keep proper footing and balance at all time. This enables better control of the
power tool in unexpected situations.
•Dress properly. Do not wear loose clothing or wear jewelry. Keep clothes, gloves and hair away
from moving parts, because of loose clothing, jewellery or long hair may be caught in moving parts.
4. Special safety instruction
4.1 Special safety instructions of the tying machine
•Don’t remove the front cover during the tool operation. Keep any part of your body at a minimum
distance of 5 cm from the tying mouth during tool operation. Any negligence during the operation
of the tying machine may cause personal injury.
https://www.kipogeorgiki.gr
18οχλμ. Ν.Ε.Ο.Α.Κ. - Τηλ. 210 5573739

29
•After tying action is completed, hold the handle to move the tying machine, the prudent usage of
the tool will protect the operator effectively and extend the service life of the tying machine.
4.2 Other safety instruction
Wear suitable work clothes such as boots with non-slip soles, sturdy long
trousers, gloves and goggles.
•Do not wear long flowing clothing or jewelry, as moving parts may catch this.
•Stay alert, watch what you are doing, and use common sense when operating the tool. Do not use
a power tool when you are tired or under the effect of drugs, alcohol or medicines.
•Don’t use the tying machine in the rain.
•Do not use the tool in the proximity of flammable liquids or gasses. Fire and explosion risk exist in
the event of a short circuit.
•Do not attempt to repair the tool your-self, bring the tool to our Service Center in case of need. All
works, which are not described in this manual, may only be performed by our Service-Centre
•The product is designed to tie grape vines and other branches within the effective range of 25mm
maximum diameter. Don’t use it in all kinds of tying work exceeding the range of 25mm maximum
diameter. The excess of this range would damage the tying machine.
•Do not try to release the power hook (8) or the wire (2) that may be caught before turning off the
tying machine. Follow the instructions in this manual to clear jams and blocks.
•Tying work must be finished when feeding hook and wire-outgoing track can stretch out and retract
smoothly and there is no interference of other foreign matters. Before staring the work of tying,
please check objects hidden in grave vines or branches, for example, electric wire, iron wire,
surplus branches and leaves, these things may affect the stretching out and retracting of the
feeding hook.
https://www.kipogeorgiki.gr
18οχλμ. Ν.Ε.Ο.Α.Κ. - Τηλ. 210 5573739

30
•When operating the tool, always hold it with one hand, and keep a distance of at least 5cm away
from the other hand and your whole body.
•Feeding system must be checked and cleaned frequently. If foreign matters are accumulated in the
feeding track, it will affect tying effect and increase load to the equipment. Quality assurance does
not include the damage caused by the wrong maintenance mentioned above.
•Do not attempt to repair the tool yourself. Repair operations not mentioned in this manual can
only be performed by the personnel of our service center.
•Use only the wire suggested by the producers. The usage of other wire will invalid the warranty of
the tool.
4.3 Special safety instruction for battery tool
•Make sure the battery compartment (12) is clean, dry and that the internal contacts are in perfect
condition before inserting the battery (13). Check the correct position of the same before insertion.
•Charger design for use only indoor. Charging operations have to be performed indoor.
•Disconnect power before to clean the charger to avoid damage and risk of electrical shock; carry
out the operation with a dry cloth.
•Don’t expose battery in strong light. Don’t put battery on hot surface. It can cause battery
explosion.
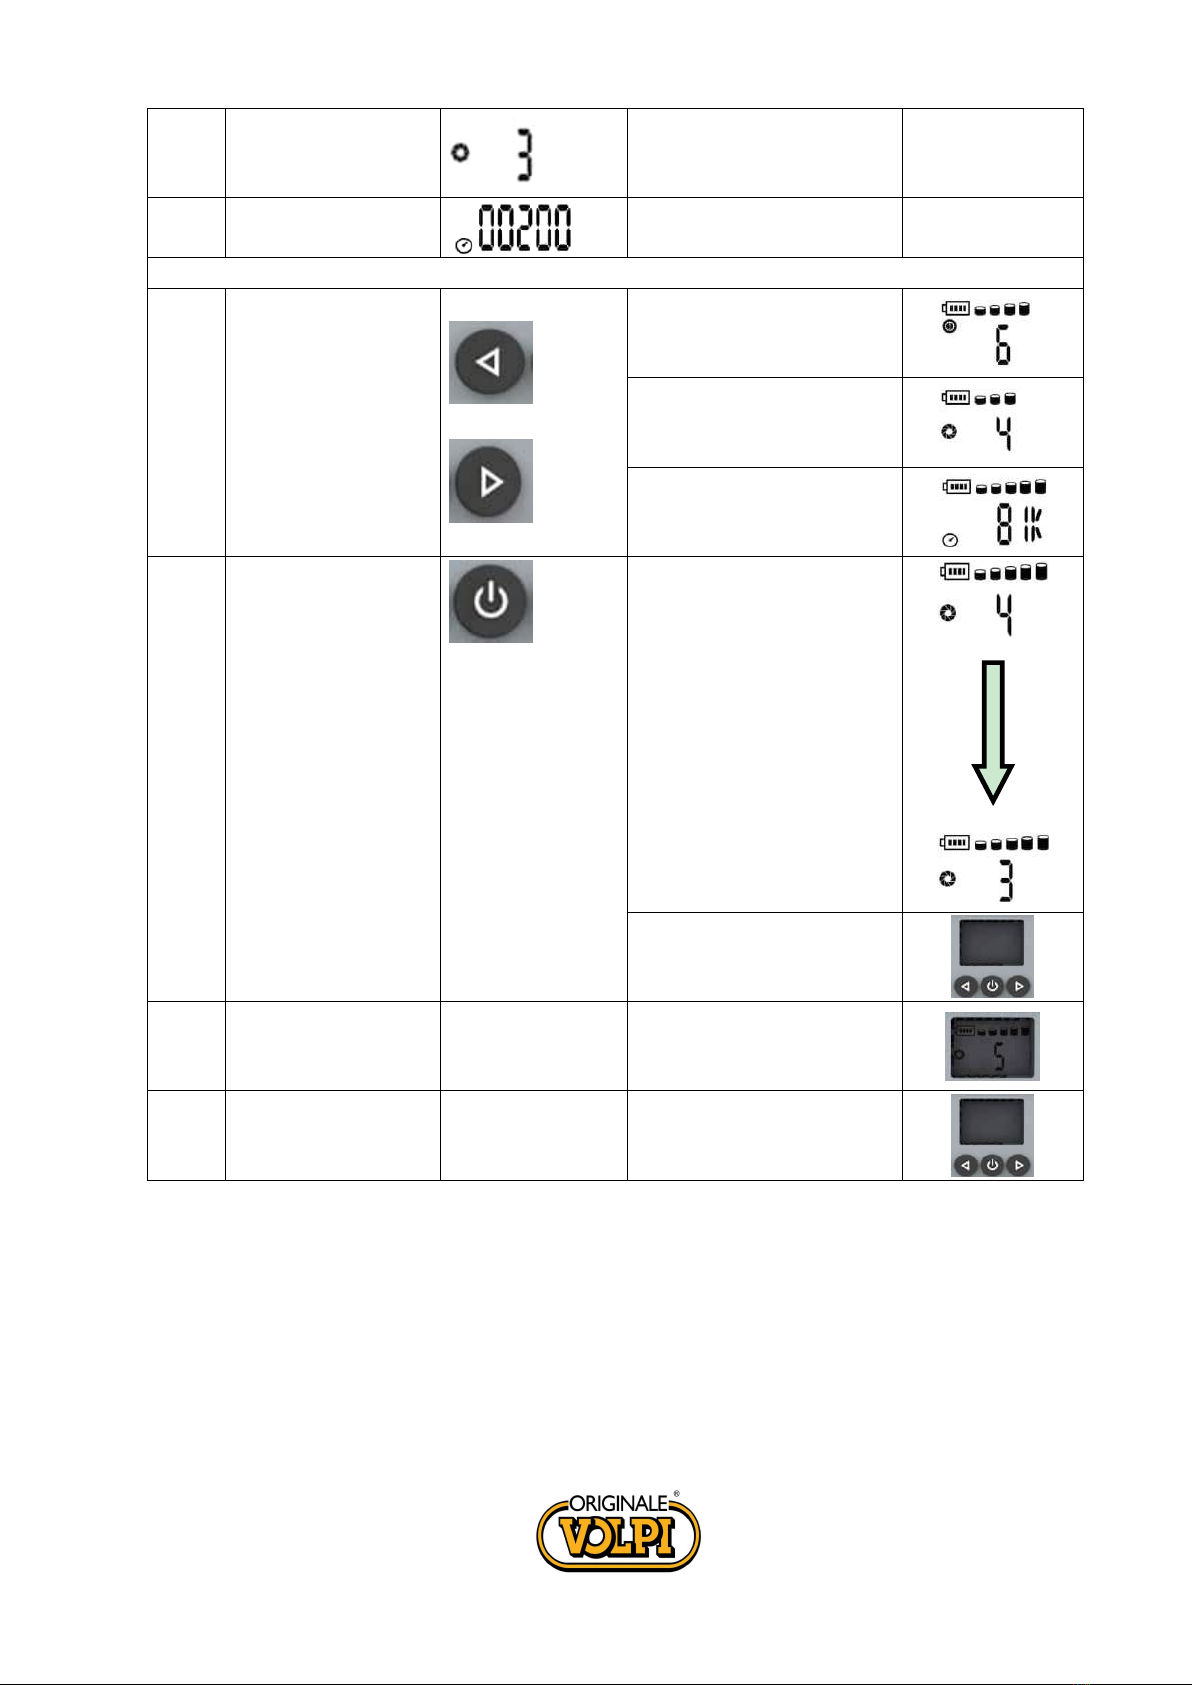
•Recharge the battery when the display (7) indicates that it is at charge level 1.
•Don’t disassemble the battery, don’t damage battery, in order to avoid injury.
•Do not store the machine with the battery (13) inserted in the handle (12). The battery (13) must
be recharged at least every 3 months to avoid damaging it. The warranty does not cover damage
caused by failure to comply with the recharge frequency.
4.4 Use charger correctly
•Use the charger only with rechargeable battery. If not it can cause fire or explode. Use original
charger to keep safety.
•Always check charger, wire and plug before use. If damaged, please move to Customer Assistance
Service to repair. Don’t use damaged charger, don’t repair by yourself, this will keep the tool safe.
•Check voltage of charger match the battery value, if not may injury yourself.
•Keep charger clean, away from drippy or rain environment. Don’t use the charger outdoor, dirt or
water can cause injury (see technical characteristics section).
•Properly disconnect the charger from the outlet, do not pull the cables and do not leave the
charger plugged in once charging is complete.
•The charger is designed for original battery only. Otherwise may be cause damage or fire.
•Avoid damaged charger will reduce injury.
•Don’t use chargers on tinder surface (e.g. paper or dry goods).
•The battery is not fully charged when you buy it, you must charge 3 / 4 hours before first use the
tool. Connect the battery to charger before power on.
•Normal charging time is 3 / 4 hours, don’t charge the battery for too long time, it will damage the
battery.
•The charger has three outputs, you can charge up to 3 batteries simultaneously (2 + 1 additional or
optional). The charging time is proportional to the number of batteries connected and the state of
their charge. Monitor the charging time by the LED indicator (red light in charge, green light end of
charge).
https://www.kipogeorgiki.gr
18οχλμ. Ν.Ε.Ο.Α.Κ. - Τηλ. 210 5573739

31
4.5 Caution (residual risk)
Even if the power tool is used properly, some risks will still exist. The power tool may bring the
following hidden dangers due to its own structure and structural characteristics:
•Long time or unreasonable manual operation of the tool may cause damage to the user’s body.
Warning!
The equipment will bring electromagnetism; it can interfere with some medical device in body. It is
suggested to ask for doctor before the usage of the tool by at the same time with medical devices.
Warning!
Do not touch the feeding hook or twisting wheel during the operation to avoid any personal injury.
Sound and vibration measurements:
Sound pressure level: < 70 dB(A)
Total vibration value: < 2.5 m/s2
5. Purpose
The tool is designed for tying the vines or branches up to a diameter of 25 mm. If this tool is used for
other unapproved purposes, it may cause damage to the tool and cause harm to the user.
This tool can only be used by adults. Or can be used by minors over 16 years of age under the
supervision of adults. Do not use the tool in the rain or on wet hedges. The operator or the user
shall assume full responsibility for the harm to others or any property damage to others caused by
any accident occurs during the use.
The manufacturer shall not be liable for any damage caused by not normal or improper use.
6. Function description
The tying machine is featured by compact structure, light weight, fast speed, and easy one-handed
operation. The product combines the characteristics together such as safety, high efficiency, and
simple operation. At the time of usage, position the tying mouth on the front end of the tying
machine on the vines or branches needing to be tied, pull the trigger. After confirming the
completion of tying action, hold and lift up the machine, then carry out the next tying task.
The tying machine has a selector with 6 adjustment positions to adjust the number of twists of the
tying thread:
• Position 3 -> tying ring + 2 turns.
• Position 4 -> tying ring + 3 turns.
• Position 5 -> tying ring + 4 turns.
• Position 6 -> tying ring + 5 turns.
• Position 7 -> tying ring + 6 turns.
• Position 8 -> tying ring + 7 turns.
https://www.kipogeorgiki.gr
18οχλμ. Ν.Ε.Ο.Α.Κ. - Τηλ. 210 5573739

32
Before usage, please check if the wire has the same direction as the feeding track, the wire
shall not be twisted, knotted, and stuck. If installation direction is reverse, or if the wire is twisted,
knotted, and stuck, the formal function of feeding system will be affected, which may lead to
unsuccessful tying, if it is severe, the equipment will be damaged. Equipment damage caused by
reverse installation direction, twist, knot, and jamming is not covered by the warranty.
6.1 Display
Display and instructions
Code
Display
Description
Display
1
Battery symbol
Battery symbol
2
Battery charge level
100% battery
75% battery
50% battery
25% battery
10% battery
3
Faults indicator
0 means normal
There are no 2 and 8
Damaged software
1
Damaged circuit
3
Blocked gear
4
Undervoltage
5
Overvoltage
6
Damaged Mosfet
7
Low battery
9
EEOROM damaged
10
Errore Encoder
11
2
1
3
4
6
5
7
8
9
https://www.kipogeorgiki.gr
18οχλμ. Ν.Ε.Ο.Α.Κ. - Τηλ. 210 5573739

33
4
Number of twists
Shows the number of
twists for each binding
From 3 to 8
5
Number of bindings
Shows the total number of
bindings
From 1 to 99999
Switch instructions
6
7
Left switch +/—
Right switch +/—
Press the left or right
switch
Fault
Twist number
Number of binding
8
On-off and
confirmatio switch
Press for 3 seconds to turn
on the tool.
Press for 3 seconds to turn
off the tool.
Press 2 times consequently
to turn on the display
of the twist number.
Press the left and right
switch to increase or
decrease the twist number,
then press the central
switch to confirm it.
Tool shut down
9
No operations for 30
seconds
Standby mode- hold the
trigger to re-activate it.
10
Auto power off
If left unused for 10
minutes, the machine
switches off automatically
https://www.kipogeorgiki.gr
18οχλμ. Ν.Ε.Ο.Α.Κ. - Τηλ. 210 5573739

34
7. Summary
1. Feeding tray per reel of 90 meters
2. Tying wire (reel of 90 meters)
3. Thread press lever
4. Opening switch
5. Front cover
6. Pressing plate
7. Display
8. Feeding hook
9. Tying mouth
10. Twisting wheel
11. Trigger
12. Handle
13. Battery
14. Charger
8. Specification
Specification
Electric tying machine
1
Max tying diameter
25mm
2
Rated voltage
14,4 V
3
Rated power
25 W
4
Rated current
2,0 A
5
Current protection
3 A
6
Protection class
II
7
Weight
0.78 Kg
Battery (lithium)
1
Capacity
2,5Ah
2
Max Voltage
16,8V
3
Nominal voltage
14,4V
4
Running hours
20,000 ligatures
(10,000 per battery)
5
Weight (battery)
0,25 kg
Charger
1
Rated voltage
100-240V AC ,50-60Hz
2
Output voltage
DC16,8V
3
Charging current
1.4A
4
Protection class
II
5
Charging time
3 - 4 h
14
https://www.kipogeorgiki.gr
18οχλμ. Ν.Ε.Ο.Α.Κ. - Τηλ. 210 5573739

35
9. Part list
Open the package carefully and check whether the following parts are included:
•Tying machine
•N° 2 Tying wire
•N° 2 Batteries
•Three- way battery charger
•Holster
•Toolbox
•Tweezers
•Scissor
•User’s Manual
•Warranty card
10. Charging the battery
Never expose the battery to extreme conditions such as high temperatures or shocks.
Otherwise, personal injury will be caused by the leakage of electrolytic solution.
Always make sure the battery is dry and clean before charging.
•Make sure the battery is fully charged before first time using.
•The battery is not fully charged when you buy, you must charge 3-4 hours before using first time.
•Before recharging the battery, check the remaining charge on the display.
•Need to replace battery if battery running time is not enough. Users can only use the original
equipment manufactured by the customer center (OEM) battery pack.
•Keep safety rules and environment protection information in mind all the time.
10.1 Battery charging procedure
•Charge at temperature of +10°C~+22°C indoor.
•The three-way battery charger allows you to recharge the 2 batteries supplied at the same time
•Make sure specifications on battery and adapter matched before charging.
•
The red LED light on the charger indicates the battery is charging, the green LED light indicates it is fully
charged. The approximate charging time is 3 to 4 hours (charging time for 2 fully discharged batteries at
the same time), do not keep the batteries connected longer than necessary as they may damage them.
•The charger has three outputs, you can charge up to 3 batteries simultaneously. The charging time
is proportional to the number of batteries connected and the state of their charge. Monitor the
charging time by the LED indicator (red light in charge, green light end of charge).
•Disconnect the battery charger connectors from the batteries after charging is complete.
•Make sure the battery is recharged at least every 3 months when not in use. Do not store the
machine with the battery connected.
11. Working environment
•Keep temperature of environment at 0°C ~ 45°C when charging battery, -10°C ~ +60°C when battery
is working.
•Keep tool at temperature of -5°C ~ 30°C when working
https://www.kipogeorgiki.gr
18οχλμ. Ν.Ε.Ο.Α.Κ. - Τηλ. 210 5573739

36
12. Assemble battery
Please check if tying machine and battery are clean and dry, then conduct assembly according to the
following steps:
•Take the previously charged battery from the case and insert it in the appropriate seat of the tying
machine
•See the following figures:
1 - Open the thread press lever.
2 - Press the cover down and rotate it in the
direction of the arrow, remove the cover.
3 - Remove the cover.
4 - Insert the coil of thread paying attention to
the direction of the thread coming out.
https://www.kipogeorgiki.gr
18οχλμ. Ν.Ε.Ο.Α.Κ. - Τηλ. 210 5573739

37
5 - Press the cover and turn it in the direction of
the arrow.
6 - Close the thread press lever.
7 - Insert the end of the thread into the hole of
the machine.
8 - With the tweezers remove the two threads
outside the coil.
9 - Pay attention to the direction of the thread
which must NOT have knots, distortions or
wrap-around of any kind.
10 - After positioning the thread, turn on the
power switch and pull the trigger. Make sure
that the thread is correctly positioned into
the machine.
https://www.kipogeorgiki.gr
18οχλμ. Ν.Ε.Ο.Α.Κ. - Τηλ. 210 5573739

38
After using up each roll of wire, timely clear up residual wire head.
In the process of tying, if tying is not successful, please use tweezers to clear up residual wire timely,
then continue working.
Warning: the tool can only be used with 90 meter spool supplied and approved by the
manufacturer, if using larger spools you will need to remove the spool holder from the machine. In
order to use reels of this type, it is necessary to check with the technical service or with your
dealer.
Damages to the tool due to the use of spools other than supplied and indicated by the manufacturer
are not covered by warranty.
13. Operating procedure
Wear suitable cloth and glove when operate this tool. The power should be put off when
you loosen the trigger. Stop using the tool in case of switch failure. Always check rated
voltage of battery match the tying machine
Confirm the work frequency of the tying machine and select a suitable gear according to
the conditions of usage, so as to ensure that the tying machine is in the best state.
If front end tying mouth is blocked by a foreign matter when tying branches, please switch
off the machine before removing the foreign matter.
•Switch on the machine, the tying machine is in working state, start working after pulling trigger.
•To save electric quantity and ensure that the tying machine has the longest service life, don’t
overload the machine; don’t use it to tie branches exceeding 25mm.
•In the process of tying, if the tying is not successful, please switch off the machine. Remove the
tying wire failing to tie successfully from front end tying mouth with hand, then switch on power.
•Conduct idle running once to see if it can tie successfully. If the tying becomes normal, continue
working.
•If the tying fails to be successful for several times, please switch off the machine for inspection.
Open front cover and pressing plate, check wire at inlet and in the whole feeding track to see if
there is any knotted, accumulated, and jamming phenomenon, and clear up timely in case of any
abnormality.
•If tying machine stops half a way during tying, the feeding hook cannot retract, and the tying
machine is stuck on branches and cannot be lifted up, please switch off the machine at first, then
lift up feeding hook with hand, and take off the tying machine.
•Check if the diameter of the branches exceeds 25mm.
•Check if it is stuck by any foreign matters.
https://www.kipogeorgiki.gr
18οχλμ. Ν.Ε.Ο.Α.Κ. - Τηλ. 210 5573739

39
13.1 Tying procedure
•When the equipment is operating, keep your other hand at least 5cm away from the area of
tying mouth; don’t place your hand in the tying mouth.
•Don’t use the equipment to tie the branches with a diameter more than 25mm, otherwise the
machine may get stuck. During tying operation, the tying machine has to be be vertical to
branches, and don’t tilt or move during tying process. The damage of the equipment caused by
incorrect operations is not covered by quality warranty.
•Don’t use the equipment during rainy days.
•After daily usage, it is suggested to disconnect the battery to the machine and place them
together in the toolbox.
•According to the size of actual branches to be tied, adjust gear switch with the buttons place on
the tying machine, so as to achieve the best branch-tying effect.
•Place the hook in the correct position according to the picture, you should always put the
branch attached to the outer end of the hook, never attached to the tying helix
No. on display
Maximum Ø with plastic wire
Maximum Ø with paper wire
3
25mm
24mm
4
25mm
22mm
5
24mm
18mm
6
22mm
14mm
7
20mm
Not recommendable
8
16mm
Not recommendable
In case tying operation speed becomes slow, please check if battery charge is used up.
Correct branch position
Incorrect branch position
https://www.kipogeorgiki.gr
18οχλμ. Ν.Ε.Ο.Α.Κ. - Τηλ. 210 5573739

40
The repair work and functions unmentioned in the instructions shall be implemented by the
Service Centre. To ensure safe usage, only original parts can be used.
14. Warning
It is necessary to stop working when the residual thread has a length of about 20 cm.
Remove the remaining thread and insert the new thread as shown below.
If the residual thread is not removed, there is a risk of locking and jamming
1 - Open the front cover and remove the pressing
plate.
2 - Remove the remaining thread with the
tweezers.
https://www.kipogeorgiki.gr
18οχλμ. Ν.Ε.Ο.Α.Κ. - Τηλ. 210 5573739

41
3 - Insert the thread press carriage and place the
front cover correctly. The tool can now
continue to work with the new thread.
15. Cleaning and maintenance
Before to start any cleaning or maintenance operation, switch off the machine and
disconnect the battery to the machine. Place battery in a safe package.
•Cleaning and maintenance must be carried out regularly to ensure the long-term and reliable
operation of the equipment.
•Don’t spray water on the equipment or immerse it in water, otherwise the equipment will be
damaged.
•Keep ventilating slot, engine chamber, and equipment handle clean. It shall be cleaned with a
wet cloth or a hair brush. Don’t use any cleaning agent; otherwise it may cause permanent
damage to the equipment.
•Each time after one roll of tying wire is used up, please use tweezers or a brush to clear up
foreign matters in wire track.
•After continuing working for 8 hours, use tweezers or a brush to clear up foreign materials in the
wire track. Check if the pin, retaining ring, and spring of each movable joint have any foreign
material, if there is any foreign material, remove it immediately.
•Fill sufficient lubricating oil at cutter and each joint.
•Good maintenance habit can extend the service life of the product effectively.
•Wire track cleaning operation shall be performed according following procedure:
https://www.kipogeorgiki.gr
18οχλμ. Ν.Ε.Ο.Α.Κ. - Τηλ. 210 5573739

42
1 - Press the switch to push the front cover if
the tool is stuck or unable to power the
threads
2 - Remove the cover
3 - Remove the pressing plate
4 - Use a brush to clean the foreign objects in
the rail as shown in the figure.
5 - Use a brush to remove foreign objects in the
front binding area as shown in the figure
6 - After the cleaning process is complete,
lubricate with lubricating oil (ordinary white
oil or machine oil) on the cutter and each
movable joint as shown in the figure
https://www.kipogeorgiki.gr
18οχλμ. Ν.Ε.Ο.Α.Κ. - Τηλ. 210 5573739

43
16. Storage
•Don’t disport the battery to hot or cold environment.
•Remove the battery from the device if storage for a long time.
•Storage the battery and charger into box to keep it away from hot temperature, dust and humidity.
Check switch is in OFF position before storage.
•Battery should be stored in dry environment, see below:
Storage less than 1 month
-20°C ~ +60°C
Storage less than 6 months
-10°C ~ +35°C
Storage over 6 months
0°C ~ +30°C
•Battery should be kept at least at 1.5m from any possible flammable substance.
•Maintain the battery; please full charging before storage, charging battery every 4 months when
storing for a long time.
17. Waste disposal and environmental protection
Remove battery from equipment; recycle battery, tool, accessory and package to kind of waster.
The equipment is not part of household waste.
Send the equipment to a recycling center. The metal and plastic in the equipment can be recycled after
be screened. For detailed information, please contact the Service Center.
Do not discard the battery in household waste, fire (danger of explosion) or water. In case of the
leakage of toxic gas or liquid, damaged battery may cause potential environmental and personal
health risk.
Before discarding the battery, please use up electricity. It is recommended to stick the two poles with
adhesive tape to prevent short circuit. Do not open the battery.
Dispose the battery according to local regulations. The battery shall be sent to a battery recycling
station for environmental-friendly recycling. For detailed information, please consult your local
waste management agency or our service center.
18. Spare parts
Manufacture can provide high quality spare parts.
•Battery
•Charger
•Electrical and mechanical components of the tying machine
Please contact customer service in case of need.
https://www.kipogeorgiki.gr
18οχλμ. Ν.Ε.Ο.Α.Κ. - Τηλ. 210 5573739
Other manuals for KV 4
1
Table of contents
Other Kamikaze Farm Equipment manuals
Popular Farm Equipment manuals by other brands

Tanco
Tanco i73 Operator's handbook

Arrowquip
Arrowquip THE MAJOR product manual

Chore-Time
Chore-Time 108 FLEX-AUGER Installation and operator's manual

Hardi
Hardi EVRARD ALPHA 2500 Operating and maintenance manual

Harvest TEC
Harvest TEC HayBoss G2 600A Operation manual

Monosem
Monosem NG Plus 4 2018 Assembly and maintenance instructions