obstacle in one stroke! Do not stop halfway! Do not exceed the maximum obstacle height!
●Avoid shifting your center of gravity as well as abrupt joystick movements and changes of
direction when the wheelchair is in motion!
●Never use the wheelchair to transport more than one person!
●Do not exceed the maximum permissible load!
●Note that the wheelchair will brake or accelerate if you change the Driving Mode whilst the
wheelchair is in motion!
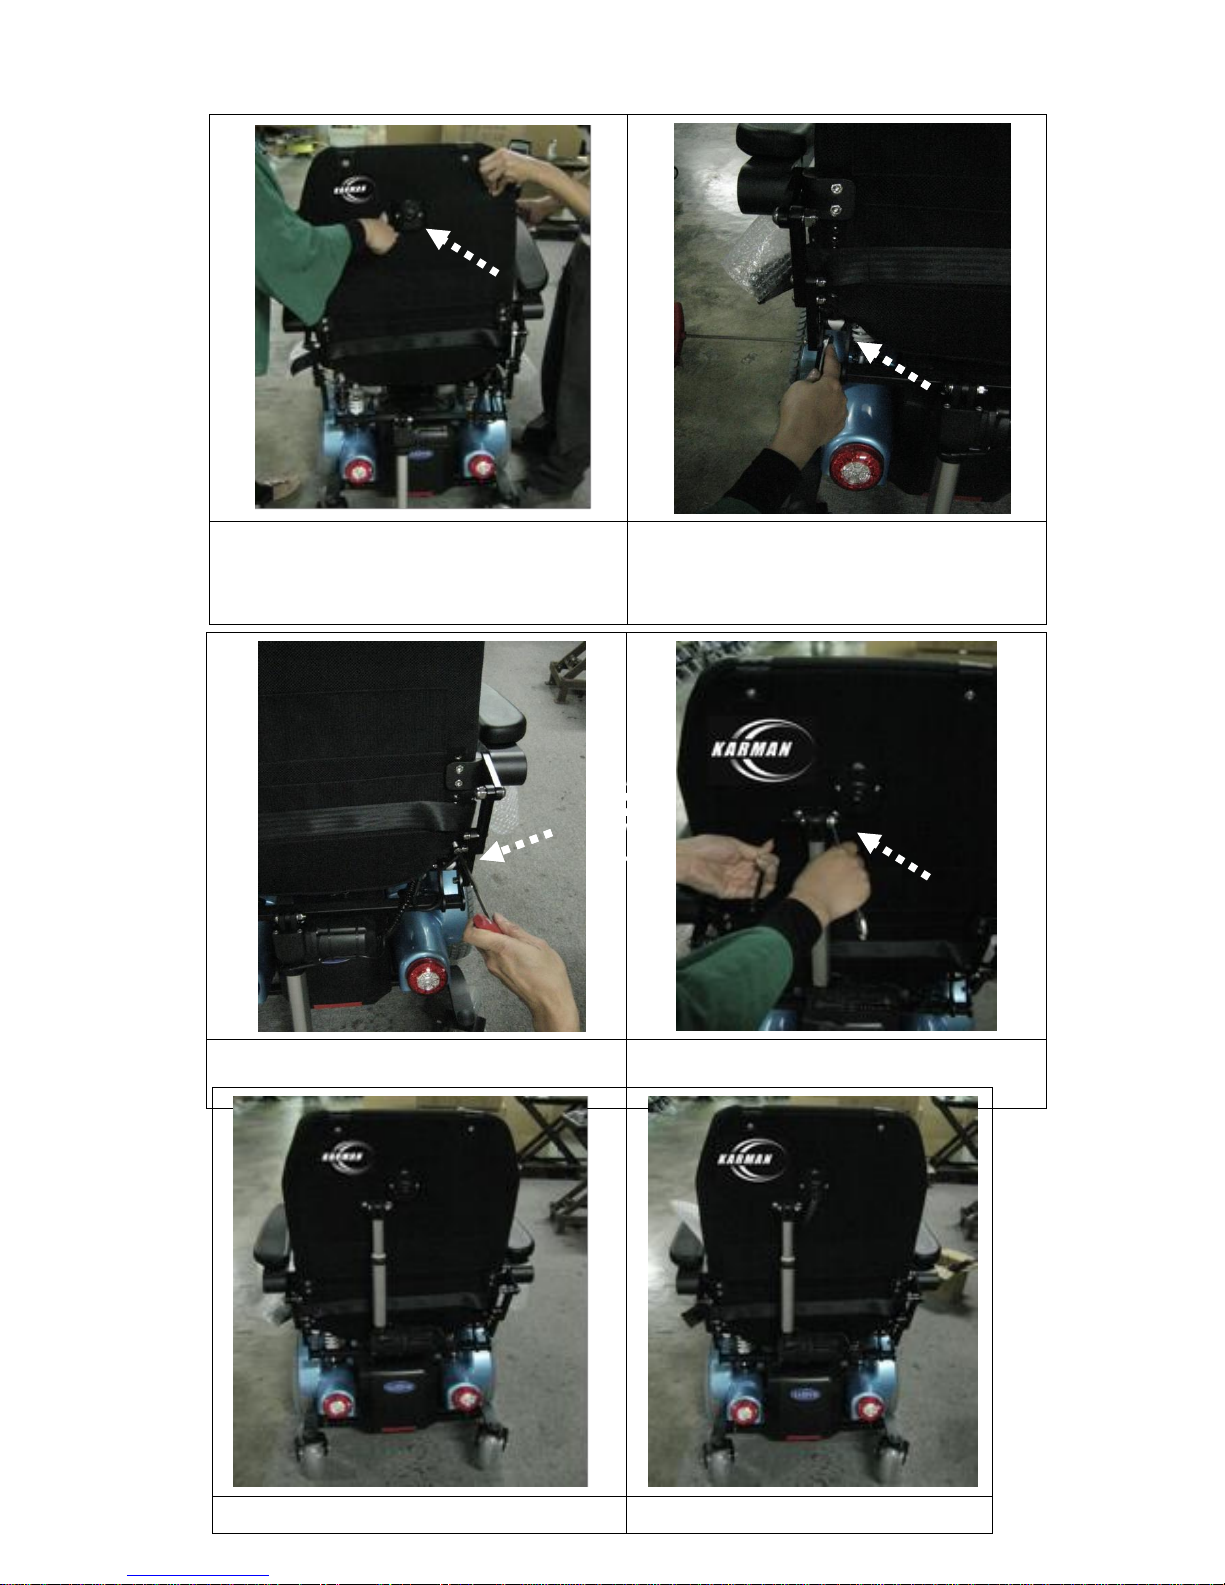
1-4. Rear Wheels
CURBS, INCLINES AND RAMPS
Always practice with your Healthcare professional or attendant. Before attempting to
negotiate curbs, Inclines or ramps alone. It is important for you to develop a safe. Technique
that is suitable to your abilities.
WARNING:
Doing a ”wheelie”(tilting the wheelchair Backward to its balance point) can be
dangerous.
Do not attempt this maneuver without an attendant.
1-5. Armrests
Flip-back Armrests
Never lift the wheelchair by the Flip-back armrests. These parts are detachable and lifting the
wheelchair by them may cause damage to the chair or injury to the user.
1-6. Power Drive Attachments
Power stand up wheelchair does not advocate the use of power drive attachments on any
MSER series wheelchair. Use of a power drive attachment on MSER series wheelchair alters
its intended use. Installation of a power drive attachment is considered an alteration to the
frame and voids the warranty.
1-7. Modifications
Marking any unauthorized modifications or using parts not supplied by technical personnel.
May change the wheelchair structure and create an unsafe condition voiding the warranty.
 User manual")