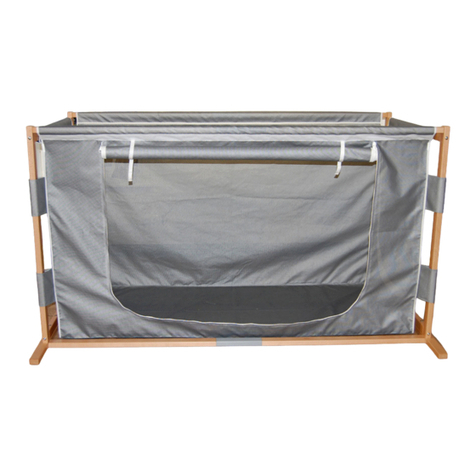
Assembly Instructions for Hannah 135/170 — Care Cot
Start to set up the first Bed End (1) by installing the Back Frame Connector. Follow the
instructions for installing the Lateral Bolts and Threaded Pins under the Important Reminders
section. Insert the Threaded Pin through the lower pre-drilled holes of the Bed End (1). The
wooden pegs must fit properly into the drillings. Attach with a Brass Cap (10) and secure, the
construction will stand with caution.
Attach the bottom of the Front Frame Connector (4) with the groove facing upward, by
inserting the Threaded Pin through the Pre-drilled hole. The wooden pegs must fit properly into
the drillings. Attach and secure with a Brass Cap (10). Slide the Natural/Color Panel (6) into the
groove of the bottom Front Frame Connector. Now to attach the top Front Frame Connector
(5), be sure the aluminum track is facing upward and insert the Treaded Pin and wooden pegs
properly into the pre-drilled holes. Attach and secure a Brass Cap (10).
Assemble the Back panels by securing the top Back Panel (2) and the bottom Back Panel (2)
with the small Transverse nut. Next, attach the Threaded Pins (7) to the Back Panel and secure
to the Bed End (1) with Brass Caps (10).
The second Bed End can now be attached. Be sure that all Threaded Pins and wooden pegs
properly fit into the pre-drilled holes, secure with Brass Caps (10). Check for any tilting of the
bed, make any adjustments, and secure all Brass Caps.
The bed is now ready to install the Solid Wood Base Sleep Platform or the KR14 Manual
Articulating Platform. See the Sleep Platform instructions.
To install the doors: screw the Treaded Pins (8) into the assembly strip of the Folding Doors (3).
With the door locks facing outward, insert the lower guide pin by sliding it into the aluminum
track of the Frame Connector. Attach the Brass Caps to the Threaded Pins. Check both doors for
even alignment and secure the Brass Caps tightly.
Mounting the Lock Out Bar (18). Place the Lock Out Bracket (17) into the pre-drilled holes of the
outer side of the Bed End posts. Secure the Lock Out Bracket with screws, do this for both sides.
The Lock Out Bar is ready for use, pull the red security knob outwards and place the Lock Out
Bar ends into the brackets so that the holes align to insert the red security knobs. The metal
brackets will rest on the mid height bar of the doors.
Place the KayserBetten mattress in the Hannah bed and it is now ready for use.


