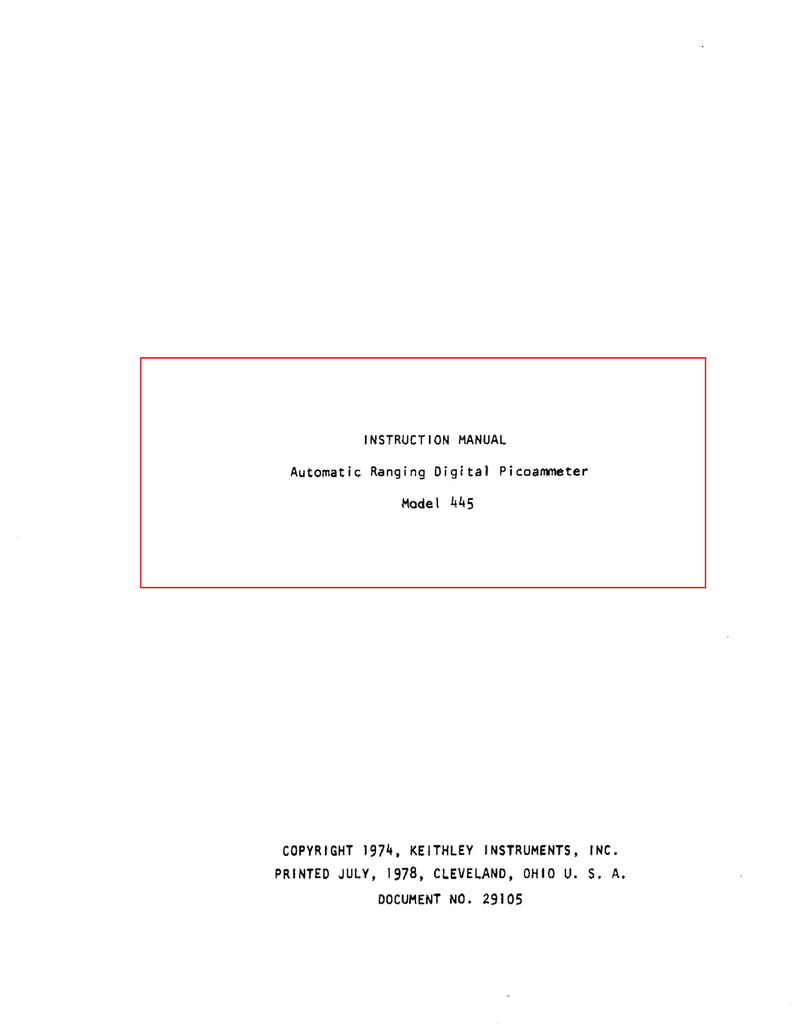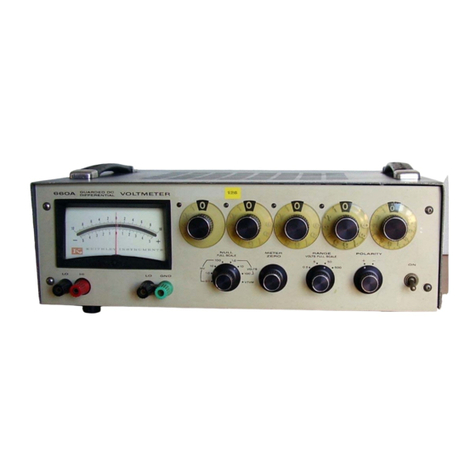
I INSTRUCTION MANUAL
Digllel Mulllmeter
Model8 172. 173
I CONTENTS (continued)
/section >_I Page
6.
MAINTENANCE. ................
6-1.
GENERAL. ...............
6-2. : : : : : : : : : : : : : : : : :
REQUIRED TEST EQUIPMENT. ........................
6-3.
PERFORMANCE VERIFICATION
6-4. ADJUSTMENT/CALIBRATION PR&D;R; : : : : : : : : : : : : : : : : : : : :
6-5. TROUBLESHOOTING AND REPAIR , .
7. REPLACEABLE PARTS. . . . . . . . . . : : : : : : : : : : : : : : : : : : : : :
7-1.
GENERAL. . .
7-2. ORDERING INFORMATiON : : : : : : : : : : : : : : : : : : : : : : : : : :
J-3.
SCHEMATICS . . . . . . . . . . . . . . . . . . . . . . . . . . . . . .
ILLUSTRATIONS
-
n b
6-1
6-1
6-I
6-3
6-15 /
6-19,
J-1 1
;:; j
J-1 )
TitleFi ure No.g Page
I Dimensional Data. .......................... iv
: Tilt Bail Positions ......................... vi
Front Panel ............................. t-2
4
Bottom View Showing Line Cord .................... l-3
2 Rear Panel Showing Current Fuse and Check Points. .......... 2-2
Model
1728
Rechargeable Battery Pack. ................ 2-4
z Installation of Battery Pack. .................... 2-5
Front Panel Pushbutton Selection. .................. 3-3
9 Typical Model
172
Current Display .................. 3-5
IO Typical Model
I73
Current Display .................. 3-6
II Typical 2 WIRE Resistance Measurement ................
3-J
12 Typical 4 WIRE Resistance Measurement ................ 3-9
13
Semiconductor Diode and Transistor Testing. ............. 3-10
I4 Illustration of Floating Operation. ................. 3-11
I5 Model
1722
Digital Output Interface ................. 3-14
16 Installation of Model
1722. .....................
3-15
17
Connector Pin Identification. .................... 3-17
18 Card-Edge Connectors. ........................ 3-17
19 Location of Jumpers and Pull-Ups on Model
1722. ........... 3-18
20
Model 1010 Single Rack Mounting Kit. ..............
.4-Z
21 Model
1017
Dual Rack Mounting Kit. ............... : :
.4-4
22
Overall Block Diagram of Model
lJ2/173
............. : .
DC Volts Input Circuit
.5-l
23
.......................
.5-4
24
Simplified AC Attenuator Circuit ....... 1 : ‘.‘.‘: : : : : : :
.5-6
25
AC Converter Circuit ............ .
26
.5-6
Digital Display Multiplex Scheme .................. .5-II
27
Basic Functional Blocks of A/D Converter ..............
28
.5-14
...................
29
Basic Charge-Balance Converter .5-15
Operating Waveforms of A/D Converter ................ .5-16
30
Simplified Schematic of A/D Converter. ............... .5-18
;: Detailed Schematic of A/D Converter. ................ .5-20
A/D Converter System Timing. .................... .5-21
;:a. Model
1722
Block Diagram ...................... .5-24
Simplified Ohms Diagram (Shown in Z-WIRE Configuration). ...... .5-25
34b. Four-Wire Ohms Measuring Technique ................. .5-25
