manuals.online logo
Brands
  1. Home
  2. •
  3. Brands
  4. •
  5. Keller
  6. •
  7. Indoor Furnishing
  8. •
  9. Keller KM-N094-2 User manual

Keller KM-N094-2 User manual

© Keller International, LLC. 1-800-578-8772
1
Double Sanctuary Gel Manicure Table
Model KM-N094-2
NOTE: This Double Manicure Table Shipped in 3 boxes.
Box 1/3 contains the 3 table legs (130 pounds).
Box 2/3 contains the 2 tables (40 pounds).
Box 3/3 contains the 2 granite tops (110 pounds).
Best to assemble with 2 or 3 people.
NOTE: See pages 9 through 12
for electrical configurations.
Wiring should be done by a
Licensed Electrician.
© Keller International, LLC. 1-800-578-8772
2
1
12
pcs.
2
57 pcs.
3
4
5
6 Hand Pad / Pillow –1 pc.
7
8
9
2 switch outlets
12
pcs.
12 pcs.
2 pcs.
4 pcs.
4 pcs.
© Keller International, LLC. 1-800-578-8772
3
© Keller International, LLC. 1-800-578-8772
4
STEP 1: Use parts
1 and 2 from the
page 2 parts list.
Turn the 3
table legs
upside down
on the floor.
Position 4
wheels per
table leg in
such a way
that the wheels
can spin freely
without hitting
the sides of the
recessed wheel
enclosure.
Attach the
wheels as
shown above –
do not over
tighten the
screws.
Once the wheels (there are no locking
wheels) are attached –turn the table
legs right side up –remove all the
drawers –see page 5 directions.
© Keller International, LLC. 1-800-578-8772
5
Drawer Removal from Keller Products
1. Pull Drawer OUT until it
stops.
2. Push UP on the Left Side
Drawer Catch and HOLD.
1. Pull Drawer OUT until it
stops.
2. Push DOWN on the Right
Side Drawer Catch and
HOLD.
Once the drawer is pulled OUT and both Drawer Slide Catches are HELD in
their proper directions –continue pulling the drawer the rest of the way OUT.
See Upper Right Diagrams. To re-install –simply guide the drawer slides back
into the ball-bearing slides –DO NOT PUSH Catches UP or DOWN.
© Keller International, LLC. 1-800-578-8772
6
This picture shows
the male & female
bolts and the 4mm
Allen keys that will
be used to assemble
the double manicure
table.
2 or 3 people will
make this easier.
STEP 2: After the drawers are
removed - Use parts 3, 4 & 5 (from the
parts list on page 2) to connect the 2
table tops to the 3 table legs.
NOTE: Carefully consider the way you
construct the whole unit as the electric
boxes may end up on the left side.
NOTE: Do Not tighten any of the
assembly bolts (completely) until the
whole unit is assembled.
Make sure everything looks level and
then tighten all the assembly bolts
(parts 3 & 4).
© Keller International, LLC. 1-800-578-8772
7
STEP 3: Attach the Aluminum Pies
(parts 7 & 8) as shown in the
diagram above.
These pies are used to center and
hold your granite table tops in place
(see the picture at left –this is the
indent on the backside of the
granite tops).
NOTE: The granite tops may
fluctuate between 1/2” to 5/8” in
thickness. Use shims if desired to
make the 2 granite tops the same
height off the top of the tables.
© Keller International, LLC. 1-800-578-8772
8
Typical view from the client’s side of the nail table –nail dryers are not included.
NOTE: View from the Nail Technician’s side.
Install the outlets last.
The outlets should be installed by a Licensed Electrician.
The Left and Right Legs each have a Cabinet with a small
trash door.
Behind each trash door is a small trash bucket.
© Keller International, LLC. 1-800-578-8772
9
Theory of operation for Manicure tables:
Your manicure table will need to be wired by a professional electrician in order for you to
appreciate the full functionality of the tables.
Keller International only provides the electrical switch and 1 metal box for the switch, plus the
decorative cover. Your electrician will need to provide wire, other electrical boxes and outlets.
The electrician may want to mount the outlet box in a different location and wire it. It can be
hardwired or an electrical power cord, but must be done to national electrical codes.
This is only an "Example" your electrician may do it differently.
Wiring functionality:
1) The front electrical outlet is always powered with 120 volts to run the nail grinder. (switch
does not turn power on or off)
2) The Gel nail dryers should be the simple style where you turn the power switch on and
plugging them into the power they light up. ( model: Salon Edge - man-uv2009) "shown here"
Turning the power switch on and off from the technician side of the table will power the outlets
and light up the Gel nail dryers.
3) Please use care when assembling the station. Granite can be glued to the top of the nail table
with a couple dabs of rubber silicone. This will also stabilize the granite. Do not flex or push on
granite as it is brittle.
© Keller International, LLC. 1-800-578-8772
10
Part 9 (switch outlets and cover plates on page 2) are provided.
NOTE: Other parts shown above will be required in order to provide power to Nail
Dryers. See the wiring Diagram on page 10.
© Keller International, LLC. 1-800-578-8772
11
© Keller International, LLC. 1-800-578-8772
12
Three (3) views of the switch and outlet wiring.
The outlet is always HOT but the “ON/OFF” switch powers Outlet #2.
The Black Wire in the bottom picture is from the Power Cord.
© Keller International, LLC. 1-800-578-8772
13
Three (3) views of the double outlet wiring.
The double outlet is turned “ON/OFF” by the “ON/OFF” switch from Outlet #1.
oSee page 11
The White & Green Wires in the bottom right picture are from the Power Cord.
NOTE: Power Cord can be replaced by hard wiring unit with ROMEX.
NOTE: Materials not included in this unit should be supplied by your Licensed
Electrician.
NOTE: Wiring this product as described allows the Nail Technician to turn the
Nail Dryers “ON/OFF” from the Nail Technician side while maintaining a “HOT”
outlet for other usage.
Double Outlet
NOTE: Nail
Dryers are
NOT included
with this unit.
© Keller International, LLC. 1-800-578-8772
14
Just Example:

Other Keller Indoor Furnishing manuals

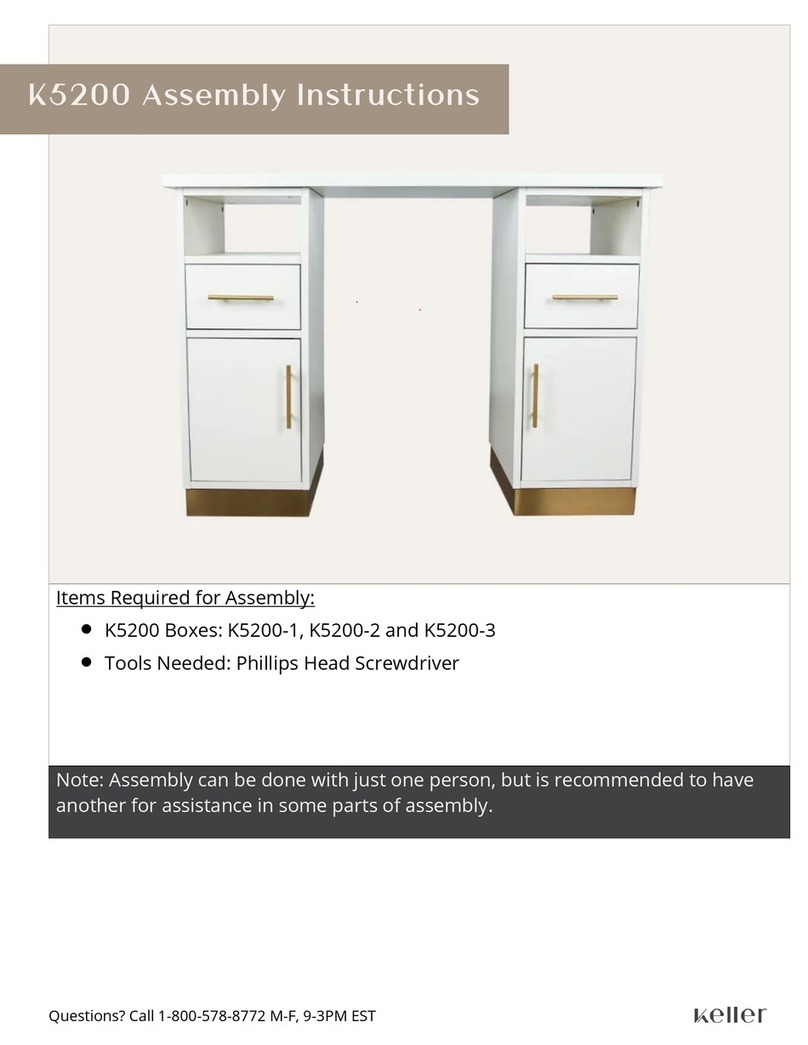
Keller K5200 User manual

Keller

Keller K5200 User manual

Keller minimal windows 4+ User manual

Keller

Keller minimal windows 4+ User manual

Keller K2012 User manual

Keller

Keller K2012 User manual

Keller Taylor K7666 User manual

Keller

Keller Taylor K7666 User manual

Keller K1167 User manual

Keller

Keller K1167 User manual

Popular Indoor Furnishing manuals by other brands

Costway SP38111 manual

Costway

Costway SP38111 manual

Target Halsted FRS80921A Assembly instructions

Target

Target Halsted FRS80921A Assembly instructions

SAFAVIEH COUTURE Leahrose SFV8712A quick start guide

SAFAVIEH COUTURE

SAFAVIEH COUTURE Leahrose SFV8712A quick start guide

Atlas Welded Desk Top Cabinets 400 Series Specifications

Atlas

Atlas Welded Desk Top Cabinets 400 Series Specifications

Otto STOCKHOLM SINGLE CABINET DESK OTSTCKHMOB Assembly instructions

Otto

Otto STOCKHOLM SINGLE CABINET DESK OTSTCKHMOB Assembly instructions

Exclusive Heritage CL-10172D-WMTP installation guide

Exclusive Heritage

Exclusive Heritage CL-10172D-WMTP installation guide

ETC IRMA Assembly

ETC

ETC IRMA Assembly

Blofield Big Blo 1 manual

Blofield

Blofield Big Blo 1 manual

RiverRidge Sort & Store 4-Bin Organizer Assembly instructions

RiverRidge

RiverRidge Sort & Store 4-Bin Organizer Assembly instructions

Unfinished Furniture of Wilmington TV-49 quick start guide

Unfinished Furniture of Wilmington

Unfinished Furniture of Wilmington TV-49 quick start guide

Dorel Living DL1008-7 Instruction booklet

Dorel Living

Dorel Living DL1008-7 Instruction booklet

Sensea MODERN MIR D60 LED manual

Sensea

Sensea MODERN MIR D60 LED manual

Dream On Me 599 Assembly instructions

Dream On Me

Dream On Me 599 Assembly instructions

Multistore Ultra-ST Assembly instructions

Multistore

Multistore Ultra-ST Assembly instructions

modway EEI-2251 Instruction leaflet

modway

modway EEI-2251 Instruction leaflet

Birlea WINCHESTER LAMP TABLE Assembly instructions

Birlea

Birlea WINCHESTER LAMP TABLE Assembly instructions

Wholesale Interiors 4810 Assembly instructions

Wholesale Interiors

Wholesale Interiors 4810 Assembly instructions

Seconique Toledo 55041 HV Assembly instructions

Seconique

Seconique Toledo 55041 HV Assembly instructions

manuals.online logo
manuals.online logoBrands
  • About & Mission
  • Contact us
  • Privacy Policy
  • Terms and Conditions

Copyright 2025 Manuals.Online. All Rights Reserved.