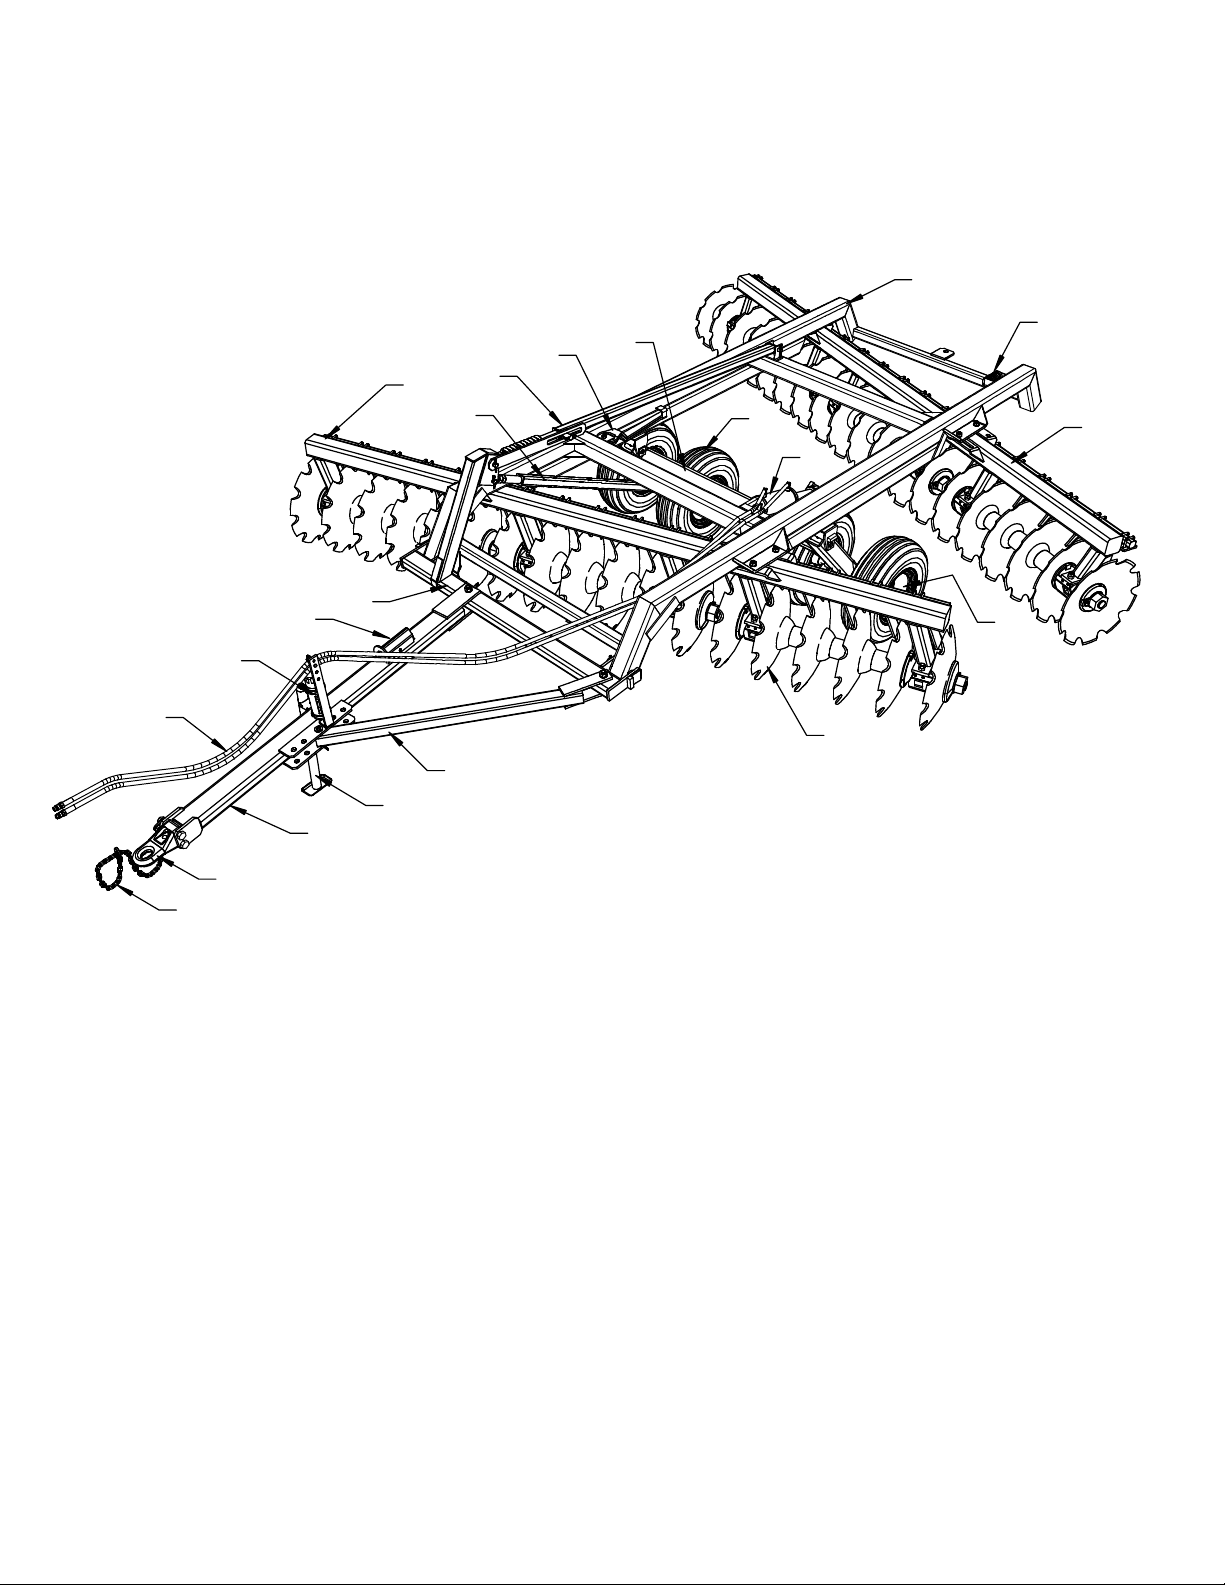
KELLO-BILT 225 User manual


Introduction
READ THIS MANUAL carefully to learn how to operate and service your achine correctly. Failure
to do so could result in personal injury or equip ent da age. This anual and safety signs on
your achine ay be ordered fro your Kello-Bilt dealer.
THIS MANUAL SHOULD BE CONSIDERED a per anent part of your achine and should re ain
with the achine when you sell it.
MEASUREMENTS in this anual are given in custo ary U.S. units. Only use the correct
replace ent parts and fasteners.
RIGHT-HAND AND LEFT-HAND sides are deter ined by facing in the direction the i ple ent will
travel when going forward.
WRITE DOWN PRODUCT IDENTIFICATION NUMBERS. Accurately record all the nu bers to
help in tracing the achine should it be stolen. Your Kello-Bilt dealer also needs these nu bers
when you order parts. File the identification nu bers in a secure place away fro the achine.
The Kello-Bilt Warranty provides you the assurance that Kello-Bilt will back its products where
defects appear within the warranty period. In so e circu stances, Kello-Bilt also provides field
i prove ents, often without charge to the custo er, even if the product is out of warranty. Should
the equip ent be abused or odified to change its perfor ance beyond the original factory
specifications, or if the equip ent is used for a purpose other than that which it was designed for,
the warranty will beco e void and field i prove ents ay be denied.
THE TIRE MANUFACTURERS warranty is separate and apart fro the equip ent warranty and
ay not apply outside the U.S. and Canada.
1

Contents
Introduction 1
General Arrangement –
Models 225-1926B / -1928B / -2326B / -2328B / -2726B / -2728B
General Arrangement –
Models 225-3326B / -3328B / -3726B / -3728B
5
General Information 6
Pre-Delivery Checklist 7
Delivery Checklist 7
After Sale Checklist 8
Daily Checklist 8
Seasonal Checklist 8
Decal Identification and Placement 9
Safety First 10
Attaching the Disc to the Tractor 11
Transporting the Disc 11
Adjusting the Transport Levelling Control Arm 12
Transport and Operating Safety 13
Operating the Disk
General Operating Guidelines 1
Reposition the Hitch 1
Change the Gang Angles 15
Adjust the Levelling Control Arm 16
Service and Maintenance Safety 17
Lubricate the Disk 18
Check the Oil-Bath Bearings 19
Adjusting the Scrapers 19
Repack and Pre-Load Wheel Hub Bearings 20
Fluid and Fastener Specifications
Disc Gang Assembly Axles 21
Fastener Torque Values 21
Oil-Bath Bearing Oil 21
Tire and Wheel Service 21
Keep Gang Assemblies Tight 22
Assembly Safety 23
Assemble the Disk 2
Disk Gang Assembly Procedure 32
Detailed Parts Diagrams 33
Hitch and Bridle Assembly (Models -1926B / -1928B / -2326B / -2328B
/-2726B / -2728B) 3
Hitch and Bridle Assembly (Models -3326B / -3328B / -3726B / -3728B) 35
Frame and Transport Assembly (Models -1926B / -1928B / -2326B / -2328B
/-2726B / -2728B) 36
Frame and Transport Assembly (Models -3326B / -3328B / -3726B / -3728B) 37
Control Arm Assembly (Models -1926B / -1928B / -2326B / -2328B
/-2726B / -2728B) 38
Control Arm Assembly (Models -3326B / -3328B / -3726B / -3728B) 39
Gang Bars and Scrapers 0
2

Gang Assembly (2.125 Axle) 41
Oil-Bath Bearing Assembly (2.125 Axle) 42
Disc Blades 43
ydraulic Cylinder (Canadian Tool & Die) 44
ydraulic Cylinder (RAM Industries) 45
6-Bolt ub 46
Tire and Wheel Assembly 47
Light Kit 48
Decals, Reflectors and Logos 49
Specifications 50
Storage 51
3

1
2
3
4
5
6
7
8
10
11
12
13
14
15
16
17
18
19
9
20
21
PRODUCT GENERAL ARRANGEMENT AND IDENTIFICATION
MODELS 225 - 1926B / -1928B / -2326B / -2328B / -2726B / -2728B
1 H tch Tongue
2 Safety Cha n
3 H tch
4 S de Arm
5 Jack
6 Hose Holder & Manual Cann ster
7 Br dle
8 Transport Stay (Storage Locat on)
9 Transport Control Arm
10 Level ng Control Arm
11 Hydraul c Hose K t
12 Hydraul c Cyl nder
13 Hub Assembly
14 T re and Wheel Assembly
15 Transport Assembly
16 Ma n Frame
17 Front Gang Bar c/w Scraper Bar
18 Rear Gang Bar c/w Scraper Bar
19 D sc Gang Assembly
20 Gang Wrenches
21 Depth Control Segments
4

1
2
3
4
5
6
7
8
9
11
10
15
16
17
18
19
20
21
12
13
14
1 Hitch Tongue
2 Safety Chain
3 Hitch
4 Side Arm
5 ack
6 Hose Holder & Manual Cannister
7 Bridle
8 Transport Stay (Storage Location)
11 Hydraulic Hose Kit
12 Hydraulic Cylinder
13 Hub Assembly
14 Tire and Wheel Assembly
9 Transport Control Arm
10 Leveling Control Arm
15 Transport Assembly
16 Main Frame
17 Front Gang Bar c/w Scraper Bar
18 Rear Gang Bar c/w Scraper Bar
19 Disc Gang Assembly
20 Gang Wrenches
21 Depth Control Segments
5
PRODUCT GENERAL ARRANGEMENT AND IDENTIFICATION
MODELS -3326B / -3328B / -3726B / -3728B

General Information
TO THE DEALER
Assembly and delivery of this product is the responsibility of the Kello-Bilt dealer. Read manual
instructions and safety rules. Make sure all items on the Dealers Pre-Delivery and Delivery
Checklists in the perators Manual are completed before releasing the equipment to the owner.
TO THE OWNER
Read this manual before operating your Kello-Bilt equipment. The information presented will
prepare you to do a better job. Keep this manual handy for ready reference. Require all operators
read this manual carefully and become acquainted with all the adjustment and operating
procedures before using the equipment. Replacement manuals can be obtained from your selling
dealer.
The equipment you have purchased has been carefully engineered and manufactured to provide
dependable and satisfactory use. Like all mechanical products, it requires cleaning and upkeep.
Lubricate the unit as specified. Many of the features of this equipment necessary for it to perform
its intended task are inherently dangerous, so please observe all safety information in this manual
and safety decals on the equipment.
For service, your authorized Kello-Bilt dealer has trained mechanics, genuine original manufacturer
service parts and the necessary tools and equipment to handle your needs.
Use only genuine original manufacturer service parts. Substitute parts will void the warranty and
may not meet standards required for safe and satisfactory operation. Record the model number
and serial number of your equipment in the spaces provided.
Date of Purchase _______________________
Model _________________________________
erial Number ___________________________________
Provide this information to your dealer to make a warranty claim or obtain correct repair parts.
6

Checklists
PREDELIVERY CHECKLIST: After the disc has been completely assembled and lubricated, inspect it before
delivery to the customer to ensure proper operation. Check off each item of inspection in the list as it is found
satisfactory.
□ The disc has been assembled according to instructions and all nuts and bolts are present and tight.
□ All grease fittings are installed and the disk has been lubricated.
□ Tires are properly inflated and wheel lug nuts are present and properly torqued.
□ Disk gangs rotate freely without dragging on scrapers.
□ Check all pins to make sure retaining hardware is in place.
□ Touch up paint damage due to shipping and assembly.
□ Connect disc to tractor drawbar, connect hydraulic hoses and check the hydraulic system for leaks and
proper operation of the hydraulic cylinder.
□ Safety chain is attached. SMV sign is installed and visible from the rear of disk.
□ Light Kit is installed and operating correctly. All safety decals are present and legible.
□ This disc has been checked and to the best of my knowledge, is ready for delivery to the customer.
Set-Up Date _________________ Signature f Assembly Pers n _________________________________
DELIVERY CHECKLIST: The following list is a reminder of important information that should be conveyed
directly to the customer upon delivery of the disc. Check off each item as it is fully explained.
□ Advise customer the life expectancy and performance of this, like any other machine, is dependent on
regular lubrication and maintenance as described in this manual.
□ Explain the importance of safe and proper operation of the machine. Point out decals warning the operator
of the dangers of unsafe operation procedures and conditions.
□ The customer has been told to keep all bolts tight.
□ When the disc is transported on road or highway at night or during the day, accessory lights and devices
should be used for adequate warning to operators of other vehicles. Replacement safety lights and safety
devices are available from your Kello Bilt dealer. In this regard, suggest customers check their local
governmental regulations.
□ Insure completion of the Delivery and Warranty Registration forms, listing the Serial Number of the
machine.
□ Explain the Warranty
□ Show the customer how to hitch the machine and operate the controls relating to the machine.
□ Explain the adjustments for proper operation of the disc.
□ Advise use of the safety chain.
□ Give the Operators Manual to the customer and explain all operating adjustments and lubrication fully.
□ To the best of my knowledge, this machine has been delivered ready for use and the customer has been
fully informed as to its proper care and operation.
Set-Up Date _________________ Signature f Delivery Pers n __________________________________
7

Checklists
AFTER-SALE CHECKLIST: It is suggested the following items be checked sometime during the first six
months operation of the disc.
□ Check the entire disc for loose or missing hardware.
□ Check for broken or damaged parts. Make necessary repairs.
□ Re-torque the hardware with special attention to the gang axle nuts and locks.
□ afety chain is properly installed and undamaged.
□ If possible, run the disc to insure it is functioning properly.
□ Check the bearing wear plates are present and not excessively worn.
□ Visually check the oil-bath bearing for leaks. If parked unused for a long period in extreme weather
conditions, there may be seepage due to expansion and contraction of the metal duo-cone seals. This
condition will correct itself when the disc is operated. Lost oil should be replaced before operation.
□ Review the entire Operators Manual with the customer and stress the importance of proper and regular
lubrication and safety precautions.
□ Advise the customer of optional attachments that are available.
Date Checked_________________________ Signature_____________________________________________________
EACH DAY F PERATI N CHECKLIST
□ Lubricate items required daily and those whose lubrication time is due.
□ Look for loose or missing bolts and parts.
□ Check hydraulic system for leaks and abraded hoses.
□ Check tire pressures and wheel lug nuts.
□ Check all pins have retaining hardware in place.
□ Check all oil-bath bearing assemblies for leaks. Check bearing wear plates are present.
□ Be sure all gang components are tight on the axles and axle nuts are tight and axle locks are present.
BEF RE EACH SEAS N CHECKLIST
□ Be sure recommended lubrication is performed.
□ Inspect all oil-bath bearing assemblies are tight and dry and if wear plates need replacement.
□ Check hydraulic system for proper operation and leakage.
□ Check tire pressures and wheel lug nuts. Check for end play in wheel bearings and repack if necessary.
□ Be sure proper operating adjustments have been made for your conditions.
8

9
1
1
2
2
3
3
3
3
4
5
6
7
8
1
2
3
4
5
6
7
8
REF NO PART NUMBER DESCRIPTION NO REQ'D
1
2
3
4
5
6
7
8
225SOLOGO
RFLYW
DCASI
DDDNA
DWMTS
DWICL
KELLO-BILT Dec l
Model Number Dec l
Yellow Reflector Strip
WARNING - Avoid serious injury from injection of pressurized.....
CAUTION - To Avoid Serious Injury:
DANGER - To void injury or de th, do not djust.....
WARNING - Do not exceed implements m ximum tr nsport speed.....
WARNING - Avoid serious injury from crushing or pinning.....
2
2
4
1
1
1
1
1
S fety Dec l Identific tion nd Pl cement
DWPHF
225DCL

Safety First Guidelines
Carefully read all safety messages in this manual and on your machine safety signs. Keep safety
signs in good condition. Replace missing or damaged safety signs. Be sure new equipment
components and repair parts include the current safety signs. Replacement safety signs are
available from your Kello-Bilt dealer.
Learn how to operate the machine and how to use the controls properly. Do not let anyone operate
the machine without instruction. Keep your machine in proper wor ing condition. Unauthorized
modifications to the machine may impair the function and/or safety and affect machine life.
If you do not understand any part of this manual and need assistance, contact your Kello-Bilt
dealer.
Prepare for Emergencies: Keep a first aid it and a fire extinguisher handy. Keep emergency
numbers for doctors, ambulance service, hospital and fire department nearby.
Wear Protective Clothing: Wear close fitting clothing and safety equipment appropriate to the job.
Operating equipment safely requires the full attention of the operator. Do not wear headphones or
use a cell phone while operating the machine.
Protect Against Noise: Prolonged exposure to loud noise can cause hearing impairment or loss.
Wear suitable hearing protection to prevent damage to your hearing.
Store Equipment Safely: Securely store equipment by either lowering to ground or choc ing
wheels to prevent movement. Do not allow children or others to play on or around equipment.
ispose of Waste Properly: Improperly disposing of waste can threaten the environment and the
ecology. Potentially harmful waste used in this equipment includes gear oil in the oil-bath bearings
and fluid in the hydraulic system. Use lea proof containers when draining fluids. Do not use food
or beverage containers that may mislead someone into drin ing from them. Do not pour waste onto
the ground, down a drain or into any water source. Obtain information about the proper way to
recycle or dispose of waste from your local environmental or recycling center, or from your Kello-Bilt
dealer.
10
When you see this symbol on your machine or
in this manual, be alert to the potential for
personal injury.
Indicates death or serious injury will result if
proper precautions are not ta en.
Indicates death, serious injury or property
damage can result if proper precautions are not
ta en.
Indicates some injury or property damage may
result if proper precautions are not ta en.

Attaching the Disc to the Tractor
The disc is equipped with a fixed tongue
attached to the disc hitch with two 1” grade 8
bolts. The tongue is designed to be attached to
a clevis type tractor drawbar.
Though not essential, for best results, the
tractor used to pull this unit should be equipped
with a swinging drawbar.
The following procedure is recommended to
attach the tractor to the disc. This procedure is
best carried out with the disc in the raised
position and the transport lock installed over the
hydraulic cylinder. se the hitch jack (A) to
raise or lower the tongue to the level where it
will fit into the tractor drawbar clevis. Back the
tractor to the drawbar tongue and install the
drawbar pin (B) and its retaining hardware. This
procedure may take more than one attempt –
safety takes time.
Install the safety chain (C).
CAUTION:
Do not allow others to stand between the tractor and disc when moving the tractor.
Do not allow others to position themselves to install the drawbar pin while operating the
tractor.
Prevent serious injury or death to you or others caused by unexpected movement of the machine.
Engage the parking brake and/or place transmission in PARK, shut off engine and remove key
before working around hitch.
Transporting the Disc
Clean both quick disconnects (D) and tractor couplers before connecting. Shut off the tractor and
move the hydraulic levers back and forth to relieve pressure in open-center hydraulic systems.
Connect the hydraulic hoses to the tractor couplers. For ease of use, attach hoses in the
corresponding couplers which lower the disk when the hydraulic lever is moved forward and raises
it when the lever is moved backwards.
CAUTION:
Escaping fluid under pressure can penetrate skin causing serious injury. Avoid this
hazard by relieving pressure before disconnecting hydraulic lines. Tighten all
connections before applying pressure. Search for leaks with a piece of cardboard.
Protect your hands and body from high pressure fluids.
If an accident occurs, see a doctor immediately. Any fluid injected into the skin must be surgically
removed within a few hours or gangrene may result.
Turn the jack handle to take weight off hitch jack. npin jack, remove pin, swing jack up into
transport (horizontal) position and re-pin.
If the tractor is equipped with a swinging drawbar, make sure the drawbar is locked in the center
position.
Connect warning lights to the tractor outlet and test they are operating properly. Make sure the
SMV sign is installed and visible from the rear of the disk.
Check tire pressure and wheel bolts – adjust and tighten if necessary.
11

Adjusting the Transport Levelling Control Arm
With the disc attached to the tractor, the hydraulics
connected and with the transport stay removed from
the hydraulic cylinder; the disk can be adjusted to
transport level as in illustration A. The adjustment is
carried out by turning the nuts indicated in the
illustration. When the disc is raised out of the
ground in the transport position, there is pressure
against these nuts. Therefore, to make adjustment easier, lower the disc to the ground to take pressure
off the nut. The nut can then be turned easily by hand or wrench. To lower the front of the disc as in
illustration B, turn the nuts in the direction indicated as B. To raise the front of the disc as in illustration
, turn the nuts in the direction indicated as . It may be necessary to raise and lower the disc a
number of times to attain the desired result. Once the disc is level, lock the nuts together on the
eyebolt shaft. This adjustment remains unchanged as long as there is no change in the tractor hitch
height.
WARNING: To avoid serious injury to self or others, do not allow anybody on or near the disc
when it is being raised or lowered. In particular, if someone other than the tractor operator is
making adjustments to the disc, the tractor should be switched off while adjustments are
being made and only restarted when that person is well clear of the disc.
Transporting the Disc
Raise the disc to its maximum height by completely
extending the hydraulic cylinder. Install the transport
stay over the hydraulic cylinder rod with the plated
end against the head gland of the cylinder. Install the
retaining pin. On tractors with open centered
hydraulics, switch the tractor off and relieve the
hydraulic pressure by moving the hydraulic spool lever
back and forth. With closed center systems, carefully
use the hydraulics to take the pressure off the
hydraulics and allow the weight of the disc to be taken
up by the transport stay.
12

Transport Safety
□ Never allow riders on the tractor or disc. Serious injury or death can result from falling in the path
of the disc while in operation or transport.
□ Observe laws and regulations while transporting disc. Never transport disc at speeds greater
than 20 mph ( 2 km/h). Reduce speed and exercise caution on turns, bridges, rough roads,
steep grades and other adverse conditions.
□ Install all locking devices before transporting disc. Without these devices installed, the disc could
fall during transport and cause injury or death to the operator or bystanders and/or damage to the
disc, tractor and property.
□ Always used safety chains to secure the disc to the tractor during transport. Provide only enough
slack in chain to permit turning. A safety chain will help control drawn equipment should it
accidentally separate from the drawbar.
□ Ensure the load does not exceed the recommended specifications of the tractor. The tractor must
be heavy and powerful enough with adequate braking power for the towed load.
□ Keep the SMV emblem and side and rear reflectors clean and visible.
□ Use headlights, flashing warning lights and turn signals day and night. Follow local regulations for
equipment lighting and marking. Keep lighting and marking visible and in good working order.
Replace or repair lighting or marking that has been damaged or lost.
□ Use the proper size and grade of pin to attach the disc to the tractor.
□ If the tractor is equipped with a swinging drawbar, be sure to pin it in the center position before
transporting the disc.
□ Check wheel lug nuts for tightness and ensure tires are properly inflated and free of damaging
cuts and abrasions. The failure of either of these components can cause the disc to swing
uncontrollably and make it difficult to control the tractor.
□ Remove debris and loose soil from the disc before traveling on public roads. Falling debris and
soil can be a hazard to following and approaching traffic.
□ Do not tow another implement behind the disc unless proper modifications have been made and it
is permitted by local ordinances.
Operating Safety
□ Become familiar with the disc and its operation before using the unit. Read this manual carefully
and contact your dealer if you have any questions.
□ Never allow riders on the tractor or disc. Serious injury or death could result from falling in the
path of the disc while in operation or transport.
□ Be sure bystanders are clear of the disc before raising or lowering the disc. Accidental movement
of the controls or hydraulic failure could cause the disc to suddenly fall.
□ Be sure bystanders are clear of the disc before operating the disc. Before entering the tractor,
walk around the disc making sure no one is on, under or in front of the disc. Moving the disc
while someone is between or in front of the gang assemblies could result in serious injuries or
death.
□ Never work under a raised disc. Always lower the disc to the ground before inspecting or
servicing. Never rely on the hydraulic system to hold up the disc.
□ Use extreme caution when working around disc blades. The blades are sharp and could cut
hands, legs, etc. Wear gloves to handle disc blades or gang assemblies.
□ Do not operate close to ditches, deep bodies of water or on excessively steep slopes.
□ Before dismounting from the tractor to service or make adjustments, always
1. Lower the disc to the ground.
2. Shut the tractor off.
. Engage the tractor’s parking brake or place transmission in park.
4. Relieve the hydraulics by moving the control back and forth.
5. Remove the key.
□ Unanticipated movement of the disc while working around the disk gangs could result in serious
personal injury or death.
1

Operating the Disc
General Operating Guidelines
□ Use the recommended size tractor. Weight is as important as horsepower. Too light a tractor will
be overpowered by the plowing action of the disc and its front end will be swung to the left,
requiring constant steering corrections.
□ Always raise the dis out of the ground before turning. If pulling a harrow, roller or other toolbar
behind the disc, raise the dis just clear of the ground before turning.
□ In the field do not bac -up with the disc in the fully raised position. Raise the disc just clear of the
ground to prevent the disc from overbalancing to the rear which may damage the control arms.
□ Speed, depth and soil type and condition all determine how level the ground left behind the disc.
To minimize ridging or gouging, limit the dis ing speed to 4-6 mph.
□ On tractors equipped with a swinging drawbar, allow the drawbar some movement when wor ing
in level or gently rolling fields. In severely roc y conditions, heavy clay or tree stumps allow more
swing in the drawbar. In all other conditions, loc the drawbar in the center position.
□ Pulling a drag or heavy harrow behind the disc can reduce side draft and aid in levelling the soil.
Disk Adjustments
All single offset discs have a single characteristic in common. Because the front gang of disc blades
are set at an angle to their direction of movement and because these blades are wor ing in “new”
ground compared to the rear discs which are wor ing in ground already partially tilled by the front
blades, a single offset disc tries to rotate cloc wise as it is pulled forward through the field. To
perform optimally and to reduce stress and premature wear on components, it is desirable that the
machine draft in a straight line behind the tractor. As well, the concavity of the disc blades is such
that in the center angle setting the blades will accomplish the most tillage with the least horsepower
and minimum wear to the blades. When the disc drafts to one side (i.e. “dog trac ing” or “crabbing”)
the gang angles are changed and the quality of the tillage suffers.
There are three types of adjustments that affect the draft of the disc.
REPOSITION THE HITCH.
This adjustment is best accomplished when the disc is not attached to the tractor. SUPPORT the
bridle crossbar to which the hitch and side arm are attached with a jac and stand. Alternatively the
head of the bridle mast can be CHAINed bac to the first member of the main frame. Next OOSEN
the bolts attaching the hitch and side arm to the bridle. REMOVE the pin attaching the side arm to
the plates on the side of the hitch.
The hitch bar can be placed in five fixed positions. Moving the hitch towards “L” as illustrated will
cause the rear of the disc to move to the left when viewed from behind. Moving towards “R” will
cause the rear of the disc to move to the right when viewed from behind.
14

Swing the hitch to the desired position and reattach the side arm through the appropriate bolt holes in
the plates on the side of the hitch. Tighten the 1” bolts to approximately 700 ft/lbs ft/lbs and recheck
after the next 10 hrs of use.
HANGE THE GANG ANGLES
The position indicated as the optimal gang angle is the setting which yields the best performance
while minimizing blade wear. The second setting is intended to extend the useful life of the disc
blades. Blade wear is essentially the same as decreasing the gang angle. To maintain performance
of worn disk blades, the gang can be moved to this position to maximize blade usage.
15

To change the angle of the front gang, loosen the bolts
at positions A and remove the bolts at positions B. With
the discs slightly lowered into the ground, use the tractor
to carefully move the disc either forward or backwards to
the desired position. Reinstall bolts B and tighten all four
bolts to 4 ft/lbs.
To change the angle of the rear gang, loosen the bolts at
positions C and D, and remove E and F.
The rear gang of the disc can also be adjusted from side
to side. If the rear gang is moved to the left, it increases
the amount of soil being thrown into the furrow. If the
rear gang is moved to the right, it will decrease the
amount of soil being thrown into the furrow. To shift the
rear gang, loosen the bolts at positions D and E and
remove the bolts at C and F. With the disc blades
resting on the ground, moving the disc either forward or
backward will cause the gang carrier to shift to the right
or left as desired. Align the bolt holes, reinstall the bolts
and tighten all four bolts to 4 ft/lbs.
ADJUST THE LEVELING CONTROL ARM
The leveling control arm is used to transfer pressure
to the rear of the disc in order to increase
penetration of the rear disc blades. Pressure is
increased by tightening the adjustment nut against
the spring. This adjustment is easiest to make when
the disc is in the raised transport position and there
is no pressure on the nut. Once the desired setting
is made, lock the first nut with the second nut on the
eyebolt. When the disc is lowered to the operating
position, take care the spring is never fully
compressed. Increasing pressure against the spring
will put more down pressure on the rear blades.
Carrying the disc slightly with the wheels while
operating will allow the disc to pivot on the wheels
and result in more even blade penetration front to
rear. If the disc is operated with the wheels fully raised, little or no pressure should be placed on the
spring. If discing through a sharp depression or ditch, raise the disc slightly to prevent excessive
pressure on the spring and levelling arm.
Increasing pressure on the rear gang can reduce dog tracking by creating a side thrust opposite to
the thrust of the front gang.
16

Service and Maintenance Safety
□ Before servicing the disc, always:
1. Lower the disc to the ground.
2. Shut the tractor engine off.
3. Engage the tractors par ing bra e and/or place transmission in par .
4. Relieve the hydraulics by moving the control lever bac and forth.
5. Remove the ignition ey.
□ Never wor under a raised disc. The disc could fall suddenly causing serious personal injury.
Never rely on the hydraulic system to hold the disc up.
□ Periodically visually inspect the entire disc. Hydraulic fluid lea s and bro en, missing or faulty
parts can create a hazard. Ma e necessary repairs.
□ Use caution when inflating tires. Use a clip-on air chuc , extension hose with gauge, and stand to
one side away from the tire when inflating to avoid the possibility of personal injury due to blow-
offs, etc. Maintain proper air pressure in the tires. Never exceed the manufacturer’s maximum
pressure displayed on the sidewall of the tire.
□ Before disconnecting any hydraulic line relieve the pressure. Escaping hydraulic oil under
pressure can have sufficient force to penetrate the s in causing serious personal injury. If injured
by escaping hydraulic fluid, obtain medical treatment immediately.
□ Handle the gang assemblies with care. The dis blades are sharp and can cut or slice s in. Use
choc bloc s to prevent the gang assemblies from rolling during servicing. Wear gloves when
handling the disc blades or gang assemblies.
□ After wor ing on the hydraulic cylinder or any other components of the hydraulic system, carefully
cycle the hydraulic cylinder several times to purge air from the system and chec all components
for lea s. Always be sure the hydraulic lines are free of air and do not lea . ORB fittings may not
lea even though they are only finger tight – tighten with a wrench. Chec hydraulic hoses for
cuts or abrasions and replace if necessary.
□ Securely support any machine elements that must be raised for service wor . Use suitable lifting
devices and support stands where required. If using chains or straps ma e sure they are of
sufficient strength for the load and are in good repair.
□ To avoid injury wear gloves, steel-toe boots, safety glasses, hearing protection, safety helmet and
other safety equipment where warranted.
□ Understand the service procedure before doing the required wor . Keep the wor area clean and
dry.
17

Grease wheel bearings
(D) sparingly – six
“shots” every 150 hrs.
Lubricate the Disc
□ The ollowing illustrations highlight those areas o the disc subject to stress and wear. Unless
indicated otherwise, these ittings should be greased daily or a ter every 10 hours o operation.
□ Use a pressure lubrication gun and apply a su icient amount o No. 2 multi-purpose lithium
grease or equivalent to lush out the old grease. Wipe the grease itting clean be ore greasing.
□ Grease all ittings be ore irst use o the season and be ore storage at the end o the season.
18

Check the Oil-Bath Bearings
Visually check the oil-bath bearings daily. Oil-bath bearing assemblies can leak oil from three
locations and attention should be paid to these areas. A - Oil can seep from between the bearing
housing and the end cap or from around the bolts that hold the end cap to the housing. This condition
is caused by loose bolts or damaged gaskets. Gaskets are placed between the end cap and the
housing to preload the taper bearings in the housing. The solution is to tighten the bolts (30 ft lbs) or
replace the gaskets. B – Oil can seep past the check plugs. Plugs may use a pipe thread. Remove,
clean the threads, apply “pipe dope” or Teflon tape and reinstall. C – Oil may seep by the metallic
duo-cone seals. This may be caused by worn seals, loose gang axles or extreme temperature
fluctuations. Worn seals should be replaced immediately to prevent catastrophic bearing failure.
Such a failure will ruin all the other components of the bearing. Loose gang axles can allow the
bearing flanges to move outwards and thereby allow the seals to separate. Be sure to keep gang
axles tight. Because the seals are made of metal, they can expand and contract with extreme
temperature fluctuations. When they contract the sealing surfaces separate and small amounts of oil
can escape. This will normally occur when the disc is in storage. Putting the disc to use will normally
allow the seals to re-seat themselves. Check the oil and add 90W gear oil if necessary.
Adjusting the Scrapers
Adjust the scrapers as close to the disc
blades as possible without touching the
blades. To move a scraper, first loosen the
u-bolts (A) holding it to the scraper bar. Use
a hammer to alternatively tap the top side of
the u-bolts and the scraper itself in the
required direction. Once in position tighten
the u-bolts equally. Turn the blades
occasionally while tightening the u-bolts to
ensure the scraper is not contacting the disk
blade.
In some conditions (e.g. heavy trash or virgin
ground) plugging can occur at the bearings.
Removing the scrapers (B) at these locations
can alleviate the problem.
19
This manual suits for next models
10
Table of contents
Other KELLO-BILT Farm Equipment manuals