KENT S400A User manual

Owner’s Manual
For Kent Kwik & EZ Filler Machine (KT15241) - For use with Kwik & EZ
AERO-miser™, 32oz. (KT14733).
This Manual Contains Important Safety and Operation Information.
MODEL NO: S400A KENT
SERIAL NUMBER:
INVOICE DATE:
KENT AUTOMOTIVE
8770 W. Bryn Mawr Ave. Suite 900
Chicago, IL 60631
1-888-YES-KENT
www.kent-automotive.com
The Lawson Family of Businesses
This Kwik & EZ Filler machine is set up with special seals. When used
with the Kwik & EZ AERO-miser™ with the special filler cap, Part # KT14733, it is
chemically resistant to almost any product. **
This unit is set up to dispense products in AERO-miser™ applicators
which have a 32 oz. capacity. DO NOT use this machine for any other size
applicator.
** Do not use Steel sprayers with water based materials.
IMPORTANT: Excessive moisture and debris in your air line can cause damage to
this piece of equipment and may void your warranty. A compressed air filter is now
included and MUST be used to help remove excessive moisture and debris from
your air line. This will insure problem free operation of this machine.
Failure to use this filter will VOID THE WARRANTY.

TABLE OF CONTENTS
Introduction…………………………………………………………………1
Safety Information………………………………………………………….2
Assembly……………………………………………………………………3
Start up…………………………………………………………………….. 4

#1.
THANK YOU!
You have just purchased our Kwik & EZ Filler Machine – For use exclusively with
AERO-miser™ applicators. The Kwik & EZ Filler Machine fills and pressurizes your
AERO-miser™ applicator in seconds, using a special quick connect filler cap. This
Kwik & EZ Filler Machine comes with special seals to cover a wide range of chemicals.
It is easy to use and built to industrial specifications. Properly maintained it will provide
years of trouble free service.
EXPLOSION HAZARD WARNING
1. The Kwik & EZ Fill machine MUST be grounded by a licensed electrician to
prevent the possibility of electrostatic discharge, which can lead to the
explosion of solvent containing vapors.
2. Keep Flames or sparks away from this machine when using flammable
products.

#2. SAFETY INFORMATION
DO NOT USE THIS MACHINE WITHOUT THOROUGHLY READING ALL
SAFETY AND OPERATING INSTRUCTIONS. IF YOU DO NOT FULLY
UNDERSTAND THESE INSTRUCTIONS, CONTACT YOUR SALES
REPRESENTATIVE.
1. DO NOT use this machine, unless properly grounded by a licensed
electrician
2. DO NOT operate this machine without safety glasses
3. DO NOT exceed the maximum air pressure of 150 PSI
4. Removal or alteration of any parts voids warranty.
5. DO NOT use any other equipment with this machine. This machine is
designed exclusively for use with AERO-miser™ applicators. Use of any
other equipment with this machine voids warranty and can cause a
dangerous situation, injury or death.
6. DO NOT remove, or cover any warning labels or instructions on this
machine.
7. DO NOT kink, bend or twist any hoses.
8. DO NOT refill the applicator unless it is completely empty of air and liquid.
9. DO NOT refill unless all liquid and air has been evacuated from
applicator.
When all liquid has been sprayed, remove the air using one of the following
methods.
A .Turn applicator upside down and depress trigger until all air is evacuated.
B. Loosen filler cap until all air is evacuated. Retighten when done.

#3. ASSEMBLING THE KWIK & EZ FILLER MACHINE TO
TABLE
( If you are supplying your own table or stand go to #5 at this time.)
1. Unpack the Kwik & EZ unit. Inspect for any damage that could have occurred
during shipping.
2. Remove tabletop and set aside.
3. Place the Kwik & EZ Filler Machine on the table, matching the four holes of the
Kwik & EZ Filler Machine with the corresponding four holes of the table.
4. Using the four bolts and washer provided secure the Kwik & EZ to the tabletop.
5. THIS MACHINE MUST BE GROUNDED BY A LICENSED
ELECTRICIAN BEFORE YOU CONTINUE. FAILING TO DO THIS
WILL CAUSE AN UNSAFE CONDITION AND COULD CAUSE INJURY
OR DEATH.
6. Connect the ground cable to the container of chemical you are using. Clamp needs
a bare metal connection. You will need to reconnect the ground every time
you change the container. (Diagram #1)
Diagram #1
7. Install the air filter and nipple provided on to the elbow at the top of the machine.
(Diagram #2) Do this at the same time you install your quick connect nipple on to

the end of the air filter following the instructions on the poly bag the parts are in.
Arrow on filter MUST point towards machine. Connect air line to nipple.
Diagram #2
8. Regulator is preset to 125 P.S.I. DO NOT ALTER SETTING.
9. DO NOT operate this machine if there are any signs of damage, leakage or
failure.
10. The end of the siphon tube has a special filter on it. This filter should only be
removed for cleaning.
11. The compression fitting for the siphon tube has been installed facing to the front
of the machine. To change position, hold the fitting using a 1” or adjustable
wrench and tighten the compression fitting (using a 9/16” wrench) to the desired
position that you would like the siphon tube to enter the compression fitting from.
(Diagram) #3 This will depend on where you locate your drum or bucket. Then
attach the siphon tube and tighten nut.
Diagram #3
12. Place the other end of the siphon tube (with filter) inside the bulk container.
SEE START UP BEFORE CONTINUING.

#4. START UP
DO NOT HOOK UP SPRAYER TO MACHINE AT THIS TIME.
1. Push the joystick to the LEFT and hold for 15 seconds. This will fill the pump
with chemical. Sprayer should NOT be connected at this point.
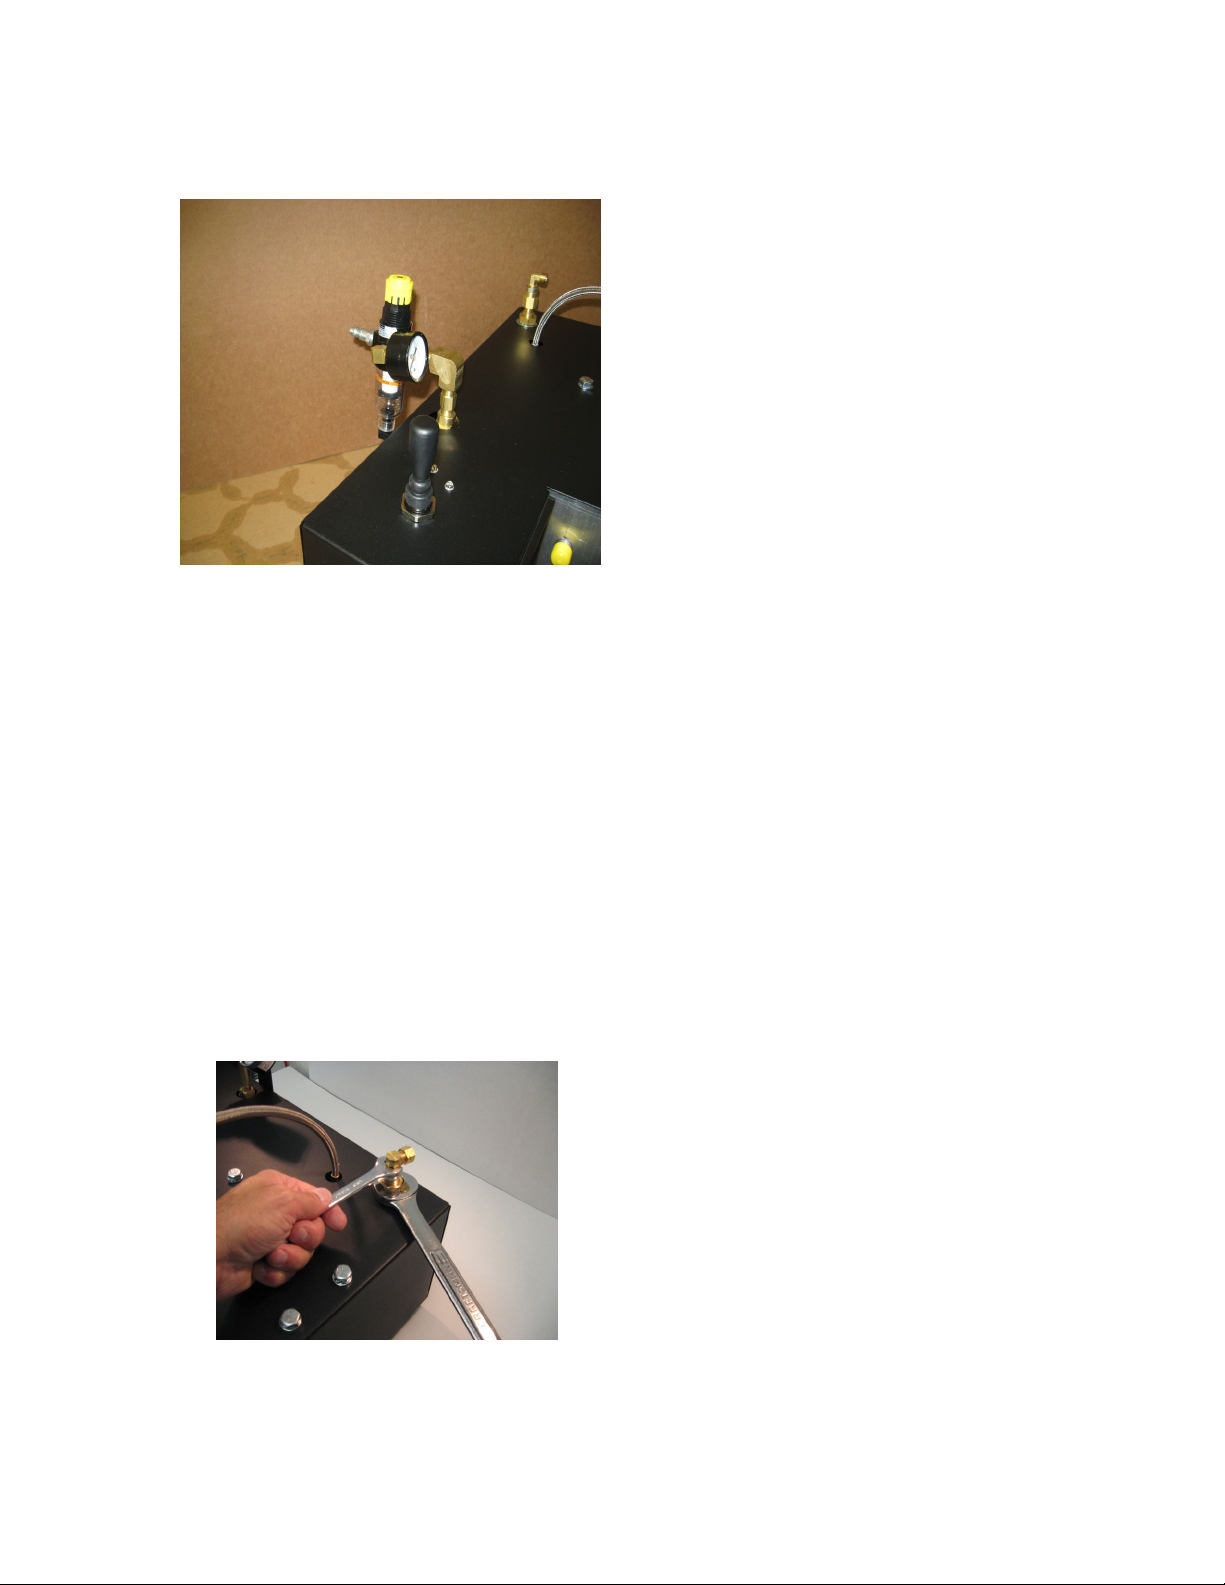
2. When step one has been completed, NOW connect the sprayer to the quick
connect (Diagram #4). Push the joystick to the right (liquid side) of the machine
until the yellow cap on the rod moves all the way to the right (approx. 15 seconds)
and stops. This will fill your sprayer with liquid.
Diagram #4
3. Release the Joystick: make sure it returns to center for approx. 5 seconds, then
push Joystick to the LEFT for air and hold approx. 15 seconds. This will fill the
sprayer with 125 P.S.I. of air AND siphon the chemical back into the pump so
you are ready for the next fill. (If you do not hold the Joystick to the left long
enough, the rod will retract slightly indicating a short fill. If this happens, push
the Joystick back to the left for an additional 5 seconds and release.
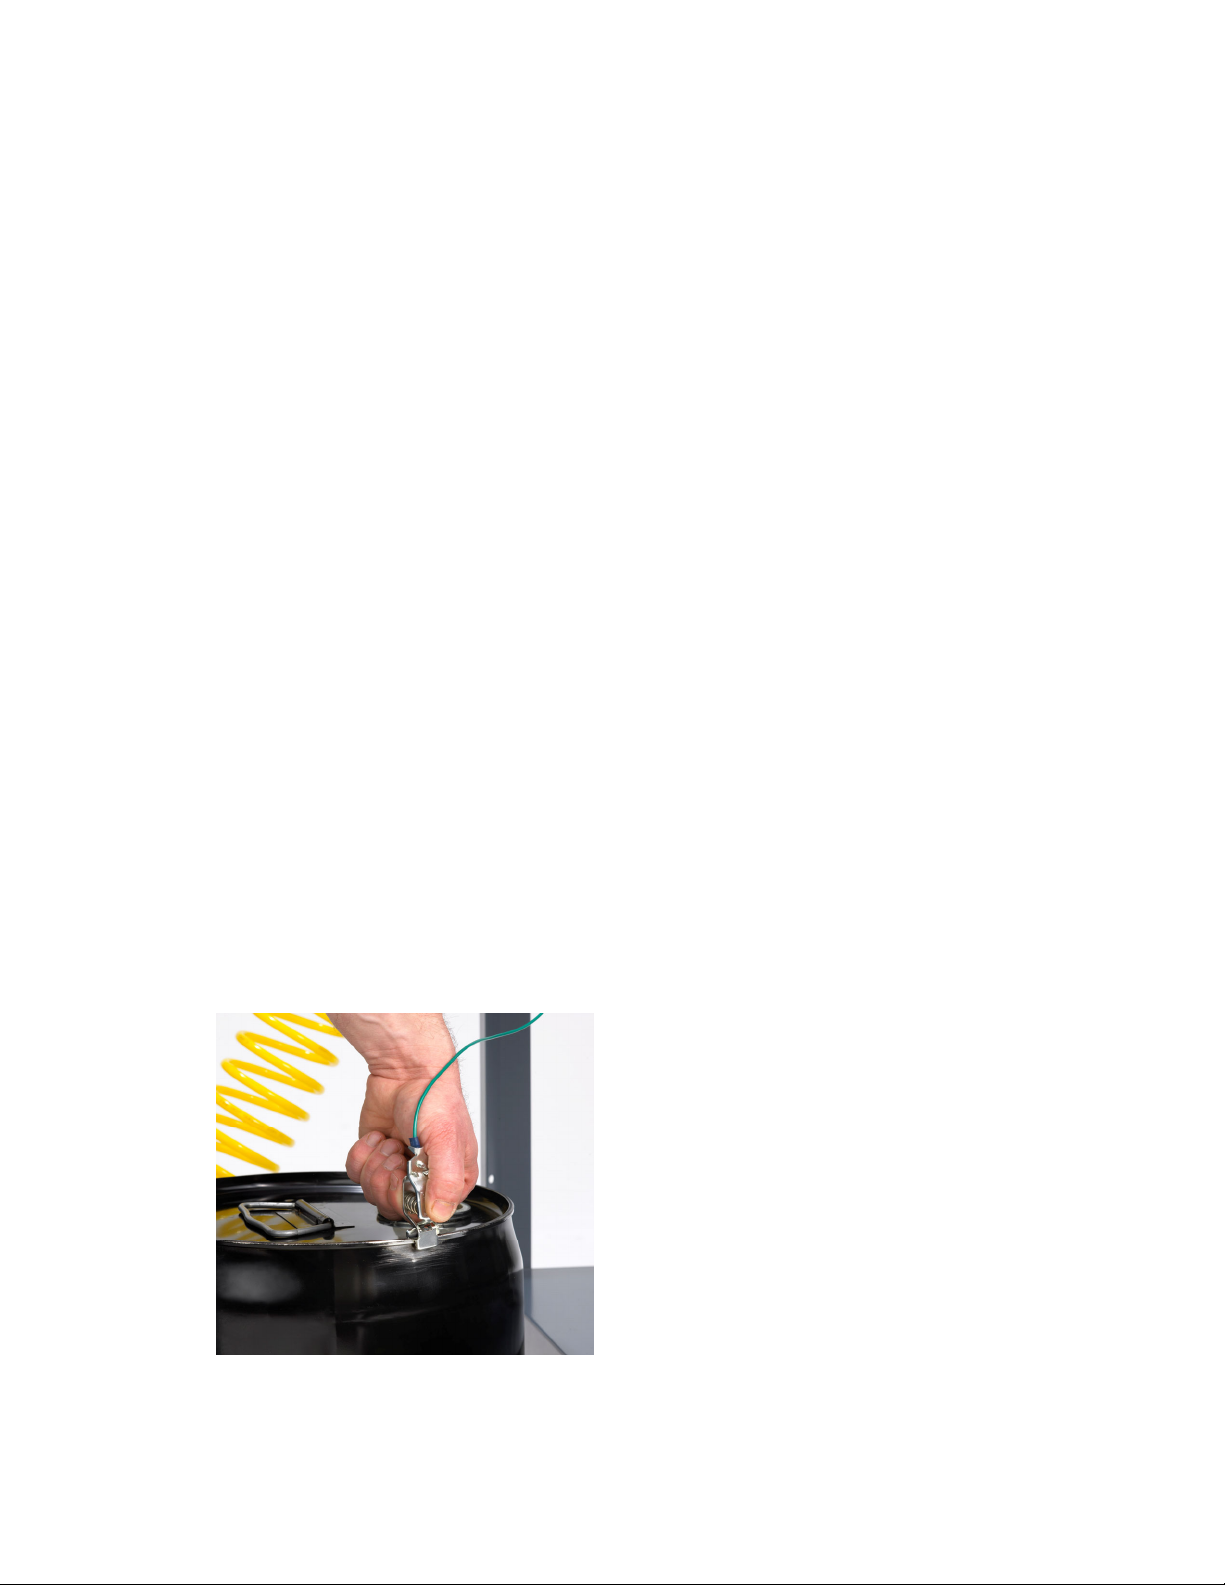
4. Disconnect the quick connect from top of sprayer by pulling the outside collar of
the quick connect until it releases. You are ready to spray.
5. Always use the entire product in applicator before you refill as this will
make sure you will have 32 oz on your next fill.
6. You must remove all air from applicator before refilling. You can do this by
holding the canister upside down while depressing the trigger until all the air has
been evacuated. You can also do this by loosening the filler cap/head until all the
air has been evacuated. Retighten when done.

Table of contents