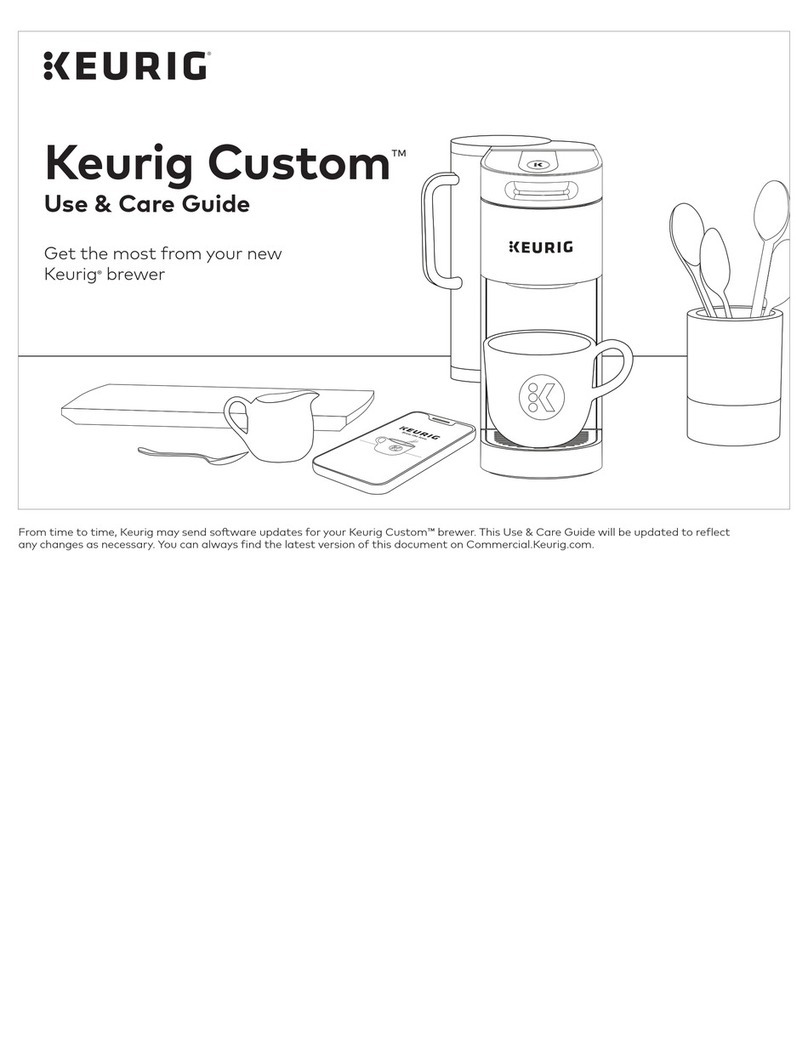
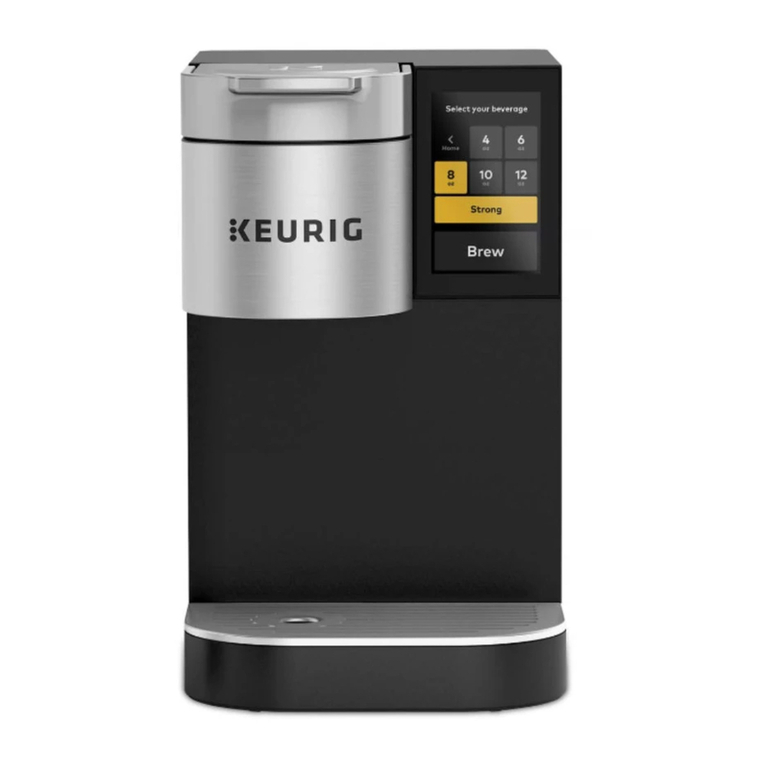
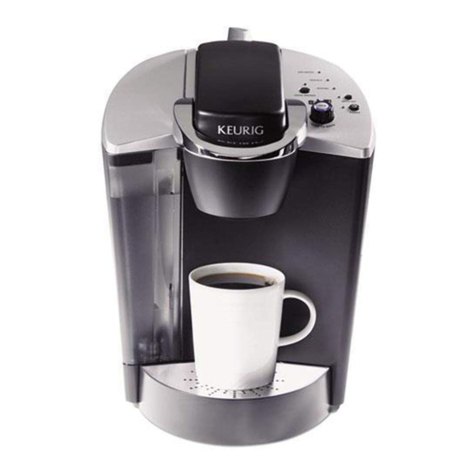
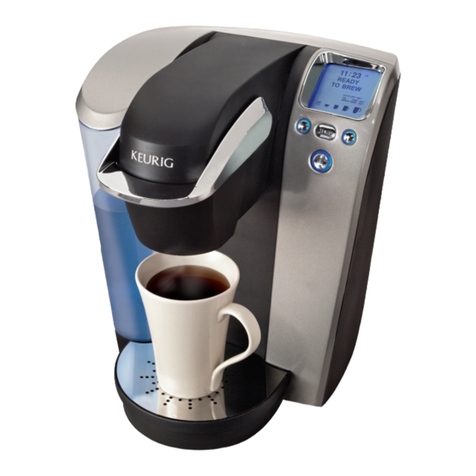
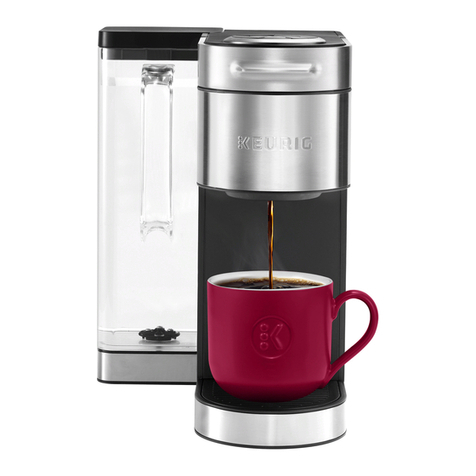
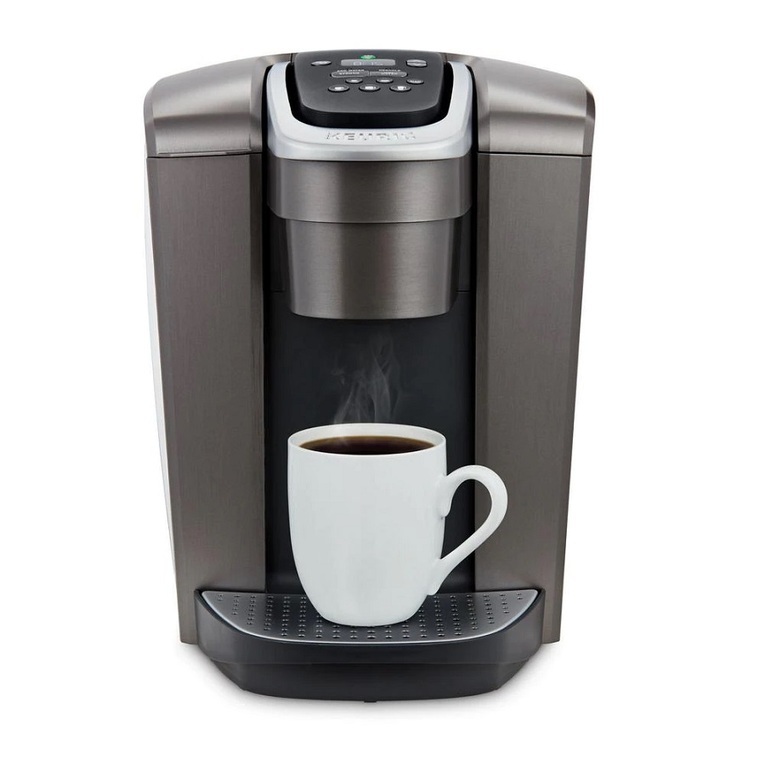
Keurig Custom User manual

Let’s get brewing.
QUICK START GUIDE
Custom
Keurig Green Mountain
05-2-2022
14860
PT0000008242 REV B
JunHan Wang
SB
150
Guangdong Gaoyi Packing And
Printing - Dongguan
K-Custom QSG REV B-QSG
Designer Approval: Buyer Approval: Proofreader Approval: Changes:
Client Name:
Date:
Description:
KGM Job #:
Item Part #:
Buyer:
Vendor:
Designer:
CC:
Operator:
Project:
Barcode:
Mag:
Bar Width Adj.:
Dieline #:
Line Screen:
Print Method:
Printer:
Printer PO #:
Special Print
Processes:
KGM Approval:
DateDate Date Date Date
106938039
402793949
Sales Order:
Service Order:
Black
Cyan
Magenta
Yellow
1% 2% 3% 5% 10% 25% 40% 50% 60% 75% 90% 95% 100%
-
-

1.
2. For household use only.
3. Do not use distilled water.
4. Scalding may occur if the handle is
opened during the brewing process.
5. Do not touch hot surfaces. Use handles
or knobs.
6. To protect against fire, electric shock, and
injury to persons, do not immerse appliance,
cord, or plugs in water or other liquid.
7. Close supervision is necessary when any
appliance is used by or near children 12 years
or younger.
8. Unplug from outlet when not in use and
before cleaning. Allow to cool before putting
on or taking off parts and before cleaning
the appliance.
9. Do not operate any appliance with a
damaged cord or plug or after the appliance
malfunctions or has been damaged in
any manner. Contact a Keurig authorized
distributor for examination, repair, or
When using electrical appliances, basic safety
precautions should always be followed,
including the following:
adjustment if applicable, or contact Keurig
customer service.
10. The use of accessory attachments not
authorized by the appliance manufacturer
may result in fire, electric shock, or injury
to persons.
11. Do not use outdoors.
12. Do not let cord hang over edge of table or
counter or touch hot surfaces.
13. Do not place on or near a hot gas or electric
burner or in a heated oven.
14. Always attach plug to appliance first
(if not permanently attached), then plug
cord into the wall outlet. To disconnect, turn
any control to ″off,″ then remove plug from
wall outlet.
15. Do not use appliance for other than
intended use.
16. Use brewer in upright position only. Allow
brewer to cool (90 minutes) prior to turning
it in any position other than upright.
17. Do not immerse brewer in water.
18.

WARNING !
RISK OF FIRE OR ELECTRIC
SHOCK DO NOT OPEN
WARNING, TO REDUCE THE RISK OF
FIRE OR ELECTRIC SHOCK,
DO NOT REMOVE COVER (OR BACK)
NO USER SERVICEABLE PARTS INSIDE
1. WARNING: Keep all plastic bags away
from children.
2. WARNING: Used K-Cup® pods should be
removed from the pod holder after brewing,
or as part of the daily cleaning routine.
3. CAUTION: Keurig recommends using only
Keurig® K-Cup® pods in this appliance. Do
not remove foil lid. The use of non-Keurig®
pods or accessories may cause brewer
malfunction or injury.
4. CAUTION: There are sharp needles that
puncture the K-Cup® pod, five above the
K-Cup® pod holder and one other in the
bottom of the K-Cup® pod holder. To
avoid risk of injury, be aware of the needle
locations.
5. CAUTION: There is extremely hot water
under pressure in the K-Cup® pod holder
during the brew process. To avoid risk of
injury, do not lift the handle or otherwise
open the handle during the brew process.
6. POWER CORD INSTRUCTIONS:
a. A short power-supply cord is provided
to reduce risks resulting from becoming
entangled in or tripping over a longer cord.
b. If an extension cord is used:
i. The marked electrical rating of the
extension cord should be at least as great as
the electrical rating of the appliance.
ii. If the appliance is of the grounded type,
the extension cord should be a Grounding
type 3-wire cord.
iii. The longer cord should be arranged so
that it will not drape over the countertop
or tabletop where it can be pulled on by
children or tripped over.
7. CAUTION: HOT COCOA/OTHER
NON-COFFEE PODS: Immediately after
using a hot cocoa/other non-coffee pod,
run a hot water brew cycle without a pod
to avoid the possibility of clogging the exit
needle. DO NOT assume the next user will
do this.

Before You Brew
Ready & Place
Remove protective film and packing tape from
brewer and place a large mug (12 oz minimum)
on the drip tray.
Rinse & Fill
Remove the water reservoir lid, then lift the
reservoir straight up to remove it.
If you have a Keurig® Water Filter, install it now.
Refer to your Water Filter Starter Kit for instructions.
Rinse reservoir with fresh water and fill to the
top of the handle.
Replace the lid and water reservoir.
NOTE: Do not use distilled water.
Max Fill

Cleansing Brew
Do not insert a K-Cup® pod. When
prompted to do a cleansing brew, tap the
Brew Button to start the cleansing brew.
Pour the hot water into the sink.
The one-time setup process is now complete
and you are ready to brew!
NOTE:
Between brew cycles, the brewer may take about
a minute to reheat.
Brew Button
Brew Your First Cup
Place Mug & Pod
Place a mug on the drip tray. If using a travel
mug, remove the drip tray and place the mug
on the drip tray base. Lift the handle and
place a K-Cup® pod in the K-Cup® pod holder.
Lower the handle completely to close the lid.
NOTE:
Not all reusable coffee filters are compatible with this brewer.
Visit support.commercial.keurig.com for more information.
34

Brew & Enjoy!
Tap the Brew Button to brew with the current
brew settings. To customize your brew, tap the
current size, strength, or temperature at the top
of the screen. Adjust the sliders up and down
to customize your brew, tap the check mark to
confirm and then tap the Brew Button.
Adjust
sliders to
customize
Tap to
customize
Tap to
brew with
current
brew settings
Tap the check
mark to
confirm your
brew settings
Enjoy your brew!
Brewing is complete when the “Enjoy” screen is
displayed.
The brewer will be ready to brew another cup
in about a minute.
NOTE: For iced beverages, only use a plastic cup. Do not use glass.
CAUTION: While brewing, there is extremely hot water in the K-Cup®pod
holder. To avoid injury, do not lift the handle during the brewing process.
5

Caring for Your Brewer
Regular cleaning keeps your brewer running smoothly.
Always be sure to unplug your brewer and allow it to
cool before cleaning. For detailed brewer cleaning
and descale instructions, videos, and the full Use &
Care Guide, visit support.commercial.keurig.com.
If your brewer has been in storage or hasn’t been
used in days, run two hot water brews (no pod
inserted) before brewing your beverage.
Periodically hand-wash the water reservoir
and lid with warm soapy water and rinse clean.
NOTE: Do not dry the inside of the water reservoir with a cloth,
as lint may remain.
CAUTION: Parts are not dishwasher safe.
Entrance Needles
Lift the brewer handle and locate the entrance
needles on the underside of the lid. To clean the
holes in the needles, hold the brewer handle in
the upward position and with your other hand,
carefully insert a straightened paper clip into all
the holes. Gently move it around to loosen any
coffee grounds. Lower the handle completely
and run a cleansing brew two times. Do not
insert a K-Cup® pod.
Exit Needle
Remove the pod holder
assembly and detach the
funnel. Locate the exit
needle on the inside
bottom of the K-Cup®
pod holder. Insert a
straightened paper clip
into the exit needle to
loosen any coffee
grounds.

Warranty
LIMITED ONE YEAR WARRANTY
Keurig Green Mountain, Inc. (Keurig) warrants that your
brewer will be free of defects in materials or workmanship
under normal home use for one year from the date of
purchase. It is recommended that you register your brewer
on keurig.com/new so that your purchase information will
be stored in our system. Keurig will, at its option, repair or
replace a defective brewer without charge upon its receipt
of proof of the date of purchase. If a replacement brewer is
necessary to service this warranty, the replacement brewer
may be new or reconditioned. If a replacement brewer is
sent, a new limited one year warranty will be applied to the
replacement brewer.
This warranty only applies to brewers operated in the
United States and Canada. This warranty gives you specific
legal rights, and you may also have other rights that vary
from state to state and, in the case of Canada, from
province to province.
Only the use of Keurig® K-Cup® brand pods and accessories
will guarantee the proper functioning and lifetime of your
Keurig® brewer. Any damage to or malfunction of your
brewer resulting from the use of non-Keurig® pods and
accessories may not be covered by this warranty or may
result in a service fee if the damage or malfunction is
determined to be caused by such use.
WHAT IS NOT COVERED BY THE LIMITED WARRANTY?
THIS WARRANTY DOES NOT COVER CONSEQUENTIAL
OR INCIDENTAL DAMAGES SUCH AS PROPERTY
DAMAGE AND DOES NOT COVER INCIDENTAL COSTS
AND EXPENSES RESULTING FROM ANY BREACH OF
THIS WARRANTY, EVEN IF FORESEEABLE. Some states
or provinces do not allow the exclusion or limitations of
incidental or consequential damages, so the above
limitation or exclusion may not apply to you depending on
the state or province of purchase.
Nor does this warranty cover damages caused by use
of non-Keurig® pods or accessories, services performed
by anyone other than Keurig or its authorized service
providers, use of parts other than genuine Keurig® parts, or
external causes such as abuse, misuse, inappropriate power
supply, or acts of God.
OTHER LIMITATIONS
THIS WARRANTY IS EXCLUSIVE AND IS IN LIEU OF ANY
OTHER EXPRESS WARRANTY, WHETHER WRITTEN OR
ORAL. IN ADDITION, KEURIG HEREBY SPECIFICALLY
DISCLAIMS ALL OTHER WARRANTIES WITH RESPECT
TO YOUR KEURIG® BREWER, INCLUDING ANY IMPLIED
WARRANTY OF MERCHANTABILITY OR FITNESS FOR
ANY PARTICULAR PURPOSE. Some states or provinces
do not allow disclaimers of such implied warranties or
limitations on how long an implied warranty lasts, so the
above limitation may not apply to you depending on the
state or the province of purchase.
HOW DO YOU OBTAIN WARRANTY SERVICE?
Keurig® brewers are high-quality appliances and, with
proper care, are intended to provide years of satisfying
performance. However, should the need arise for warranty
servicing, simply call Keurig Customer Service at our toll
free phone number 1.866.901.BREW (2739). Please do not
return your brewer for servicing without first speaking
to Keurig Customer Service to obtain a Return Materials
Authorization (RMA) number. Keurig® brewers returned
without a RMA number will be returned to the sender
without servicing.
PT0000008242 REV B
FIND YOUR PERFECT POD
With over 70 brands and hundreds
of varieties, ind your match at
keurig.com/new
Have questions? We’re here to help.
Visit support.commercial.keurig.com for troubleshooting
videos, maintenance recommendations, and the full
Use & Care Guide.
Still need help?
Give us a call at 1-866-669-8922.
Table of contents
Other Keurig Brewing System manuals

Keurig
Keurig Custom K-Cup User manual

Keurig
Keurig K-Supreme Plus User manual

Keurig
Keurig K-CUP K140 User manual

Keurig
Keurig B50 User manual

Keurig
Keurig K-Express Essentials User manual

Keurig
Keurig B80V User manual

Keurig
Keurig Vue User manual

Keurig
Keurig K-Elite User manual

Keurig
Keurig K-SELECT User manual

Keurig
Keurig Platinum B70 User manual
Popular Brewing System manuals by other brands

Mithraeum
Mithraeum Brewiks 500 user manual

CBF-DRINKIT
CBF-DRINKIT Coobra CB25 manual

Newco
Newco KB-APF Installation, operation and service manual

BRAVILOR BONAMAT
BRAVILOR BONAMAT Aurora GTBSH-001 user manual

BREWISTA
BREWISTA NutraMilk Quick start guides

Fetco
Fetco Extractor Plus CBS-1251 Users guide and operator instructions