manuals.online logo
Brands
  1. Home
  2. •
  3. Brands
  4. •
  5. KEYA
  6. •
  7. Lock
  8. •
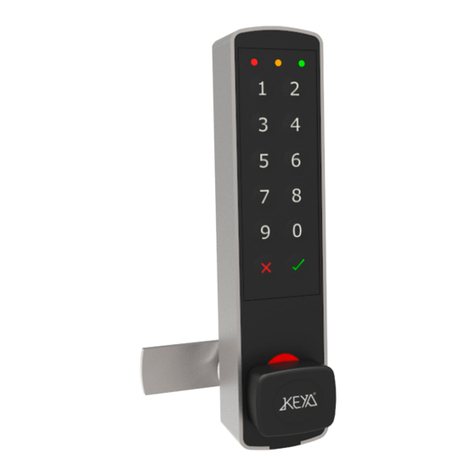
  9. KEYA TRONIC PLUS User manual

KEYA TRONIC PLUS User manual

TRONIC PLUS
MONTAJE / ASSEMBLY
TRONIC PLUS
2 www.keya.cat
TRONIC PLUS
www.keya.cat 5
TRONIC PLUS
6 www.keya.cat
TRONIC PLUS
www.keya.cat 7
TRONIC PLUS
8 www.keya.cat
TRONIC PLUS
www.keya.cat 9
TRONIC PLUS
10 www.keya.cat
TRONIC PLUS
www.keya.cat 11
TRONIC PLUS
Una vez instalado, al presionar las teclas, la cerradura no responde (no emite pitido ni funciona)
Once assembled, the lock does not work when the key buttons are pressed (no sound and the lock does not
work)
Verificar que el cable esté correctamente conectado (recto e introducido hasta el fondo).
Verify that the cable is properly connected (straight and until the bottom).
Verificar que las pilas estén en la posición correcta (respetando la polaridad indicada en el compartimento)
Verify that the batteries are in the right polarity (as indicated in the battery box).
1
2
12 www.keya.cat
FAQ’s Preguntas más frecuentes / Frequently asked questions
No pulsar ninguna tecla mientras se conecta la manguera del teclado a la cerradura.
Do not push any key during the wire assembly process.
TRONIC PLUS
El pestillo no abre/cierra después de introducir un código válido.
The latch does not open/close after a correct code.
Verificar que los cuatro tornillos de fijación de la cerradura no estén excesivamente apretados (<20Kgf/cm2).
Verify that the screws are not fastened too tight (<20kgf/cm2).
3
Verificar que el pestillo abre y cierra sin impedimento (roce, interferencia contra el marco)
Verify that the latch works smoothly in and out, without any friction with the door frame.
4
www.keya.cat 13
TRONIC PLUS
Pilas agotadas: deben ser reemplazadas.
Dead batteries: replace batteries.
Al introducir un código válido y pulsar ENTER, destellan los tres LEDs a la vez (verde-amarillo-rojo) y la
cerradura no funciona.
After introducing the correct code and pressing ENTER, the three LEDs blink at the same time (green-yellow-
red) and the lock does not work.
5
Al pulsar cualquier tecla, destella el LED central (amarillo)
After pressing any button the yellow LED blinks.
6
Pilas a punto de agotarse o agotadas: deben ser reemplazadas.
Dead or almost dead batteries: replace batteries.
14 www.keya.cat
TRONIC PLUS
Se han agotado las pilas con la puerta cerrada (no puedo acceder al compartimento de pilas para
reemplazarlas).
The batteries are dead with the door closed (I can not access to the battery pack to replace them).
1- Conectar el BATPACK a la cerradura mediante el conector mini USB tal como se indica en la figura.
Connect the BATPACK to the lock through the mini-USB connector, as shown in the picture.
2 - Con el BATPACK conectado (en posición ON) introducir el código de usuario (o el maestro) y abrir la cerradura.
With the BATPACK connected (in ON position) introduce the user code (or the master one) and then open the lock.
3 - Desconectar el BATPACK y reemplazar las pilas.
Disconnect the BATPACK and replace the old batteries for new ones.
7
www.keya.cat 15
IMPORTANTE
Recomendamos cambiar las pilas anualmente para asegurar el buen estado de la cerradura. Las pilas tras
largos periodos de tiempo instaladas, pueden dañarse y dañar la cerradura, especialmente en ambientes muy
cálidos
No limpiar las cerraduras con productos de limpieza que contengan ácido clorhídrico, lejía o componentes
corrosivos, especialmente en las partes metálicas.
IMPORTANT
We suggest to change once a year the batteries for ensure their good condition. After a long time, the
batteries can deteriorate and damage the lock, especially in hot environments
Do not clean the locks with cleaning products with hydrochloric acid, lye or corrosive components, especially
on the metallic parts.
Rev3774002

Other manuals for TRONIC PLUS

1

Other KEYA Lock manuals

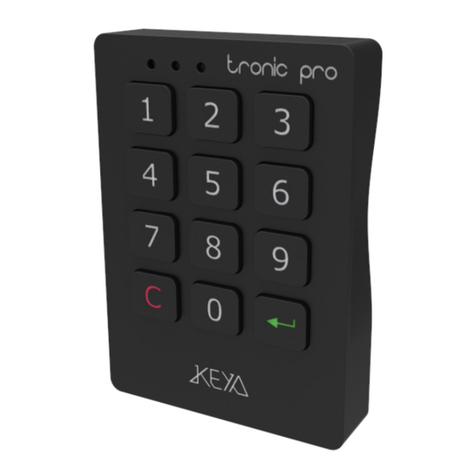
KEYA TRONIC PRO User manual

KEYA

KEYA TRONIC PRO User manual

KEYA TRONIC TOUCH PANEL User manual

KEYA

KEYA TRONIC TOUCH PANEL User manual

KEYA TRONIC PRO User manual

KEYA

KEYA TRONIC PRO User manual

KEYA ELOCK PRO User manual

KEYA

KEYA ELOCK PRO User manual

KEYA ELOCK PLUS User manual

KEYA

KEYA ELOCK PLUS User manual

KEYA TRONIC SLIM User manual

KEYA

KEYA TRONIC SLIM User manual

Popular Lock manuals by other brands

hager 3400 Series Installation instructions manual

hager

hager 3400 Series Installation instructions manual

Schlage CO-100-CY-70-KP-RHO-626 installation instructions

Schlage

Schlage CO-100-CY-70-KP-RHO-626 installation instructions

Linka LASSO owner's manual

Linka

Linka LASSO owner's manual

Kwikset Smartcode 914 Installation and user guide

Kwikset

Kwikset Smartcode 914 Installation and user guide

Waferlock C210 user manual

Waferlock

Waferlock C210 user manual

Carbine CFB-EH manual

Carbine

Carbine CFB-EH manual

Digilock DL330BT User instructions

Digilock

Digilock DL330BT User instructions

Alarm Lock Trilogy DL4100 Series Addendum Addendum

Alarm Lock

Alarm Lock Trilogy DL4100 Series Addendum Addendum

VOCOlinc T-GUARD SMART LOCK quick start guide

VOCOlinc

VOCOlinc T-GUARD SMART LOCK quick start guide

Burg Wächter 610/53 Operation instructions

Burg Wächter

Burg Wächter 610/53 Operation instructions

Schlage AL25D Series installation instructions

Schlage

Schlage AL25D Series installation instructions

CAL Double-Bolt Lock installation instructions

CAL

CAL Double-Bolt Lock installation instructions

Linka LK-B100 owner's manual

Linka

Linka LK-B100 owner's manual

ZKTeco L 6800 Installation instruction

ZKTeco

ZKTeco L 6800 Installation instruction

Anviz L100K installation guide

Anviz

Anviz L100K installation guide

Carrier Supra NMA Setup instructions

Carrier

Carrier Supra NMA Setup instructions

Abloy EL590 quick start guide

Abloy

Abloy EL590 quick start guide

Homematic IP HmIP-eTRV-C-TP Mounting instruction

Homematic IP

Homematic IP HmIP-eTRV-C-TP Mounting instruction

manuals.online logo
manuals.online logoBrands
  • About & Mission
  • Contact us
  • Privacy Policy
  • Terms and Conditions

Copyright 2025 Manuals.Online. All Rights Reserved.