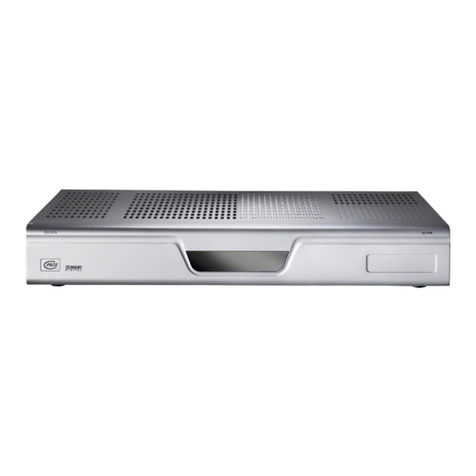
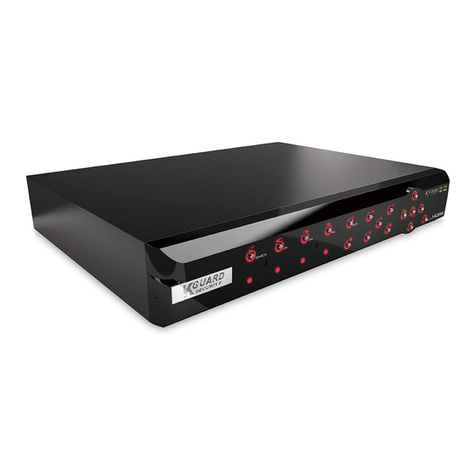
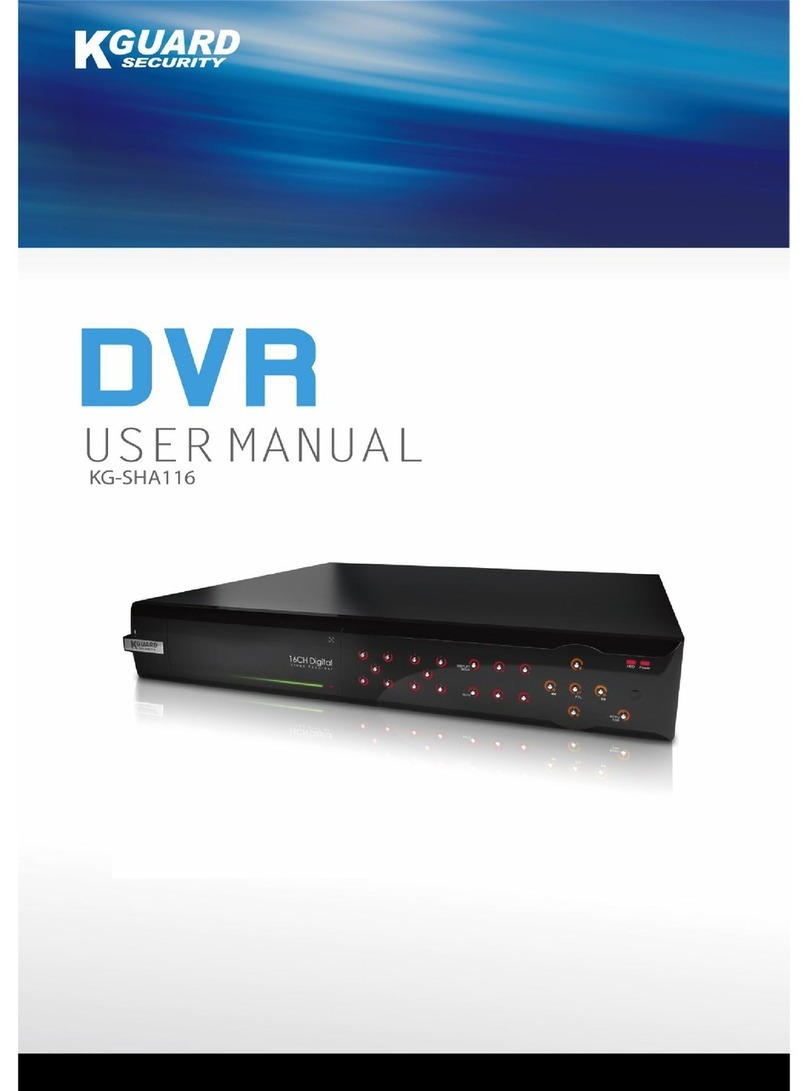
Kguard KG-SH130 User manual

KG-SH130
User’s Manual
Default account & Passowrd for KG-SH130:
.User account :「aa 」
.Password :「11 」
(Version 1.0)

KGUARD Standalone (KG-SH130) User Manual
www.kguardsecurity.com
2
Table of Contents
1. Package Content ..................................................................................................................................................4
2Hardware Introduction ...................................................................................................................................5
2.1 Front view / Back view ............................................................................................................................5
2.2 Remote controller.....................................................................................................................................6
2.3 HDD Installation ........................................................................................................................................8
3Text Input.........................................................................................................................................................10
4Main Screen ....................................................................................................................................................11
5Menu .................................................................................................................................................................12
5.1 Login / Logout.............................................................................................................................13
5.2 Status ............................................................................................................................................14
5.3 Video Adjustment.......................................................................................................................15
5.4 VGA Display.................................................................................................................................15
5.5 Backup Device ............................................................................................................................16
5.5.1 Backup Setting....................................................................................................................17
5.6 Setup .............................................................................................................................................18
5.6.1 Pre-Camera..................................................................................................................................18
5.6.2 Camera..........................................................................................................................................19
5.6.2.2 Motion Setting..................................................................................................................21
5.6.3 Alarm..............................................................................................................................................22
5.6.4 SEQ Display Setup......................................................................................................................23
5.6.5 Scheduled Record.......................................................................................................................23
5.6.6 HDD...............................................................................................................................................24
5.6.7 Password.......................................................................................................................................25
5.6.8 System Setup...............................................................................................................................26
5.6.9 RS-232 / 422 / 485.......................................................................................................................27
5.6.10 Network.......................................................................................................................................28
5.6.10.1 Email Setting..................................................................................................................29
5.6.10.2 FTP setting.....................................................................................................................29
5.6.10.3 Advanced Network Setting ..........................................................................................30
6Software Upgrade..........................................................................................................................................31
7Search & Playback........................................................................................................................................32
7.1 Search By Time...........................................................................................................................32
7.2 Search By Event .........................................................................................................................33
7.3 Smart Search...............................................................................................................................34
7.4 Search Archived Files ...............................................................................................................35
7.5 POS Search..................................................................................................................................36
KGUARD Standalone (KG-SH130) User Manual
www.kguardsecurity.com
3
8Remote Access ..............................................................................................................................................37
8.1 Remote Access via Internet Explorer (IE) ............................................................................37
8.1.1 Main Screen.........................................................................................................................39
8.1.2 Search & Playback.............................................................................................................41
8.1.2.1 Search By Time ............................................................................................41
8.1.2.2 Search By Event ..........................................................................................42
8.1.3 PTZ Control .....................................................................................................................43
8.1.4 Server Configuration ..........................................................................................................44
8.1.4.1 Add New Server...............................................................................................44
8.1.4.2 Modify Server...................................................................................................45
8.1.4.3 Delete Server....................................................................................................45
8.1.4.4 Configure Server Property..............................................................................46
8.1.5 POS Search .....................................................................................................................61
8.1.6 GPS Configuration..............................................................................................................62
8.1.7 POS Configuration ..........................................................................................................63
8.2 Remote Access via PDA...........................................................................................................64
9CMS2000..........................................................................................................................................................65
Appendix A – POS Connection Setup ...............................................................................................................66
Appendix B – POS..................................................................................................................................................66
Appendix C - GPS/POS Display Setting ...........................................................................................................67
Appendix D – Detection Setting .........................................................................................................................68
Appendix E -Time Zone.........................................................................................................................................69
Appendix F - Recording Table Reference (NTSC) ..........................................................................................71
Appendix G - Recording Table Reference (PAL) ............................................................................................72
ALL UPDATED DOCUMENTATION RELEASE ISAVAILABLE FOR DOWNLOAD AT KGUARD OFFICIAL
WEBSITE.

KGUARD Standalone (KG-SH130) User Manual
www.kguardsecurity.com
4
1. Package Content
1-1. KG-SH130 ------------------------------------x1
1-2. Remote Controller ------------------------x1
1-3. Y-Cable --------------------------------------x1
(Optional: Available for purchase)
1-4. Terminal Block -----------------------------x2
1-5. Bolt -------------------------------------------x9
1-6. Power Cable -------------------------------x1
1-7. Power Adapter -----------------------------x1
1-8. CD --------------------------------------------x1
(Electronic User Manual)
1-9. User Manual --------------------------------x1
1-10. AAA Battery -------------------------------x2
1-11. External IR Sensor ----------------------x1
KG-SH130 Remote Controller Y-Cable Terminal Block
Power Adapter Power Cable Bolt AAA Battery
CD User Manual External IR Sensor

KGUARD Standalone (KG-SH130) User Manual
www.kguardsecurity.com
5
2 Hardware Introduction
2.1 Front view / Back view
Name Description
1 Remote Sensor Indicator It shows the connection and function status of the remote sensor.
2 IR Indicator LED illuminates when IR is on.
3 LAN Indicator LED illuminates when LAN cable is connected.
4 HDD Indicator LED illuminates when HDD is properly installed.
5 Power Indicator LED illuminates when power is turned on.
6 SD Card Slot This is an expansion slot for SD Card insertion.
7 USB Port This is the connection terminal for USB port device.
Back view
Name Description
1 IN 1-4:Video In Connectors Connect Cameras to the unit.
2 CALL OUT Connect to the monitor for call monitor display.
3 MAIN OUT Connect to the main monitor display.
4 Audio In / out X 2 Audio Input/Output Connector (Connect to the audio device)
5 Main Out (VGA) Connect to the VGA monitor.
6 COM 1 (RS-232) Connect either to GPS or POS.
7 RS-485 Connect to PTZ speed dome for device control.
8 Alarm input/output connector Connect to the alarm device.
9 COM 2 (RS-232) Connect to GPS or POS.
10 Ethernet This is the LAN connection port.
1 2 3 4 5 6 7
21
3
5
6
4
7
8
9
10
11
12
13

KGUARD Standalone (KG-SH130) User Manual
www.kguardsecurity.com
6
11 POWER switch Click to turn the system power on/off.
12 Power Plug Connect the unit to the power source.
13 NTSC / PAL Set the unit either as NTSC or PAL according to TV compatibility.
2.2 Remote controller
Name Description
1 REC Press to start the recording.
2 Mode Press to switch between live and playback mode.
3 SEQ Press to turn on the sequence mode.
4 CALL Click to bring up the call monitor.
5
Search Click to search recorded data while in the playback
mode. There are three types of search modes:
search by time, search by event and smart search.
(Please refer to section 7 for detail information.)
6 Alarm Reset Press to restore the alarm status to default.
7Numeric/
alpha button
Use these buttons to enter texts and numerical
values.
8
PTZ Click to access the PTZ control when there is a PTZ
camera supported.
Goto Click to view the image taken by PTZ camera at its
preset location.
Function Click to add an audio recording feature.
Set Click to switch between GPS and POS Display and
to reconfigure the display setting.
(Please refer to Appendix C for detail setup)
Zoom Press to adjust the zoom of the camera.
Adjust Click to switch the display layout between 1-channel
and 4-channel.
9 Menu Press to access the menu dialog box.
10 Mute Press to either mute or un-mute audio.
11 Esc Press to exit the setting page.
12 X2 Press to adjust the zoom.
13
▲/Back Space: Click to move up the selection panel or backspace
during text/numeric entry.
◄; ►: Click to move left or right.
▼/DEL: Click to move down the selection panel or delete text during
text/numeric entry.

KGUARD Standalone (KG-SH130) User Manual
www.kguardsecurity.com
7
ENTER: Click to enter a feature setting/GPS & POS setting and to save
changes.
(Please refer to Appendix C for detail information on GPS/POS
setting)
14 Use to adjust the volume.
Click to switch between 1-channel and 4-channel screen layout.
15
ee: Rewind feature.
f/ ii: Click to play or pause the playback.
ff: Forward feature.
: Click to copy an image to an external storage device. Click again to
stop copying.
: Stop the playback.
fI : Click to skip to the next image.
PageÏÐ: Press to scroll up/down the log list.
16 DVR1 – DVR8 Click to access the respected DVR when there is more than one DVR
connected within a network.

KGUARD Standalone (KG-SH130) User Manual
www.kguardsecurity.com
8
2.3 HDD Installation
Step 1 : Uncover the system case.
Step 2 : Screw both the master IDE and slave IDE tightly onto the metal case exactly as
shown in the figure above.
Step 3 : When both IDEs are tightly screwed, lift the metal vertically in the orientation as
shown. Plug in the respective IDE cables.
NOTE:
The IDE cables must be carefully folded in the orientation as shown in the figure above to prevent
disruption to other system components.
Slave IDE
Master IDE
Master IDE
Slave IDE

KGUARD Standalone (KG-SH130) User Manual
www.kguardsecurity.com
9
Step 4 : Carefully fit the metal case with its bottom case.
Step 5 : Screw the metal tightly to complete the HDD installation.

KGUARD Standalone (KG-SH130) User Manual
www.kguardsecurity.com
10
3 Text Input
Press ▲▼◄► to highlight the text to be edited then press Enter to call up the alpha-numeric
text pad.
Name Description
1 1 Press to enter the available number.
2 3 Press to enter the available number and letter shown on the screen.
3 */Mark Press to bring up a list of punctuation and special symbols.
4 ►Press to enter the available number and letters shown on the screen.
5 Press to enter the available number and letters shown on the screen.
6 CALL Press to enter the available number and letters shown on the screen.
NOTE: Call monitor button is not functional during text/numeric entry.
7 2 Press to enter the available number and letters shown on the screen.
8 4 Press to enter the available number and letters shown on the screen.
9 # Press to enter the code for the selected foreign languages.
A MUTE Press to enter the available number and letters shown on the screen.
NOTE: Mute button is not functional during text/numeric entry.
B X2 Press to enter the available number and letters shown on the screen.
NOTE: Zoom button is not functional during text/numeric entry.
C SEQ Press to enter number.
NOTE: Sequence mode is not functional during text/numeric entry.
Attention:
For text and numeric entry using the controller, press directly from the
alpha-numeric buttons.
1 23 4 5
CBA987
6

KGUARD Standalone (KG-SH130) User Manual
www.kguardsecurity.com
11
4 Main Screen
Name Description
1 Video Screen Display live/playback video.
2 Camera ID Shows ID number of the camera.
3 Time / Date Shows the current recording time and date.
4 Audio When audio is turned on, audio icon will be displayed on the screen.
5 Alarm recording
percentage
Shows the percentage of alarm triggered recording.
6 Normal recording
percentage
Shows the percentage of normal recording.
2
3
4
5
6
1

KGUARD Standalone (KG-SH130) User Manual
www.kguardsecurity.com
12
5 Menu
Press to bring up a list of function setting menu.
Name Description
1 Login/Logout Press to login/logout of the system.
2 Status Allow user to view the overall status of the system.
3 Video Adjustment User can adjust the color, hue, saturation, contrast of the video image.
4 VGA Display User can adjust the image output quality in terms of resolution, brightness,
contrast, hue and saturation.
5 Backup Device This window allows user to view the connection status of the backup
device and to initiate data backup.
6 Setup System features settings.
(Please refer to section 5.6 for detail information)
7 Software Upgrade This feature allows user to upgrade the software directly from the external
devices such as DVD and USB flash drive.
8 Shutdown Allows users to shutdown the system to prevent data loss.
1
3
5
7
2
4
6
8

KGUARD Standalone (KG-SH130) User Manual
www.kguardsecurity.com
13
5.1 Login / Logout
Click on the Login/Logout page to login the system and unlock the setting for
changes.
Name Description
1 Login Name Please refer to section 3 for text/numeric entry.
Note: The default login name is aa.
2 Password Please refer to section 3 for text/numeric entry.
Note: The default password is 11.
3 Login Click to login into the system.
Note: The control buttons will be unlocked after system login.
4 Logout Click to logout of the system.
Note: The control buttons will be locked after system logout.
NOTE:
Administrator can set access authorities, edit and assign usernames and passwords to
different users. Please refer to section 5.6.7 for detail setup.
1
3
2
4

KGUARD Standalone (KG-SH130) User Manual
www.kguardsecurity.com
14
5.2 Status
This page will display the status of the system in terms of alarm and normal record
size, camera status, hardware and software version.
Name Description
1 Alarm record size &
record percentage
- It shows the size of data in Gigabytes (GB) for alarm
recording mode.
- It shows the size of data (%) for alarm recording mode.
2 Normal record size &
record percentage
- It shows the size of data (GB) for normal recording mode.
- It shows the size of data (%) for normal recording mode.
3 Cameras
Motion A white box for a specific camera appears upon motion trigger.
Camera
video loss
A white box for a specific camera appears when the video
connection is lost.
4 Alarm input A white box appears when an alarm triggered event occurs.
5 Serial Number Use serial number to log into the system when both login
name and password are forgotten.
Note: The serial number can only be used once. Please contact the
supplier for a new serial number.
6 Hardware version This is the hardware version information.
7 Software version This is the software version information.
1
2
3
4
5
6 7

KGUARD Standalone (KG-SH130) User Manual
www.kguardsecurity.com
15
5.3 Video Adjustment
This setting allows user to adjust the quality of the video.
Name Description
1 Brightness Press to adjust the Brightness.
2 Contrast Press to adjust the Contrast.
3 Hue Press to adjust the Hue.
4 Saturation Press to adjust the Saturation.
5 Numeric Button Press the numeric buttons 1~4 to view the image of the respected
camera.
6 SEQ/CALL Click to apply the default video setting either to this camera or to
all cameras.
7 MODE Click to restore the video setting to its previously saved setting.
8 ESC Click to exit the setting.
5.4 VGA Display
This section explains how to adjust the Resolution, Brightness, Contrast, Hue and
Saturation of VGA display quality.
Name Description
1
3
5
6
2
4
7
1
2
3
4
5
6

KGUARD Standalone (KG-SH130) User Manual
www.kguardsecurity.com
16
5.5 Backup Device
This window allows user to view the connection status of the backup device and to
initiate data backup.
Name Description
1 Devices Display a list of supported storage devices.
NOTE: USB CD-RW is not supported by this standalone DVR system.
2 Status Display the connection status of external storage device.
3 Configuration Click Backup to store the data files to an external storage
device.
Click Restore to restore the data files from the external device
to the local system.
1 Resolution Press to adjust the Resolution.
2 Brightness Press to adjust the Brightness.
3 Contrast Press to adjust the Contrast.
4 Hue Press to adjust the Hue.
5 Saturation Press to adjust the Saturation.
6 MODE Click to restore the default setting.
1 23

KGUARD Standalone (KG-SH130) User Manual
www.kguardsecurity.com
17
5.5.1 Backup Setting
Click on CALL / to access the Backup setting.
Name Description
1 Backup Device Click to select the storage device for the backup.
2 Backup Speed Click to adjust the backup process speed.
3 Directory This will display the directory path of the backup file.
4 Cameras The cameras that are selected for data backup will
have a white colored box.
5 GPS File Format Click to set the GPS file format to be saved.
6 End Time Click to set the backup end time in terms of year,
month, date, hour and minute.
Note: Please go to search by Time setting to set the
start time.
7 COPY Click to apply the backup setting to the other
cameras.
8 STOP Click to stop the backup process.
9 ESC Click to exit the backup setting.
Attention: To view the backup data playback, please access the IE interface of the system
and press to locate the data file.
1
2
3
4
6
7 89
5

KGUARD Standalone (KG-SH130) User Manual
www.kguardsecurity.com
18
5.6 Setup
Click Setup to access the setup page
5.6.1 Pre-Camera
This section shows how to change the recording Resolution, Setup the
number of camera installed and assigning PTZ Speed Dome ID.
Name Description
1 REC Resolution Press to adjust the recording resolution to 360x240,
720x480 or 720x240.
2 Camera This shows the number of supported camera of the system.
3 Camera Installed Press Enter to check/uncheck camera installed.
4 PTZ ID Press to assign each PTZ an ID.
1
2
34

KGUARD Standalone (KG-SH130) User Manual
www.kguardsecurity.com
19
5.6.2 Camera
This is to enable user to configure the camera setting and to set up the video
loss trigger, motion detection, recording quality and recording rate.
Name Description
1 Camera The number corresponds to the camera supported.
2 Title User can assign a title to different camera for identification
purpose. (Please refer to section 3 on text/numeric entry)
3 Video Loss A warning can be triggered to alert the administrator during video
loss. (Please refer to section 5.6.2.1 on video loss for detail
configuration)
4 Motion Detection Click check to enable motion detection feature.
5 Motion This is the motion detection setting.
(Please refer to section 5.6.2.2 on motion setting for detail information)
6 Covert Click check to enable covert feature.
NOTE: When covert is activated, only administrator/supervisor level
users can view the live video of the respected camera.
7 Call By Event
(Call Monitor)
This feature will cause a specified channel to display upon a
specific event trigger.
8 Dwell Time User may adjust the value to determine the display time of the call
monitor.
9 Audio The audio setting allows user to turn on/off the sound recording
option.
10 Record Quality Press to adjust the recording quality from 1 (low) to 9 (highest).
11 Event Record IPS Press to adjust the event recording rate as Image per Second (IPS).
12 Pre-Record IPS Press to adjust the pre-recording rate (IPS).
13 Normal Record IPS Press to adjust the normal recording rate (IPS).
1
2
3
4
5
6
7
8
9
10
11
12
13

KGUARD Standalone (KG-SH130) User Manual
www.kguardsecurity.com
20
5.6.2.1 Video Loss Setting
Name Description
1 Duration Press to adjust the length of warning period upon video loss
trigger.
2 Pre-record Press to adjust the transition period before initiating the
recording prior to motion detection.
3 Alarm Out Click to select the video loss triggered alarm output.
4 Buzzer Click Enter to activate the buzzer warning that will be triggered
upon video loss.
5 Log When enabled, the system will record all video loss history.
6 Screen Message Click to enable/disable event message being displayed on the
screen.
7 Email Enable this feature will trigger video files be sent to email when
video loss is detected.
8 FTP Enable this feature will trigger video files be sent to the FTP
server upon video loss detection.
1
2
3
4
5
6
7
8
Table of contents
Other Kguard DVR manuals

Kguard
Kguard Easy Link PRO EL822 User manual

Kguard
Kguard NS401 User manual

Kguard
Kguard BR421 User manual

Kguard
Kguard KG-SHA104 User manual

Kguard
Kguard MR-4020 User manual

Kguard
Kguard BR1611P User manual

Kguard
Kguard 340Z User manual

Kguard
Kguard SHA28 User manual

Kguard
Kguard BR401 User manual

Kguard
Kguard KG-SHA116 User manual