ENGLISH
Easy Link PRO Series: Preface
DVR User’s Manual
3
Safety Informaon
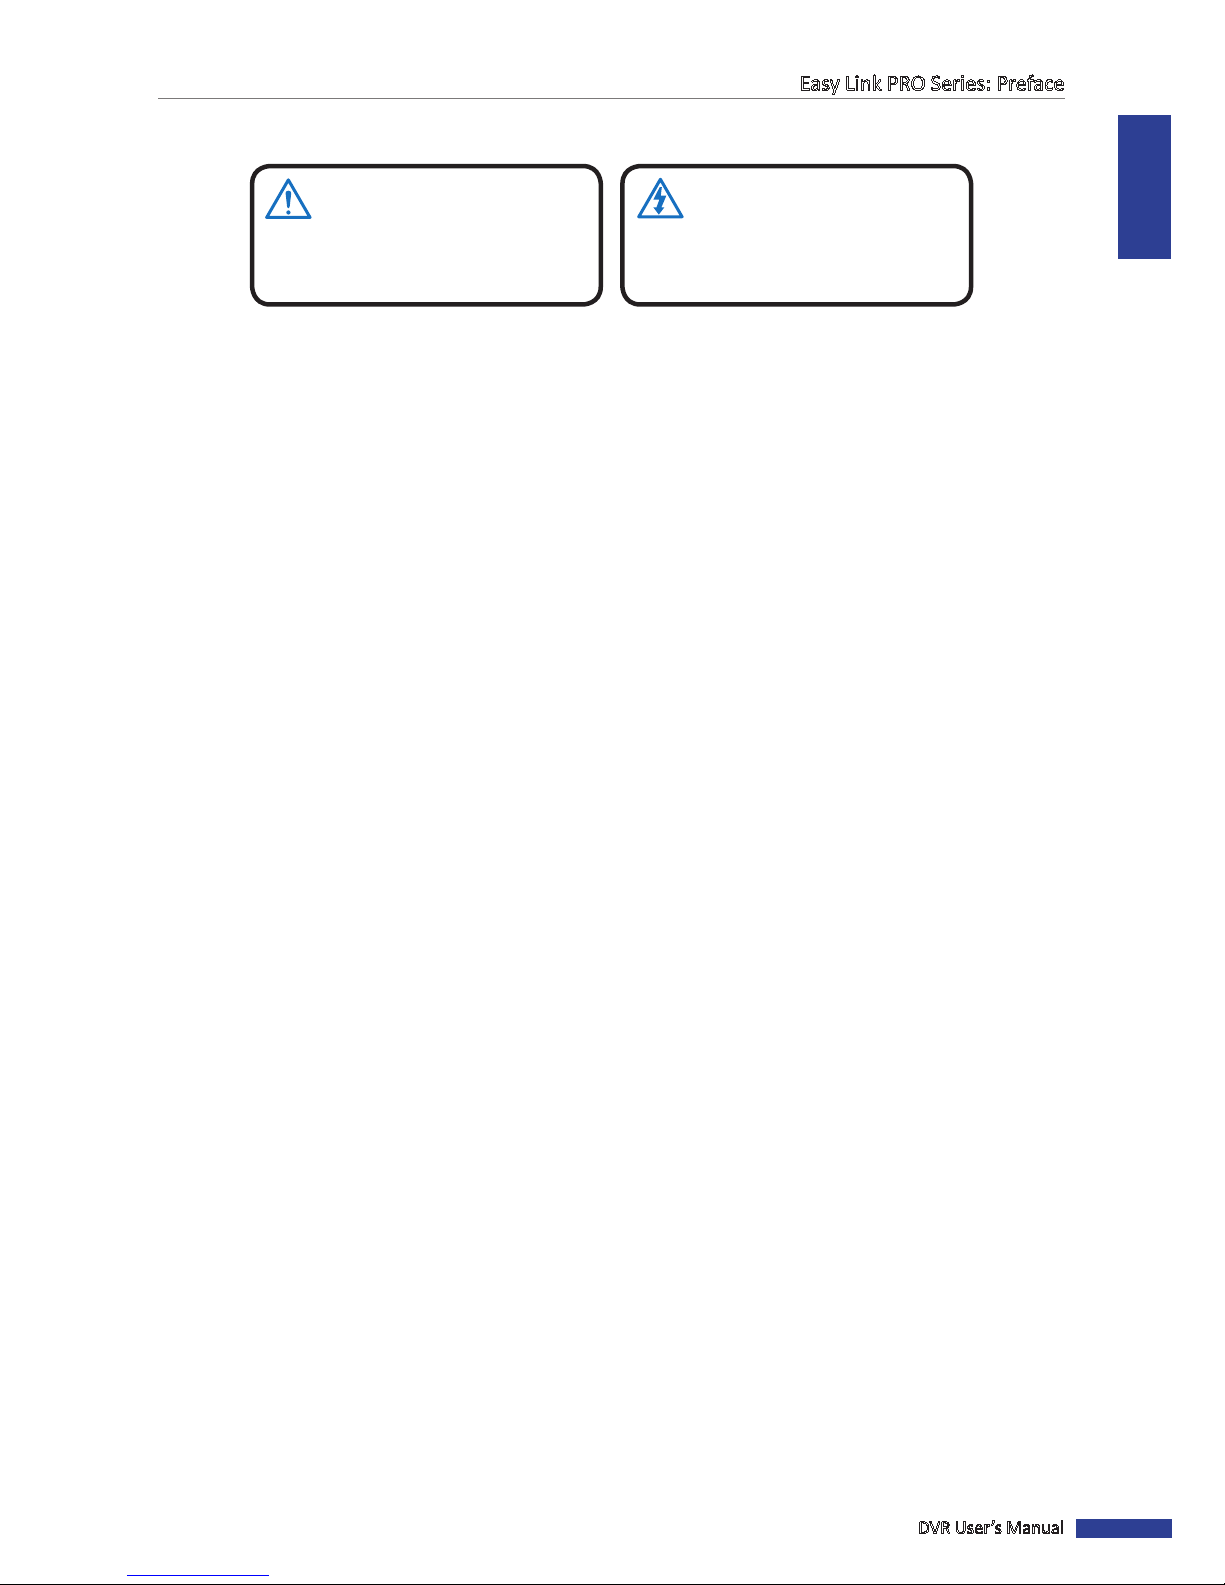
Warning
This is the symbol for indicang any potenal hazard,
risk or condion requiring special aenon.
The user needs to refer to the important operang
and maintenance or servicing instrucons.
Cauon
The lighng ash with an arrow head symbol, in an
equilateral triangle, is intended to alert the user.
There is dangerous “voltage” presence near by the
product’s enclosure which may be risk of person.
Safety Precauons
• Do not touch live electrical parts.
Electric shock can be avoided. Follow the
recommended pracces listed below. Faulty
installaon, improper grounding, and incorrect
operaon and maintenance of electrical equipment
are always sources of danger.
• Do not try to install equipment outdoor, during strong
wind and rain.
• Do not install or remove equipment outdoor, when
raining.
• Do not try to install or operate any equipment, during
a thunderstorm.
• Always ground all electrical equipment and the work
plaorm.
Prevent accidental electrical shocks. Connect power
source, control cabinets, and work plaorm to an
approved electrical ground.
• Always use the correct cable size.
Sustained overloading will cause cable failure and
result in possible electrical shock or re hazard. Work
cable should be the same rang as the factory.
• Always keep cables and connectors in good condion.
Improper or worn electrical connecons can cause
short circuits and can increase the chance of an
electrical shock. Do not use worn, damaged, or bare
cables.
• Always avoid open-circuit voltage.
The added voltages increase the severity of electric
shock hazard.
• Always wear insulated gloves while you adjust
equipment.
Electric power should be turned o and insulated
gloves should be worn when making any equipment
adjustment to assure shock protecon.
• Always wear protecve clothing such as long
sleeve shirts while you are installing or removing
equipment.
• Always wear high, snug ng shoes.
• Always wear clean clothes without grease or oil.
• Protect neighboring workers from exposure to arc
radiaon.
• Always wear long trousers or jeans while you are
installing or removing equipment.
• Always wear safety helmet or hard hat and safety
shoes before work.
• Always keep the equipment in dry places.
• Always wear safety harnesses/belt while you work in
high places.
• Always wear dry clothing and avoid moisture and
water.
• Always wear Public Safety Vest, while you work at
night.
• Make sure all electrical connecons are ght, clean,
and dry.
• Make sure that you are well insulated to eliminate
electric stac charge.
• Always wear dry gloves, rubber-soled shoes, or stand
on a dry board or plaorm.
• Always follow recognized safety standards.
• Always wear correct eye, ear, and body protecon.
• Always have second person on-site, while you work in
dark, poor venlaon, or high places.
• Make sure that you are well protected against arc
ashes, mechanical injury, or other mishaps.
• Make sure that the polarity of wire is correct before
installing equipment.
• Always handle equipment with care.
• Do not block the venlaon of equipment.
• Do not put the magnec parts around the equipment.
• Do not put the objects on top of the equipment.