Kia Sportage 2022 User manual

The 2022 Kia Sportage.
Feature Videos
To view a video on your mobile device, snap this QR Code or visit the listed website:
https://www.youtube.com/KiaFeatureVideos
Voice Recognition1 and Bluetooth®2
Using Voice Recognition
Improve Bluetooth® Voice Recognition (VR) performance
by making a few simple changes to your phone contacts:
• Use full names (first and last names) vs. short or single-
syllable names (“John Smith” vs. “Dad,” “Smith Residence”
vs. “Home”).
• Avoid using special characters, emojis, and hyphenated
names (@, &, #, /, -, *, +, etc.).
• Avoid using acronyms (“Emergency” vs. “ICE” or “In
Case of Emergency”) or words with all capital letters.
• Spell words completely; system will not recognize
abbreviations (“Doctor Smith” vs. “Dr. Smith”).
• Always wait for the beep before speaking any commands.
• When using VR to place a call, speak in a natural, moderate
tone, with clear pronunciation. The system may have trouble
recognizing commands if you speak too softly or too loudly.
• Open windows, sunroof, weather (wind/rain), or an A/C fan
operating at higher speeds can interfere with VR accuracy.
• Your VR system may have difficulty understanding some
accents or uncommon names.
• Press the talk button and say “Help” to get a list of available
commands.
Pairing or Connecting Your Phone with Bluetooth®
• Select “Device Connections” in the infotainment display
or “Call” button on the steering wheel to begin the pairing
process if no phone has previously been paired.
• During the pairing process, please make sure you accept
all requests for phonebook download and future auto-
connection on your phone.
• To pair a second phone or subsequent phones, reference
the manuals and guides supplied with your Sportage as
steps vary by infotainment system.
• If you experience any issues with auto-connection,
try the following:
• Reboot your phone (turn the phone off and then on).
• Update the phone operating system to the most recently
released version.
• Delete the phone from the list of Bluetooth® devices
on the infotainment system display1 and delete Kia
Connect from the list of Bluetooth® devices on your
phone, and re-pair.
• Ensure the phone has the Bluetooth® feature activated.
• If some contacts are not downloading to the infotainment
system display, check to confirm that the contact has
been entered correctly and that it has been stored under
the categories (HOME, MOBILE, WORK, iPhone®3) that are
supported by the infotainment system display. Some contact
categories (MAIN, PAGER, OTHER) may not be supported. If
the number of contacts exceeds the maximum number allowed
on the infotainment system display, contacts will be partially
downloaded. Ensure that only the “phone contact list” is
selected for contact download on your phone (not social media
or email contact lists as these contacts may not download to
the infotainment system display).
• Phone operating systems change frequently and some phones
may have varying compatibility levels with the Bluetooth®
system. For any questions regarding the features of your
vehicle, please contact your preferred Kia dealer or contact
Kia Consumer Assistance at 1-800-333-4542.
Other Bluetooth® Tips
• Bluetooth® reception is affected by carrier coverage and is
dependent on the phone.
• If streaming audio through Bluetooth® from a device, ensure
the listening volume on the device is turned up.
Smartphone Connectivity1
Apple CarPlay®3
Your vehicle offers you effortless command of your compatible iPhone® when you connect through Apple CarPlay®
on your infotainment system display. This will enable you to make calls, send hands-free texts, access many of your
favorite apps and music, and get navigation help with Siri® voice control.
To connect Apple CarPlay, visit https://youtu.be/98TNWMOQfdU
Android AutoTM4
Your vehicle allows you to connect to your compatible AndroidTM phone via Android AutoTM on your infotainment
system display. Through this feature, you can access music, your phone’s dialer, navigation help, and more with an
intuitive interface and voice commands. You can even access your phone through your steering wheel controls.
To connect Android Auto, visit https://youtu.be/sTR4KotSOzU
For select models equipped with wireless Apple CarPlay and Android Auto, visit https://youtu.be/oUXXuAZAOEI
Kia Access App*5
• Your cellphone and your vehicle have to be connected to a cellular network with a good wireless signal strength
in order to use Kia Connect (formerly UVO link). If these conditions are not met, remote commands will fail or will
take a long time to execute.
• To use Remote Start or Remote Start with Climate Control feature, all doors, hood and trunk/liftgate must be
closed and locked. Remote Start or Remote Start with Climate Control feature will operate for about 10 minutes.6
• The quickest way to obtain an accurate vehicle status is by pressing the refresh icon on your app or customer
web portal.
• Activate Remote Start or Remote Start with Climate Control feature at least 10 minutes before you plan to get into
the vehicle. This will allow vehicle interior to reach a desired temperature.
• In order to preserve vehicle battery, Kia Connect will not work seven days after the ignition was last turned on.
You will need to re-start your vehicle with a key fob in order to use Kia Connect again.
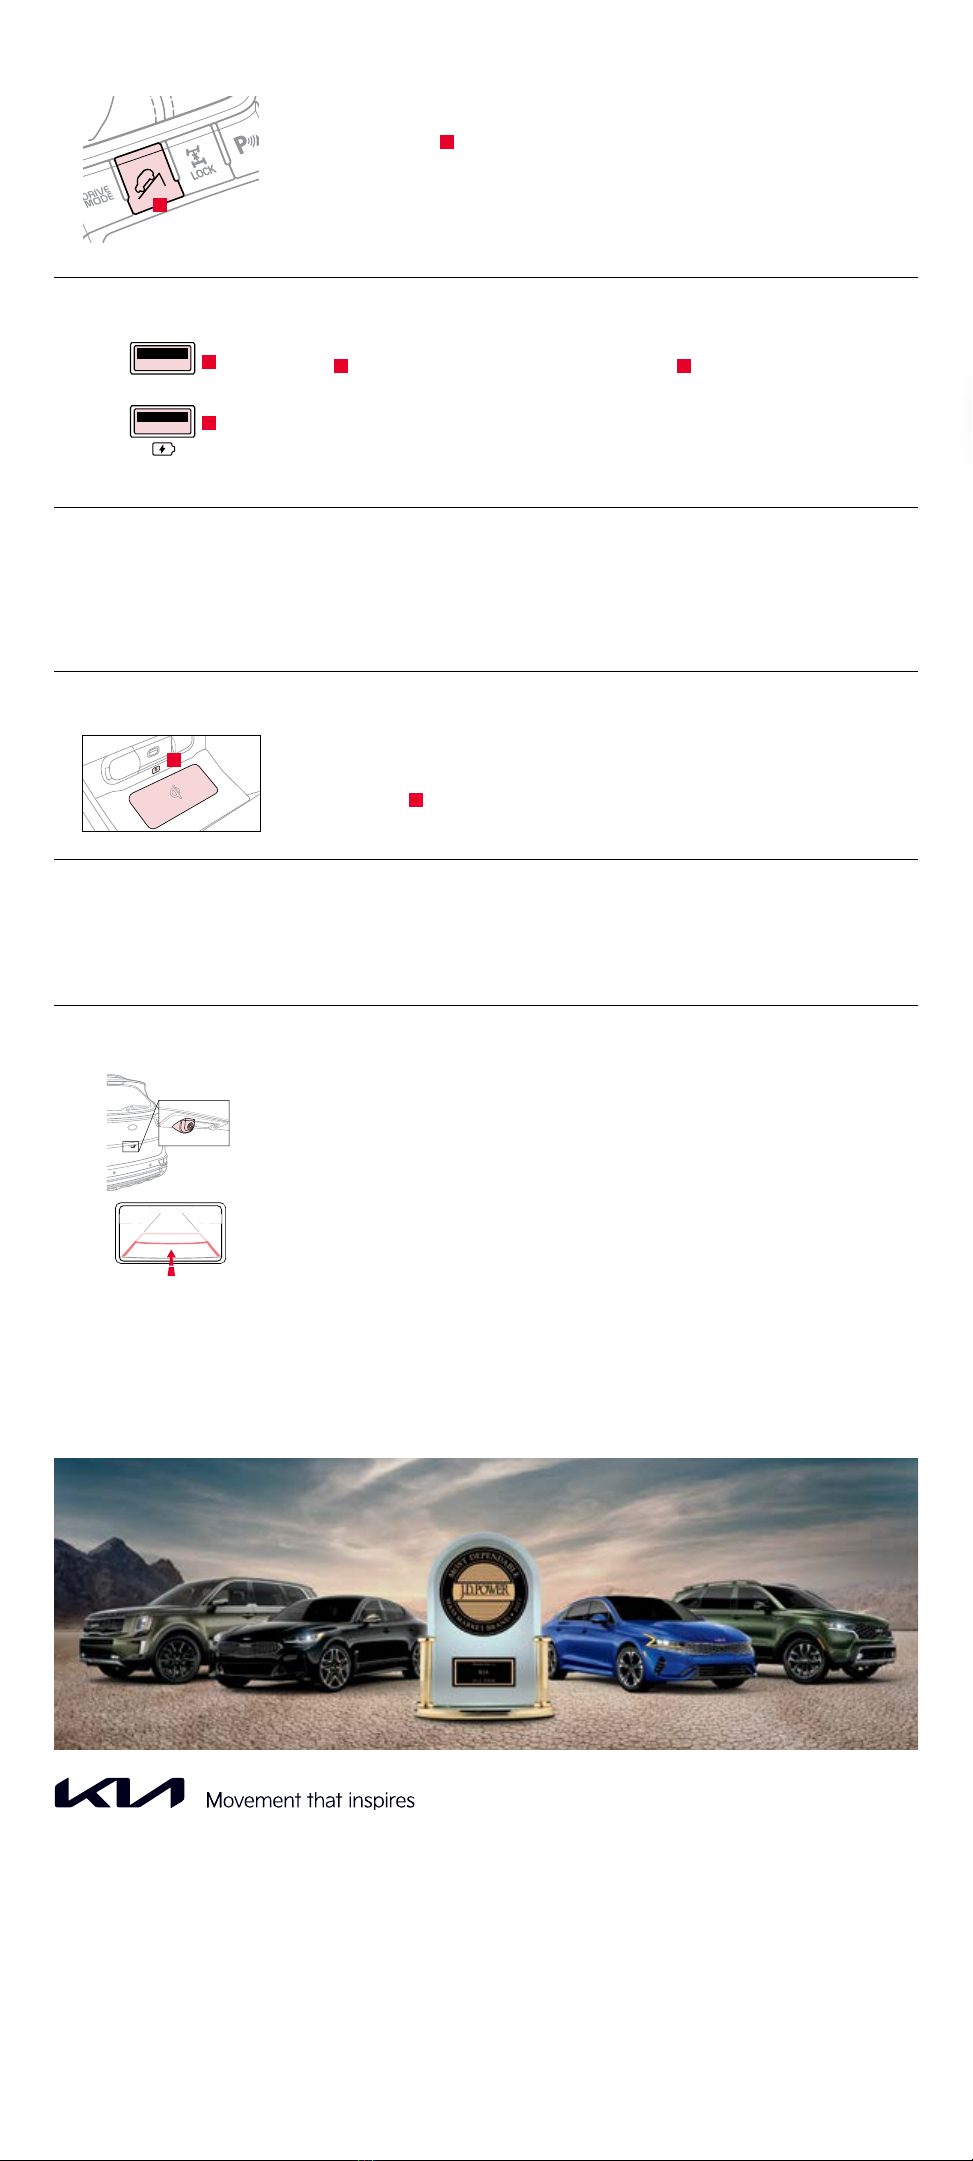
Vehicle Feature Tips
Many of the Tips presented below are covered in greater detail in the
Owner’s Manual, Multimedia System Manuals, Features and Functions
Guide, and Quick-Start Guide hangtag supplied with your new vehicle.

Smart Cruise Control (SCC) with Stop and Go System*7
The SCC with Stop and Go system is designed to help maintain a predetermined distance from
vehicles detected ahead by automatically adjusting the driving speed as needed. When traffic is
detected, the vehicle will slow down to maintain a set distance behind traffic without depressing
the accelerator or brake pedal.
To set/adjust SCC speed:
• Press the CRUISE button A to turn the system ON. The CRUISE indicator will illuminate on the
instrument cluster.
• Accelerate/decelerate to the desired speed.
• Press the (SET-) button B down to set speed. The SET indicator light will illuminate. The set
speed and vehicle-to-vehicle distance will illuminate on the LCD screen.
• Press button B up or down to adjust the set speed.
To set the vehicle-to-vehicle distance C: Press the SCC button D on the steering wheel. The
image on the LCD screen E will change when scrolling through the settings.
To cancel SCC operation: Press the CANCEL button F or press the brake pedal. The LCD screen
will display a message that the SCC operation is cancelled G.
To turn SCC system OFF: Press the CRUISE button A. The CRUISE indicator on the instrument
cluster will turn OFF.
Lane Keeping Assist (LKA)7 / Lane Departure Warning (LDW)7
The LKA system guides the driver to keep the vehicle within its lane and provides steering inputs
when the vehicle is about to deviate from the lane.
With the Engine Start/Stop button in the ON position, press the LKA button A to turn the system
ON or OFF. Once ON, the instrument cluster indicator will illuminate white. It will remain
white when the vehicle is traveling less than 40 mph and the system does not detect the lane
markers. When the LKA system detects the lane markers and can assist the steering, the LKA
icon will illuminate green.
If the LKA detects that you are moving outside of your lane, the system may give an audible
warning and display an LDW alert on the instrument cluster. If the vehicle continues to move
outside of the lane, the LKA can provide steering inputs, trying to prevent the vehicle from
moving outside its lane.
Standard LKA is the operating mode by default when the LKA button is depressed to ON.
To switch between modes (Standard LKA, Active LKA, and LDW), go to User Settings in the
Instrument Cluster.
Active LKA provides more frequent steering inputs than standard LKA to keep the vehicle within
lanes and provide steering inputs when the vehicle is about to deviate from the lane.
The LDW system alerts the driver when the system detects the vehicle leaving the lane. In this
mode, the system will not provide steering inputs.
All systems will operate under the following conditions:
• The vehicle exceeds approximately 40 mph.
• The vehicle is between the lane markers.
• The LKA system recognizes the lane the vehicle is traveling in.
• LKA/LDW will return to its previous state when the ignition is cycled.
High Beam Assist (HBA)
• HBA is designed to automatically adjust the headlight range by switching between high and
low beams based on light detected from other vehicles and road conditions.
• To enable HBA, toggle the light switch to the AUTO Light position A and turn on the high
beams by pushing the lever away from you. The High Beam Assist indicator will illuminate.
Reminders:
• HBA will operate when vehicle speed exceeds 25 mph.
Forward Collision-Avoidance Assist-Pedestrian (FCA-Ped)7 / Forward
Collision Warning (FCW)7
The FCA-Ped is designed to help alert the driver and, under certain conditions, apply emergency
braking, when rapidly approaching a vehicle that is slowing down, braking, or stopped. Initially,
the FCA-Ped provides FCW when it detects a potential collision with a vehicle in front, emitting
an audible warning and visual alert on the instrument cluster A. The alert settings (Early,
Normal, Late) can be adjusted or turned off in the user settings.
If the system detects that the collision risk has increased, the FCA-Ped can automatically apply
the brakes to reduce your speed, potentially helping to minimize the effects of a possible collision.
FCA-Ped can be turned ON in the User Settings menu on the Instrument Cluster display.
The FCA-Ped/FCW will become active when the:
• Vehicle is on or running.
• Vehicle is traveling more than 5 mph.
• Electronic Stability Control (ESC) is ON.
Warning: FCA-Ped and FCW are supplemental systems. Never intentionally attempt to activate
or test the operation of the systems. Do not solely rely on the systems, and always drive safely.
Smart-Power Liftgate Operation*
When the Smart Key fob is on your person and you are near the back of the vehicle, within close
proximity, the hazard lights will blink and a chime will sound for about 3 seconds as an alert that
the Smart-Power Liftgate is about to open.
Then the alert system will blink and chime two additional times before opening the Smart Power
Liftgate.
The Smart-Power Liftgate feature is off by default. To enable the Smart-Power Liftgate, go to
User Settings in the LCD Instrument Cluster modes.
Power Liftgate* Opening Height Adjustment: Adjust the liftgate height opening to suit the user’s
preference. The height setting of a fully opened liftgate can be adjusted by the following steps:
1. Position the liftgate manually to the preferred height.
2. Press the Power Liftgate Close button A for more than 3 seconds.
3. A system beep will sound twice indicating the height setting has been saved.
The liftgate will then open to the set height. To change the setting again, repeat steps 1-3.
OK
60 Smart Cruise Control
Cancelled
172ft 130ft
82ft
106ft
B
D
C
F
A
E G
Lane Keep Assist
P
A
Collision Warning
A
A
OFF
A

Accessory Mode with Smart Key*
With standard key vehicles, you can turn the key to the accessory mode and utilize the electronic
accessories without starting the vehicle. This is still possible with Smart Key-equipped vehicles.
To do this, enter the vehicle with the Smart Key and push the ENGINE START/STOP button one
time without depressing the brake pedal. This will put the vehicle in Accessory mode and ACC
will illuminate in amber.
If the ENGINE START/STOP button is in the ACC position for more than 1 hour, the button
is turned off automatically to help prevent battery discharge.
Eco Mode (Active Eco)
Eco Mode (Active Eco) is designed to help improve fuel economy by controlling several vehicle
components. When activated, it optimizes powertrain operations such as engine power and
transmission to help improve fuel economy.
To turn ON, press the DRIVE MODE button and scroll through options until in Eco Mode. The
Eco Mode indicator light A in the instrument cluster will illuminate green, indicating that Eco
Mode is operating. Eco Mode will remain on even when the ignition is cycled.
To turn Eco Mode OFF, press the DRIVE MODE button again and change to another mode.
Trip Modes / Trip Computer
The Trip Computer is a driver information system that appears on the display when the ignition
switch or the Engine Start/Stop button* is in the ON position.
To cycle through the different LCD Instrument Cluster modes, press the Mode button A.
When in Trip Computer mode, press the Move/Reset/OK button B to cycle through the screens.
When displaying TRIP A or TRIP B screens, press and hold the OK button B to reset the
Tripmeter to zero.
Fuel Door Operation
To open the fuel door, press the right edge of the fuel door. The fuel
door will open only when the driver’s door is unlocked.
Tighten the cap until it clicks one time; otherwise, the Check Engine
Light may illuminate.
Parking Distance Warning-Forward and -Reverse*7
The Parking Distance Warning-Forward and -Reverse is a supplemental system that is designed
to assist the driver by chiming if certain objects are detected within the sensor area behind the
vehicle when it is in R (Reverse), or within the sensor area in front of the vehicle when it is in
D (Drive).
The system is activated when the ignition is ON and the vehicle is in R (Reverse). To deactivate the
system, press the Parking Distance Warning-Forward and -Reverse button A (LED illuminated).
If the vehicle is moving at speeds over 3 mph, the system may not activate correctly.
When more than two objects are sensed at the same time, the closest one will be recognized first.
The Parking Distance Warning-Forward and -Reverse is not a substitute for proper and safe
backing-up procedures. Always drive safely and use caution when backing up. The Parking Distance
Warning-Forward and Reverse may not detect every object in front of or behind the vehicle.
Panoramic Sunroof Operation with Power Sunshade*
The sunroof operation is controlled through a multidirectional switch/lever. The ignition or Engine
Start/Stop button* needs to be in the ON position to operate the sunroof.
To slide the sunshade and sunroof:
• Auto Open: Slide the lever A backward to the farthest position and release.
• Auto Close (sunroof only): Slide the lever A forward to the farthest position and release.
To slide the sunshade only:
• Open: Slide the lever A partially backward to the first detent position and release.
• Auto Close: Slide the lever A partially forward to the first detent position and release.
To slide the sunroof (with sunshade open):
• Open: Slide the lever A backward to the first detent position and release.
• Close: Slide the lever A forward to the first detent position and release to close sunroof glass
only. Slide the lever backward to the farthest position and release to close sunroof glass and
sunshade.
To tilt the sunroof:
• Raise: Push lever A upward.
• Lower: Push lever A forward.
Electronic Parking Brake (EPB)*
The Electronic Parking Brake (EPB) system utilizes an electric motor to engage the parking brake.
Applying the Parking Brake
Depress the brake pedal and pull up the EPB switch A. Ensure that the indicator light is
illuminated on the instrument cluster. If parked on a steep incline/decline, pull up the EPB
switch for more than 3 seconds for a firmer EPB application.
Releasing the Parking Brake
The EPB will automatically release when the shifter is placed in R (Reverse) or D (Drive). To
release EPB manually, depress the brake pedal, then press the EPB switch A, with the ignition
switch in the ON position. Ensure that the indicator light is OFF.
Heated Steering Wheel*8
While the Engine Start/Stop button* is in the ON position, press the Heated Steering Wheel
button A to turn the steering wheel heater ON/OFF. The steering wheel heater will turn off
automatically in 30 minutes, or when button A is pressed again to deactivate.
OK
A
B
(Located below Gear Shift)
A
A
A
A
A

2022 Sportage SX Turbo shown on cover. Images or graphics for illustration only. *If equipped. 1Driving while distracted can result in a loss of vehicle control that may lead to an accident,
severe personal injury, and death. The driver’s primary responsibility is in the safe and legal operation of a vehicle, and use of any handheld devices, other equipment, or vehicle systems
which take the driver’s eyes, attention, and focus away from the safe operation of a vehicle or which are not permissible by law should never be used during operation of the vehicle. 2The
Bluetooth® word mark and logos are registered trademarks owned by Bluetooth SIG, Inc. and any use of such marks by Kia is under license. A Bluetooth® enabled cell phone is required to
use Bluetooth® Wireless Technology. 3Apple CarPlay, iPhone, and Siri are registered trademarks of Apple Inc., registered in the U.S. and other countries. CarPlay runs on your smartphone
cellular data service. Normal data rates will apply. 4Android Auto vehicle user interface is a product of Google and its terms and privacy statements apply. Requires the Android Auto app
on Google PlayTM store and an Android compatible smartphone running Android 5.0 Lollipop or higher. Data plan rates apply. Android, Android Auto, and Google Play are trademarks of
Google LLC or its affiliates. 5Purchase/lease of certain 2022 and newer Kia vehicles with Kia Connect (formerly UVO link) includes a complimentary 1-year subscription starting from new
vehicle retail sale/lease date as recorded by the dealer. After your complimentary 1-year Kia Connect subscription expires, continued access to the full suite of Kia Connect services available
on your Kia will require a paid subscription at the then current subscription rate or your use of certain Kia Connect features may immediately terminate. Use of Kia Connect is subject
to agreement to the Kia Connect Privacy Policy (available at owners.kia.com/us/en/privacy-policy.html) and Terms of Service (available at owners.kia.com/us/en/terms-of-service.html).
Kia Connect is transferable to subsequent owner during the original Kia Connect service term. Only use Kia Connect when safe to do so. Kia Access App is available from the Apple® App
Store® or Google PlayTM store. Kia America, Inc. reserves the right to change or discontinue Kia Connect at any time without prior notification or incurring any future obligation. Message
and data rates may apply. Cellular and GPS coverage are required to use most features. Kia Connect features may vary by model, model year, and trim level. Features, specifications, and
fees are subject to change. For more on details and limitations, visit www.kia.com or your authorized Kia dealer. Apple and App Store are registered trademarks of Apple Inc. Google and
logos are trademarks of Google LLC. Kia Connect may currently be unavailable for Model Year 2022 and newer vehicles sold or purchased in Massachusetts; please see the Kia Owner’s
Portal for updates on availability. 6Do not use remote climate control or remote start if vehicle is in an enclosed area (e.g., closed garage) or a partially enclosed area without ventilation.
Close all doors leading from adjacent living areas to the vehicle area before executing a remote climate control or remote start command. 7Driver-assist technologies are not substitutes
for safe driving, and may not detect all objects surrounding vehicle. Always drive safely and use caution. 8To avoid burn risk, use extreme caution when operating heated steering wheel.
Refer to Owner’s Manual for operating instructions and safety information. 9No system, no matter how advanced, can compensate for all driver error and/or driving conditions. Always drive
responsibly. 10Charging system only works with select devices. Refer to the vehicle’s Owner’s Manual for warnings and instructions. 11Kia received the fewest reported problems among mass
market brands in the J.D. Power 2021 U.S. Vehicle Dependability Study, based on 2018 models. See jdpower.com/awards for 2021 details.
©2021 Kia America, Inc., 111 Peters Canyon Road, Irvine, CA 92606
Downhill Brake Control (DBC)9
When driving down a steep slope, the DBC feature is designed to help make it easier to slowly
and safely negotiate such terrain without having to use excessive brake pedal force.
The DBC select button A must be actively selected by depressing the button (button pictured
left) prior to starting your descent. This system can be cancelled by pressing the DBC select
button for a second time, or it will be automatically cancelled if the vehicle is accelerated to a
speed above 38 MPH.
You may notice a slight spring-type noise or feel a mild vibration while the DBC is engaged and
operating; however, this is completely normal.
USB Ports and Use of Cables
Vehicle may contain USB port(s) for transferring data or playing music from a compatible media
device A, as well as USB port(s) designed for fast charging B.
Note: Devices will only charge while the vehicle is in ACC/ON/Start position.
If you encounter difficulty plugging in a compatible USB device, change the orientation of
the device (may be upside down). Always use the USB charging cable that has been certified
by the device manufacturer. Use of aftermarket cables is NOT recommended as they may
impact functionality.
Hill-Start Assist Control (HAC)9
The HAC system is designed to help prevent the vehicle from rolling backward on an inclined surface. This system is a supplemental
system only, and does not replace the need to apply brakes depending on road and traffic conditions. HAC holds the braking pressure
for 2 seconds after releasing the brake pedal. During the pressure-hold period, the system is designed to help provide the driver with
enough time to press the accelerator pedal to drive off.
Wireless Smartphone Charging System*10
1. System must be enabled in instrument cluster settings menu, and all doors must be closed
for it to function.
2. Place a compatible smartphone on the center of the charging pad.
3. Indicator light A will change to amber once the wireless charging begins.
4. Once charging is complete, the amber light will change to green.
Condensation Inside Exterior Vehicle Lights
Your vehicle’s exterior lights with clear lenses are vented to the atmosphere to release pressure as the air inside heats and cools. When
humid/moist air enters the headlight/tail light, the moisture may condense on the lens surface and appear as fogging or water droplets.
This is a normal condition and the moisture will evaporate when the lights are turned ON or when the temperature increases.
Rear View Monitor (RVM)7
The Rear View Monitor is a supplemental system that displays the view behind the vehicle
through the audio head unit screens while the vehicle is in Reverse.
The RVM activates when the:
1. Vehicle is ON or running.
2. Gear Shift Lever is in the R (Reverse) position.
Reminders:
Through normal use and after inclement weather or washing, the rear camera may become dirty.
Use a clean microfiber cloth to remove any dirt, debris, or spots that may have accumulated on
the lens.
While RVM is active, the volume will be lowered on all audio modes.
Most Dependable Mass Market Brand11
12V
180W
12V
180W
USB
A
(Rear Camera View
)
(Rear Display)
A
USB
USB
B
A
(Rear Camera View)
(Rear Display)
Table of contents
Other Kia Automobile manuals

Kia
Kia SOUL EV 2016 Parts list manual

Kia
Kia Carens 2022 User manual

Kia
Kia niro eco electric 2020 User manual

Kia
Kia Stonic User manual

Kia
Kia Spotage Parts list manual

Kia
Kia Sorento 2013 User manual

Kia
Kia Sorento Parts list manual

Kia
Kia Picanto 2016 User manual

Kia
Kia RIO 2020 User manual

Kia
Kia PICANTO 2017 Technical manual

Kia
Kia SORENTO 2016 User manual

Kia
Kia Stinger Parts list manual

Kia
Kia Sportage 2021 Assembly instructions

Kia
Kia Carnival 2022 User manual

Kia
Kia Cadenza 2014 User manual

Kia
Kia 2006 Automobile User manual

Kia
Kia RIO 2020 Parts list manual

Kia
Kia Sorento 2009 User manual

Kia
Kia Telluride 2023 User manual

Kia
Kia 2016 forte User manual