PART 1. GETTING STARTED 1-3
GETTING STARTED
In SIRIUS
TM
mode, automatically searches
and plays the previous or next channel.
In MEDIA mode (CD, MP3, USB, iPod
®
,
zune
®
, BT AUDIO), plays the previous or
next track, song, or file. In PANDORA
Radio, PANDORA Radio skip (Seek up).
In JUKEBOX mode, plays the previous or
next track.
Long (over 0.8 seconds)
In FM/AM mode, quickly moves through
the frequencies when the button is pressed
and held. Once released, automatically
searches and plays the previous or next
frequency.
In SIRIUS
TM
mode, quickly moves to the
previous or next channel.
In MEDIA mode (CD, MP3, USB, iPod
®
,
zune
®
, BT AUDIO), REW/FF the current
track, song, or file.
In JUKEBOX mode, REW/FF the current
track.
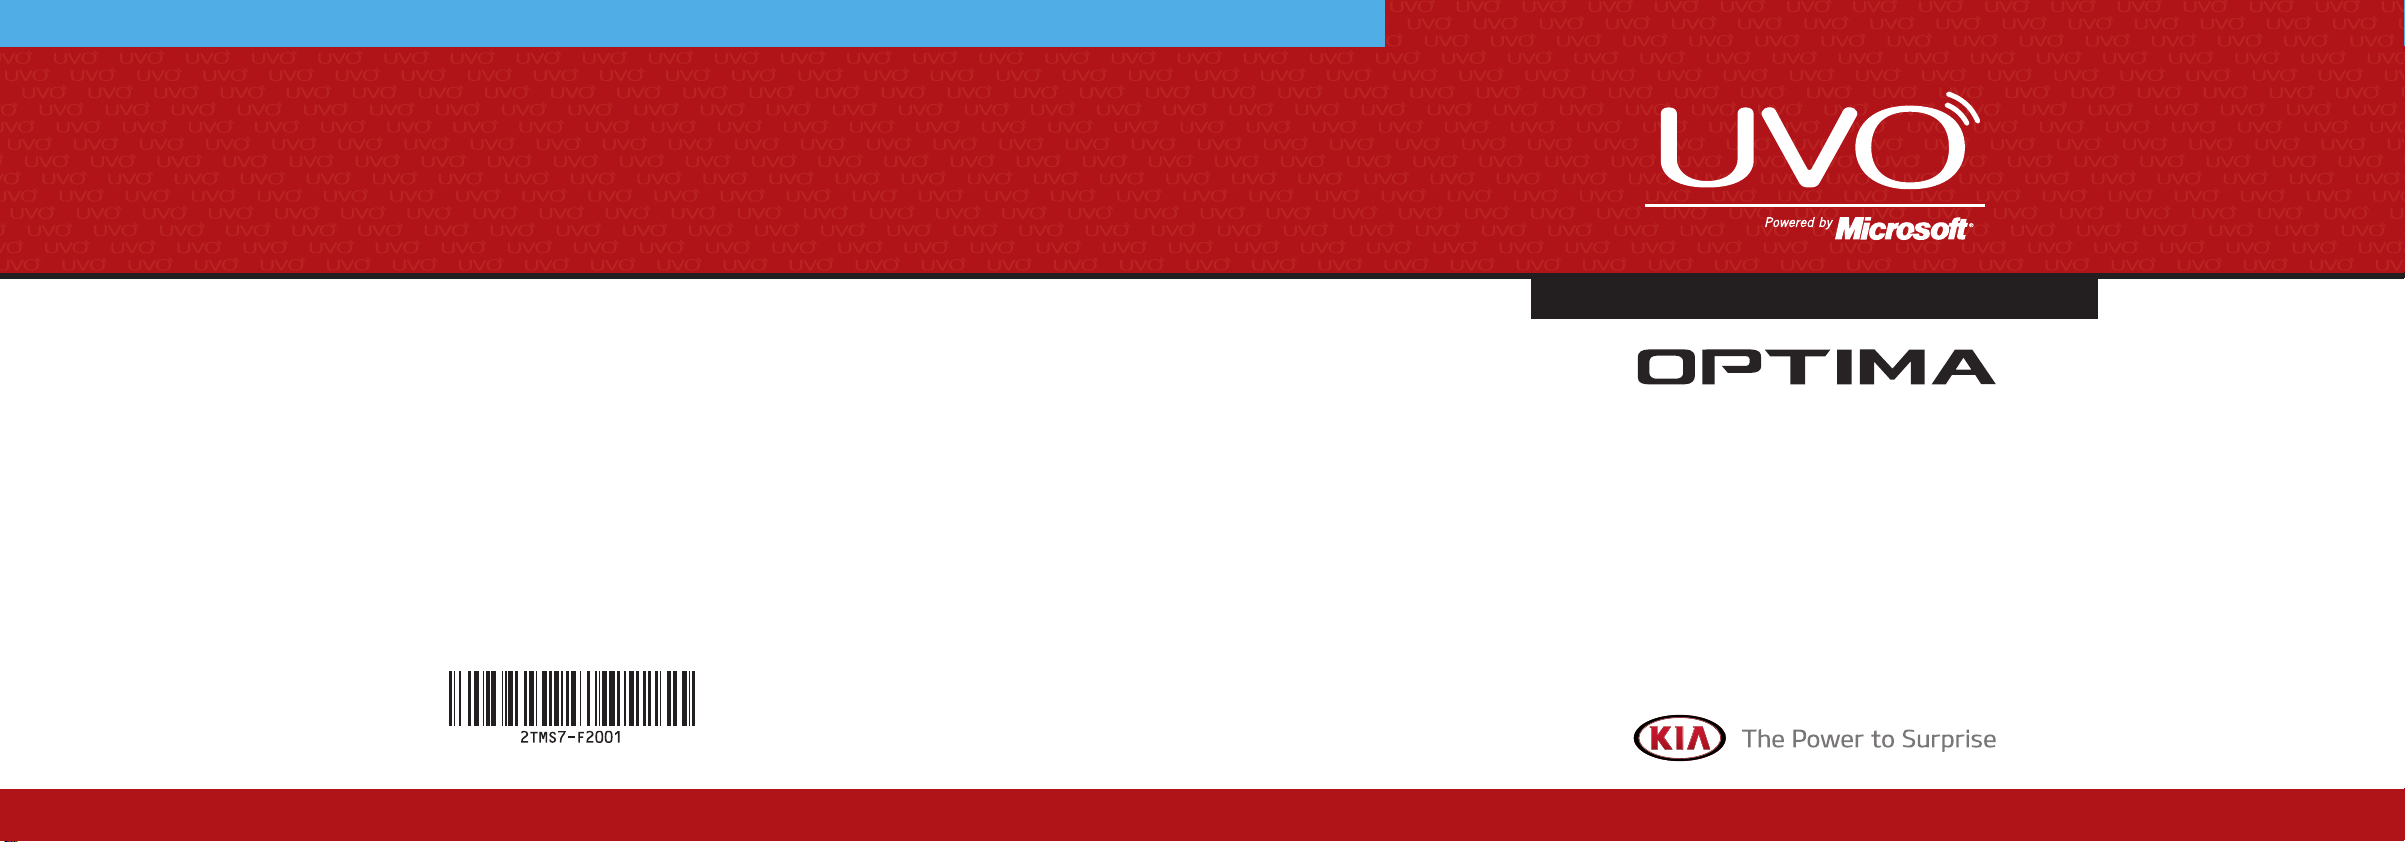
7
∨CATEGORY ∧
In SIRIUS
TM
mode, moves to the previous or
next SIRIUS
TM
category.
8
TUNE
In FM/AM mode, turn the knob to manually
search for frequencies.
In SIRIUS
TM
mode, turn the knob to
manually search for channels. Press the
knob to receive the selected channel.
In MEDIA mode (CD, MP3, USB, iPod
®
,
zune
®
), turn the knob to manually search for
the previous or next track, song, or file.
Press the knob to receive the selected
track, song, or file. In PANDORA Radio,
searches PANDORA Radio stations.
In JUKEBOX mode, turn the knob to
manually search for the previous or next
track. Press the knob to receive the
selected track.
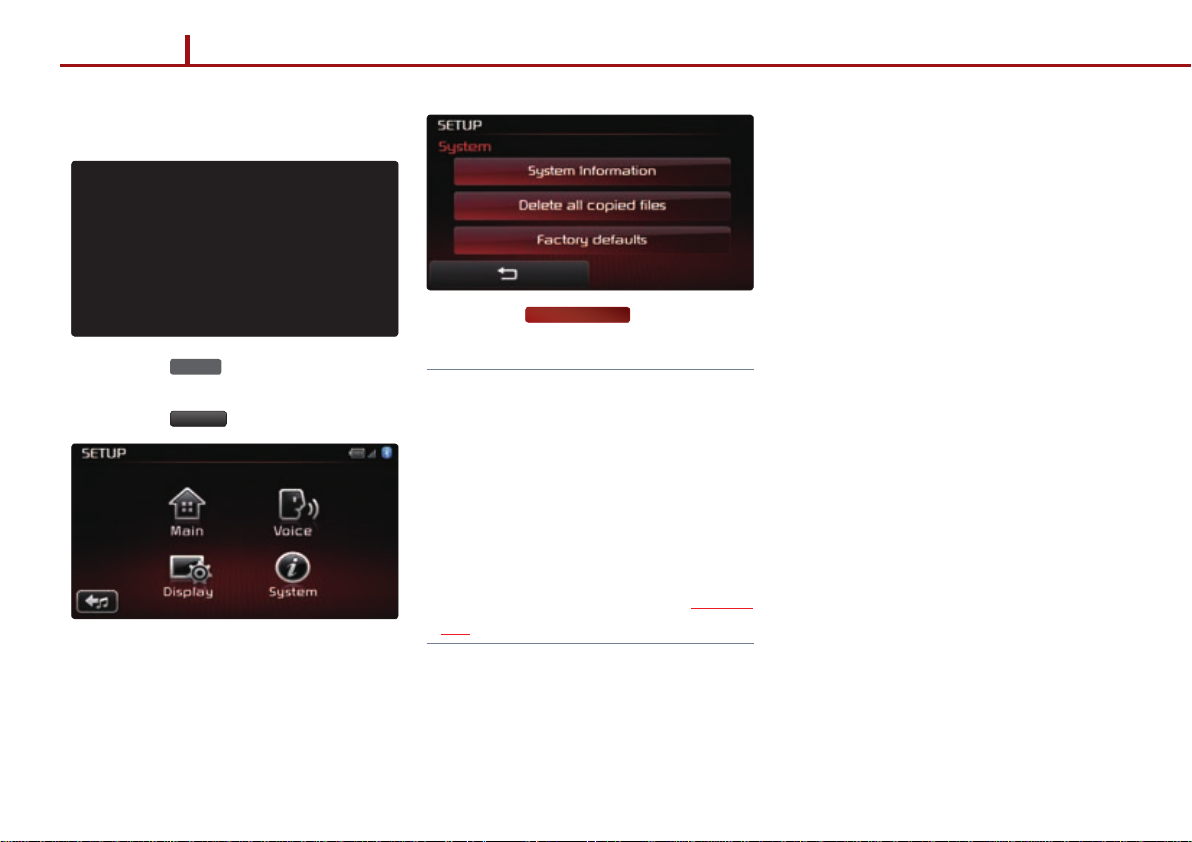
9
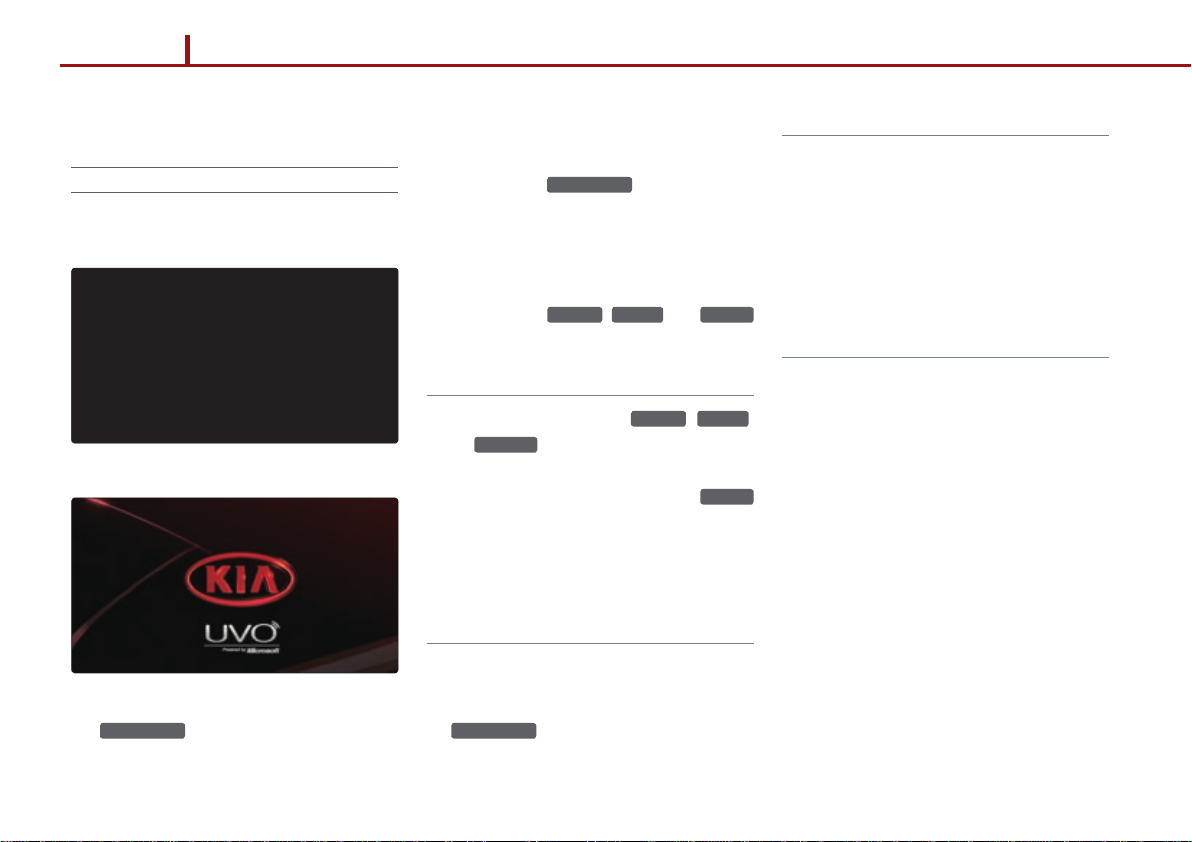
SETUP
Displays SETUP mode.
10
PHONE
Displays Bluetooth
®
wireless technology
Phone mode.
11
eServices
Displays UVO eServices mode.
12
DISP
Turns off the screen.
13
RESET
Reset the system to be used if system is
acting abnormally.