manuals.online logo
Brands
  1. Home
  2. •
  3. Brands
  4. •
  5. kincrome
  6. •
  7. Indoor Furnishing
  8. •
  9. kincrome K13086 User manual

kincrome K13086 User manual

K13086 assembly:
1. Carefully remove contents from the packaging.
2. Select a firm, level surface on which to assemble the Teardown Table with Parts washer
3. Tools required (not supplied) 2 x 14mm Spanner, 1 x 13mm Spanner and
1 x Phillips screw driver
Packed Contents
Description
Qty
Description
Qty
Parts Washer
1
Oil Tub
1
Drain Table
1
Oil Tub Stop Bracket
1
Handle Frame
1
Bolts M14 x 65mm
4
End Frame
1
Bolts M14 x 45mm
8
Fixed Sliding Frame
1
Bolts M13 x 40mm
2
Parts washer support Leg
1
Flat Washers
24
Lower Shelf
1
Spring Washers
2
Locking Castors
2
Screws
2
Castors
3
Small Flat washer
2
Nut
10
Know your product
1. Parts Washer 2. End Frame 3. Drain Table
4. Handle Frame 5. Fixed Sliding Frame 6. Lower Shelf
7. Locking Castors 8. Castor 9. Parts Washer Support Leg
10. Sliding frame 11. Sliding Frame Lock 12. Oil Tub
4
5
6
7
8
3
2
1
9
10
11
12
Assembling Lower storage Section
1. Locate the Handle frame (4), End Frame (2) and the Lower Shelf (6).
2. Align the holes in the bottom of the Handle frame (4) and End Frame (2) with the 4 holes
in the corners of the Lower Shelf (6).
3. Place flat washer onto bolt M14 x 45mm and insert Bolt through Handle frame (4) and
Lower Shelf (6).
4. Place flat washer and nut onto end of bolt M14 x 45mm and hand tighten.
5. Repeat steps 3 and 4 for remaining holes in Lower Shelf (6).
Note: Do not fully tighten nuts at this time.
Attaching Fixed Sliding Frame
1. Locate the Fixed Sliding Frame (5) and Parts Washer support (9).
2. Sit the Fixed Sliding Frame (5) into the cross sections of the Handle frame (4) and on top of
End Frame (2).
3. Ensure Sliding Frame Lock (11) is disengaged, gently extend out the Sliding Frame (10)
extended position.
4. Align the holes of the fixed Sliding frame (5) with the holes in the Handle frame (4) and End
Frame (2).
5. Place flat washer onto bolt M14 x 65mm and insert Bolt through Handle frame (4) and Fixed
Sliding Frame (5).
6. Place flat washer onto bolt M14 x 65mm and insert bolt through end frame (2) and Fixed
Sliding Frame (5).
7. Place flat washer and nut onto end of bolt M14 x 65mm and hand tighten.
8. Sit the Parts Washer support (9) on the underside of the Sliding Frame (10).
9. Insert the bolts M13 x 40mm and flat washer through from the bottom of the bracket of the
Parts Washer support (9) and through the fixed Sliding Frame (10) holes.
Note: If the bolt is not inserted from the bottom of the bracket it limit on how far the parts
washer can slide under the teardown table.
10. Place flat washer, spring washer and nut onto end of bolt M14 x 45mm and hand tighten.
Note: Do not fully tighten nuts at this time.
Attaching Drain Table
1. Locate the Drain Table (3).
2. Align the holes in the top of the Handle Frame (4) and End Frame (2) with the 4 holes in the
corners of the Drain Table (3).
Note: Ensure the drain hole is located near the Handle Frame (4).
3. Place flat washer onto bolt M14 x 45mm and insert through Handle Frame (4) and Drain
Table (3) and hand tighten.
4. Repeat steps 2 and 3 for remaining holes in End Frame (2).
Note: Do not fully tighten nuts at this time.
Attaching the Castors
1. Locate the two Locking Castors (7) and the three Castors (8).
2. Turn the Tear down table upside down on a piece of cardboard or old carpet.
3. Align the Locking Castors (7) with the Handle Frame (4) holes and tighten.
4. Using 2 Castors (8) screw into the bottom of the End Frame (2) holes.
5. Using 1 Castor (8) screw into the bottom of the Parts Washer Support (9) hole.
6. Tighten all castors.
7. Return the Teardown Table to the upright position.
Attaching the oil tray
1. Locate the Oil Tray (12) and Oil Tray Stop Bracket.
2. Align the holes of the Oil Tray Stop Bracket with the holes on the outside of the Drain Table
(3).
3. Place the small flat washer on the screw and insert through the Oil Tray Stop Bracket into
the Drain Table (3) and tighten.
4. Align the Oil Tray (12) with the oil tray supports located on the underside of the Drain Table
(3) and gently slide into place.
Tightening all Nuts and Bolts
1. Ensure the Teardown table is correctly assembled as specified above.
2. Using 2 x 14mm Spanners, tighten all the Lower Shelf (6) bolts and nuts.
3. Using 2 x 14mm Spanners, tighten all the Sliding Frames (10) bolts and nuts.
4. Using 1 x 14mm Spanner, tighten all the Drain Table (3) bolts and nuts.
5. Using 1 x 13mm Spanner and 1 x 14mm Spanner tighten all the Parts Washer support (9)
bolts and nuts.
Mounting the parts washer:
1. Ensure Sliding Frame Lock (11) is disengaged, gently extend out the Sliding Frame (10)
extended position.
2. Place the Parts Washer (1) into the sliding frame.
Caution: Ensure the power cord does not get caught between the Parts Washer (1) and
Sliding Frame (10) this may result in damage to the supply cord.

Other kincrome Indoor Furnishing manuals

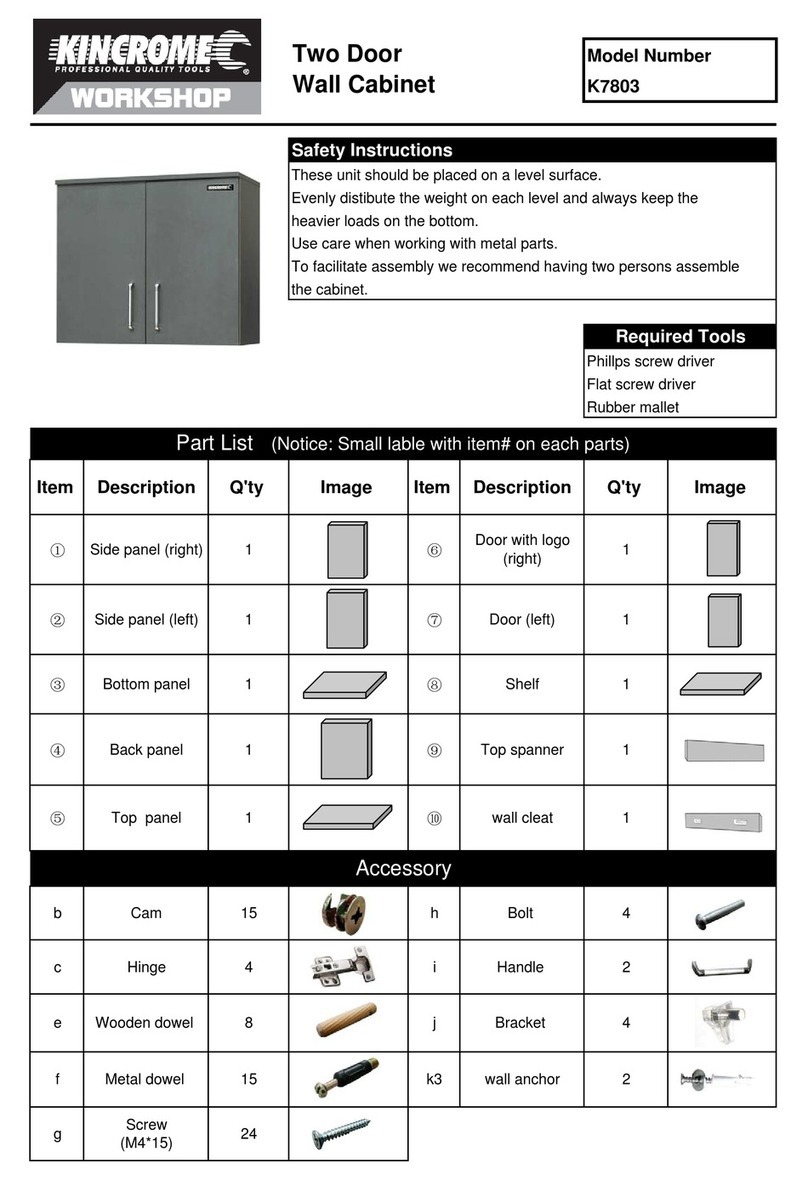
kincrome K7803 User manual

kincrome

kincrome K7803 User manual

kincrome K7529 User manual

kincrome

kincrome K7529 User manual

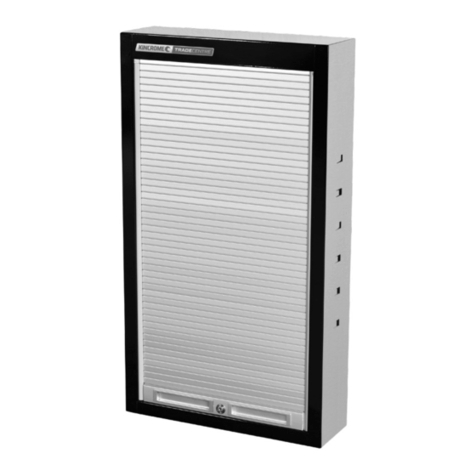
kincrome Trade Center K7369 User manual

kincrome

kincrome Trade Center K7369 User manual

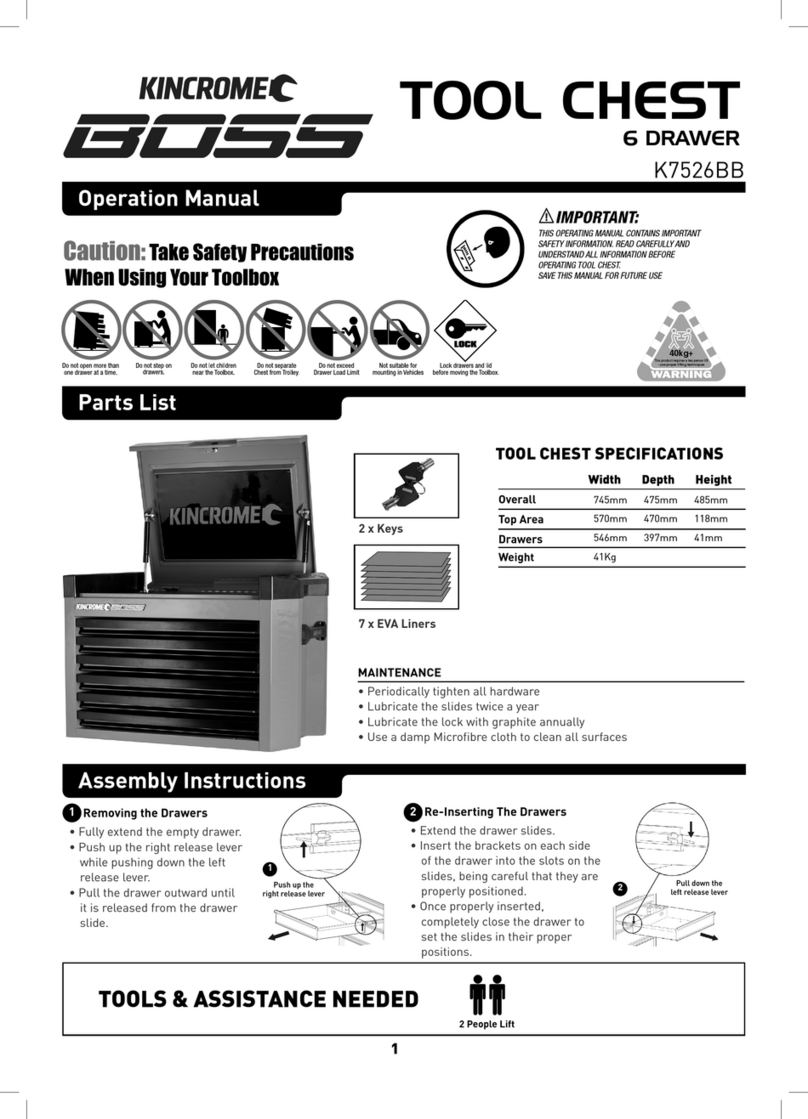
kincrome Boss K7526BB User manual

kincrome

kincrome Boss K7526BB User manual

kincrome 51065 User manual

kincrome

kincrome 51065 User manual

kincrome K7365 User manual

kincrome

kincrome K7365 User manual

kincrome K7802 User manual

kincrome

kincrome K7802 User manual

Popular Indoor Furnishing manuals by other brands

Simpli Home AXREG007-BL Assembly guide

Simpli Home

Simpli Home AXREG007-BL Assembly guide

HAMPTON BAY DB18 Use and care guide

HAMPTON BAY

HAMPTON BAY DB18 Use and care guide

J D Williams YO831 Assembly instructions

J D Williams

J D Williams YO831 Assembly instructions

Polywood CC4423 Assembly instructions

Polywood

Polywood CC4423 Assembly instructions

QU-AX LOFT 54F 01 00 Series manual

QU-AX

QU-AX LOFT 54F 01 00 Series manual

Simpli Home brooklyn + max WyndenHall AXCLRY-08-WHG manual

Simpli Home

Simpli Home brooklyn + max WyndenHall AXCLRY-08-WHG manual

Jason.L San Fran System installation guide

Jason.L

Jason.L San Fran System installation guide

Closet Maid ExpressShelf installation instructions

Closet Maid

Closet Maid ExpressShelf installation instructions

LOWE'S 1960VA-36-267-900-UM manual

LOWE'S

LOWE'S 1960VA-36-267-900-UM manual

Twin Star Home 128419 manual

Twin Star Home

Twin Star Home 128419 manual

Room & Board Lark Bunk Bed Assembly instructions

Room & Board

Room & Board Lark Bunk Bed Assembly instructions

Polywood SHR22 Assembly instructions

Polywood

Polywood SHR22 Assembly instructions

Little Seeds B346946341COM1 Assembly manual

Little Seeds

Little Seeds B346946341COM1 Assembly manual

Fromm&Starck STAR DESK 40 user manual

Fromm&Starck

Fromm&Starck STAR DESK 40 user manual

Nowy Styl eModel 2.0 Original user guide

Nowy Styl

Nowy Styl eModel 2.0 Original user guide

Foppapedretti ilMettimpiega Instructions for assembly and use

Foppapedretti

Foppapedretti ilMettimpiega Instructions for assembly and use

SouthShore 120 Assembly instructions

SouthShore

SouthShore 120 Assembly instructions

HAMPTON BAY 191-A19-26-30T-SLWH Use and care guide

HAMPTON BAY

HAMPTON BAY 191-A19-26-30T-SLWH Use and care guide

manuals.online logo
manuals.online logoBrands
  • About & Mission
  • Contact us
  • Privacy Policy
  • Terms and Conditions

Copyright 2025 Manuals.Online. All Rights Reserved.