Issue
F
C.S.
05/10/09 Trading Estate Farnham Surrey England Doc. No. TD 76
Page 8 of 12
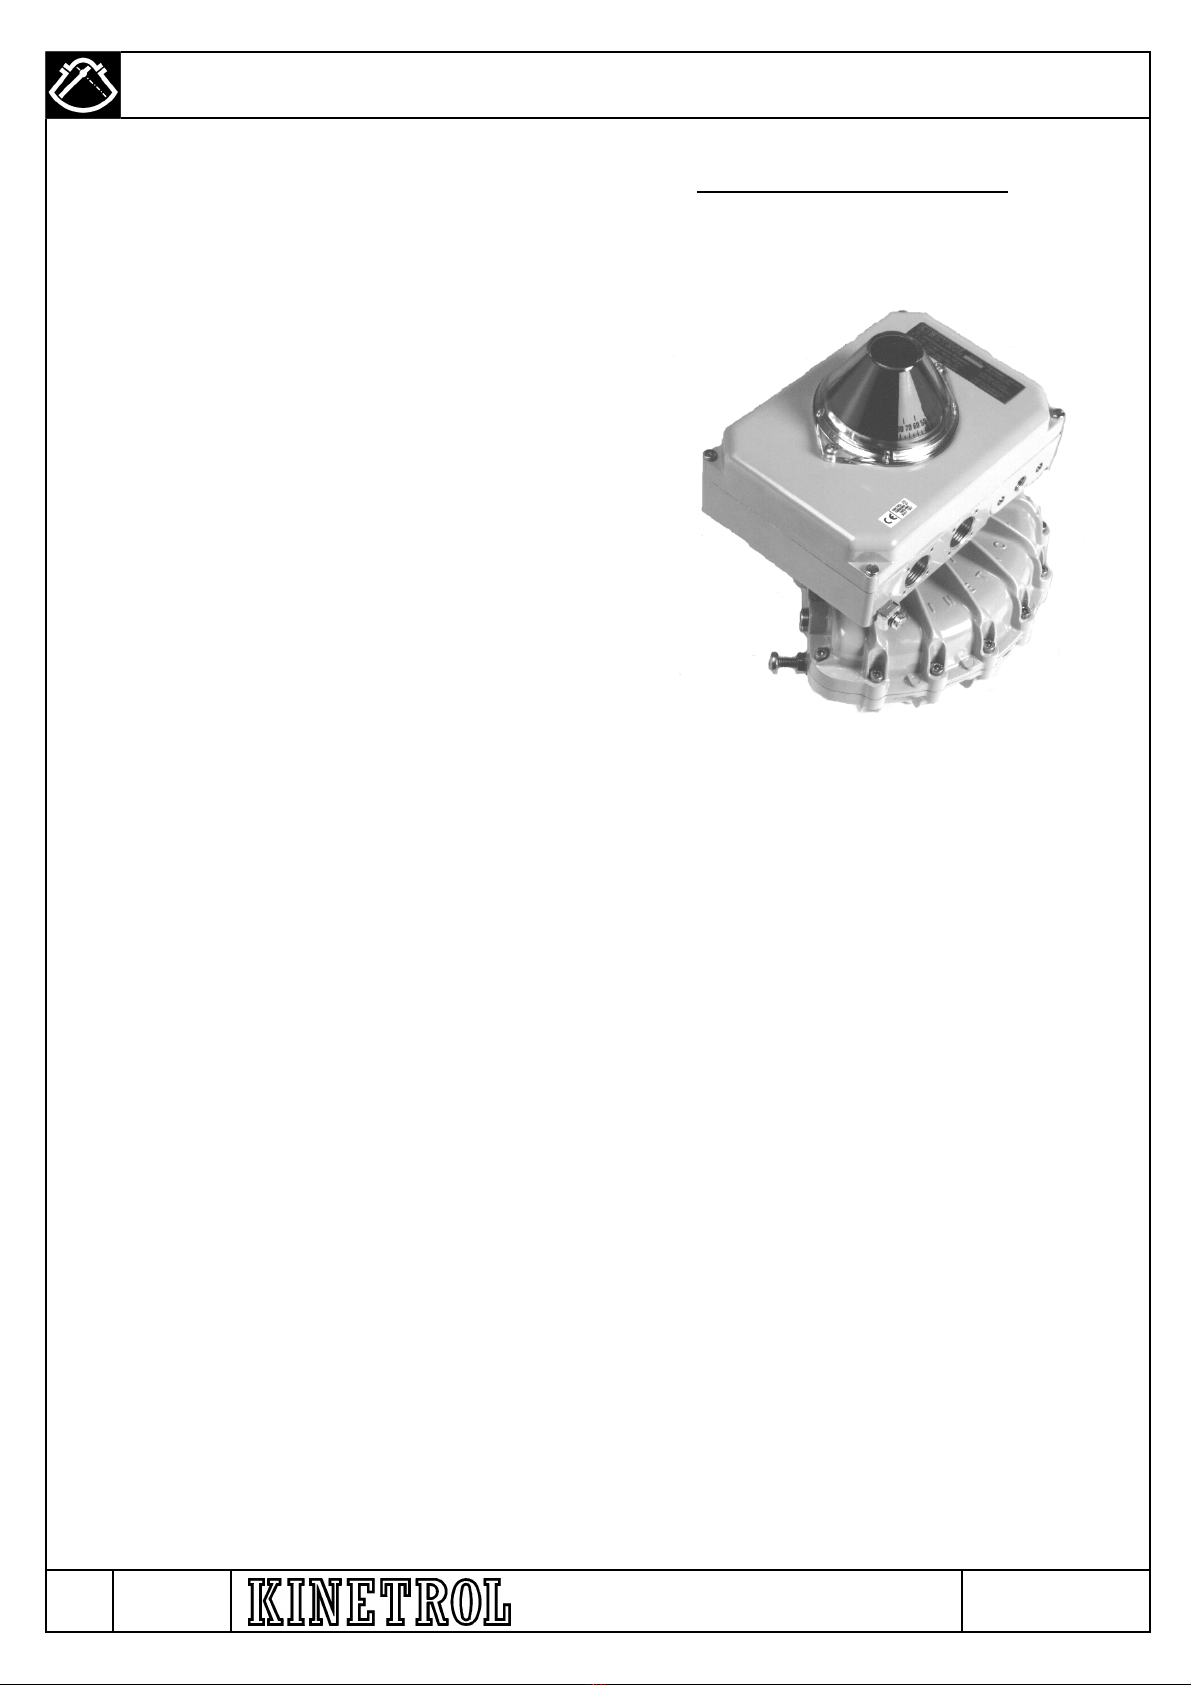
Title : Installation, Operation & Maintenance Instructions – Digital EL Positioner
4. SETUP (continued).
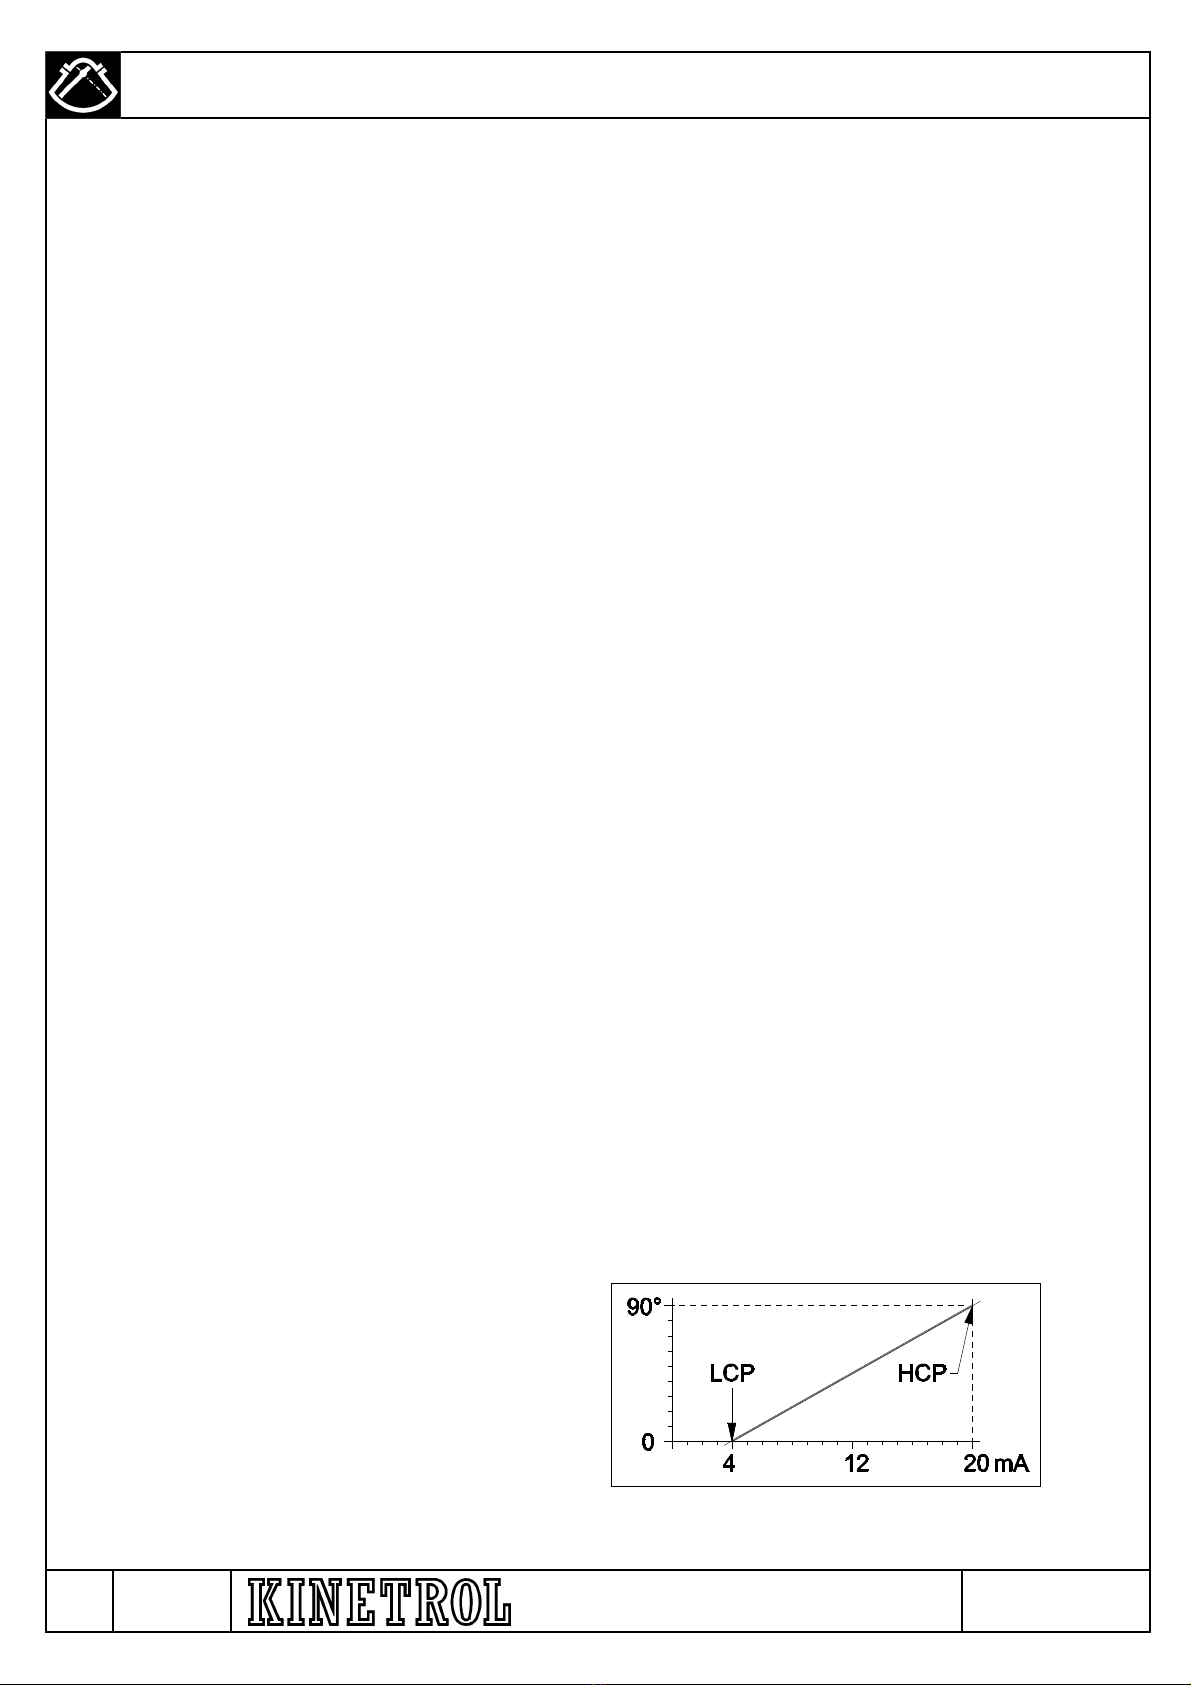
4.8 Low Current Point and High Current Point Settings. (continued).
Table 1. Various Sets of LCP and HCP Settings Table
To set LCP, select the LOW parameter in Setup Mode by pressing the UP button until the LOW LED lights continuously. Press
the SET button to select Adjust Mode, and the LOW LED will blink. Adjust the input signal current within the range 4-20mA to the
value you want to define for the Low Current Point – note that changes in input current within the 4-20mA band do not result in
positioner movement at this stage – the positioner holds the actuator at the angle where it was before Adjust Mode was
selected, irrespective of input current. Press the UP or DOWN buttons to move the positioner to the angle you want to define for
the Low Current Point – if you hold the button down continuously, the positioner will traverse the actuator steadily, or if you give
short blips it will move approximately 1/40 degree (one fortieth) for each blip, to allow precise edging into exactly the required
position. When the actuator is in exactly the position you want, and the signal is adjusted to exactly the value you want (this can
be readjusted after the position has been set if you want), press the SET button again to record the signal and position as the
Low Current Point, whereupon the actuator will make a small leap and then settle back to the LCP again, the positioner will
return to Setup Mode, and the LOW LED will light continuously. The positioner will now respond to its input signal again.
Note: As soon as the SET button is pressed, the LCP position and signal are stored in non-volatile memory, and are retained
even if the positioner is de-energised before leaving Setup Mode.
To set HCP, select the HIGH parameter in Setup Mode by pressing the UP button until the HIGH LED lights continuously. Press
the SET button to select Adjust Mode, and the HIGH LED will blink. Adjust the input signal current within the range 4-20mA to
the value you want to define for the High Current Point – note that changes in input current within the 4-20mA band do not result
in positioner movement at this stage – the positioner holds the actuator at the angle where it was before Adjust Mode was
selected, irrespective of input current. Press the UP or DOWN buttons to move the positioner to the angle you want to define for
the High Current Point – if you hold the button down continuously, the positioner will traverse the actuator steadily, or if you give
short blips it will move approximately 1/40 degree (one fortieth) for each blip, to allow precise edging into exactly the required
position. When the actuator is in exactly the position you want, and the signal is adjusted to exactly the value you want (this can
be readjusted after the position has been set if you want), press the SET button again to record the signal and position as the
High Current Point, whereupon the actuator will make a small leap and then settle back to the HCP again, the positioner will
return to Setup Mode, and the HIGH LED will light continuously. The positioner will now respond to its input signal again.
Note: As soon as the SET button is pressed, the HCP position and signal are stored in non-volatile memory, and are retained
even if the positioner is de-energised before leaving Setup Mode.
4.9 Reversing Clockwise/ Anticlockwise Sense of the Positioner.
The LCP and HCP settings described in the previous section can be used with complete success to reverse the sense of the
positioner, using settings such as the reverse settings listed in Table 1. However, this will not change the direction of movement
on loss of signal – see the next section for how to set this as desired.
Low Current Point High Current Point Description
4 0 20 90 Forward Acting, 100% range
4 90 20 0 Reverse Acting, 100% range
4 0 12 90 Split Range Forward Acting, 50% bottom range
4 90 12 0 Split Range Reverse Acting, 50% bottom range
12 0 20 90 Split Range Forward Acting, 50% top range
12 90 20 0 Split Range Reverse Acting, 50% top range
4 0 20 45 Forward Acting, 200% range
4 45 20 0 Reverse Acting, 200% range
F - AR 4587