3
FreeStyle T44 LED DMX Kits
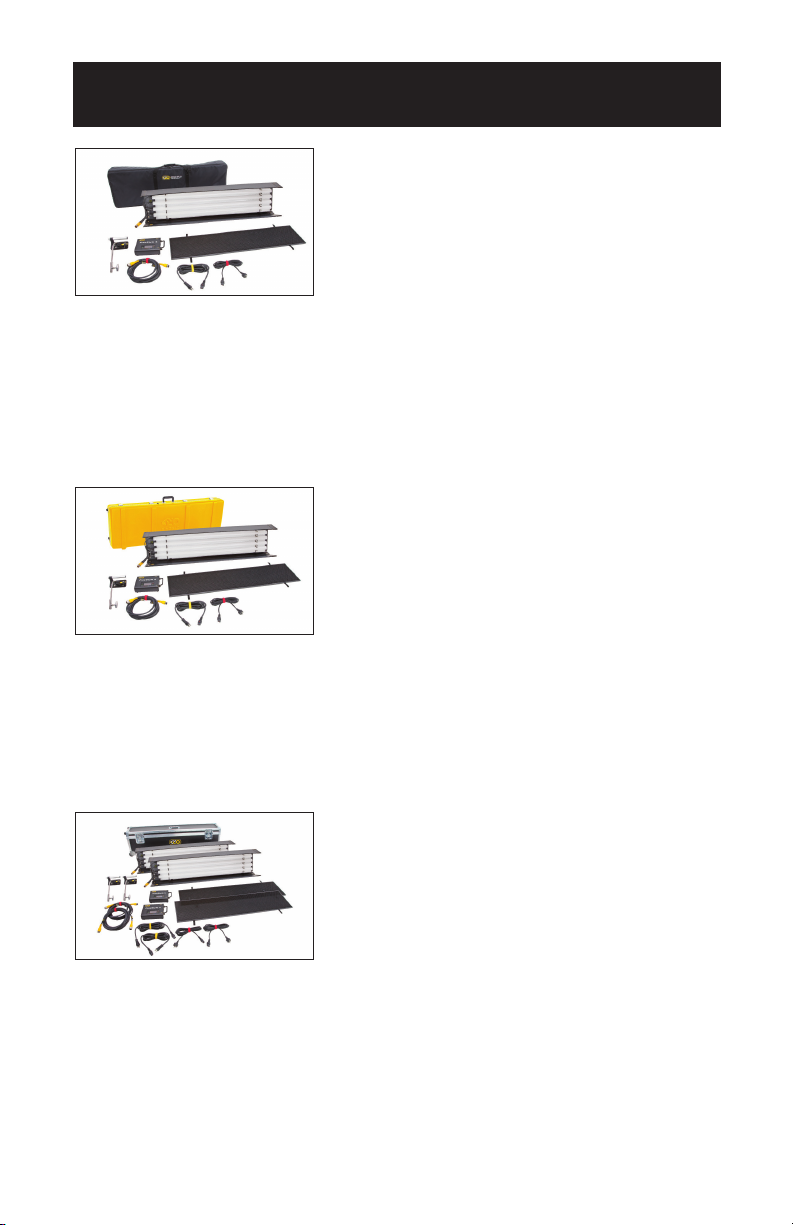
KIT-FT44BU
FreeStyle T44 LED DMX Kit w/ Soft Case,
Univ
Kit Contents:
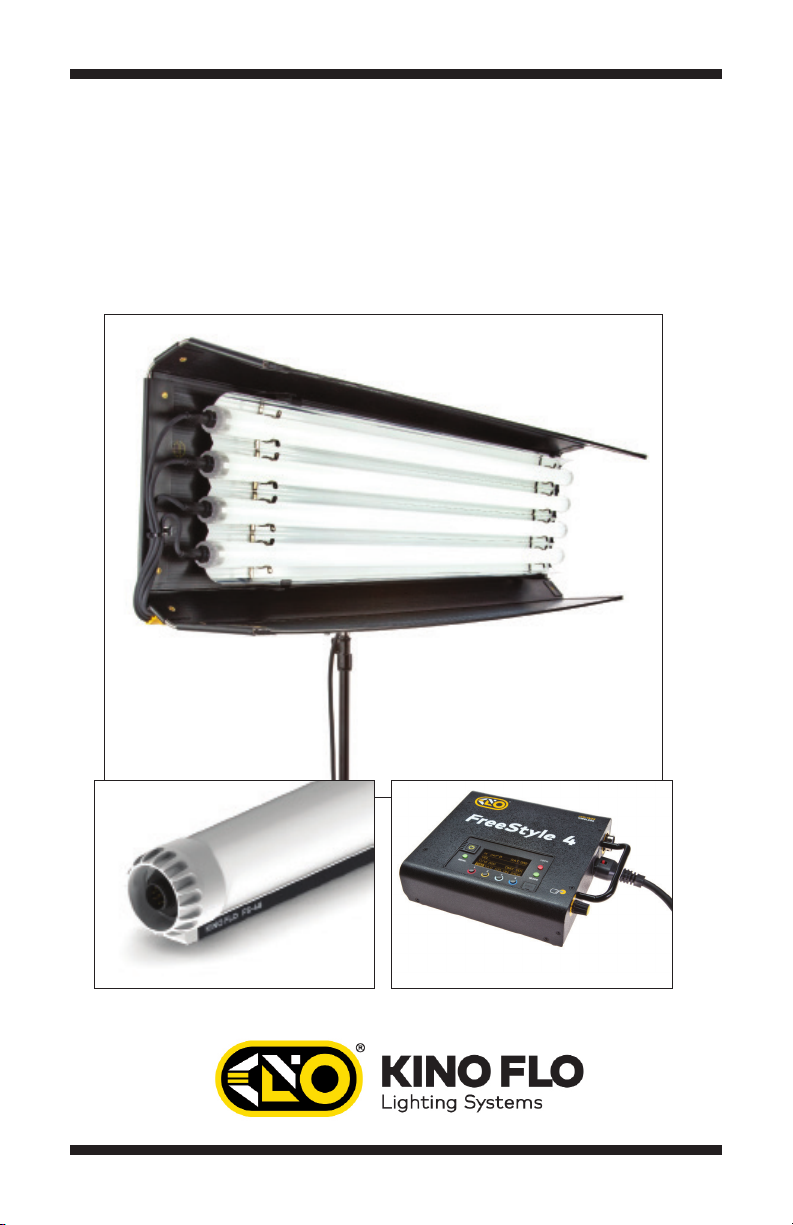
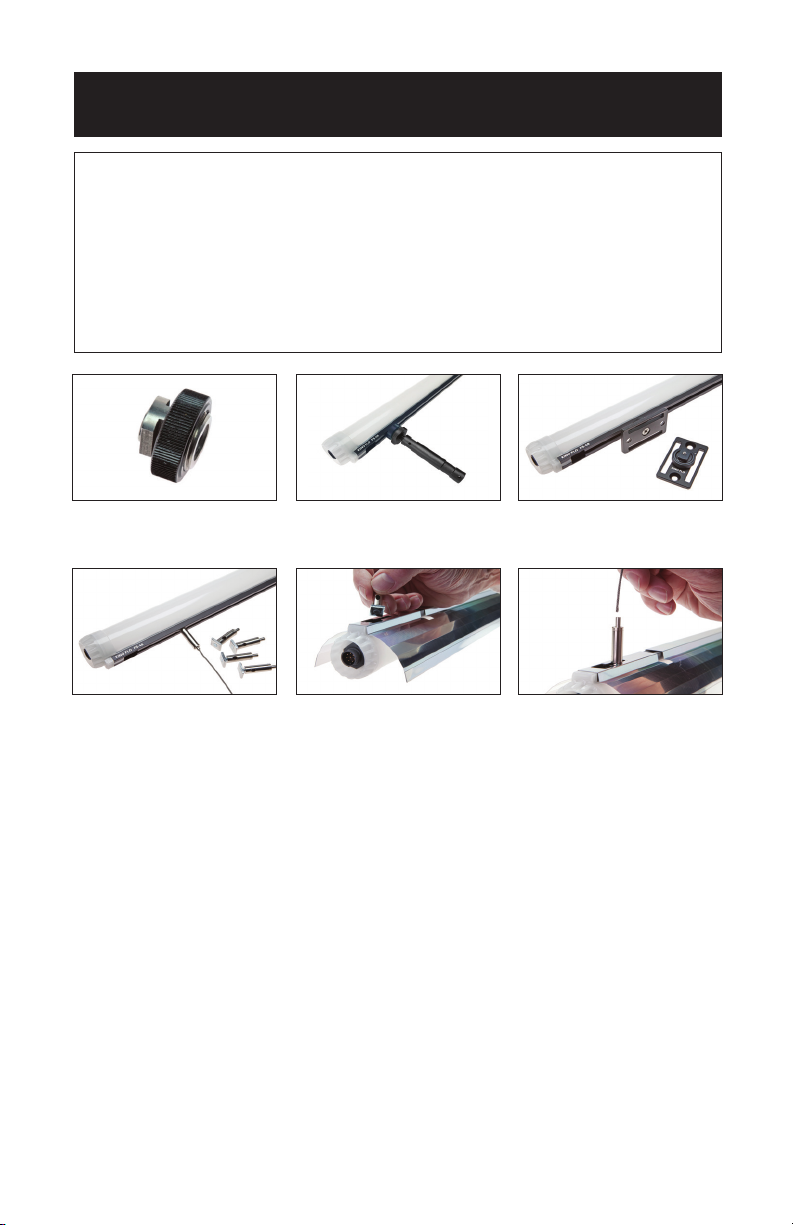
1 FreeStyle T44 LED Fixture
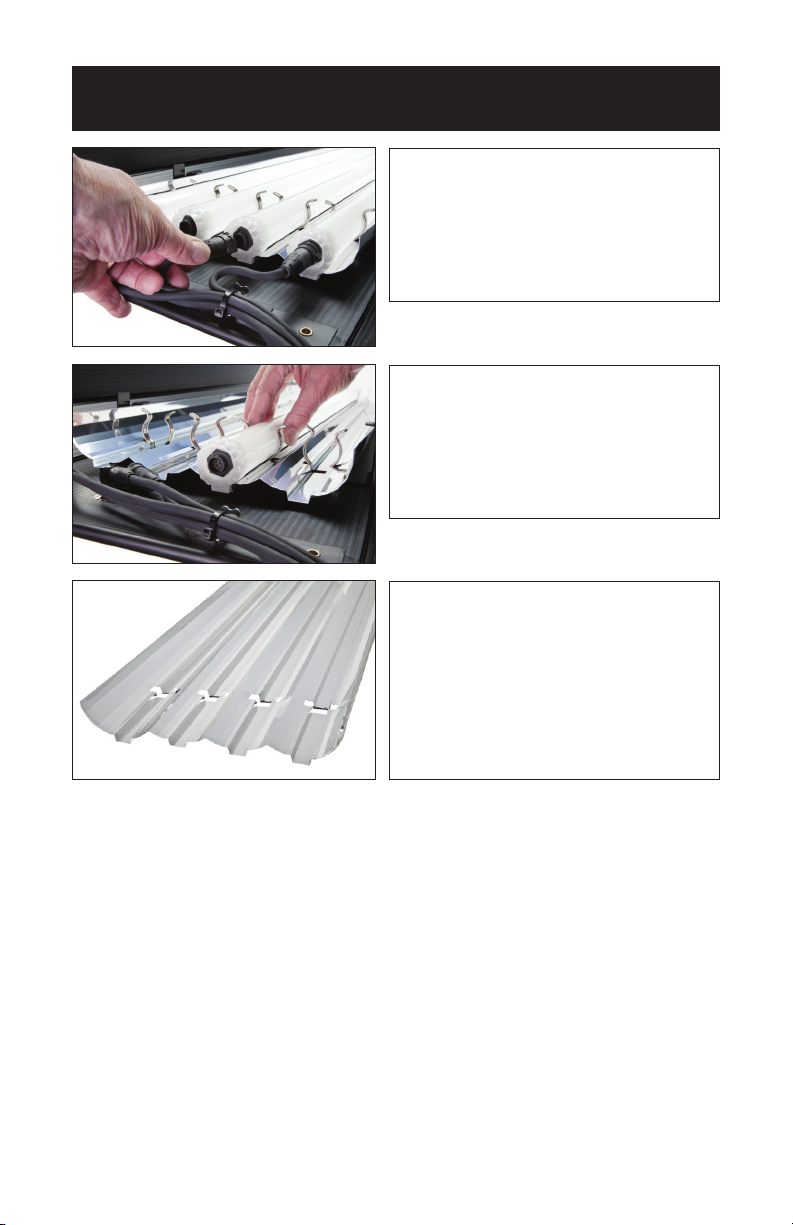
4 FreeStyle 4ft LED Tube
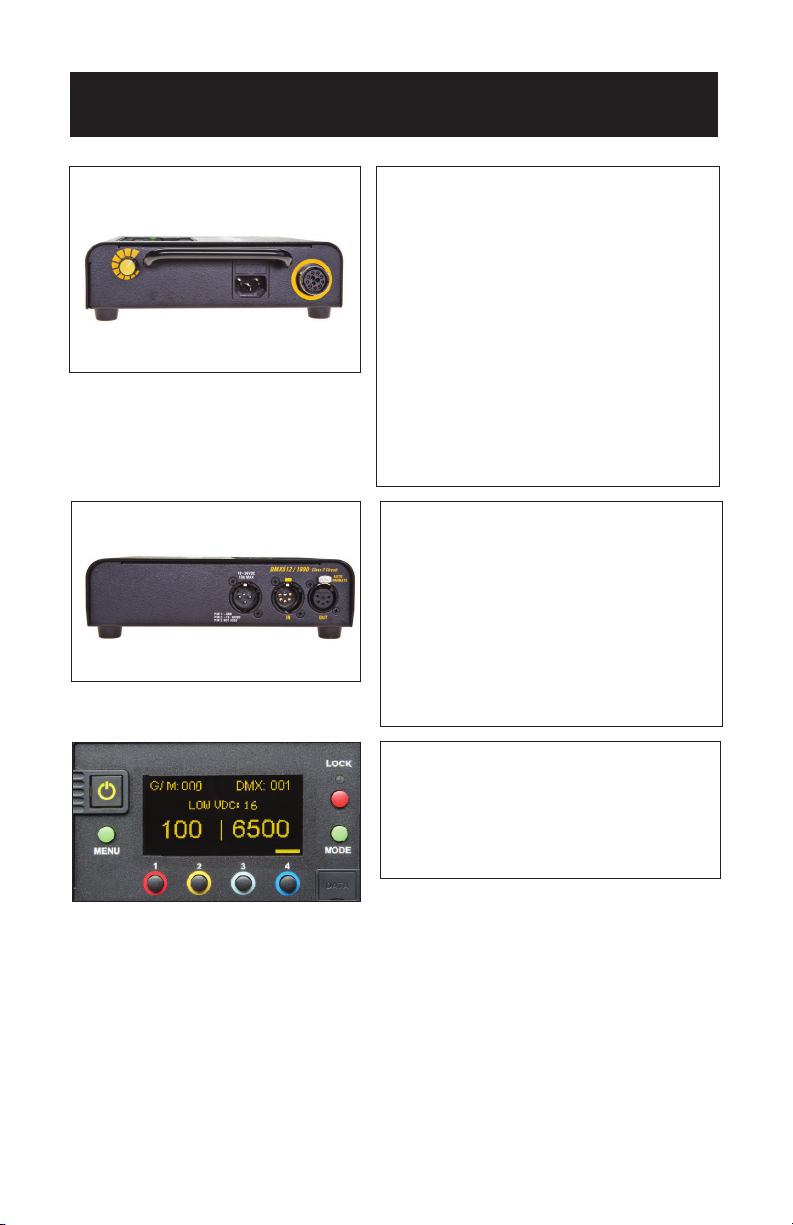
1 FreeStyle 140 LED DMX Controller
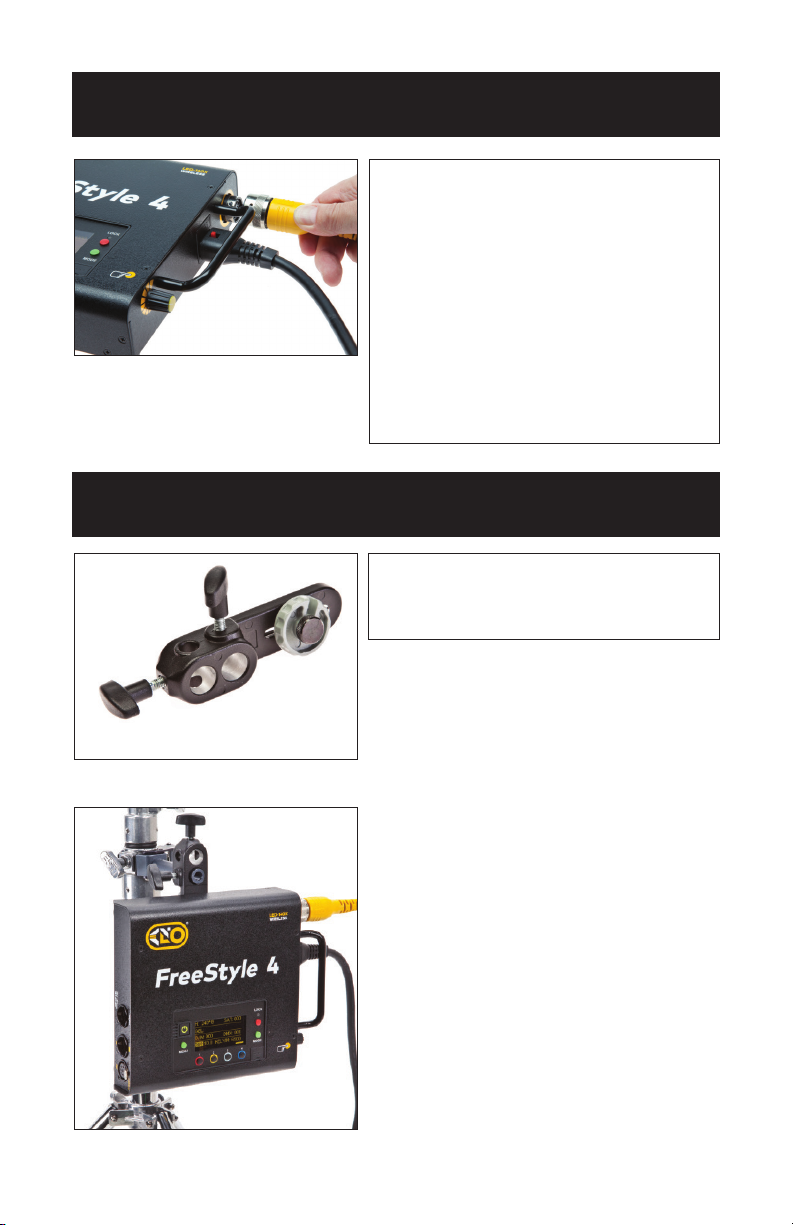
1 MTP-BG41 Mount w/ Baby Receiver (16mm)
1 Extension, 25ft
1 Soft Case
Dimensions: Weight:
55 x 8 x 19.5” 25 lb
(140 x 20.5 x 49.5cm) (11kg)
KIT-FT44U
FreeStyle T44 LED DMX Kit w/ Travel Case, Univ
Kit Contents:
1 FreeStyle T44 LED Fixture
4 FreeStyle 4ft LED Tube
1 FreeStyle 140 LED DMX Controller
1 MTP-BG41 Mount w/ Baby Receiver (16mm)
1 Extension, 25ft
1 Travel Case
Dimensions: Weight:
54.5 x 9 x 21” 44.5 lb
(138 x 23 x 53cm) (20kg)
KIT-FT44GU
FreeStyle T44 Gaffer LED DMX Kit, Univ (2-Unit)
Kit Contents:
2 FreeStyle T44 LED Fixture
8 FreeStyle 4ft LED Tube
2 FreeStyle 140 LED DMX Controller
2 MTP-BG41 Mount w/ Baby Receiver (16mm)
2 Extension, 25ft
1 Ship Case
Dimensions: Weight:
56.5 x 13 x 16.5” 70.5 lb
(143.5 x 33 x 42cm) (32kg)
FreeStyle T44 LED DMX Kit
w/ Soft Case
FreeStyle T44 LED DMX Kit
w/ Travel Case
FreeStyle T44 Gaffer LED
DMX Kit (2-Unit)