8
Kirby Lester, Automation by Capsa Healthcare • 8170 Dove Parkway • Canal Winchester, OH 43110 USA
[email protected] •
800.437.6633
•
All
Rights
Reserved
•
U.S.
Patent
Nu
mbers 5,317,645 & 5,768,327 5DIM-380301-OM-Rev B
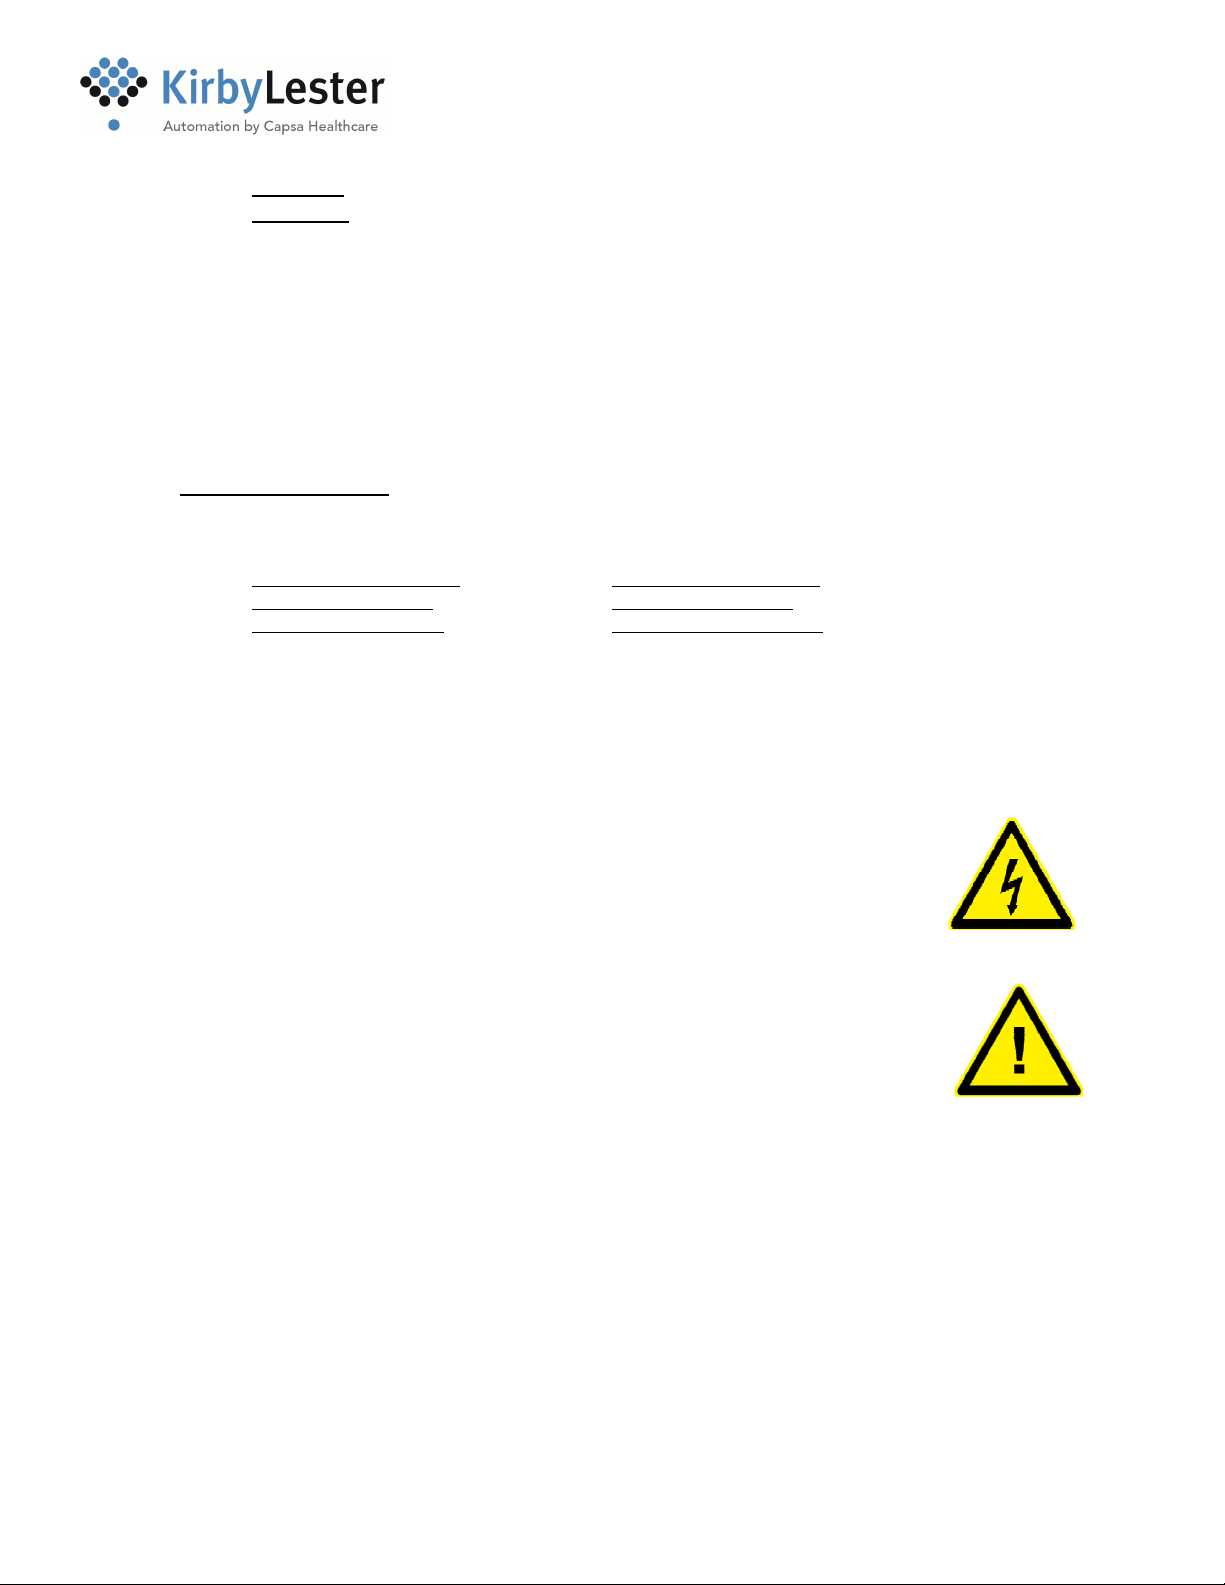
5) Safeguards
Read these instructions carefully before using the KL1.
Bring the KL1 to room temperature before turning it on for the first time.
Unplug the KL1 before cleaning.
Do not immerse the KL1 in water.
Do not place the KL1 on an unstable surface.
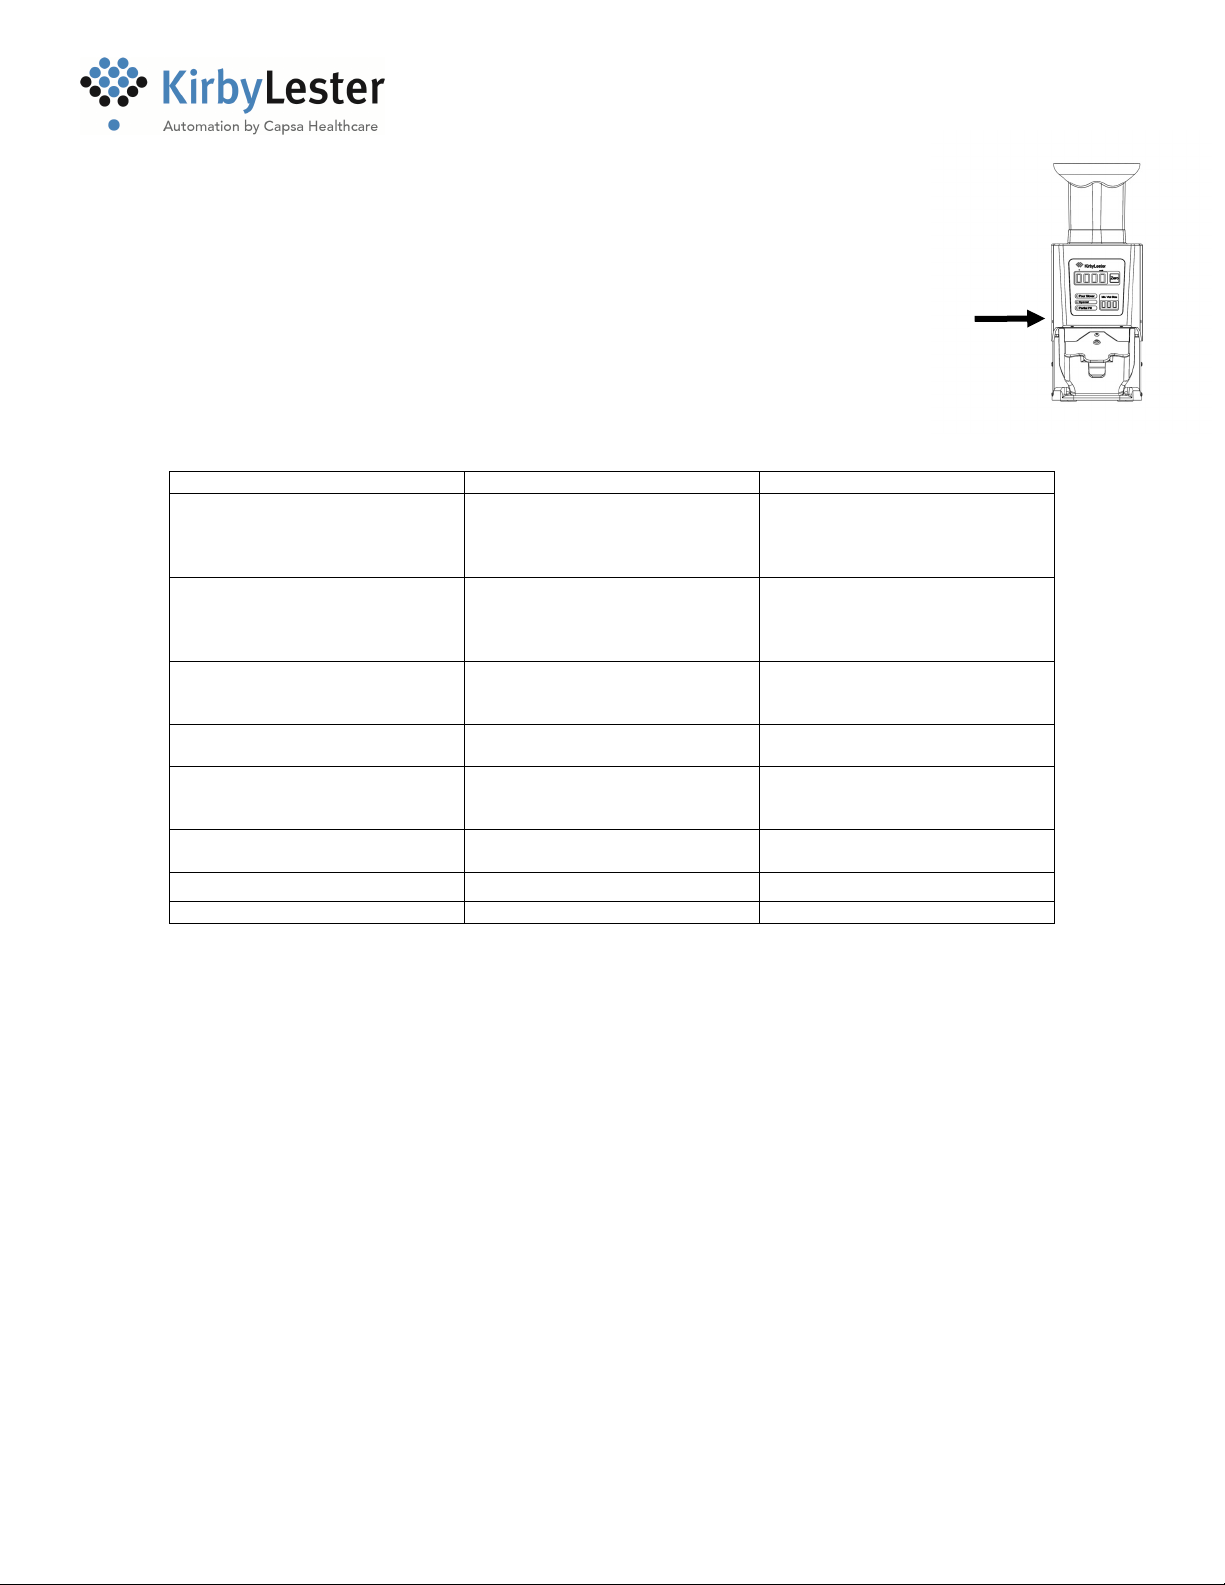
Lift the KL1 carefully from the bottom or sides (Fig.13).
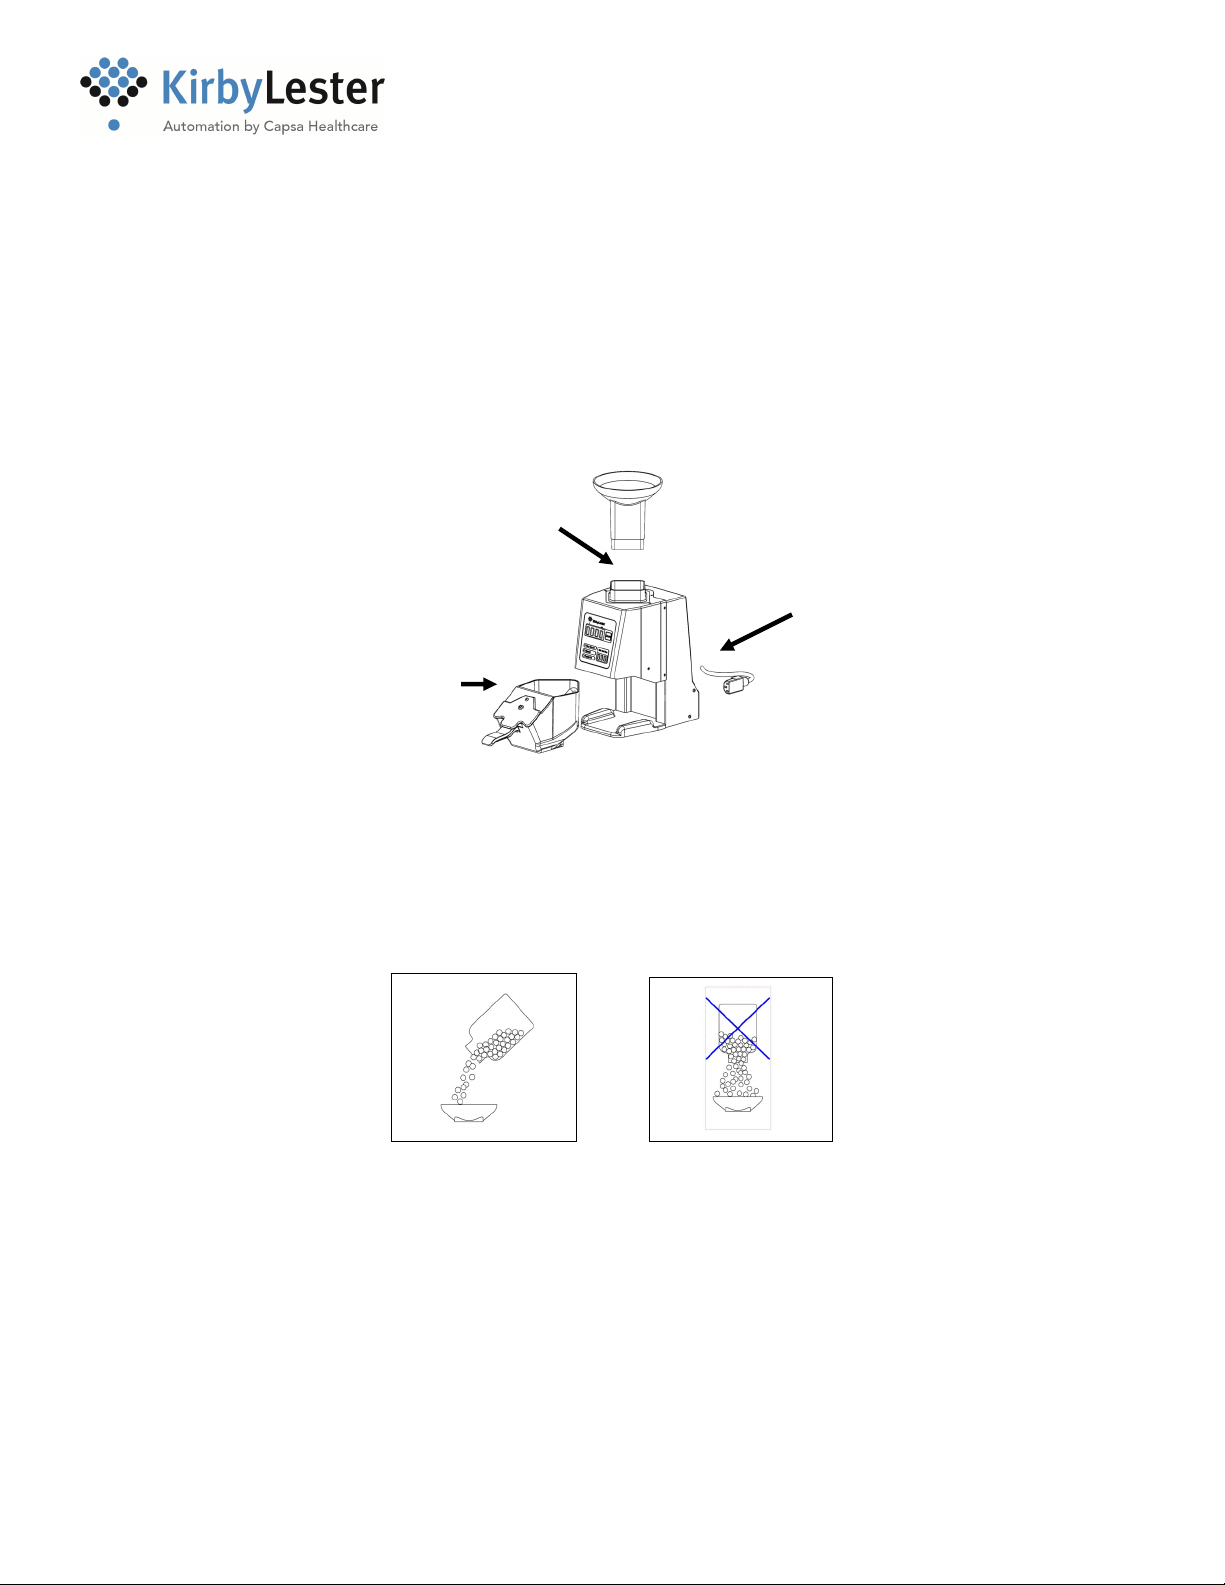
Do not pour liquids into the KL1.
6) Troubleshooting
Problem or Error Code Probable Cause Possible Solution(s)
E-1, E-9, O-S or unit counts by
itself
Glass detector windows contain
dust, residue or are cracked.
Clean glass detector windows
thoroughly. Send unit in for repair
if glass detector window is
cracked.
Overcounts (more counted than
poured)
Glass detector windows contain
dust, residue or are cracked. Or
pill fragments were poured
through.
Clean glass detector windows
thoroughly. Send unit in for repair
if glass detector window is
cracked. Remove pill fragments.
Undercounts (fewer counted than
poured)
Pouring too fast, or pouring
tablets directly into the funnel
hole.
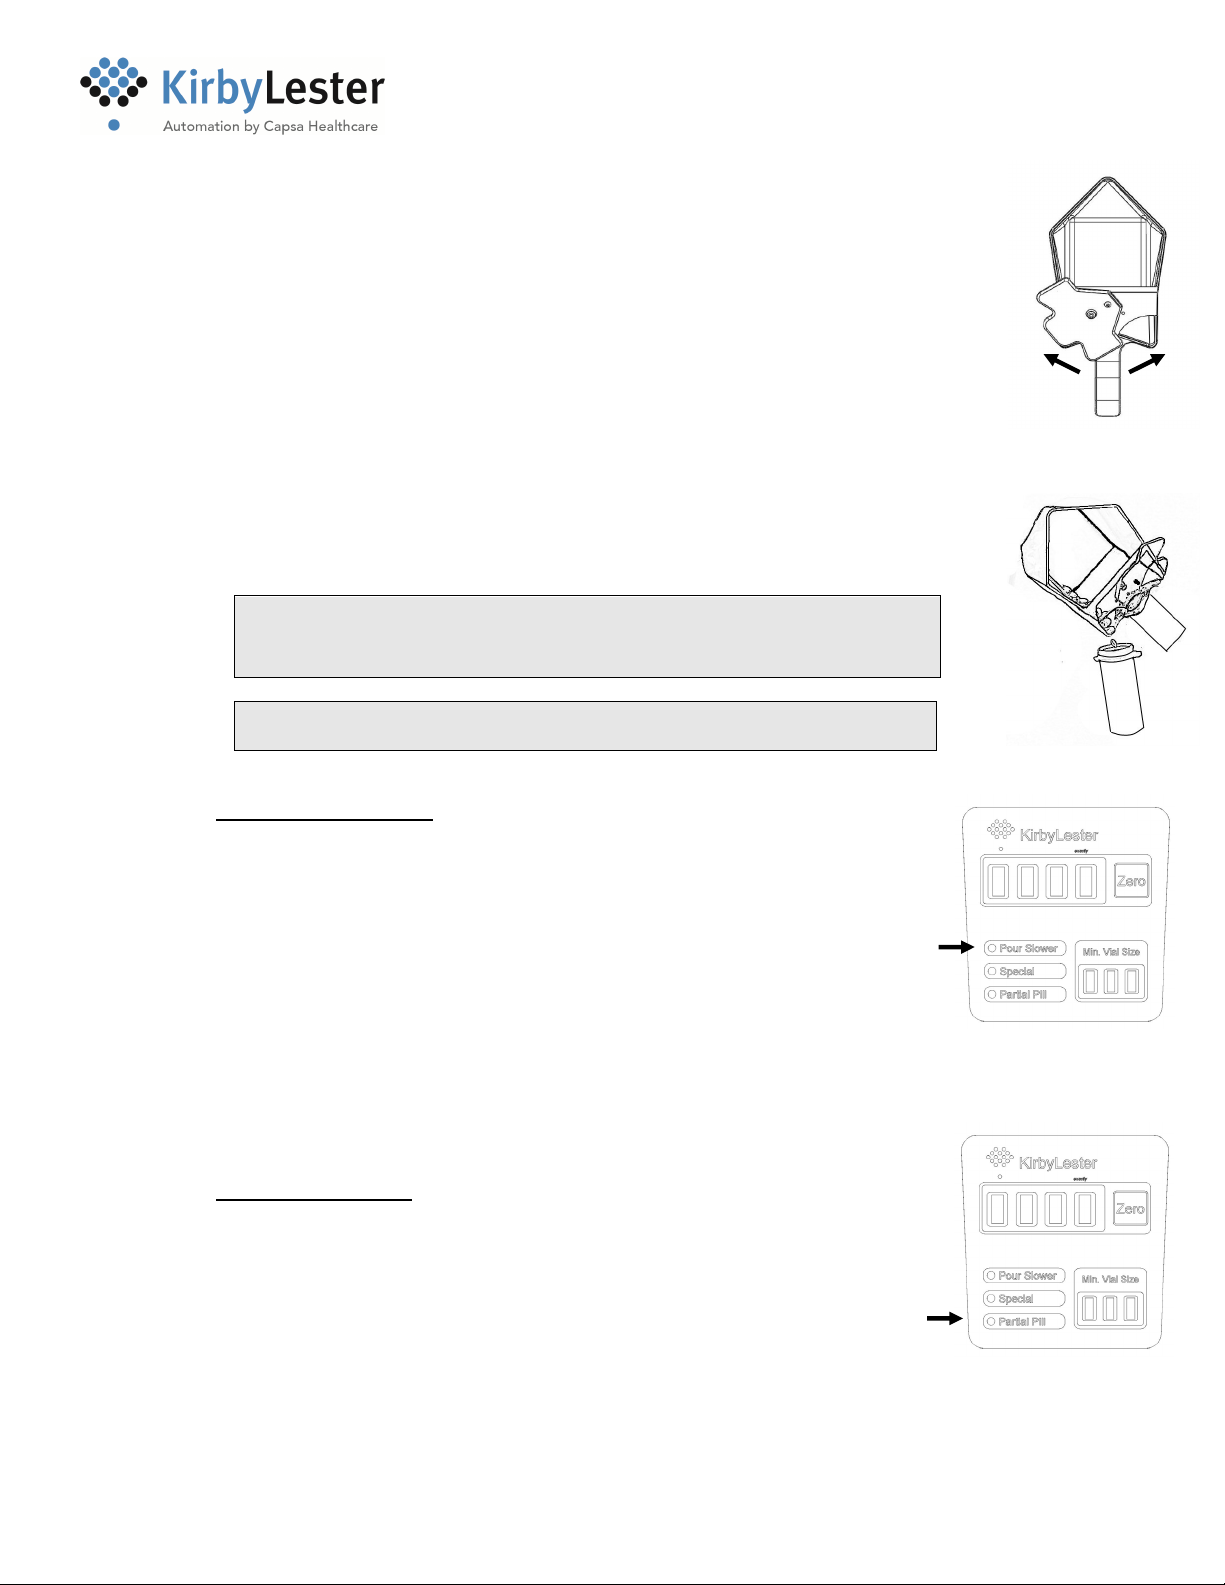
Slow pouring speed so the “Pour
Slower” indicator does not
activate.
Display flashes "----" instead of
"0000" with tray pushed in
Tray not fully inserted. Tray
sensor window is dirty.
Fully insert tray. Clean tray
sensor window.
Display reads "0000" even
though counting tray is not fully
inserted
Tray sensor is dirty or damaged. Clean tray sensor window. Send
unit in for repair if tray sensor is
damaged.
Cannot exit Inventory Mode Medications are still in tray. Empty tray, then exit Inventory
Mode.
KL1 is beeping Medications are still in tray. Empty tray.
Display is flashing Tray is missing. Empty tray, then fully insert tray.
7) Kirby Lester Service
Read this Operating Manual carefully. If additional help is required, contact Customer
Fig. 13 – Lift from
bottom or sides