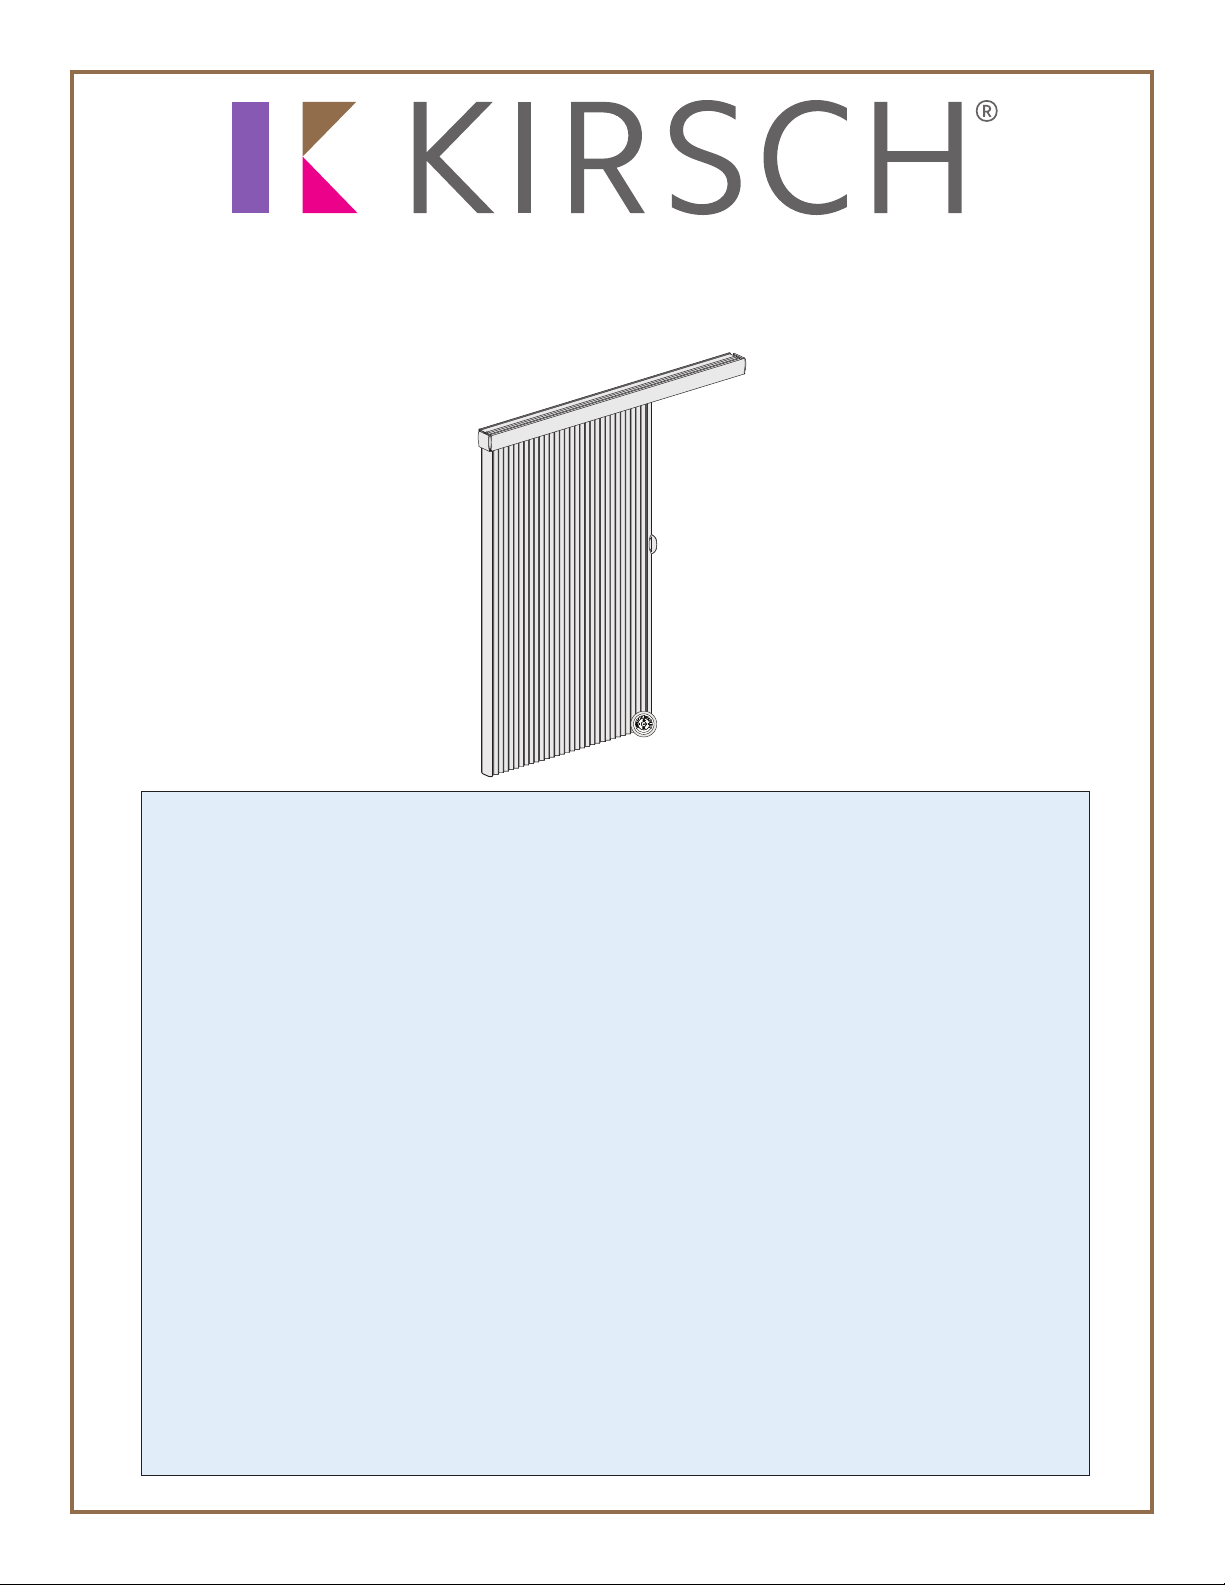
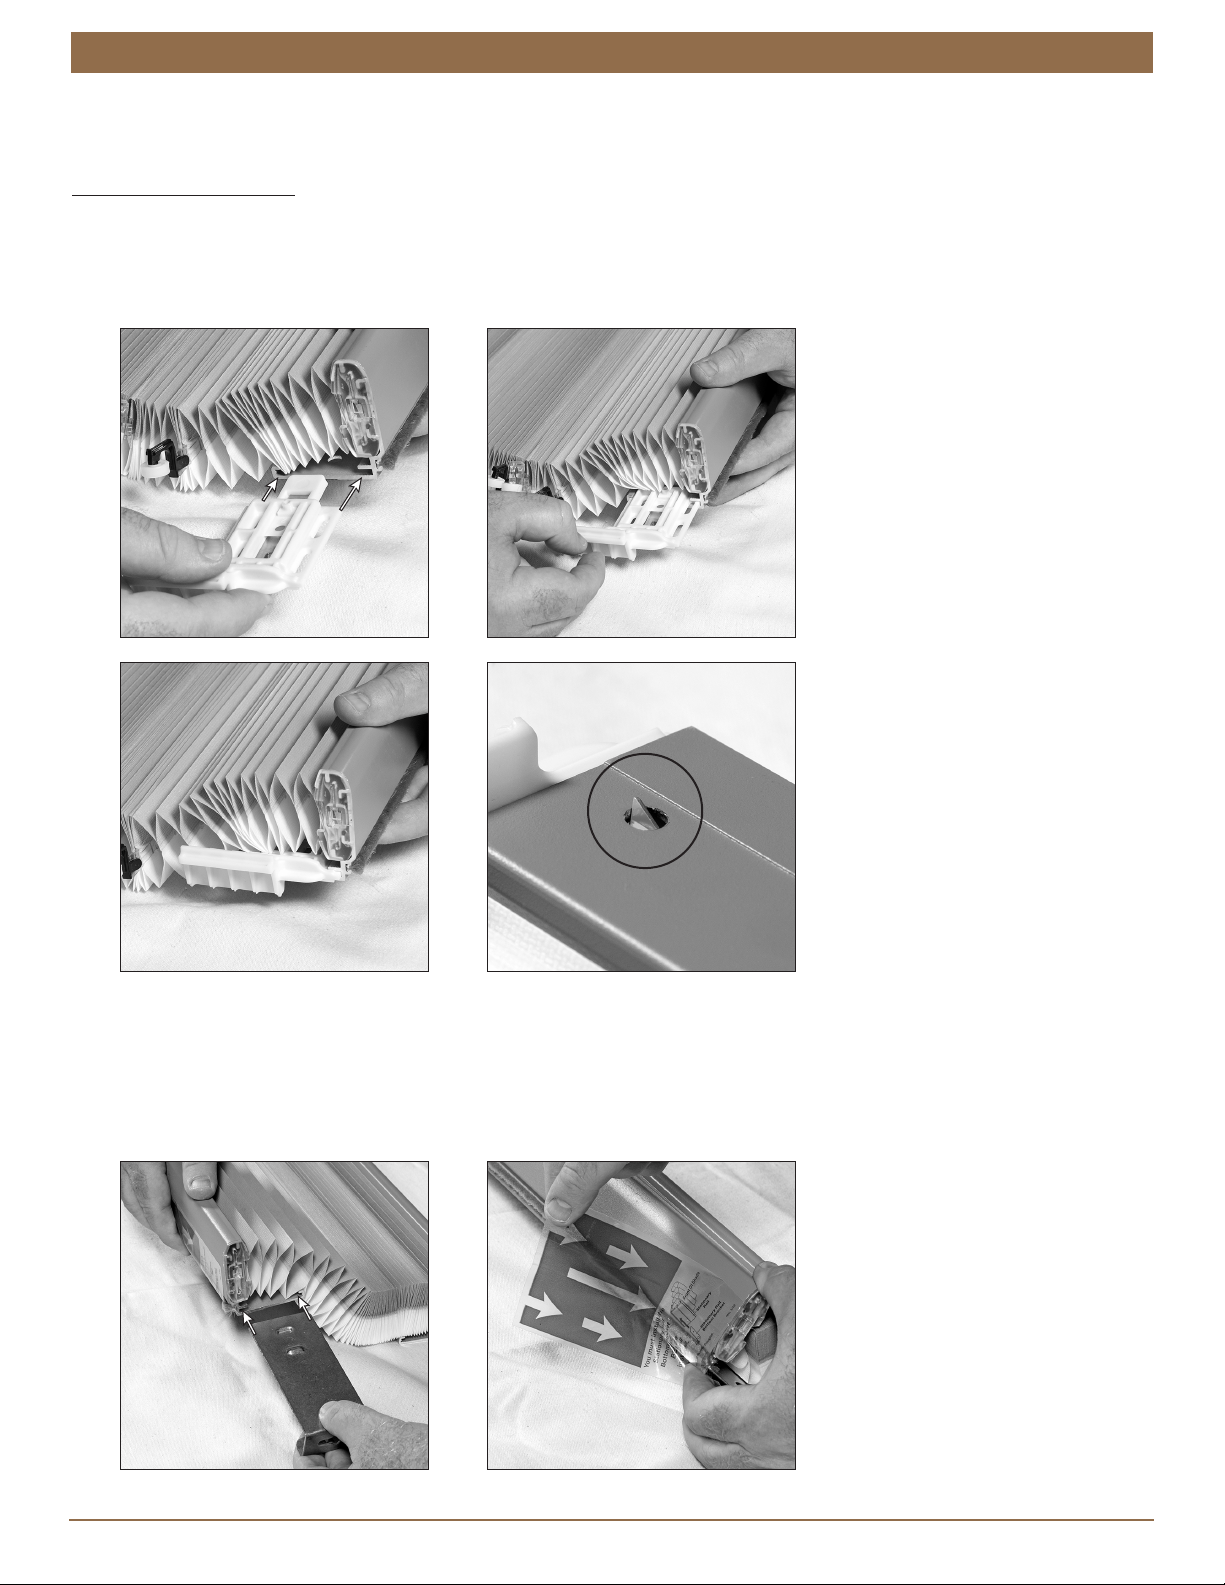
3
INSTALLATION
INSTALLATION
Installation Brackets Required
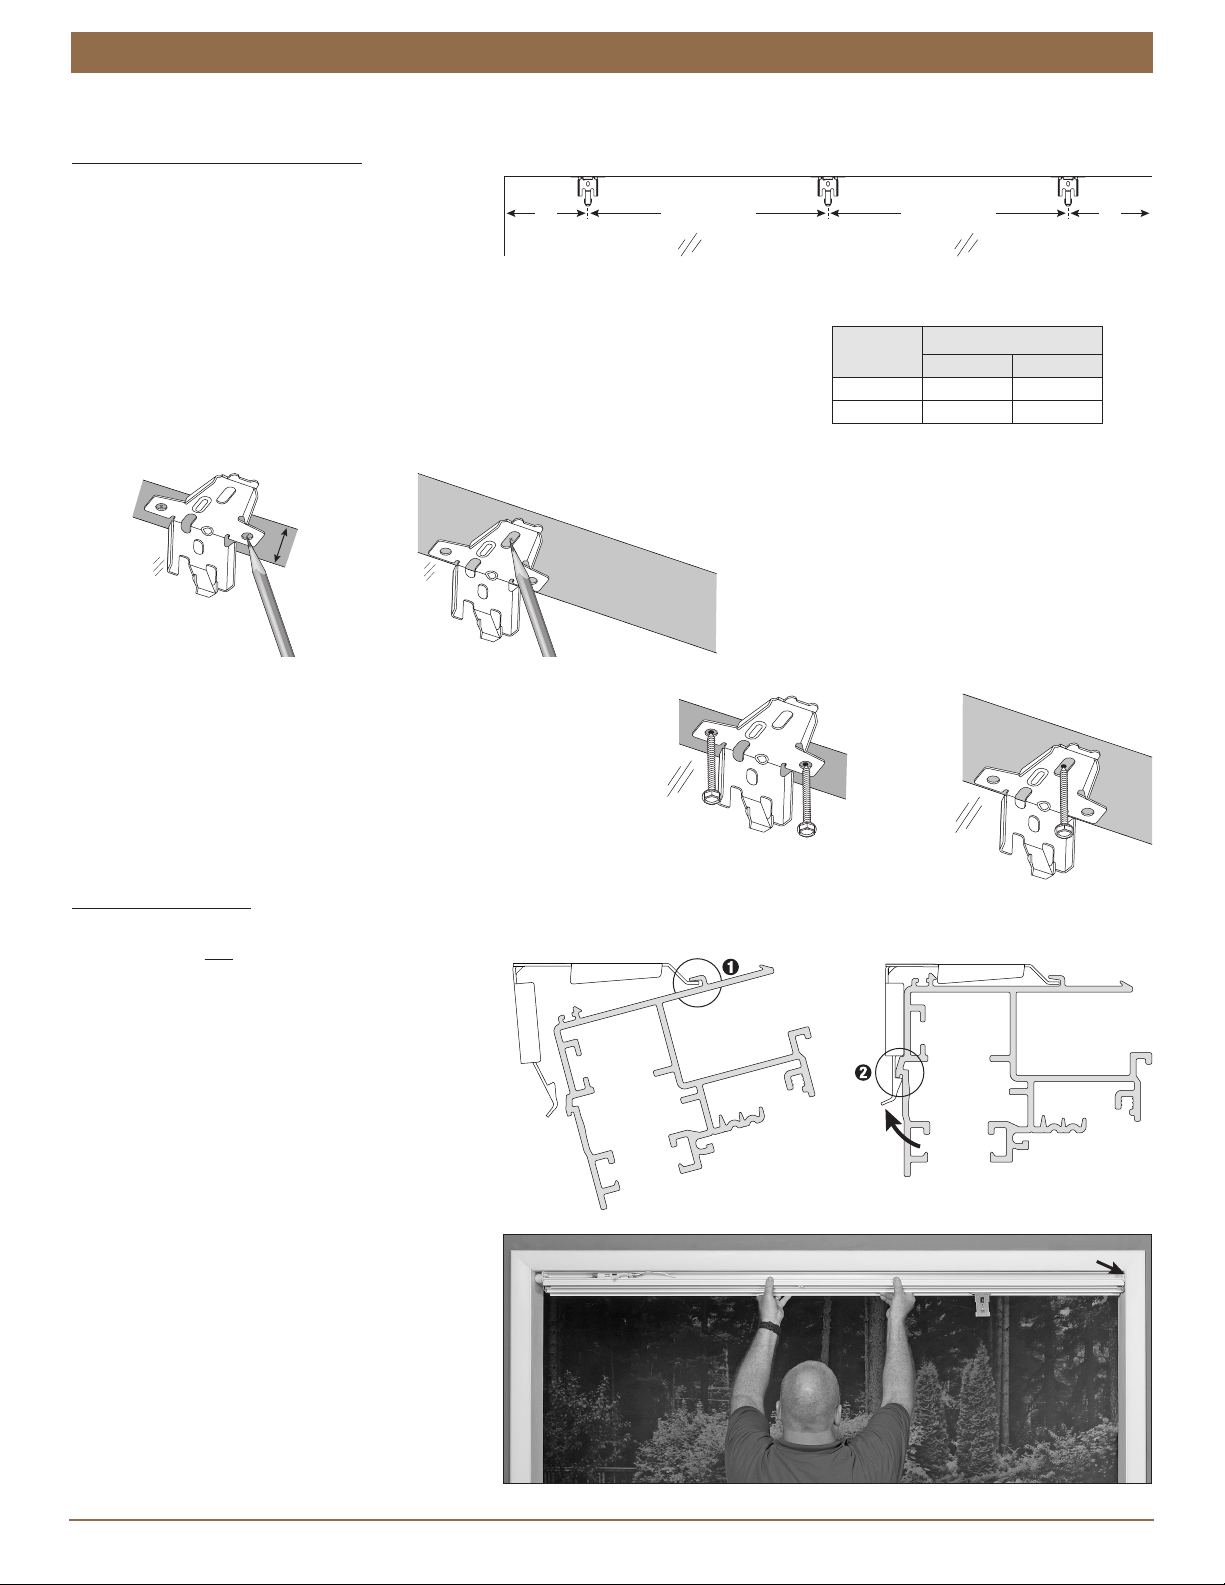
The number of installation brackets required varies with headrail width, as shown
in the table.
Installation Overview
Installation of Vertical Celullar shades varies based on the shade mounting type, stacking design, and the valance type selected.
Mounting Types and Window Terminology
Review the mounting types and basic window terminology illustrated below. Determine if your shade is an outside mount or
inside mount. For ceiling mount applications, refer to the inside mount instructions.
Stacking Design
Determine which Vertiglide stacking design you are installing: left stack or
right stack.
If a sliding glass door opens from the right side, a left stack design is best. If
the door opens from the left side, a right stack design is best.
NOTE: A left stack design is shown throughout these instructions.
Procedures for a right stack design are the same but at opposite sides of
the fabric stack and headrail.
Next Step
Refer to the page below based on your shade mounting type:
Outside Mount — Below
Inside/Ceiling Mount — Page 6
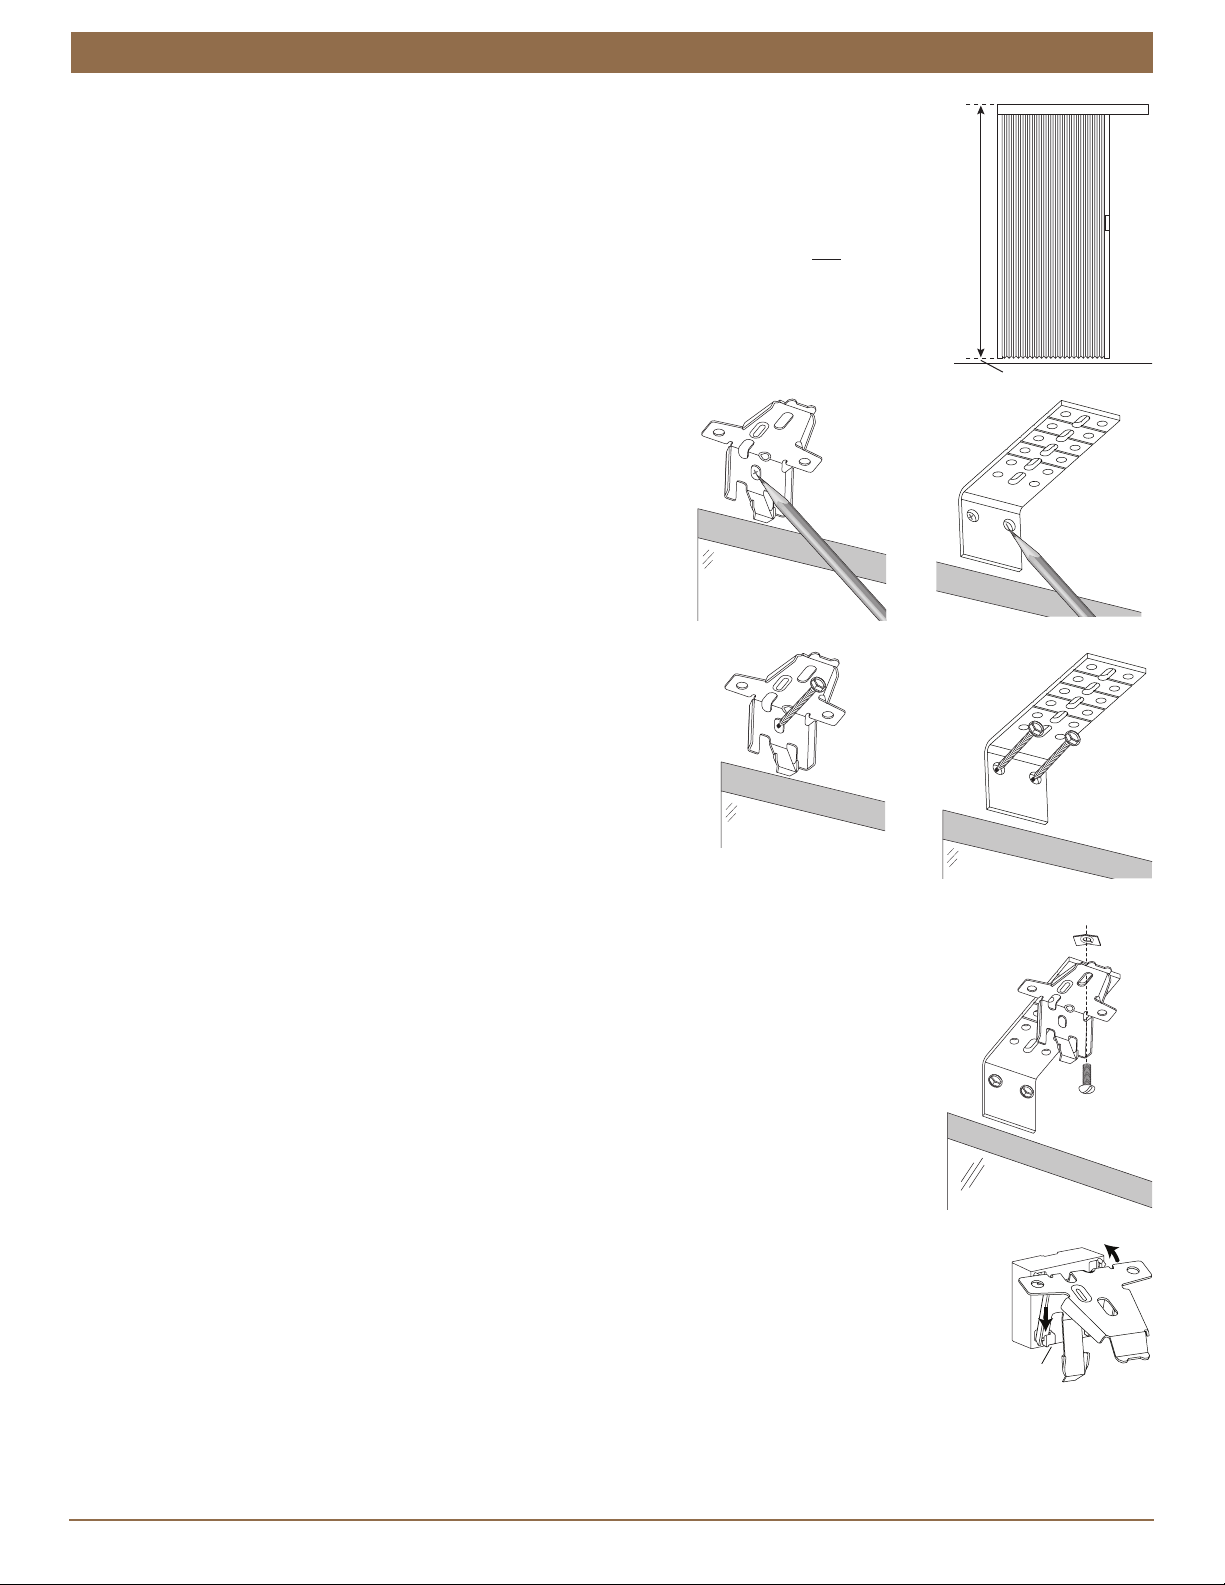
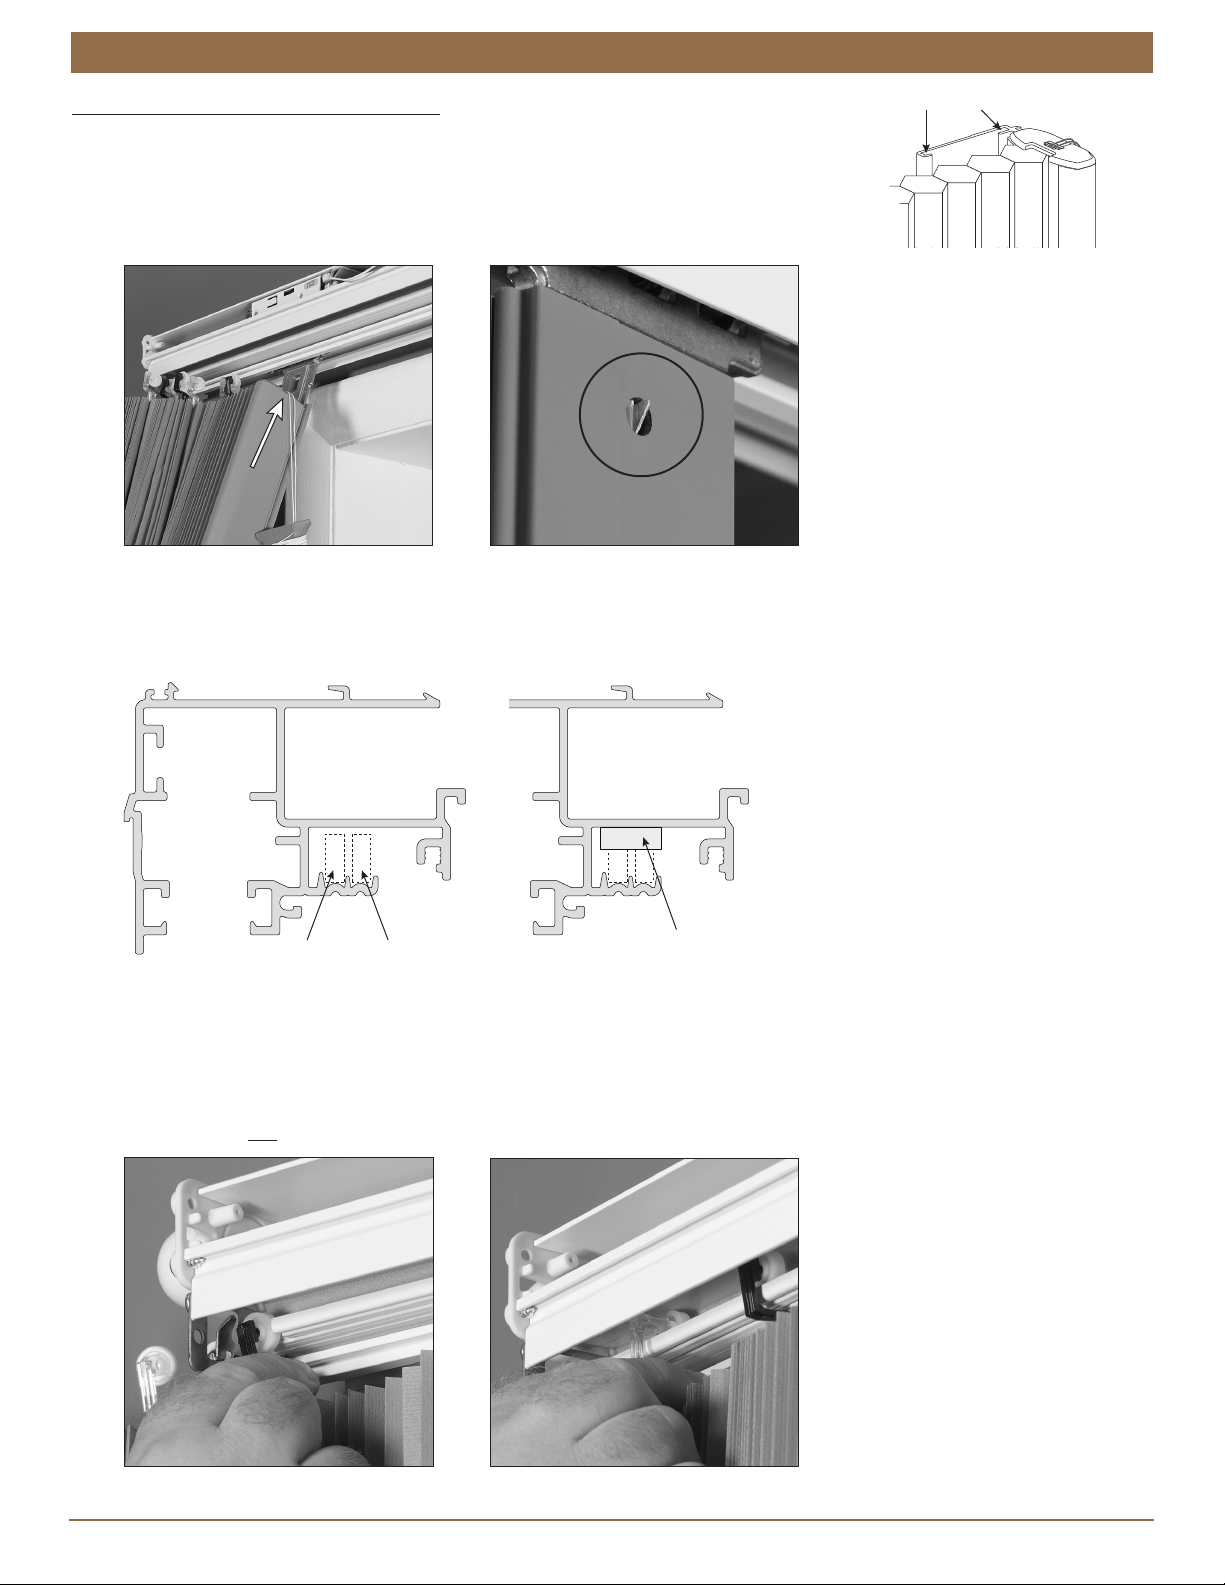
Outside Mount
Mount the Installation Brackets
Center the headrail over the window opening
at the desired height. Use a pencil to mark
each end of the headrail. (On the stacking side,
the end of the white gearbox counts as the
end of the headrail.)
Alternatively, measure the width of the
headrail and use that width to mark the
headrail end points.
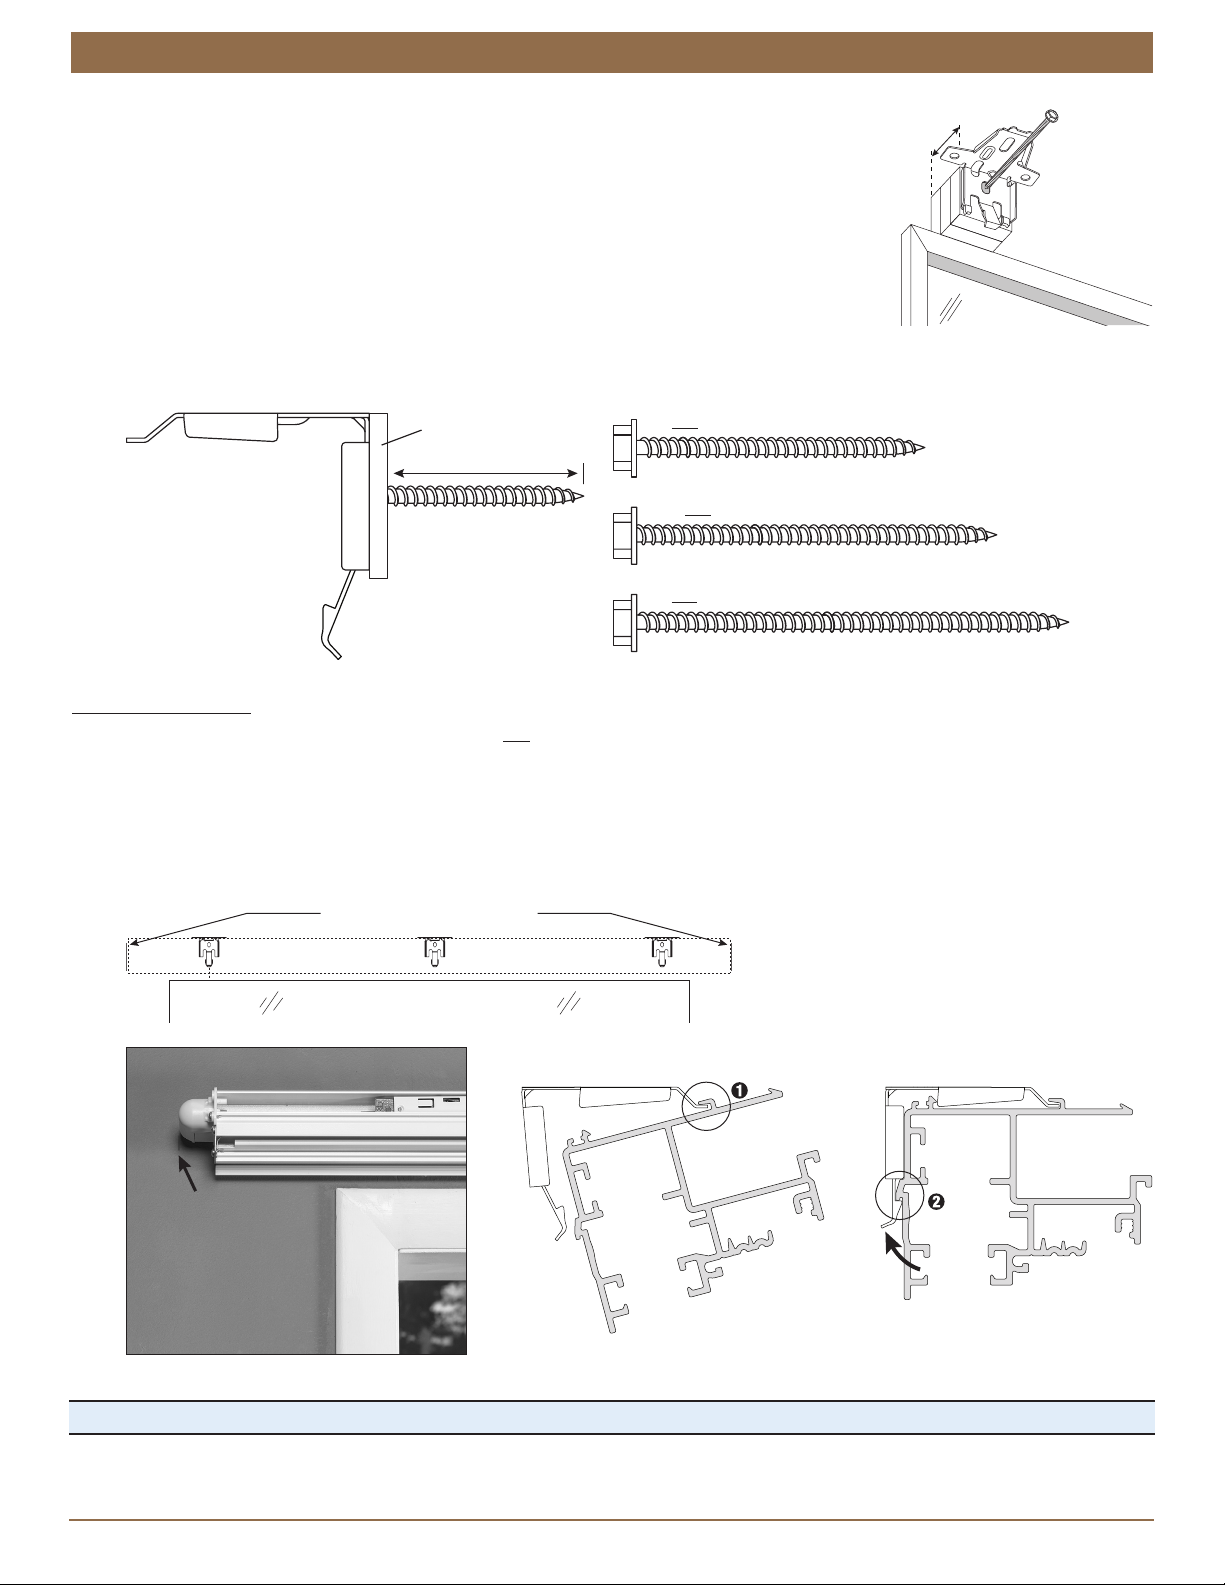
Mark end bracket locations 8" in from each end of the headrail.
Mark the locations of any additional brackets, spaced evenly between the two end brackets. Mount into wood whenever possible.
Installation
Bracket
End Mount
Brackets
Shade
Width
Brackets
Required
12" – 31" 2
31
1
⁄
8
" – 66" 3
66
1
⁄
8
" – 96" 4
96
1
⁄
8
" – 139" 5
139
1
⁄
8
" – 168" 6
Floor
Jamb Jamb
Head Jamb
Outside Mount
Shade mounts outside
Inside Mount
Shade fits within door
Window or
Patio/Sliding Door
Window/Door Opening
8" 8"
Space Evenly Space Evenly
NOTE: Two installers are recommended for shades over 84" wide.