GENERAL INSTRUCTIONS:
These instructions should be read carefully and retained after installation for
further reference and maintenance.
SAFETY
• Before installation/maintenance, ensure that the mains supply to the luminaire is
switched off and the circuit fuses are removed or circuit breakers switched off.
• Check that the total load on the circuit including when this luminaire is fitted
does not exceed the rating of the circuit cable, fuse or circuit breaker
• Installation of this luminaire should only be carried out by, or under supervision
of, a qualified electrician to the current IEE Wiring and Building Regulations.
• Please recycle this unit.
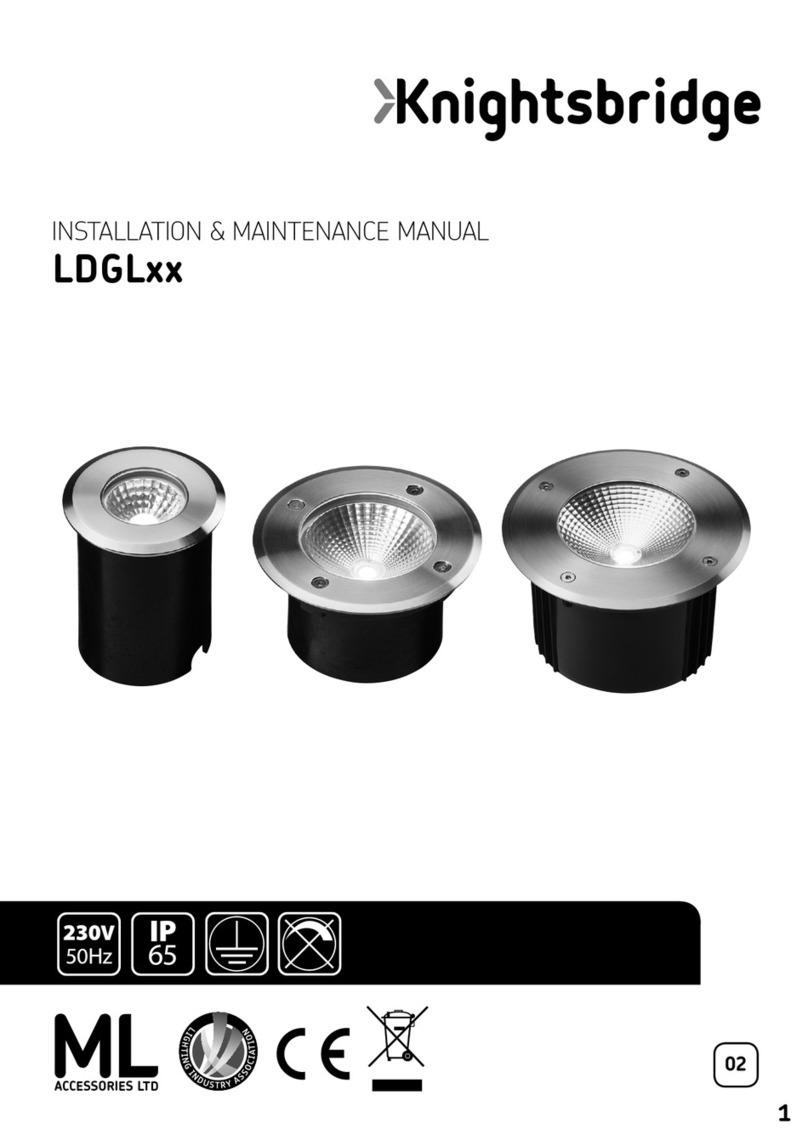
• This product is suitable as a “drive-over” fixture (1000Kg 5mph).
• This product is suitable for internal and external use, it may be installed into
walls, ground & decking.
• This product is IP65 rated and suitable for external applications where
applicable.
• This product is class ll rated and should not be earthed
• This product is non-dimmable
• 230V 50hz Rated – No driver required
REPLACING LAMPS
• The LED lamps fitted in this product are non-replaceable
CLEANING
• Clean with a soft dry cloth only, do not use other materials or solutions
which may damage the fitting
A. Make a hole 97mm diameter & 50mm
deep in the ground ensuring it does not
infringe with any gas/water pipes or electrical
cables that may be hidden below the
surface.
Ensure the bottom of the hole is suitably
drained so as not to hold water
B. With the Allen Key supplied, remove the 4
x machine screws fixing the bezel to the
body and remove the bezel.
Thread the cable through the plastic sleeve
and secure the plastic sleeve into the ground
using cement or similar material.
C. Connect the preinstalled flexible cable to
a suitable joint box ensuring correct polarity
is observed. BROWN- LIVE. BLUE-
NEUTRAL. The joint box must be IP65 or
above rated if used externally or
underground.
D. Align the 4 x countersunk holes in the
body of the fitting with 2 x holes & 2 x studs
in the plastic sleeve. Secure the body to the
sleeve using the 2 x countersunk screws
provided
Finally, replace the bezel and secure using
the 4 x machine screws and Allen key
provided. Ensure they are tightened evenly.
GROUND INSTALLATION
AB
CD
PLEASE NOTE: WHEN CABLE IS BURIED UNDERGROUND IT IS ADVISED THAT A
SUITABLE NON -CORROSIVE CONDUIT IS USED.
LEDM08B_LEDM08W_INSTRUCTIONS_Layout 1 15/11/2013 09:54 Page 3
