manuals.online logo
Brands
  1. Home
  2. •
  3. Brands
  4. •
  5. Kodak
  6. •
  7. Scanner
  8. •
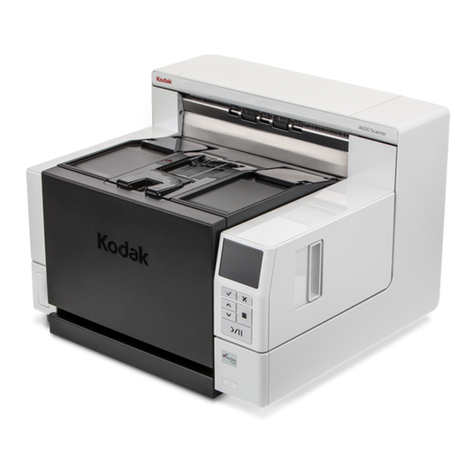
  9. Kodak i800 Series User manual

Kodak i800 Series User manual

for Kodak Scanners
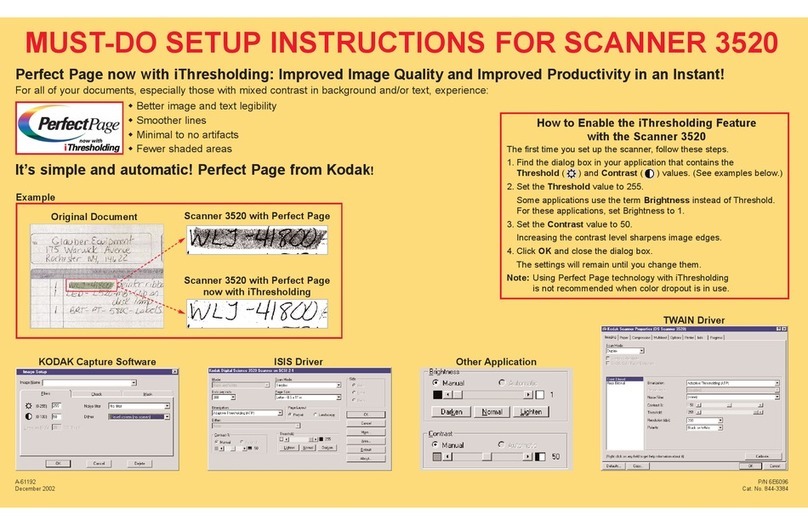
Cleaning and Consumable Replacement Instructions
IManualnstruction
Versitec is a division of Cranel, Inc.
i800/i810/
i820/i830/i840
INSTRUCTIONMANUALFOR
KODAK
i800/i810/i820/i830/i840 Scanner
Versitec 1- 888 - 722 - 6548 www. versitec.com
Step One: Cleaning the Paper Path...........................2 - 3
Step Two: Cleaning the UpperTransport area............3 - 6
Step Three: Cleaning the VerticalTransport area........6 - 8
Step Four: Cleaning the Transport area...................8 - 10
Step Five: Cleaning the Printer and Patchhead......10 - 11
Step Six: Cleaning the Imaging Guides ................12 - 13
I. i800 Scanner Maintenance
II. i800 Maintenance and Replacing Procedures
Step One: ReplacingthefeedModule& feed
Module Tires............................................14
Step Two: Replacing the feed Module ....................14 - 15
Step Three: Replacing the feed Module Tires.........15 - 17
Step Four: Separation Roller and Tires........................ 18
Step Five: Replacing the separation Rollers ..........18 - 19
Step Six: Replacing the separation Roller Tires .............19
Step Seven: Changing the Separation Pad............19 - 20
Step Eight: Cleaning the feed Module Tires &
Separation Roller Tires ....................20 - 21
TABLE OF CONTENTS
Versitec 1- 888 - 722 - 6548 www. versitec.com 1
Cleaning the paper path
Thischapterprovidescleaningandreplacementproceduresfor
yourscanner. Forbestscanner performancecleanthe areas
outlinedinthischapterevery8-hourshift,unlessotherwisenoted.
Additionalmaintenancesupplies canbeorderingbycallingDI
SupplyorthroughyourKodakReseller.Foralistofavailable
supplies,see thesection entitled,“Ordering Supplies”attheendof
thischapter.
See Chapter 3, Operator Control Panel Functions, for procedures.
Thepaperpathshouldbecleaned witha PaperPath Cleanerfed
several timesthrough thetransport.Toclean thepaperpath:
1 Removethe wrappingfrom thePaperPath Cleaner.
2 Adjustthe feederguides tothewidestposition.
3 Runthe scannerincount-only mode.
IMPORTANT
Allcleaning suppliescanbe disposedofin yournormal
wastemanagementsystem,unlessotherwise noted.
Usethegreenhandles whenaccessing scanner
components.
I. ii
ii
i800800
800800
800 MaintenanceMaintenance
MaintenanceMaintenance
Maintenance
2 Versitec 1- 888 - 722 - 6548 www. versitec.com
Versitec 1- 888 - 722 - 6548 www. versitec.com 3
3 Feed the cleaning sheet (adhesive side up) in the landscape
orientation several times through the transport.
4Feed the cleaning sheet (adhesive side down) in the landscape
orientation several times through the transport.
When a cleaningsheetgets dirty,discard it andusea new one.
NOTE:
Cleaning the upper transport area
Followthe stepsbelow tocleantheuppertransport area:
1Open the top cover.
4 Versitec 1- 888 - 722 - 6548 www. versitec.com
3 Grasp the end of the lower imaging guide and slowly
pull it straight out.
2 Openthe bi-fold door.
4 Place the lower imaging guide on a clean surface.
5 Grasp the end of the upper imaging guide and slowly
pull it straight out.
Versitec 1- 888 - 722 - 6548 www. versitec.com 5
6 Place the upper imaging guide on a clean surface.
To avoidgettinganydebris(from thecleaning process)onthe
imagingguides, theywill bereinstalled afterthescanneris
thoroughlycleaned.
NOTE:
7 Release the top turn baffle.
8 Vacuum the area.
9 Close the top turn baffle.
Topturn
baffle
Exit
transport
plate
Cleaning the vertical
transport area
6 Versitec 1- 888 - 722 - 6548 www. versitec.com
10 Lift and hold the exit transport plate and vacuum.
11 Lower the exit transport plate.
Followthe stepsbelow tocleantheverticaltransport area:
1 Grasp the vertical transport plate and pull it down until it stops.
Versitec 1- 888 - 722 - 6548 www. versitec.com 7
2 Slide the horizontal baffle plate out and vacuum inside the housing.
Document
sensors
Horizontal
baffle plate
Black strip
4 Clean the document sensors.
5 Slide the horizontal baffle plate back in place.
6 Vacuum the floor of the lower transport area.
3 With a soft cloth, wipe the document sensors and the black strip on
the horizontal baffle plate.
IMPORTANT
Whenvacuuming thescanner,be careful
notto scratch thesensors.
8 Versitec 1- 888 - 722 - 6548 www. versitec.com
Cleaning the transport area
Followthe stepsbelow tocleanthe transportarea:
10 Close the top cover.
7 Raise the vertical transport plate into its original position.
8Turn the vertical transport plate handle and latch it into place.
9 Closethe bi-fold door.
1Open the swing out door.
2 Lift the roller cover and vacuum the sensors.
Whenvacuuming thescanner, becarefulnot to
scratchthe sensors
IMPORTANT
3Closethe rollercover.
4Liftthe horizontaltransport plate.
Roller cover
Sensors
Versitec 1- 888 - 722 - 6548 www. versitec.com 9
5Removethe horizontal belt module.
6 Vacuum the floor of the horizontal transport area.
7 Wipe the upper and lower sensors with a lint-free cloth.
8Reinstall the horizontal belt module.
9 Lowerthe horizontal transport plate.
Cleaning the printer and patch head
Followthe stepsbelowto cleantheDocument Printer1and Patch
Readerhead. Completeinstructions forthe DocumentPrinter
andPatch Readercan befoundin Chapter4.
10 Versitec 1- 888 - 722 - 6548 www. versitec.com
Versitec 1- 888 - 722 - 6548 www. versitec.com 11
1Remove the Document Printer head and clean it with a dry,
lint-free cloth.
2Reinstall the Document Printer head in the desired position.
Besure thecableis alwayskeptin placebythe whiteclip
topreventthecablefrom interferingwith theimagingpath.
IMPORTANT
3 Remove the patch head and clean it with a dry, lint-free cloth.
White clip
4Replace the patch head in the desired position.
5 Close the swing out door.
12 Versitec 1- 888 - 722 - 6548 www. versitec.com
Cleaning the imaging guides
Avoidgettingfingerprintsontheimagingguidesduring
the cleaningprocedure.
1Openthe bi-fold door.
2Get the upper imaging guide that was set aside previously.
Clean the upper imaging guide with a clean, soft, lint-free
cloth slightly moistened with water. Lightly wipe both sides
with a Staticide wipe.
3Reinstall the upper imaging guide. Make sure the notched
side is facing up and that the imaging guide is pushed in
all the way and fully seated in its slot.
Versitec 1- 888 - 722 - 6548 www. versitec.com 13
4 Get the lower imaging guide that was set aside previously.
Clean the lower imaging guide with a clean, soft, lint-free cloth
slightly moistened with water. Lightly wipe both sides with a
Staticide wipe.
5 Reinstall the lower imaging guide. Make sure the notched
side is facing down and that the imaging guide is pushed in
all the way and fully seated in its slot.
6 Closethe bi-fold door.
II. i800 Maintenance &i800 Maintenance &
i800 Maintenance &i800 Maintenance &
i800 Maintenance &
replacement proceduresreplacement procedures
replacement procedures
Thissectionprovidesprocedures forreplacing thefollowing parts.
Usethelistbelow asa guidelineforfrequencyofreplacement.
• Feed Module Tires and Separation Roller – tire life will vary
dependingupon paper types, environmentand cleanliness. Nominal
tire life will be approximately 250,000 documents; results will vary.
Degradationof feeder performance, multiplefeeds,stoppages, etc.
indicate a need to change tires. Change all the tires on the feed
module and separation roller at the same time.
• Feed Module Separation Roller – it is recommended that you
installa new feed module approximately every 5th tire change.
See the checklist included in the Replenishment Kit. Install a new
feed module and separation roller at the same time.
• Pre-separation Pad – change each time you change the tires
onthe feed module and separation roller.
• Exposure Lamps – it is suggested that all four lamps be replaced
every 500 hours of operation or as necessary (i.e., as reported by the
scanner, repeated image calibration failures, etc.)
• Imaging Guides – replace when the imaging guides are heavily
scratched and defects show in the image.
14 Versitec 1- 888 - 722 - 6548 www. versitec.com
Thissection alsoprovides replacementproceduresforthe:
• Gear for Self-Centering Side Guides – a spacer is installed in
the output tray, which allows the side guides to move independently.
Ifyou want the side guides to move together (self-centering) you
can install the geared spacer that is included with the scanner.
• Side Guides – short side guides are standard with the scanner.
A set of tall side guides is included with your scanner and can be
changedas required by your application.
Thissection providesreplacement proceduresfor thefeed
moduleandthefeedmodule tires.
Replacing the feed module and
feed module tires
Replacing the feed module
Toreplacethefeedmodule:
1 Open the swing out door.
2 Push the release lever to the right to release the feed module.
Versitec 1- 888 - 722 - 6548 www. versitec.com 15
3Remove the feed module. To install the new feed module:
4 Push the release lever to the right and reinsert the new feed
module by aligning the pins and fitting it into position. When
the feed module is in position, release the lever and be sure the
feed module is securely in place.
5 Close the swing out door.
Replacing the feed module tires
Toreplacethe feedmodule tires:
1Open the swing out door.
2Removethe feed module.
3With one hand, press the locking tabs (one on each side) while
holding the bottom housing with the other hand, pull the upper
housing up and away from the rollers.
16 Versitec 1- 888 - 722 - 6548 www. versitec.com
4Remove one core assembly.
5Replace each tire by sliding the tire off the core.
6.Install eachnew tirebygently stretchingit overthecore.
6Install each new tire by gently stretching it over the core.
Tire
Core
Donot overstretch thetire;it may tear.
IMPORTANT
7Replace the core assembly in the feed module.
8Repeat Steps 4 through 7 for the other core assembly.
9Align the tabs on the upper housing with the slots on the
lower housing.
10 Press the upper and lower housings together until they snap
into place.
11 Insert the feed module by aligning the pins and fitting it into
position. Verify that it is securely in place.
12 Close the swing out door.
Versitec 1- 888 - 722 - 6548 www. versitec.com 17

Other manuals for i800 Series

3

This manual suits for next models

4

Other Kodak Scanner manuals

Kodak Ngenuity 9000 Series User manual

Kodak

Kodak Ngenuity 9000 Series User manual

Kodak I1420 - Document Scanner User manual

Kodak

Kodak I1420 - Document Scanner User manual

Kodak Ngenuity 9090DB User manual

Kodak

Kodak Ngenuity 9090DB User manual

Kodak i4x50 Series User manual

Kodak

Kodak i4x50 Series User manual

Kodak i1220 Plus User manual

Kodak

Kodak i1220 Plus User manual

Kodak Microimager 990 User manual

Kodak

Kodak Microimager 990 User manual

Kodak i6015 User manual

Kodak

Kodak i6015 User manual

Kodak i1200 series User manual

Kodak

Kodak i1200 series User manual

Kodak i1800 Series User manual

Kodak

Kodak i1800 Series User manual

Kodak i3200 User manual

Kodak

Kodak i3200 User manual

Kodak i5 50 Series User manual

Kodak

Kodak i5 50 Series User manual

Kodak 2400 DV Plus User manual

Kodak

Kodak 2400 DV Plus User manual

Kodak A-61506 User manual

Kodak

Kodak A-61506 User manual

Kodak Digital Science 9520 User manual

Kodak

Kodak Digital Science 9520 User manual

Kodak i1200 series User manual

Kodak

Kodak i1200 series User manual

Kodak i1400 Series User manual

Kodak

Kodak i1400 Series User manual

Kodak i100 Series User manual

Kodak

Kodak i100 Series User manual

Kodak S2000f Series User manual

Kodak

Kodak S2000f Series User manual

Kodak I810 - Scanner Firmware - PC Technical manual

Kodak

Kodak I810 - Scanner Firmware - PC Technical manual

Kodak Mini Digital Film Scanner User manual

Kodak

Kodak Mini Digital Film Scanner User manual

Kodak I1860 - Document Scanner User manual

Kodak

Kodak I1860 - Document Scanner User manual

Kodak I1420 - Document Scanner User manual
Kodak

Kodak I1420 - Document Scanner User manual
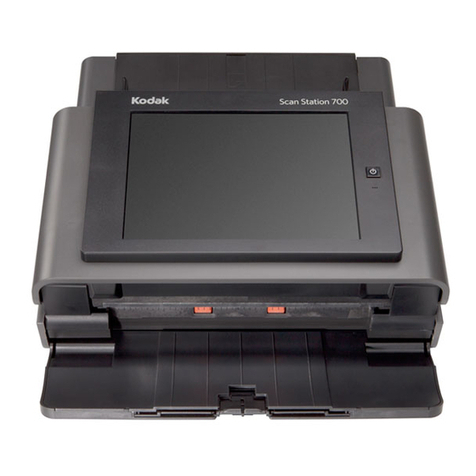
Kodak i800 Series Guide

Kodak

Kodak i800 Series Guide

Kodak I5X50 SERIES User manual

Kodak

Kodak I5X50 SERIES User manual

Popular Scanner manuals by other brands

rs scan iQube E500 Installation and user guide

rs scan

rs scan iQube E500 Installation and user guide

Graphtech CS600 user manual

Graphtech

Graphtech CS600 user manual

BLACKHAWK! GAME DAY SIGNALS quick start guide

BLACKHAWK!

BLACKHAWK! GAME DAY SIGNALS quick start guide

Show Tec Scanmaster 1 user manual

Show Tec

Show Tec Scanmaster 1 user manual

oneConcept 10004236 instruction manual

oneConcept

oneConcept 10004236 instruction manual

Silvercrest SND 3600 A2 operating instructions

Silvercrest

Silvercrest SND 3600 A2 operating instructions

Digi-Frame A4 Multi-Purpose user guide

Digi-Frame

Digi-Frame A4 Multi-Purpose user guide

CyberView X5 SF user manual

CyberView

CyberView X5 SF user manual

Iron logic Matrix II MF-I user manual

Iron logic

Iron logic Matrix II MF-I user manual

Alaris E1000 Series user guide

Alaris

Alaris E1000 Series user guide

Datalogic DS2100N Brochure & specs

Datalogic

Datalogic DS2100N Brochure & specs

Fujitsu FI-6130 Operator's guide

Fujitsu

Fujitsu FI-6130 Operator's guide

Unitech MS925HC user manual

Unitech

Unitech MS925HC user manual

Visioneer Patriot 430 user guide

Visioneer

Visioneer Patriot 430 user guide

Chell flightDAQ-Mk2 Installation and operating manual

Chell

Chell flightDAQ-Mk2 Installation and operating manual

Uniden BC 898T owner's manual

Uniden

Uniden BC 898T owner's manual

Epson ES-600C Getting started

Epson

Epson ES-600C Getting started

Rochford Thompson RTE8000 Getting started guide

Rochford Thompson

Rochford Thompson RTE8000 Getting started guide

manuals.online logo
manuals.online logoBrands
  • About & Mission
  • Contact us
  • Privacy Policy
  • Terms and Conditions

Copyright 2025 Manuals.Online. All Rights Reserved.