Kogan KAAUTPSTMKR User manual

AUTOMATIC PASTA MAKER
KAAUTPSTMKR
Quick Start Guide
Important Safeguards
When using electrical appliances, in order to reduce the risk of fire, electric shock, and/or injury
to persons, basic safety precautions should always be followed.
•Read all instructions carefully, even if you feel you are quite familiar with the appliance.
•Don t touch the moving parts of the appliance.
•This appliance is intended to be plugged in a standard domestic power outlet.
•Always unplug after use, during assembly or for cleaning.
•To protect against risk of electric shock, do not immerse cord, plug or any other parts of
the appliance in water or other liquids.
•Never leave the appliance unattended while in use.
•Do not let the power cord hang over the edge of table or worktop or touch hot surfaces,
including the stove.
•Do not operate any appliance with a damaged cord or plug or after the appliance
malfunctions or is dropped, or damaged in any matter. Contact the Kogan customer
service team for more information, and if necessary for examination, repair or electrical
or mechanical adjustment.
•The use of attachment not recommend by Kogan.com may cause a risk of injury to
persons.
•Don t use outdoors.
•This appliance is for home use only.
•Store the unit indoors in a dry location.
•If the supply cord is damaged, the cord must be replaced by the manufacturer, its service
agent or similarly qualified persons in order to avoid a hazard.
•This product has not been designed for any uses other than those specified in this
booklet.
efore first use
•Thoroughly clean all parts which make contact with food with hot soapy water (with the
exception of the base unit). For more details, please refer to paragraphs about cleaning
and maintenance.
•Place the appliance on an appropriate surface
•Please be familiar with the appliance before connecting it to the power outlet.
Product & Usage
1 – Power switch
2 – Unit base
3 – Mixing container
4 – Lid
5 – Storage compartment
6 – Turbine
7 – Evacuation tube
8 – Screw
9 – Pasta grid
10 – Nut
11 – Watering portal

Assembling your product
Place the unit on a horizontal and stable working surface. Insert the
container (3) horizontally onto the unit base (2) by thoroughly pushing it
through to the back of the base.
Insert the screw (8) into the evacuation tube (7)
Insert the turbine (6) onto the driving rod of the screw. Insert all parts into
the container (3), ensuring that the end of the screw's rod penetrates the
groove of the driver.
Attach the evacuation tube (7) according to the position as shown in section
“1” of the image. Then lock the evacuation tube (7) into the container (3) by
rotating the tube as shown in section “2”.
Embed one of the pasta grids (9) onto the end of the evacuation tube. (7)
Lock the pasta grid (9) onto the evacuation tube (7) using the nut (10) and
screwing it on clockwise.
Place the lid (4) on top of the container into which all of the parts have been
installed, then lock the lid on the container.
NOTE: The pasta maker will not work without the lid correctly in place.
To disassemble the appliance, please remove the lid first.

Switch functions
The position “MIX” allows you to mix and prepare the dough.
The position “EXT” allows you to extract the mixture to form the pasta you want.
The position “OFF” will shut the appliance down.
NOTE: The appliance will only operate when the 2 switches are BOTH in the same position (EXT
or MIX).
Storage space
The water measuring cups have one wide end and one narrow end. The
wider end has the markings “This side is up”. Please place cups with
the wide end up when placing into the storage compartment.
Opening the lid
When opening the lid, please press the lid tab with your thumb as
shown, while lifting the rim with your index finger.
Usage notes
•Mix dough for at least 4 minutes in order to make the dough of uniform consistency, and
to remove the lumps.
•If the dough is still powdery after mixing, add one teaspoon of water and mix.
•If the dough is too fluid and/or is sticking to the turbine, add a tablespoon of flour and
mix.
HOW TO USE PASTA MAKER
1. Select the pasta grid with the desired noodle shape and immerse it in warm water for
several minutes before use.
2. Put the pasta grid onto the evacuation tube and fix it into place with the nut.
3. Open the lid and put the flour into the mixing container. Close the lid, locking the mixing
container and the main unit body together firmly.
4. Press the two switches named “MIX”, and the machine will start working.
5. Slowly pour water (or other liquid as applicable) into the container through the watering
portal. The mixing process should take about 3~8 minutes.
6. Press the two switches to “OFF”, then to “EXT”, at which point the unit will start
extruding the noodles through the grid. This will take 10~15 minutes, depending on the
the quantity of noodles being prepared.
7. Press the two switches back to “OFF” once there are no more noodles coming out
through the pasta grid.

RECIPES
Regular Noodles
Ingredients: Plain flour 250g
5 cold water℃90ml
Salt 2g (Put salt into water and let dissolve)
Mixing Time: 3 minutes
Notes:
1. Minimum capacity of flour is 150g; the maximum capacity of flour is 500g. Make sure you
adjust other ingredients proportionally.
2. As different brands of flour occasionally react differently, adjust the proportions
according to the situation. The flour amounts are adjustable within a range of 10g.
Egg Noodle
Ingredients: Plain flour 340g
Beat egg 100g
Water 30ml
Salt 2g (Put salt into water and let dissolve)
Mixing Time: 3 minutes
Note:
1. Minimum capacity of flour is 150g; the maximum capacity of flour is 500g. Make sure you
adjust other ingredients proportionally.
2. As different brands of flour occasionally react differently, adjust the proportions
according to the situation. The flour amounts are adjustable within a range of 10g.
Carrot Noodle
Ingredients Plain flour 340g
Carrot juice 140ml
Salt 2g (Put salt into juice and let dissolve)
Mixing Time: 3 minutes
Notes:
1. Carrot juice can be replaced by another vegetable juice. Ensure the juice does not
contain pulp or skin.
2. Minimum capacity of flour is 150g; the maximum capacity of flour is 500g. Make sure you
adjust other ingredients proportionally.
3. As different brands of flour occasionally react differently, adjust the proportions
according to the situation. The flour amounts are adjustable within a range of 10g.

Troubleshooting
To avoid problems with the pasta maker, read all of the usage notes and refer to these
troubleshooting tips prior to calling the customer support team.
Appliance stops while mixing or extruding Hold the mixing container up against the back
wall of the unit base. There is an interlocking
safety switch which may have been triggered if
the container or lid were not fit properly.
If the unit stops while in the MIX mode, you
can also turn the unit off, open the lid and
remove any pasta dough stuck under it. Refit
and close the lid properly and switch the unit
back on.
Appliance won't start Check that the unit is plugged in properly,
both buttons are switched on, the lid is latched
securely and that the container is firmly up
against the back wall.
Delayed starting The motor has a slight inbuilt delay system to
get the unit functioning prior to parts moving.
This is completely normal.
Cleaning problems You will find the parts easier to clean if you
leave the parts to dry in the air for one hour.
Slow extrusion or no pasta extruding at all Dough needs to be the correct consistency.
Place the pasta grid in warm water for several
minutes prior to making pasta.
Can't remove the locking ring Switch to MIX mode for several seconds. This
will relieve pressure on the locking ring and
pasta grid.
Appliance is noisy The general operation of this unit will create
noise, however loud clunks or thumping are
not normal. Turn the unit off and check that
the appliance is assembled correctly.
Friction-steam from the grid There may be some hot steam escaping from
the pasta grid. This is completely normal. Do
not touch the grid when hot during and
immediately after extrusion.
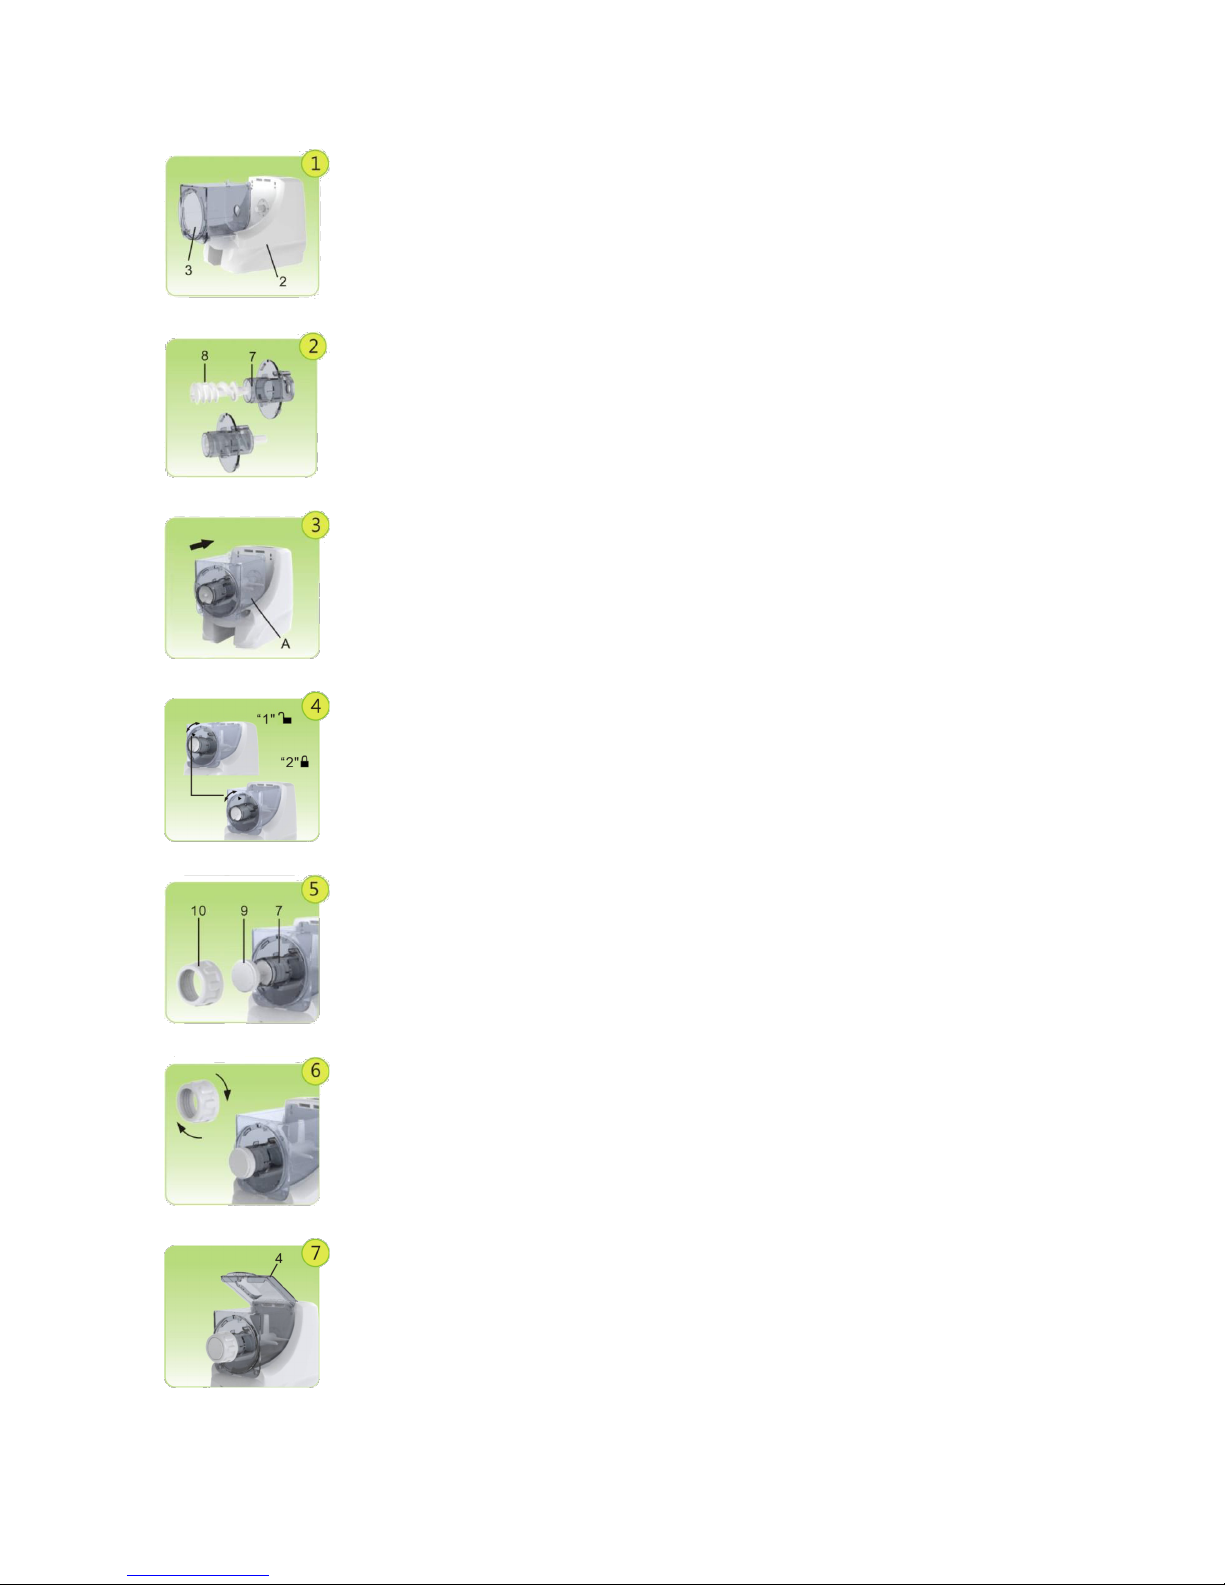
No pasta grid or cups The pasta grid is stored in the compartment
underneath the mixing container. One of the
grids will already be installed on the front of
the evacuation tube.
CLEANING
After use, unplug appliance, wait for unit to shut down completely then remove all accessories.
Clean all of the accessories thoroughly with hot soapy water.
Thoroughly rinse all flour, pasta and soap from all of the parts and allow to dry completely
before storing.
If necessary, the unit base can be cleaned with a slightly moist cloth.
Never allow water to penetrate into the interior of the unit base.
Storage
Store unit in a dry place, away from direct sunlight and out of reach of children.
Table of contents
Other Kogan Pasta Maker manuals
Popular Pasta Maker manuals by other brands

Viante
Viante CUC-26PM Quick operational guide

Electrolux
Electrolux Electric Pasta Cookers 700XP Specifications

Hamilton Beach Professional
Hamilton Beach Professional 63246 manual

Beper
Beper MD.500 use instructions

Emeril Lagasse
Emeril Lagasse Pasta & Beyond PM-01 user manual

HAUSSLER
HAUSSLER LUNA operating instructions