Tools and Materials
Tape Measure
Safety Glasses
Painter’s Tape
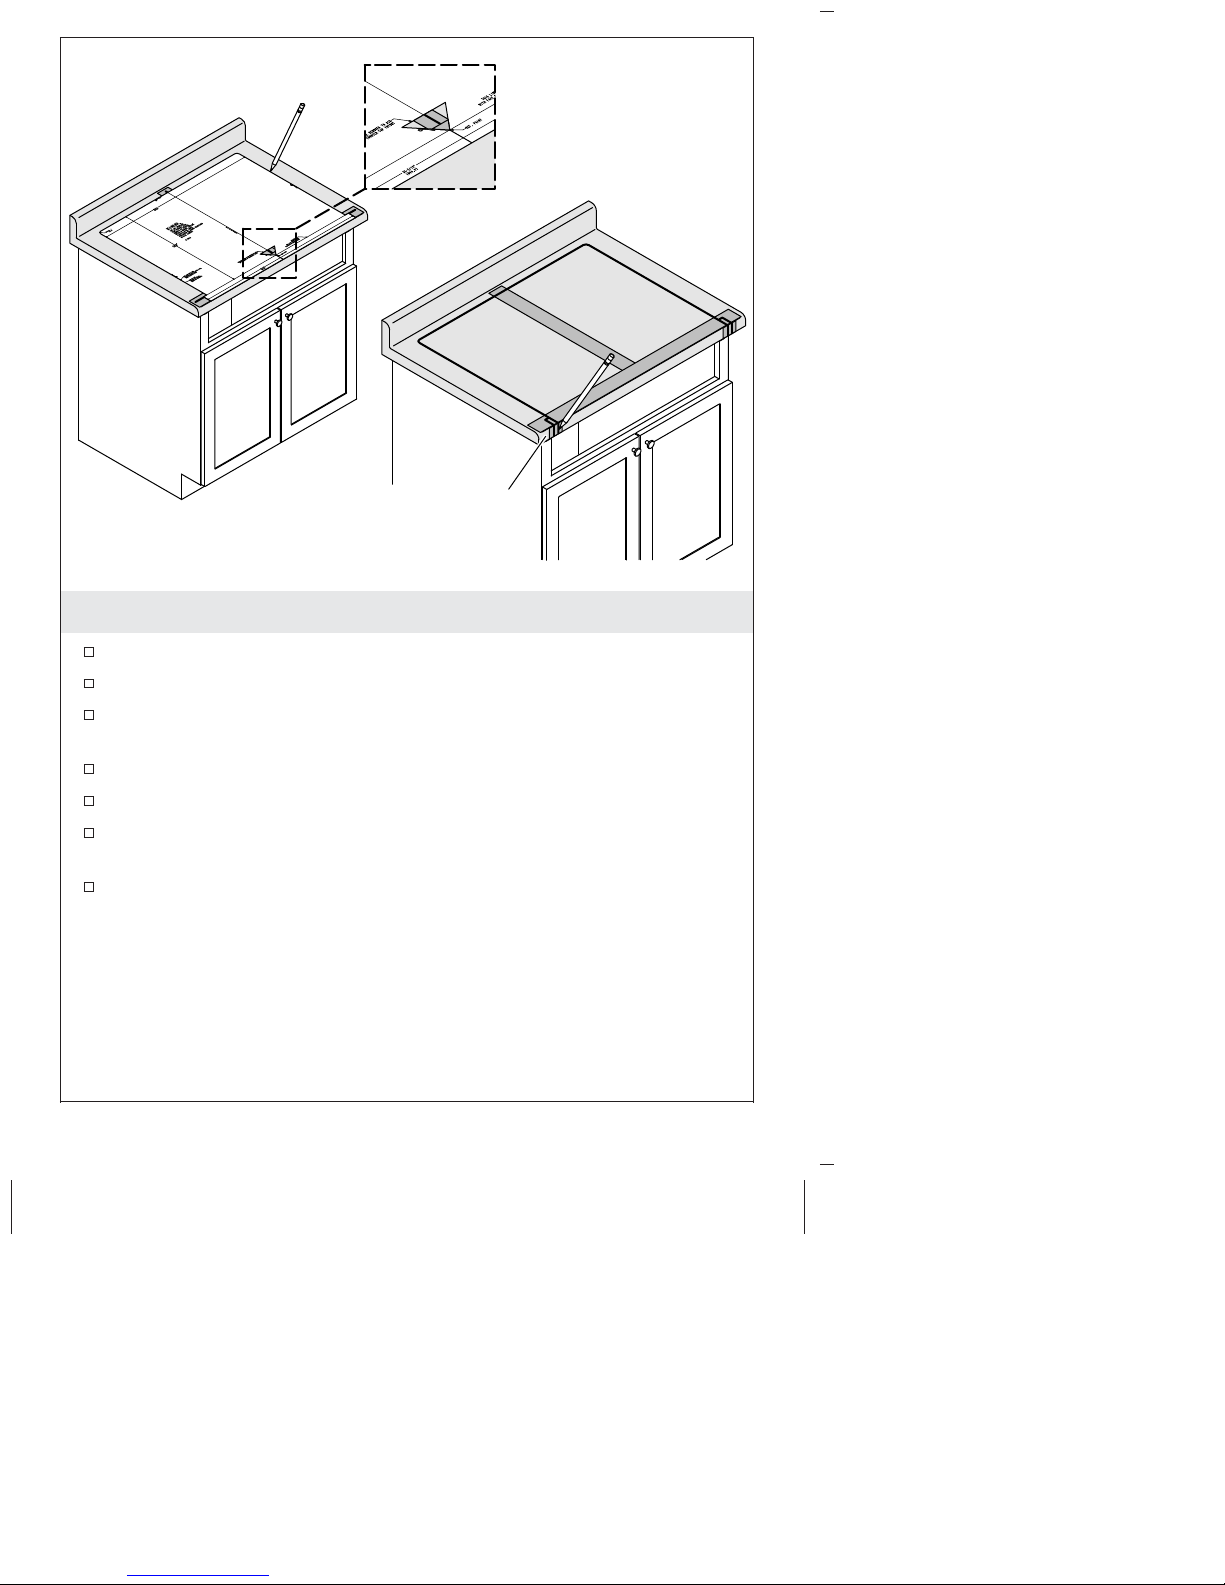
Felt-tip Marker
Scissors
Utility Knife
Saw
Level
Square
Bladed Screwdriver
Clamps
Silicone Sealant
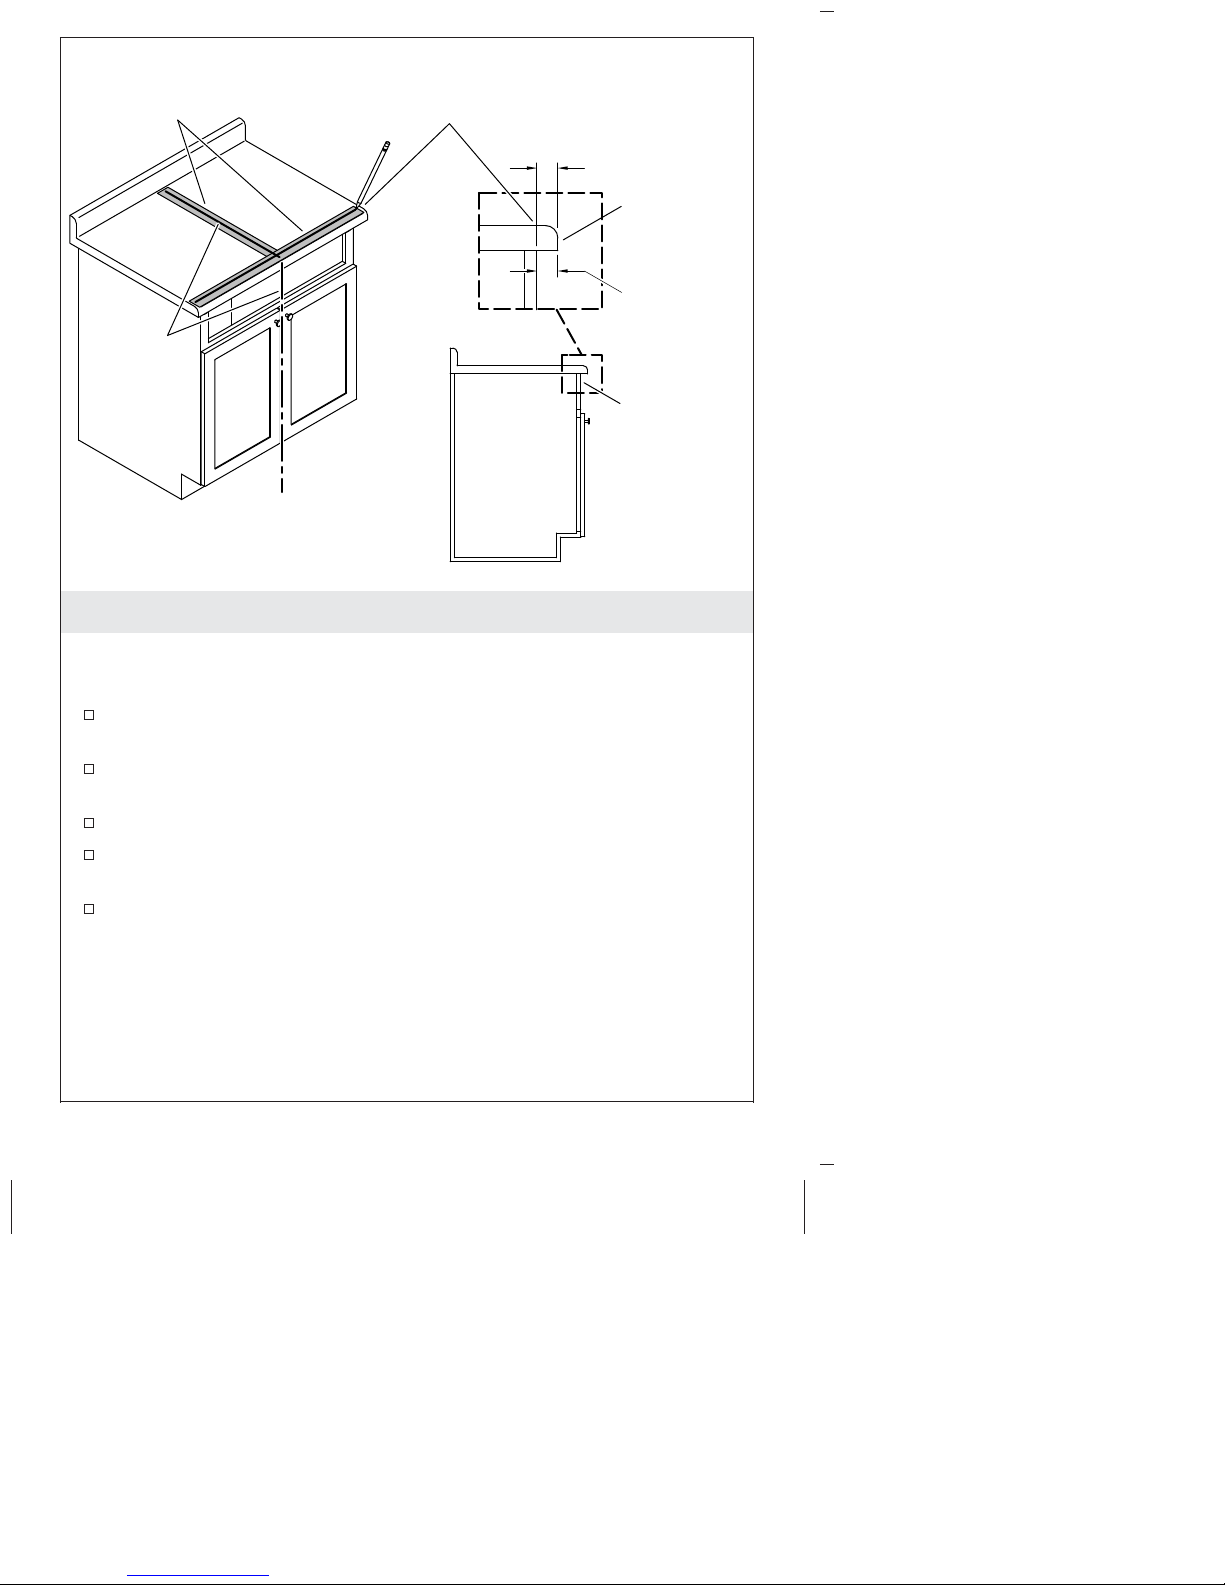
Suitable Support Framing Material [1/2″(13 mm) Max Thickness]
Screws
Important Information
WARNING: Risk of personal injury. Metal surfaces are
sharp and can cause severe cuts. Use gloves and handle sink
edges carefully.
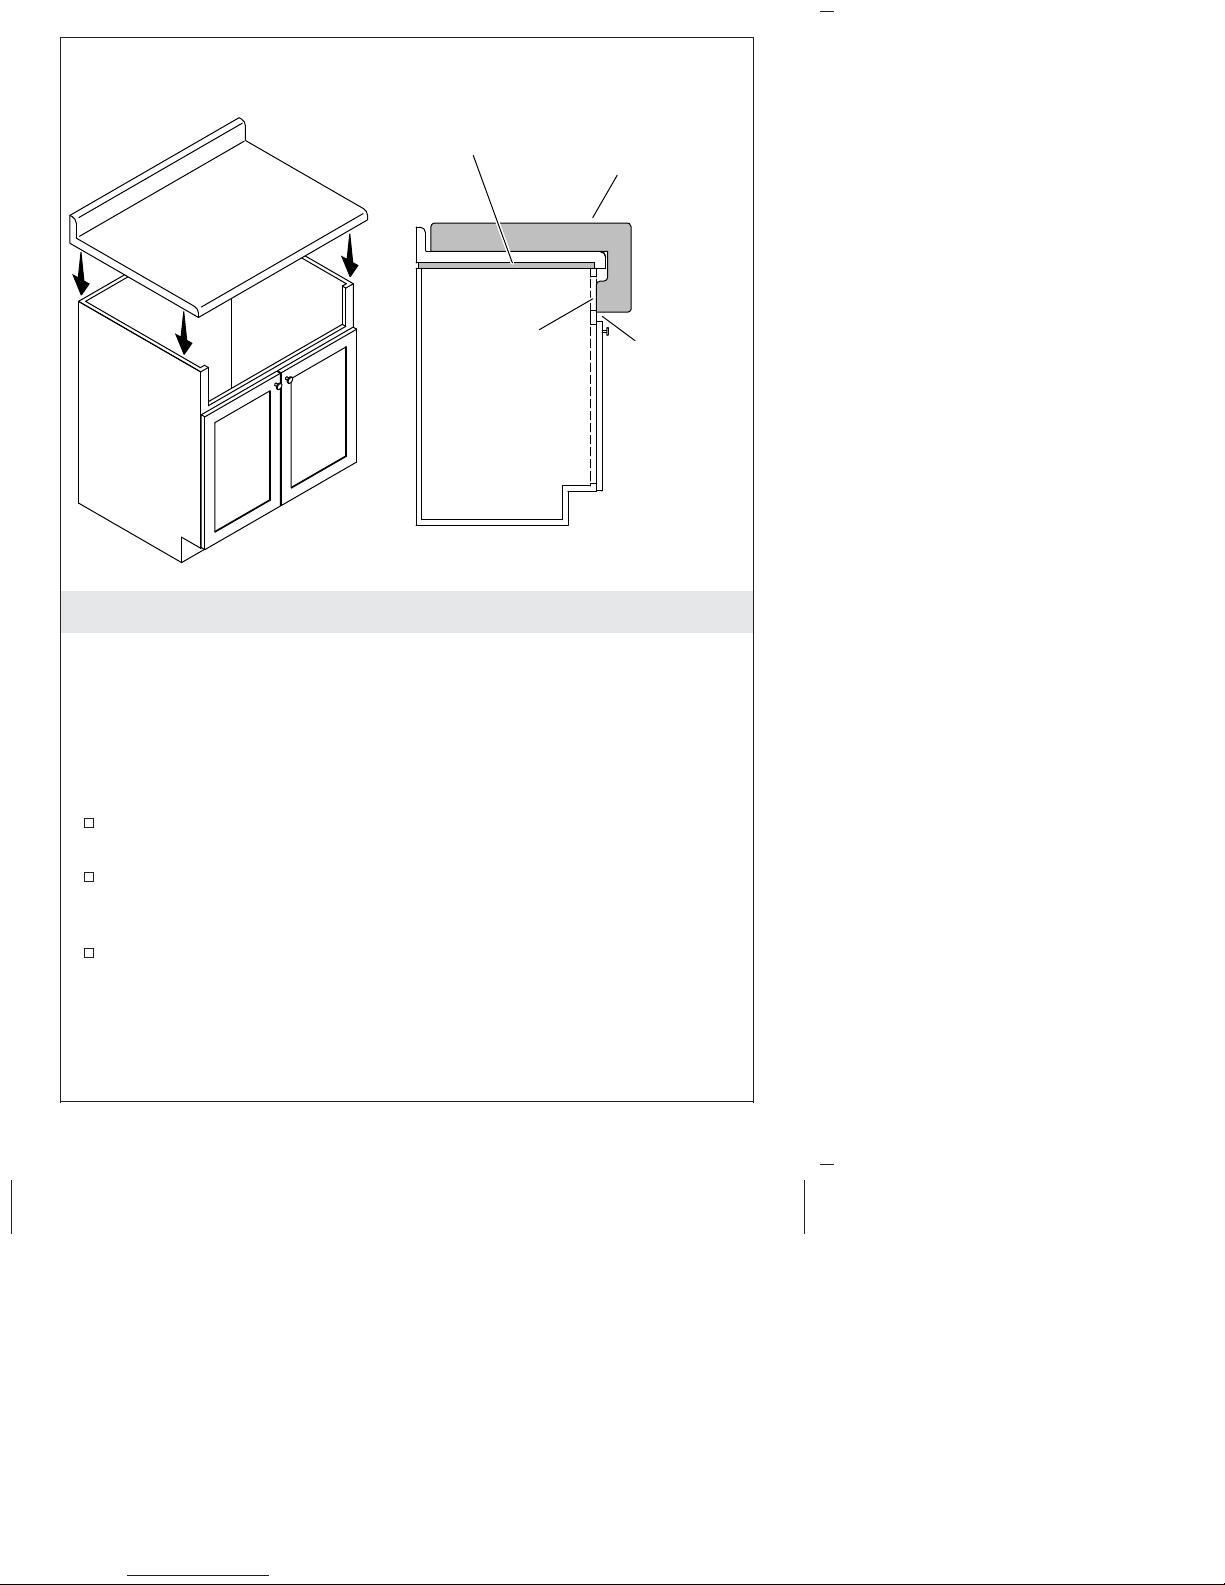
IMPORTANT! Before beginning this installation, refer to the
″Roughing-In″section for cabinet dimensional requirements.
IMPORTANT! Long screws may damage adjacent cabinets. Ensure
the screws are long enough to secure the support framing, but short
enough not to extend through the inner walls of the adjacent
cabinets.
This guide provides two methods of installation: new
construction and retrofit. Follow the sections that apply to your
installation.
Use proper fasteners and techniques to ensure that the frame will
support a minimum of 300 lbs (136 kg). Locate the fasteners for
easy access in the event the sink needs to be removed.
For K-3935 Only: This sink is intended for installation into a
standard 30″base cabinet.
For K-3942 and K-3944 Only: This sink is intended for
installation into a standard 36″base cabinet.
1166708-2-B 2 Kohler Co.