The product must be plugged into a grounded two-hole socket with a rated current
of more than 10A and a rated voltage of 230V~60Hz. Ensure the plug is fully
inserted to prevent overheating, poor contact, short circuits, or fire hazards.
If the product will not be used for an extended period (more than three days), disconnect
the power supply and water source, and drain any remaining water from the product.
Clean it before the next use.
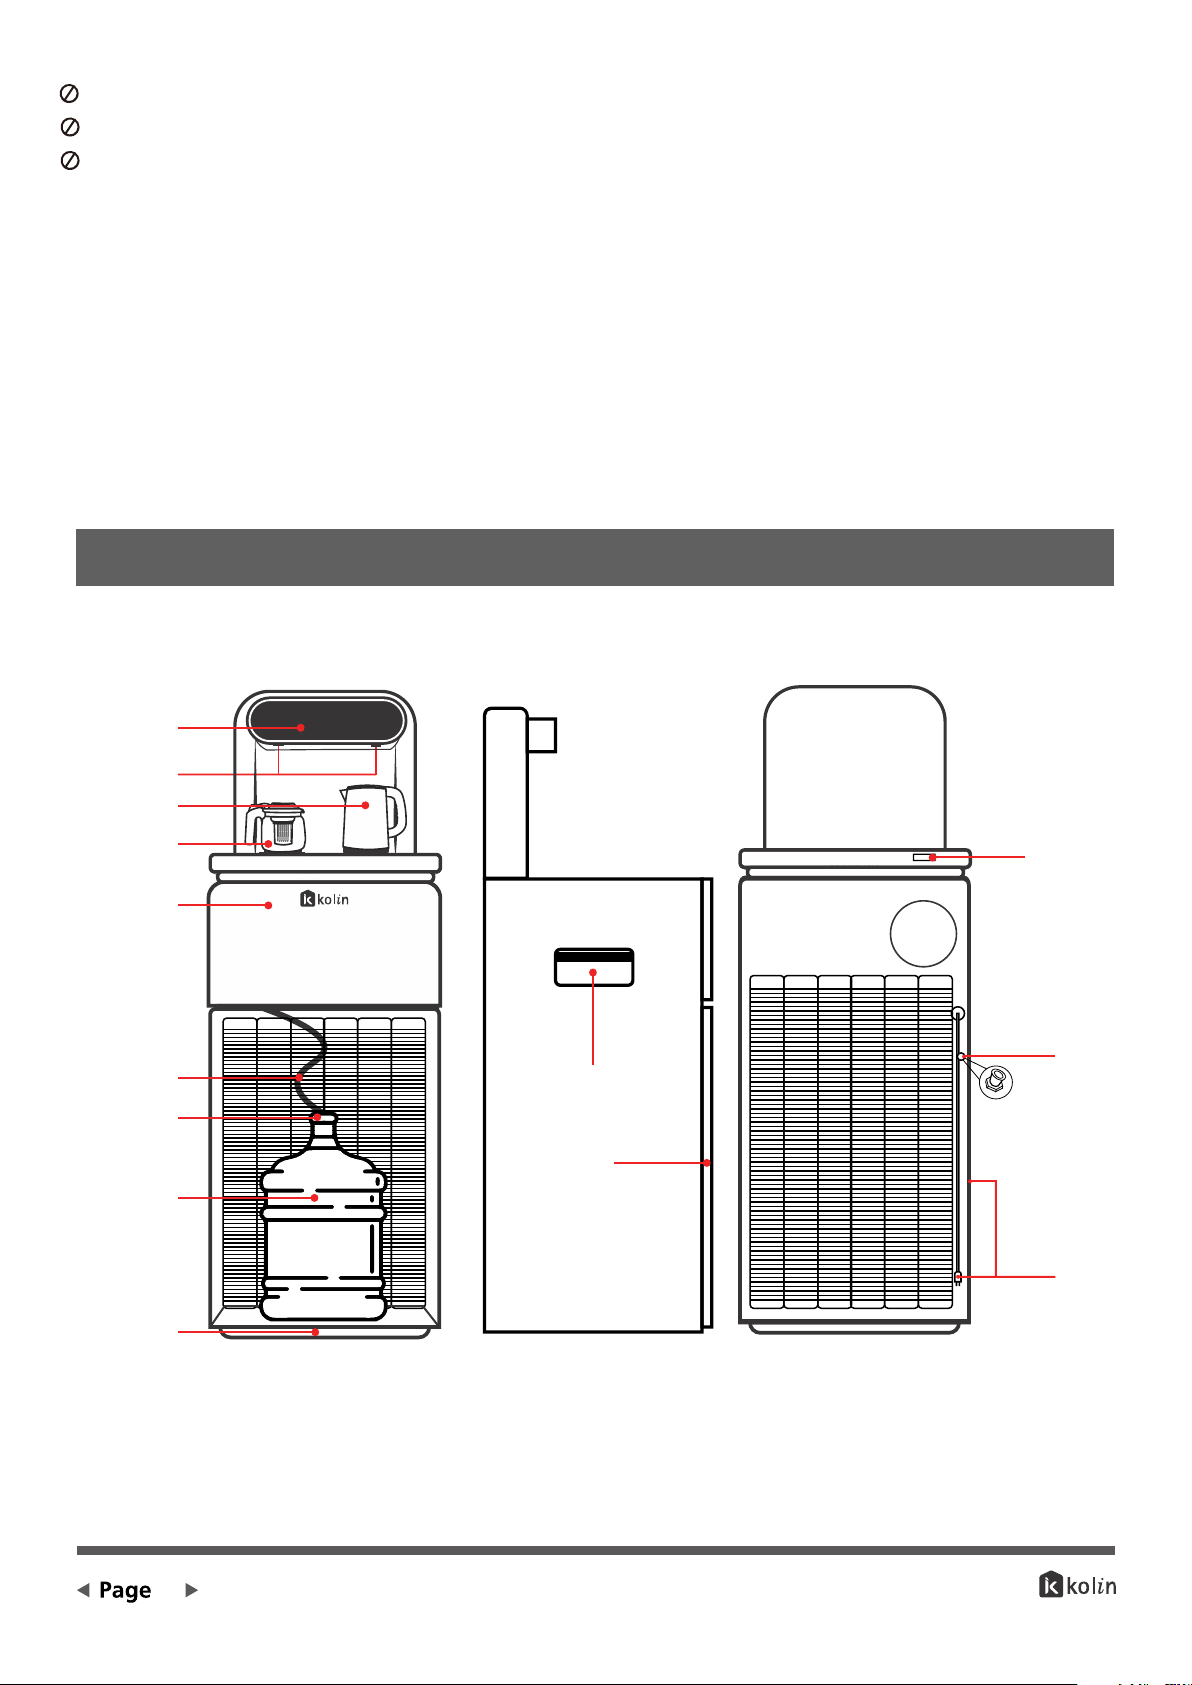
2
•
•
•
•
•
•
•
•
•
•
•
•
•
PROHIBITION
Do not open the kettle lid while it is boiling or heating water to avoid burns from hot
steam.
Do not operate the product with wet hands to prevent electric shock. Make sure your
hands are dry.
To prevent electric shock or short circuits, keep the product, power cord, and plug
away from water or other liquids. Avoid touching the power cord or plug with wet
hands or bare feet.
Keep the product and power cord away from high temperatures, open flames, moisture,
smooth surfaces, or sharp edges to prevent damage, malfunctions, or fire hazards.
In low ambient temperatures and voltages, the water heating time may be extended,
which is normal.
Clean the product with a soft, damp cloth. Avoid using gasoline or other organic
solutions, as they may cause discoloration or rust on the surface. Do not flush the
product with water
In case of water leakage, immediately switch off the power and drain all water from
the product. Contact our Kolin hotline number or your local dealer for assistance by
professional service personnel. Do not attempt repairs yourself.
This product is specifically designed for boiling water and should not be used to
cook food or boil milk, coffee, or tea.
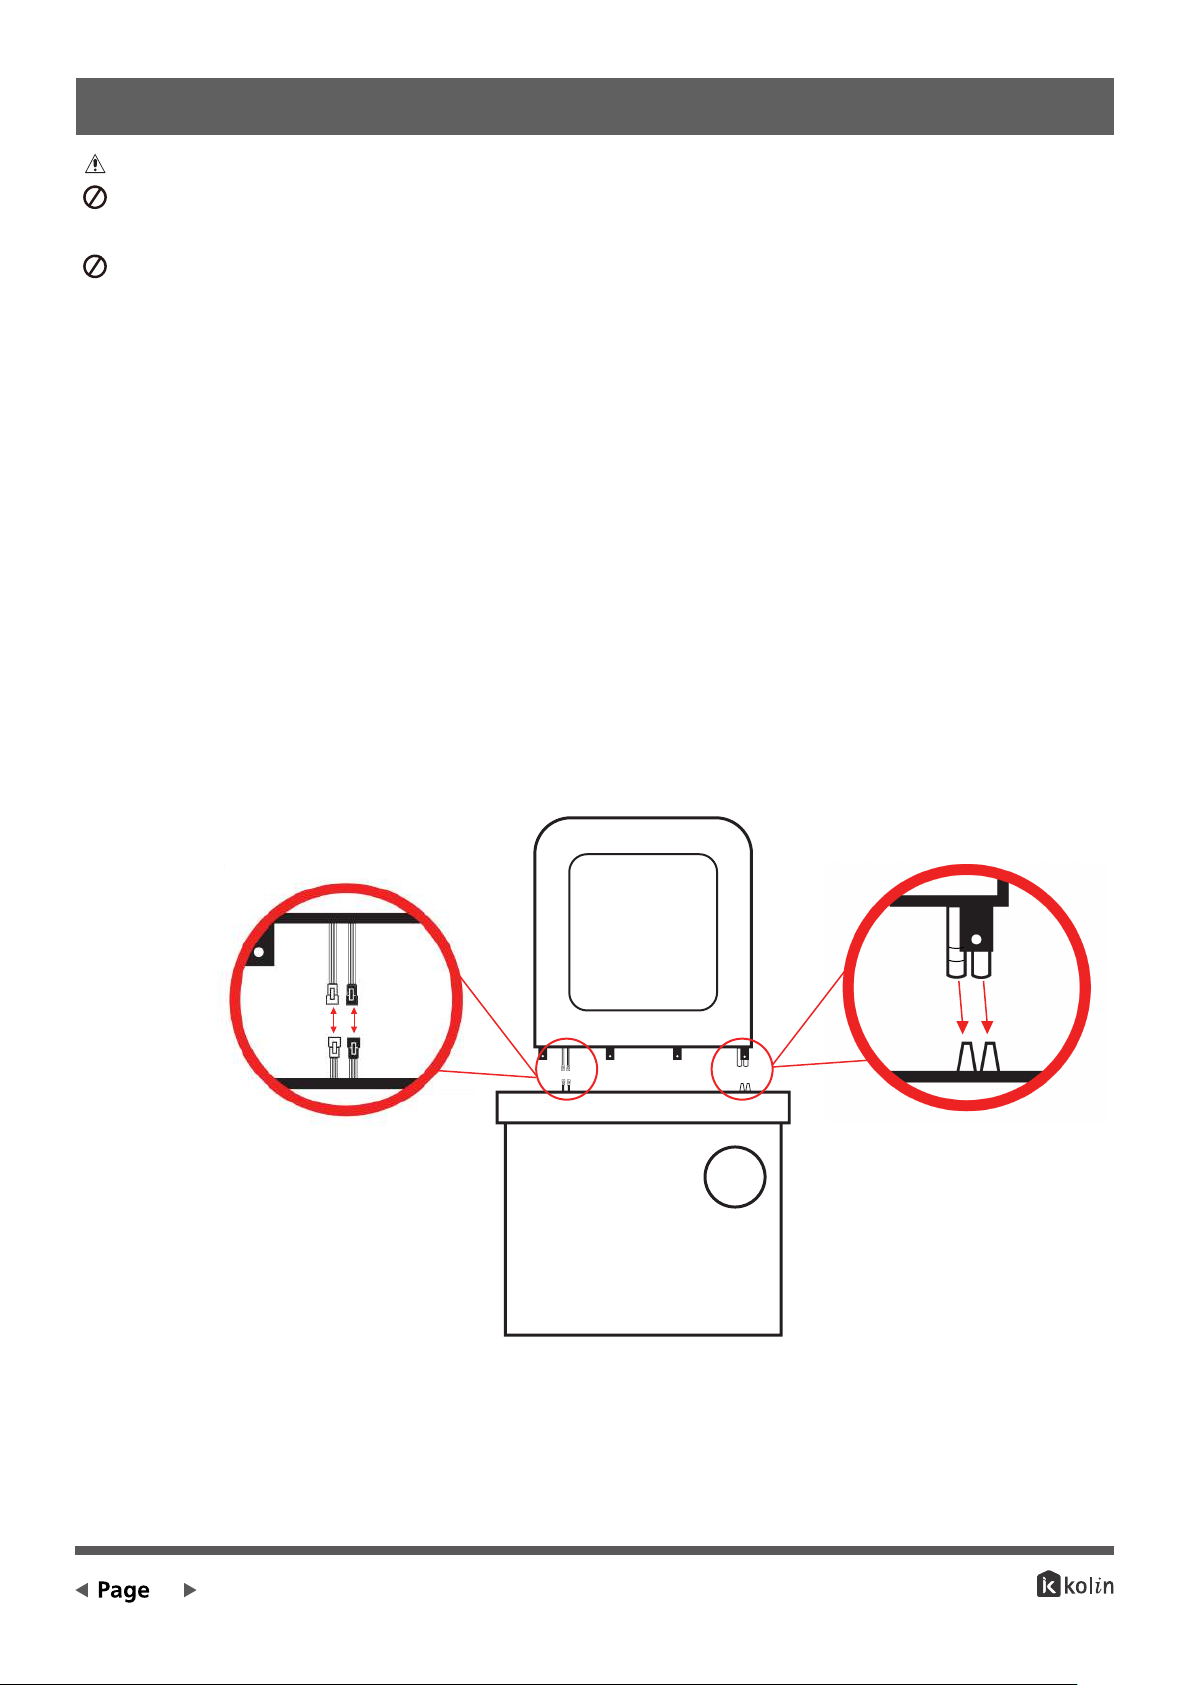
Always use the kettle body with its matching power base. The kettle and power base
are designed to work together as a set, ensuring proper functionality and safety. Using
the correct power base for the kettle model is important to ensure optimal performance
and avoid any potential issues.
Avoid placing the product on or near any heat source to prevent damage or accidents.
Keep the kettle and power base away from wet areas and never immerse them in
water to avoid electrical hazards.
Keep the kettle out of the reach of children to prevent burns or accidents.
Be cautious not to overfill the kettle, as boiling water may spray out and cause
danger.
To ensure that the electric kettle works correctly and safely, it should only be used on
the provided base. The base is specifically designed to support and power the kettle,
allowing it to heat water efficiently. Using any other base or surface may not provide
the necessary power supply and stability, which can affect the kettle's performance
and pose safety risks. Therefore, it is important to use the electric kettle only on the
base that comes with it to ensure it functions properly and safely.
If you notice any damage to the power cord of the appliance, it is important to seek
professional assistance to ensure your safety. Contact our Kolin Service Hotline for
expert help and guidance. Attempting to repair or handle a damaged power cord on
your own can be dangerous and may result in electrical hazards.